Last modified 30-Oct-2007 9:01 PM CDT
Garage Improvement Project
Between about May 2, 2006 and August 5, 2006, we undertook a major
improvement project on the garage in our new (to us) house that we moved into at
the beginning of March, 2006.
Helen gave me free rein to do whatever I wanted. Our main problem is
that we had limited time to get the garage cleared out in our old house (we
needed to be out of there by mid-June) and we had lots of stuff in the
old garage. It was only a two-bay garage, but it had lots of cabinets,
overhead storage, shelves, etc. And it was pretty much filled from floor
to ceiling.
But, of course, I was determined to fix up this garage a little bit more than
our previous one (which was actually rather nice). My goals included:
- nice floor (I considered plastic tiles, i.e., "Race Deck"), but
decided to go with epoxy/urethane after seeing an example
- vast storage space in cabinets
- some kind of solution for hanging up garden tools and other "big
stuff"
- some overhead storage, like we had in our previous garage
- improved lighting
- some solution to getting our eight off-season tires off the floor
- organizing tools, parts, hardware, and such so that they were easy to find
and highly retrievable (lots of tools: hand, electric, air, etc.)
- generally, having a minimum number of things on the floor
- improved lighting
- nice appearance
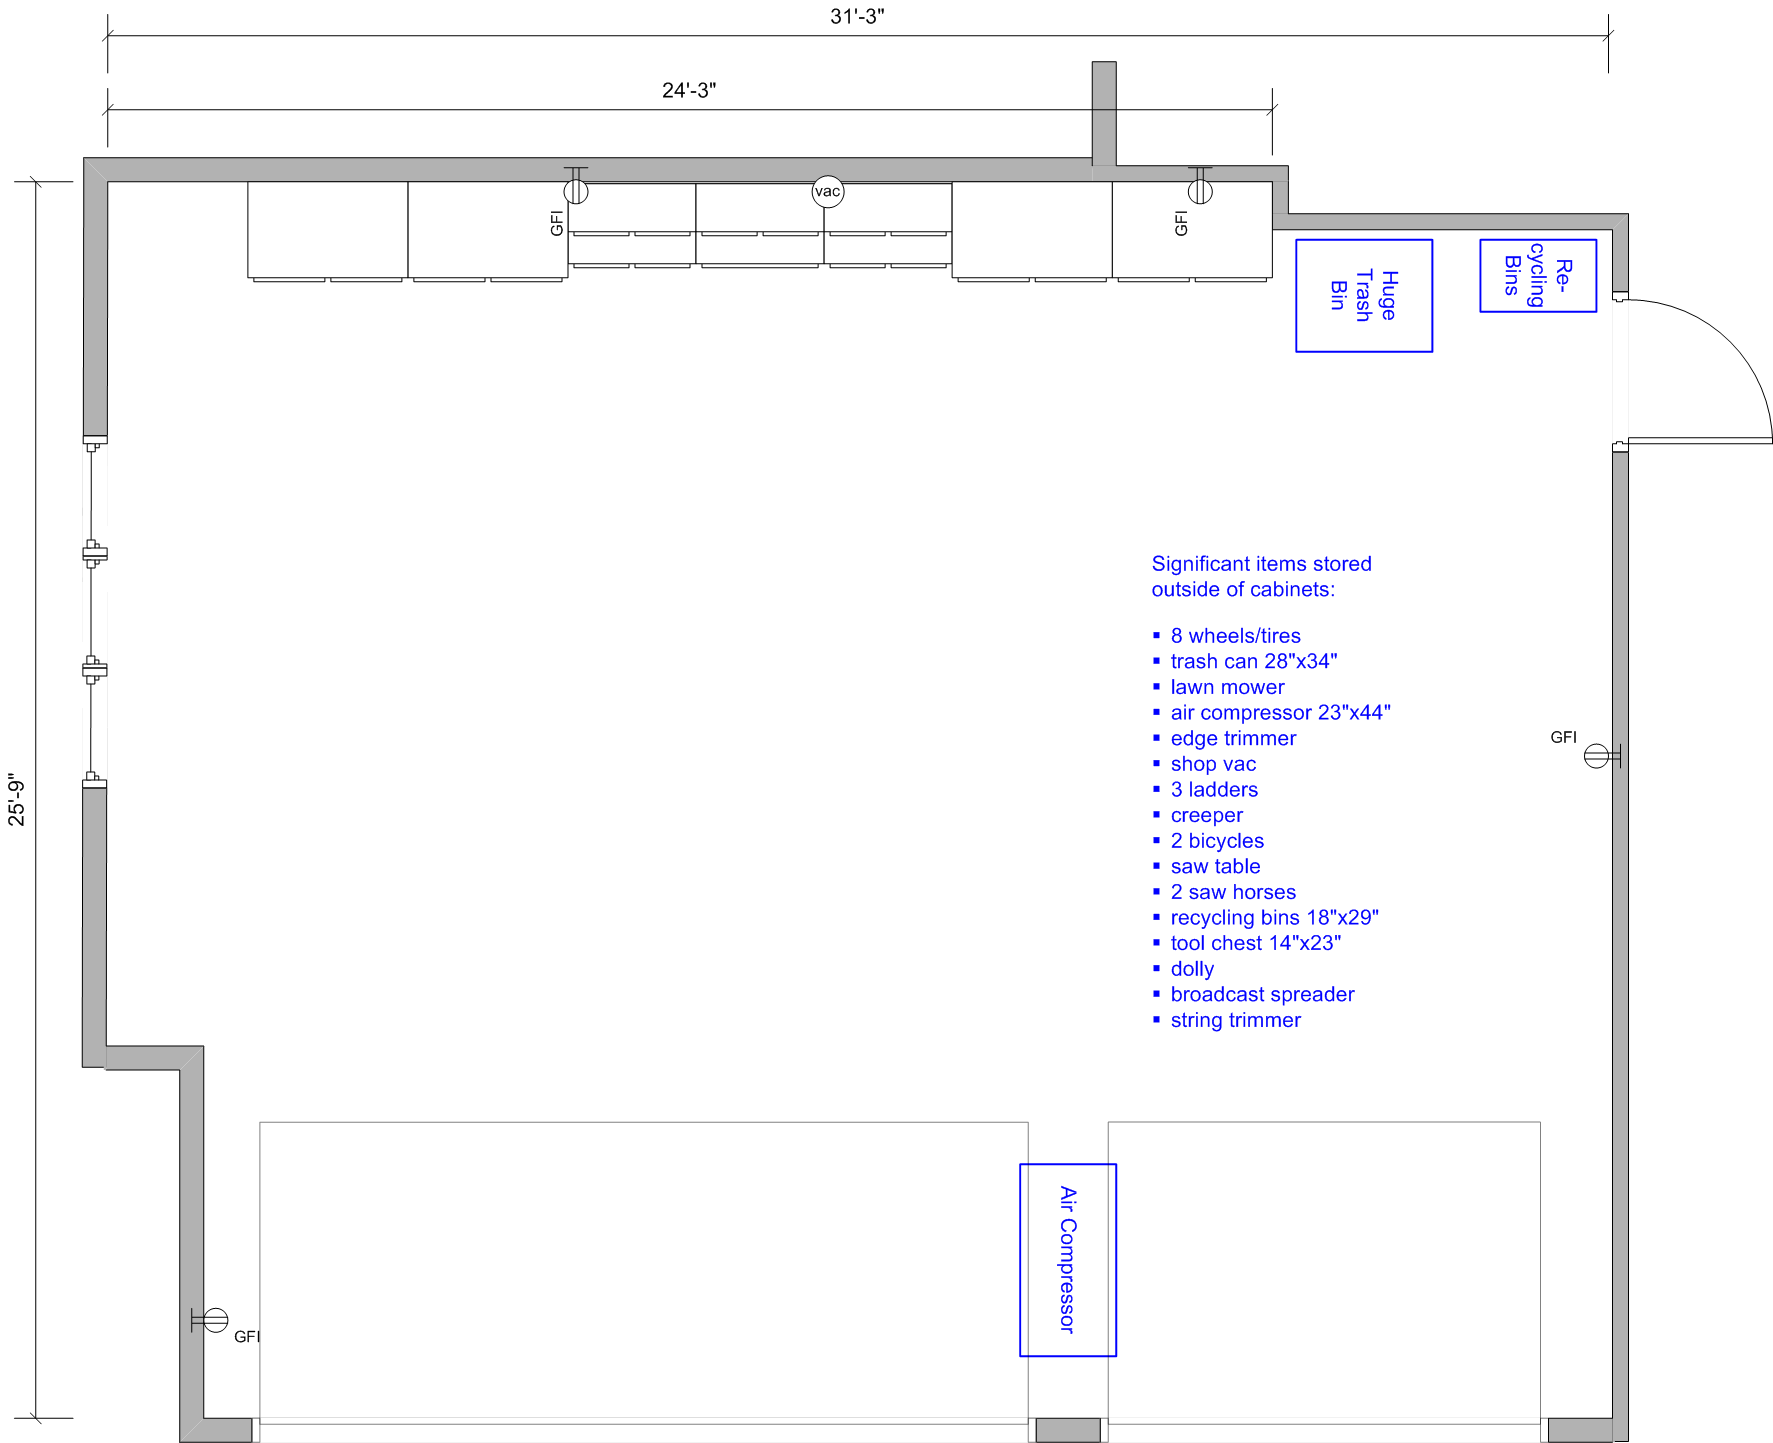
With this list, I set off (with occasional advice from Helen) to seek out
products and make choices. And I drew up a floor plan (and later a cabinet
plan, once I knew what cabinet line I was going with); these are presented later
in this document in the "Plans" section.
One stroke of luck was that one of the "garage specialty places"
happened to be pretty much on my way to and from work. Turns out that it's
run by two dedicated guys (Wayne, the owner, and Bill, the store manager) whose
Complete Garage wound up being my
source for getting the floor done,
and they provided the cabinetry, wall storage units, and probably a few other
things I'm forgetting. Other than the floor, I provided all the labor, but
Bill and Wayne were there for me when I had questions about the products and
they helped me deal with a few minor problems that arose.
So... onto the annotated photos, with just a little bit of discussion mixed
in every now and then. I'll start with the results, and then show how some
of the more significant steps unfolded. And wrap it up with a list of
low-priority stuff I'd still like to do when time and energy permits.
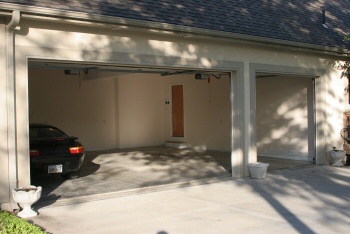
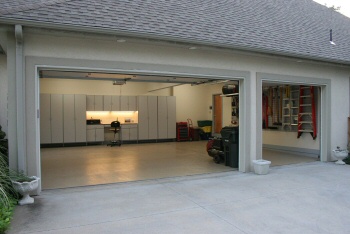
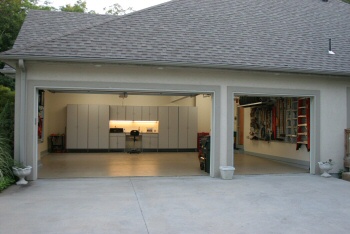
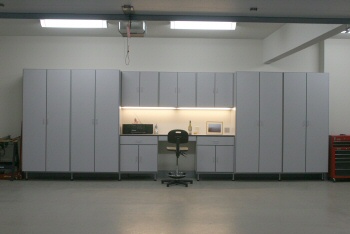
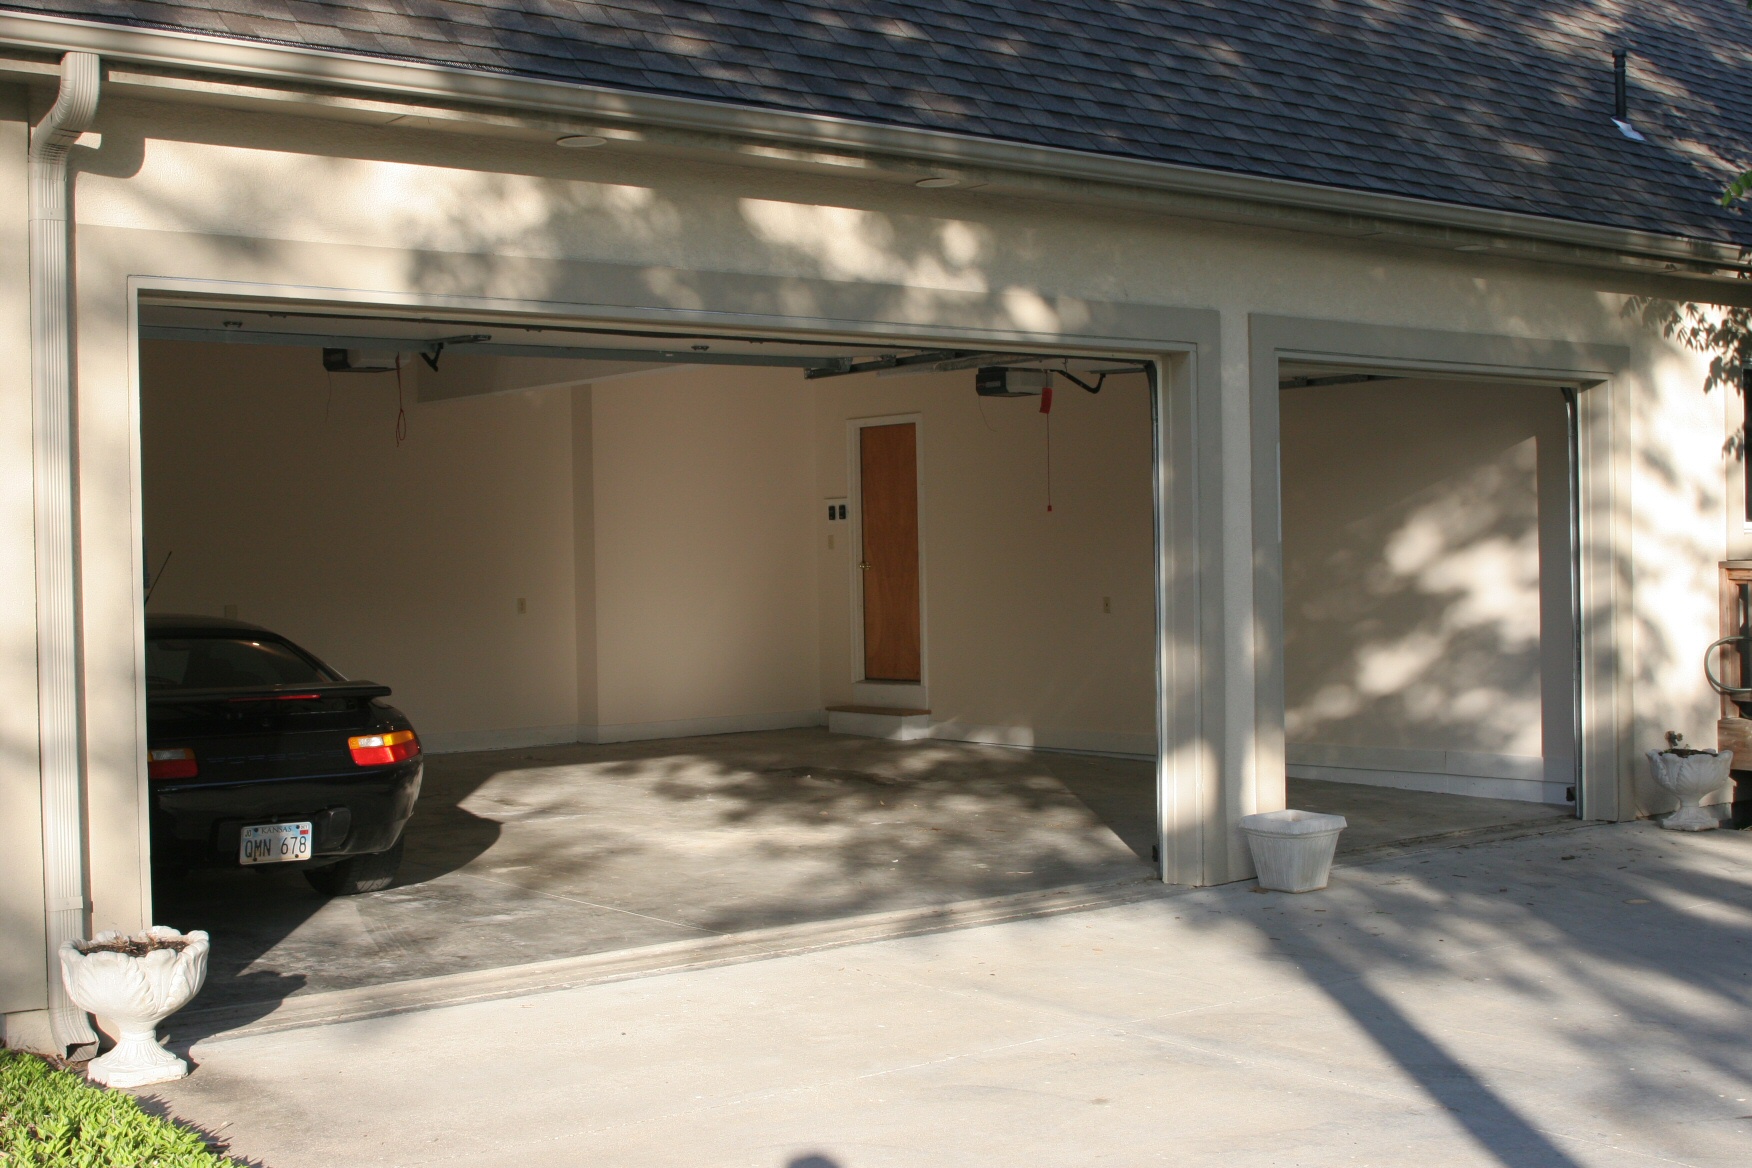
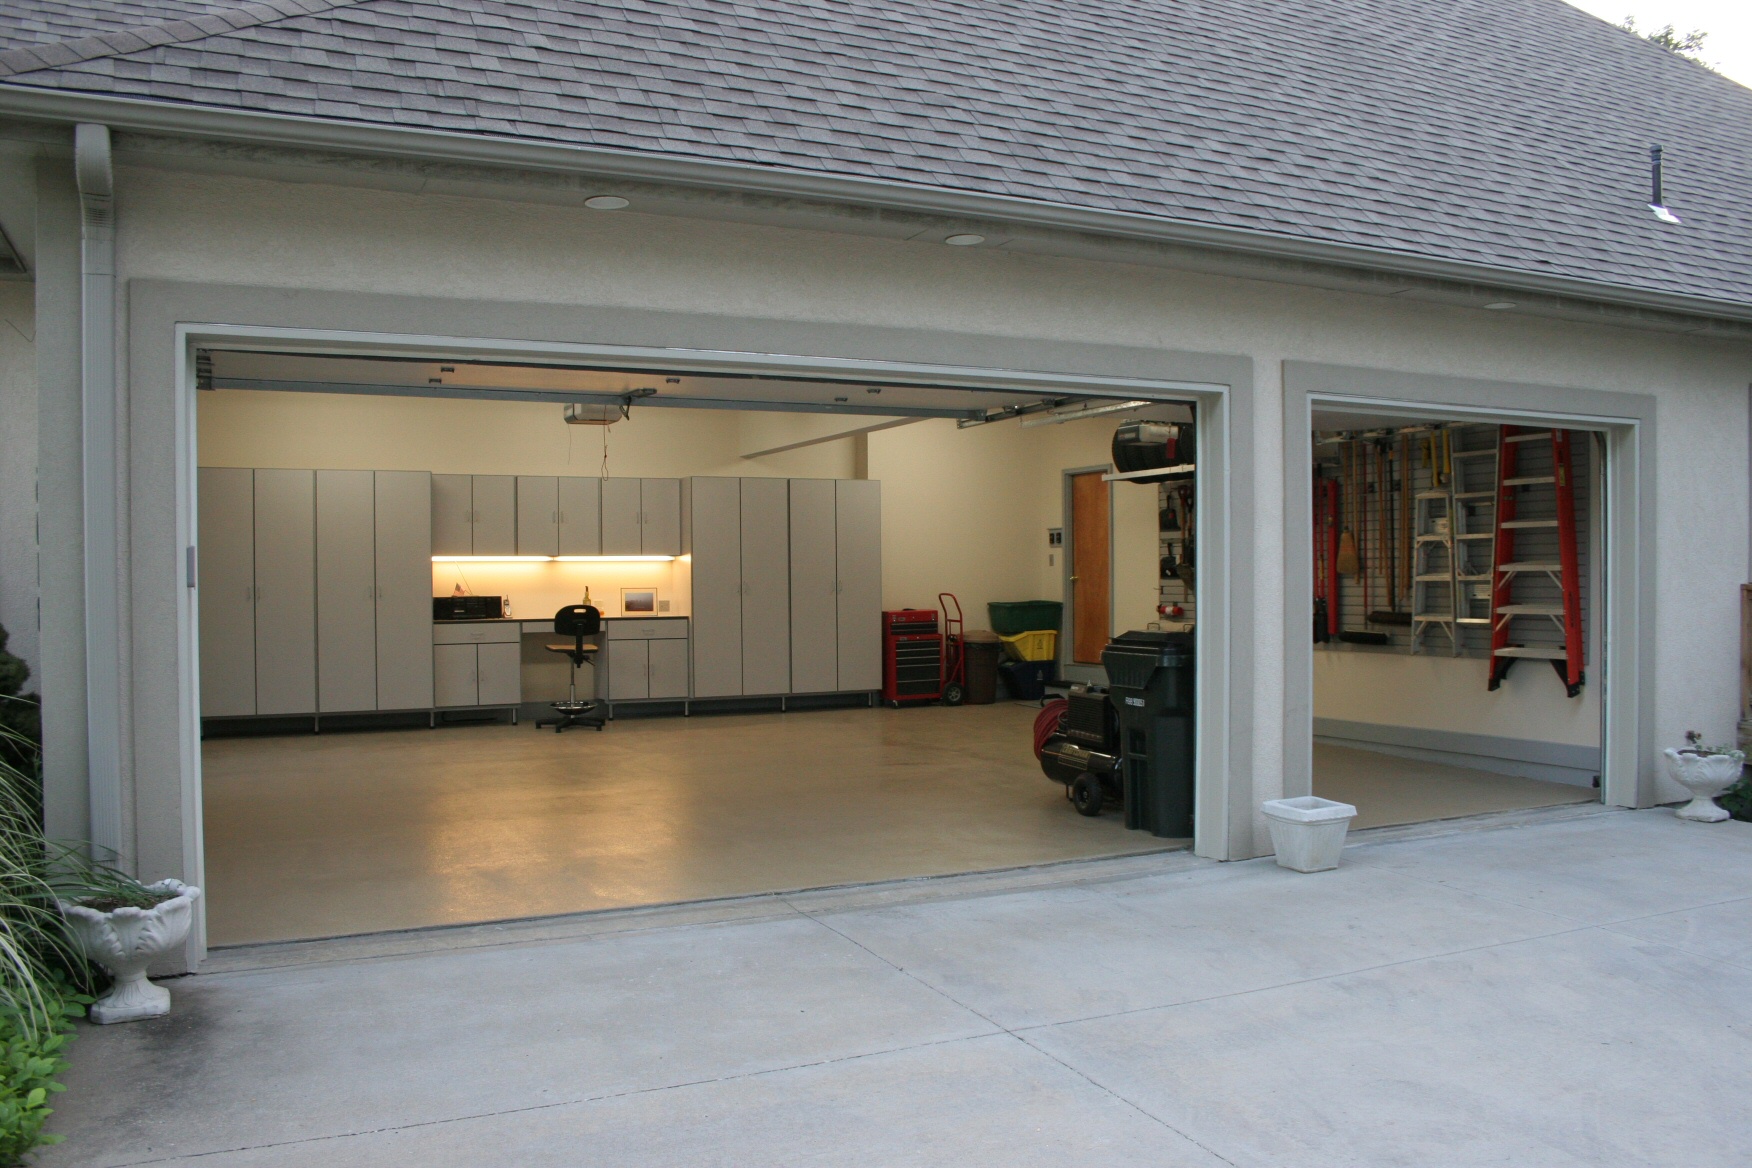
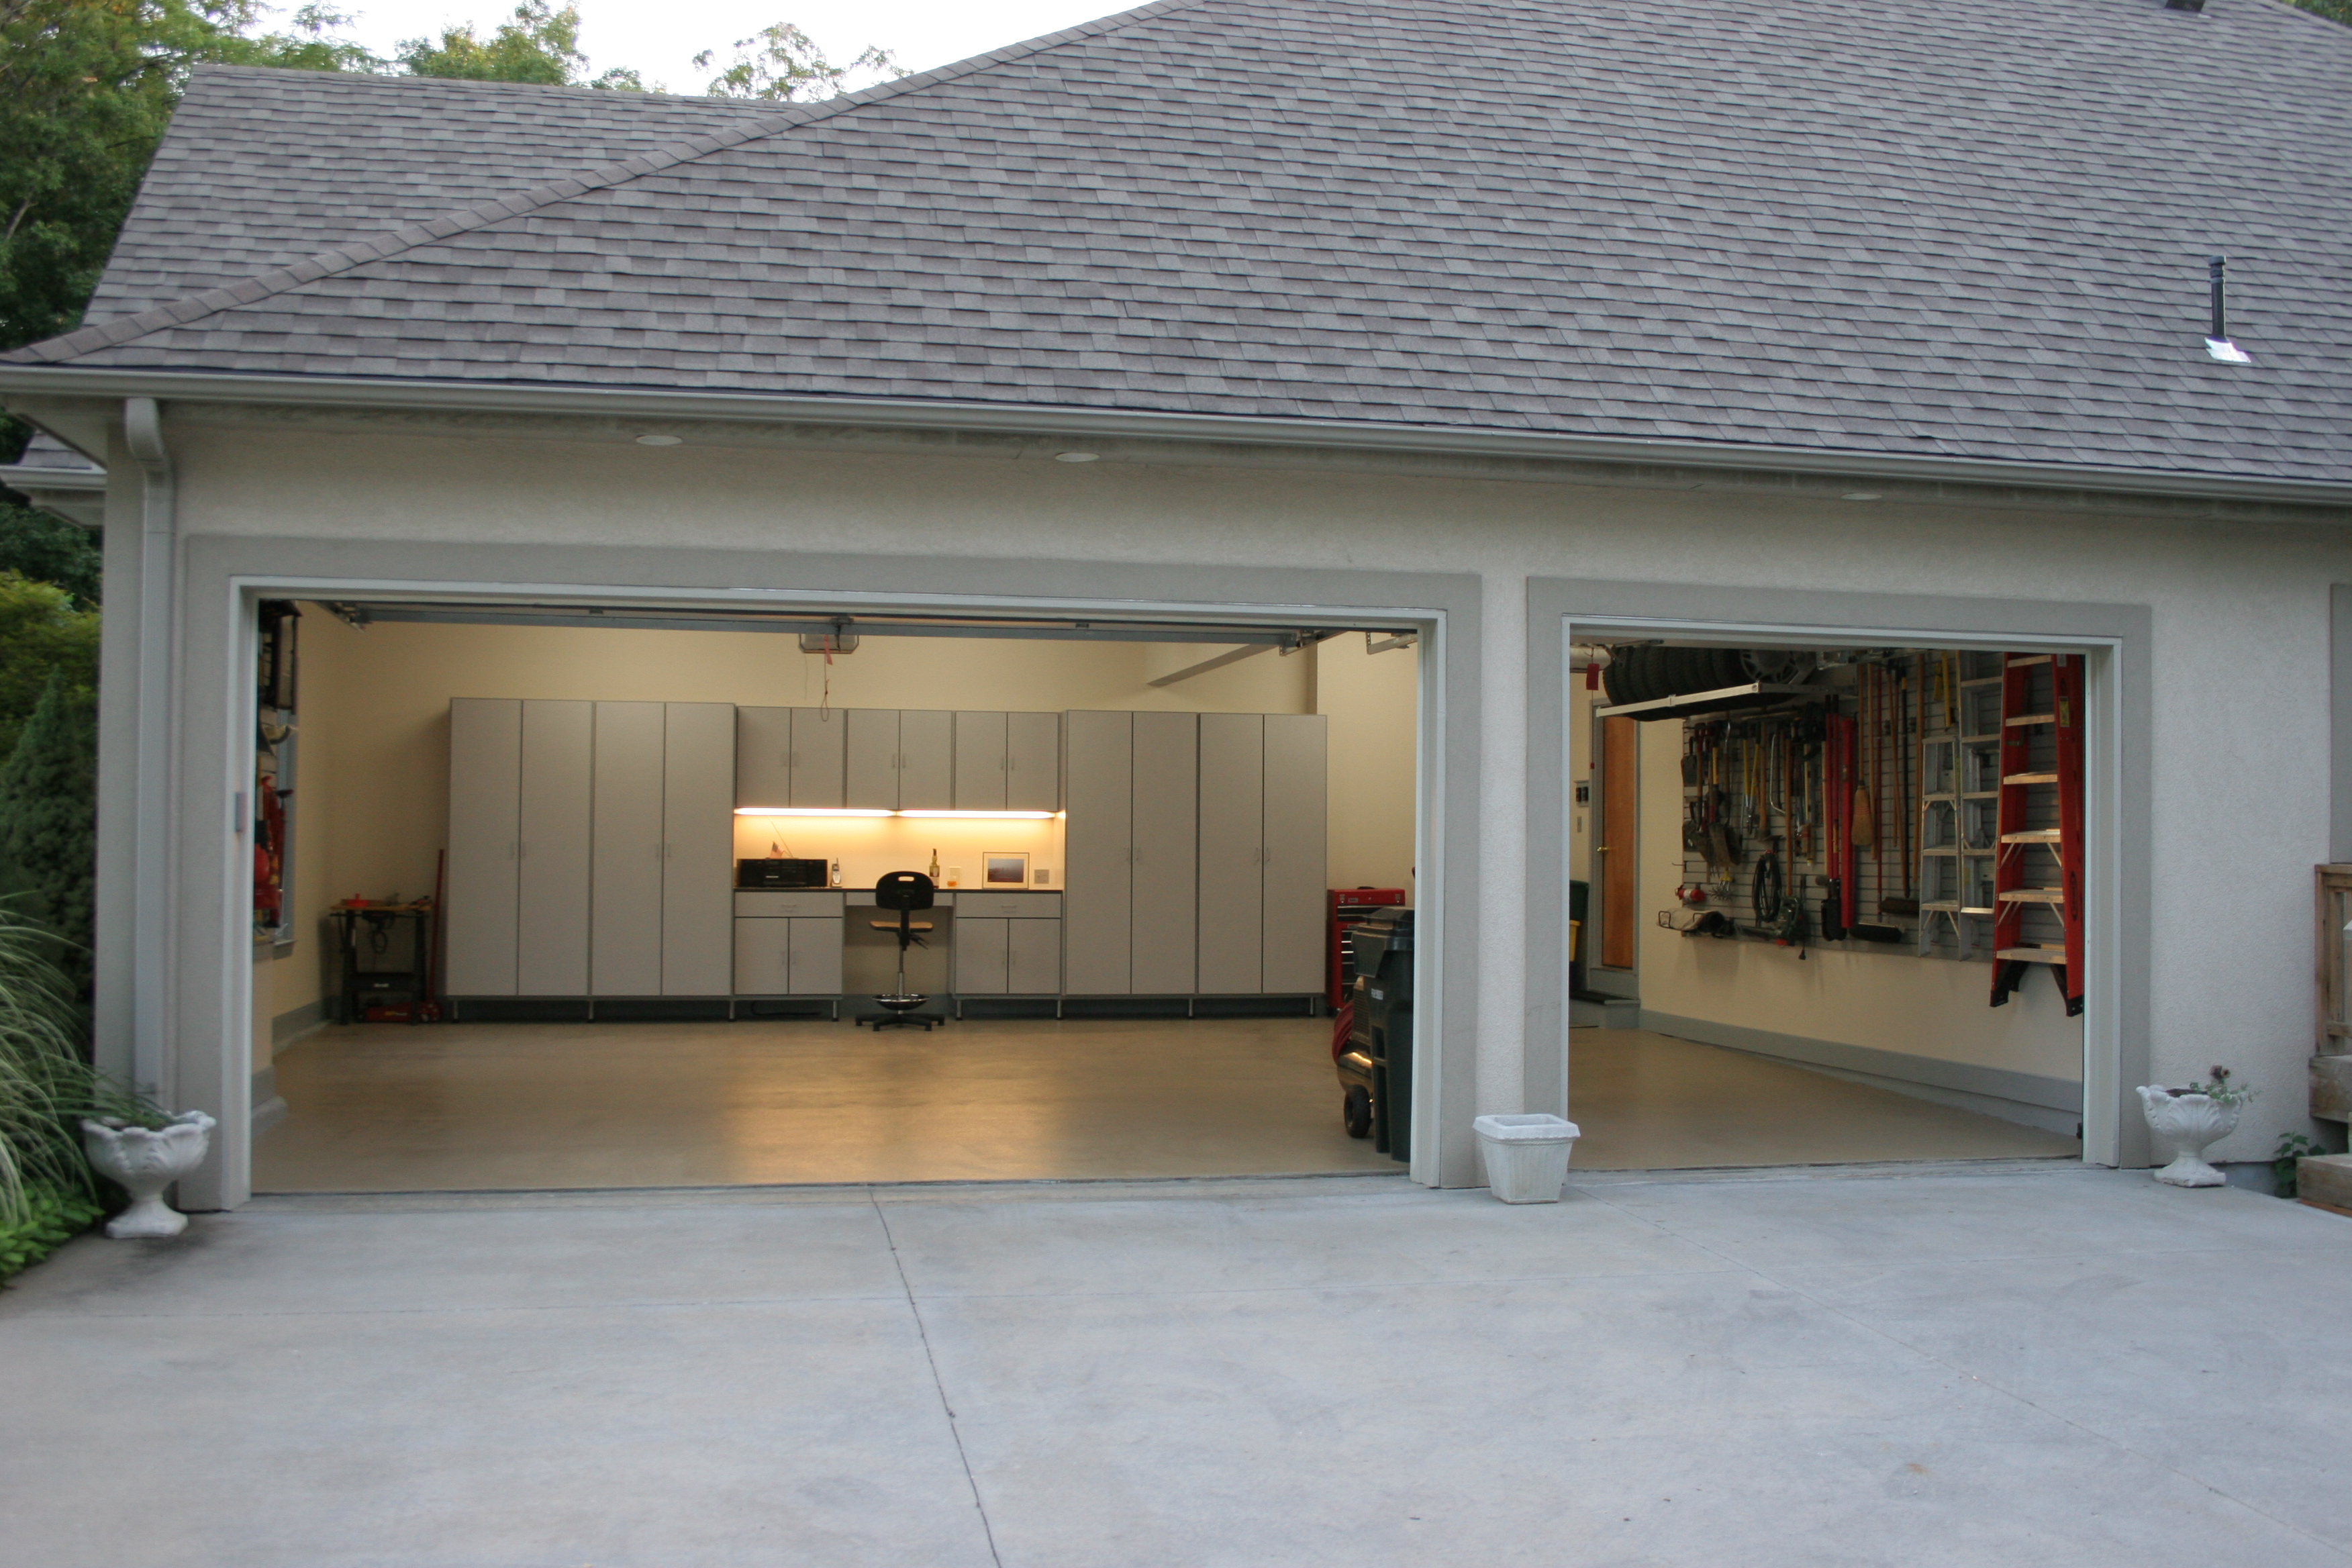
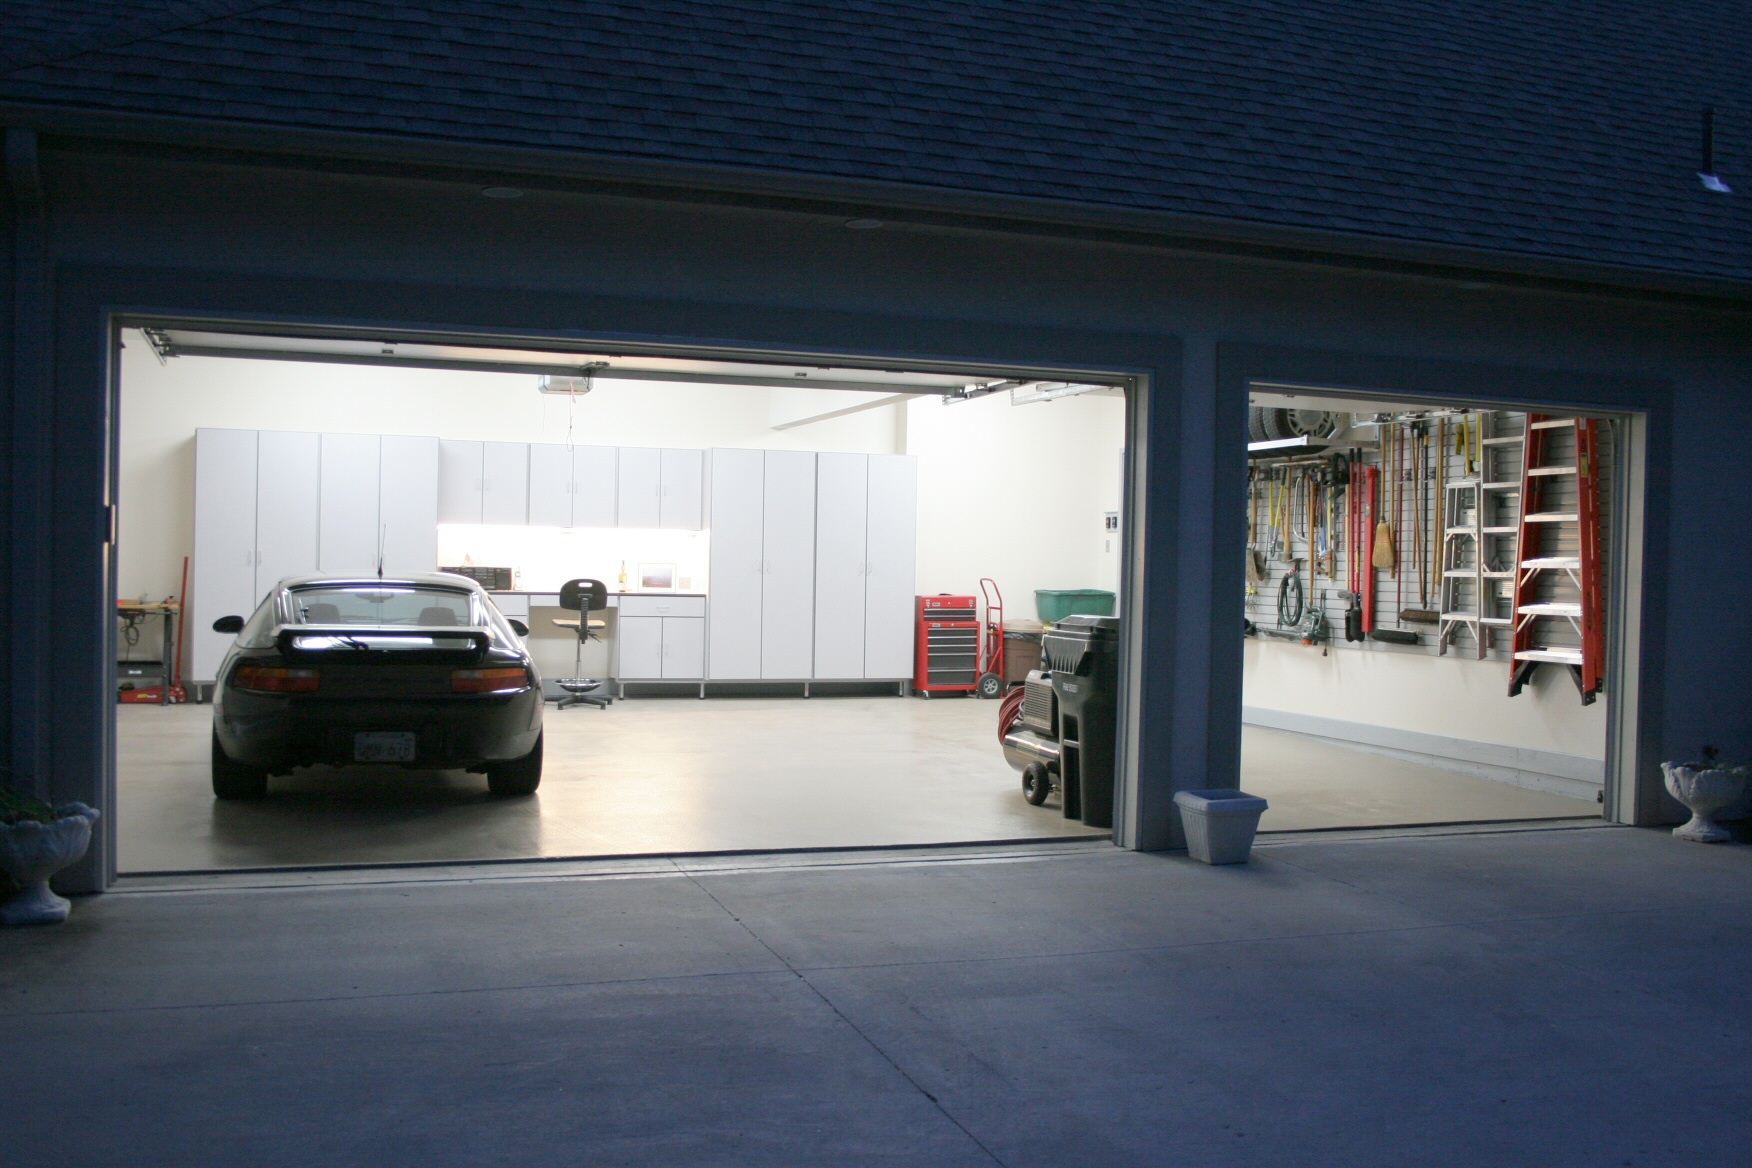
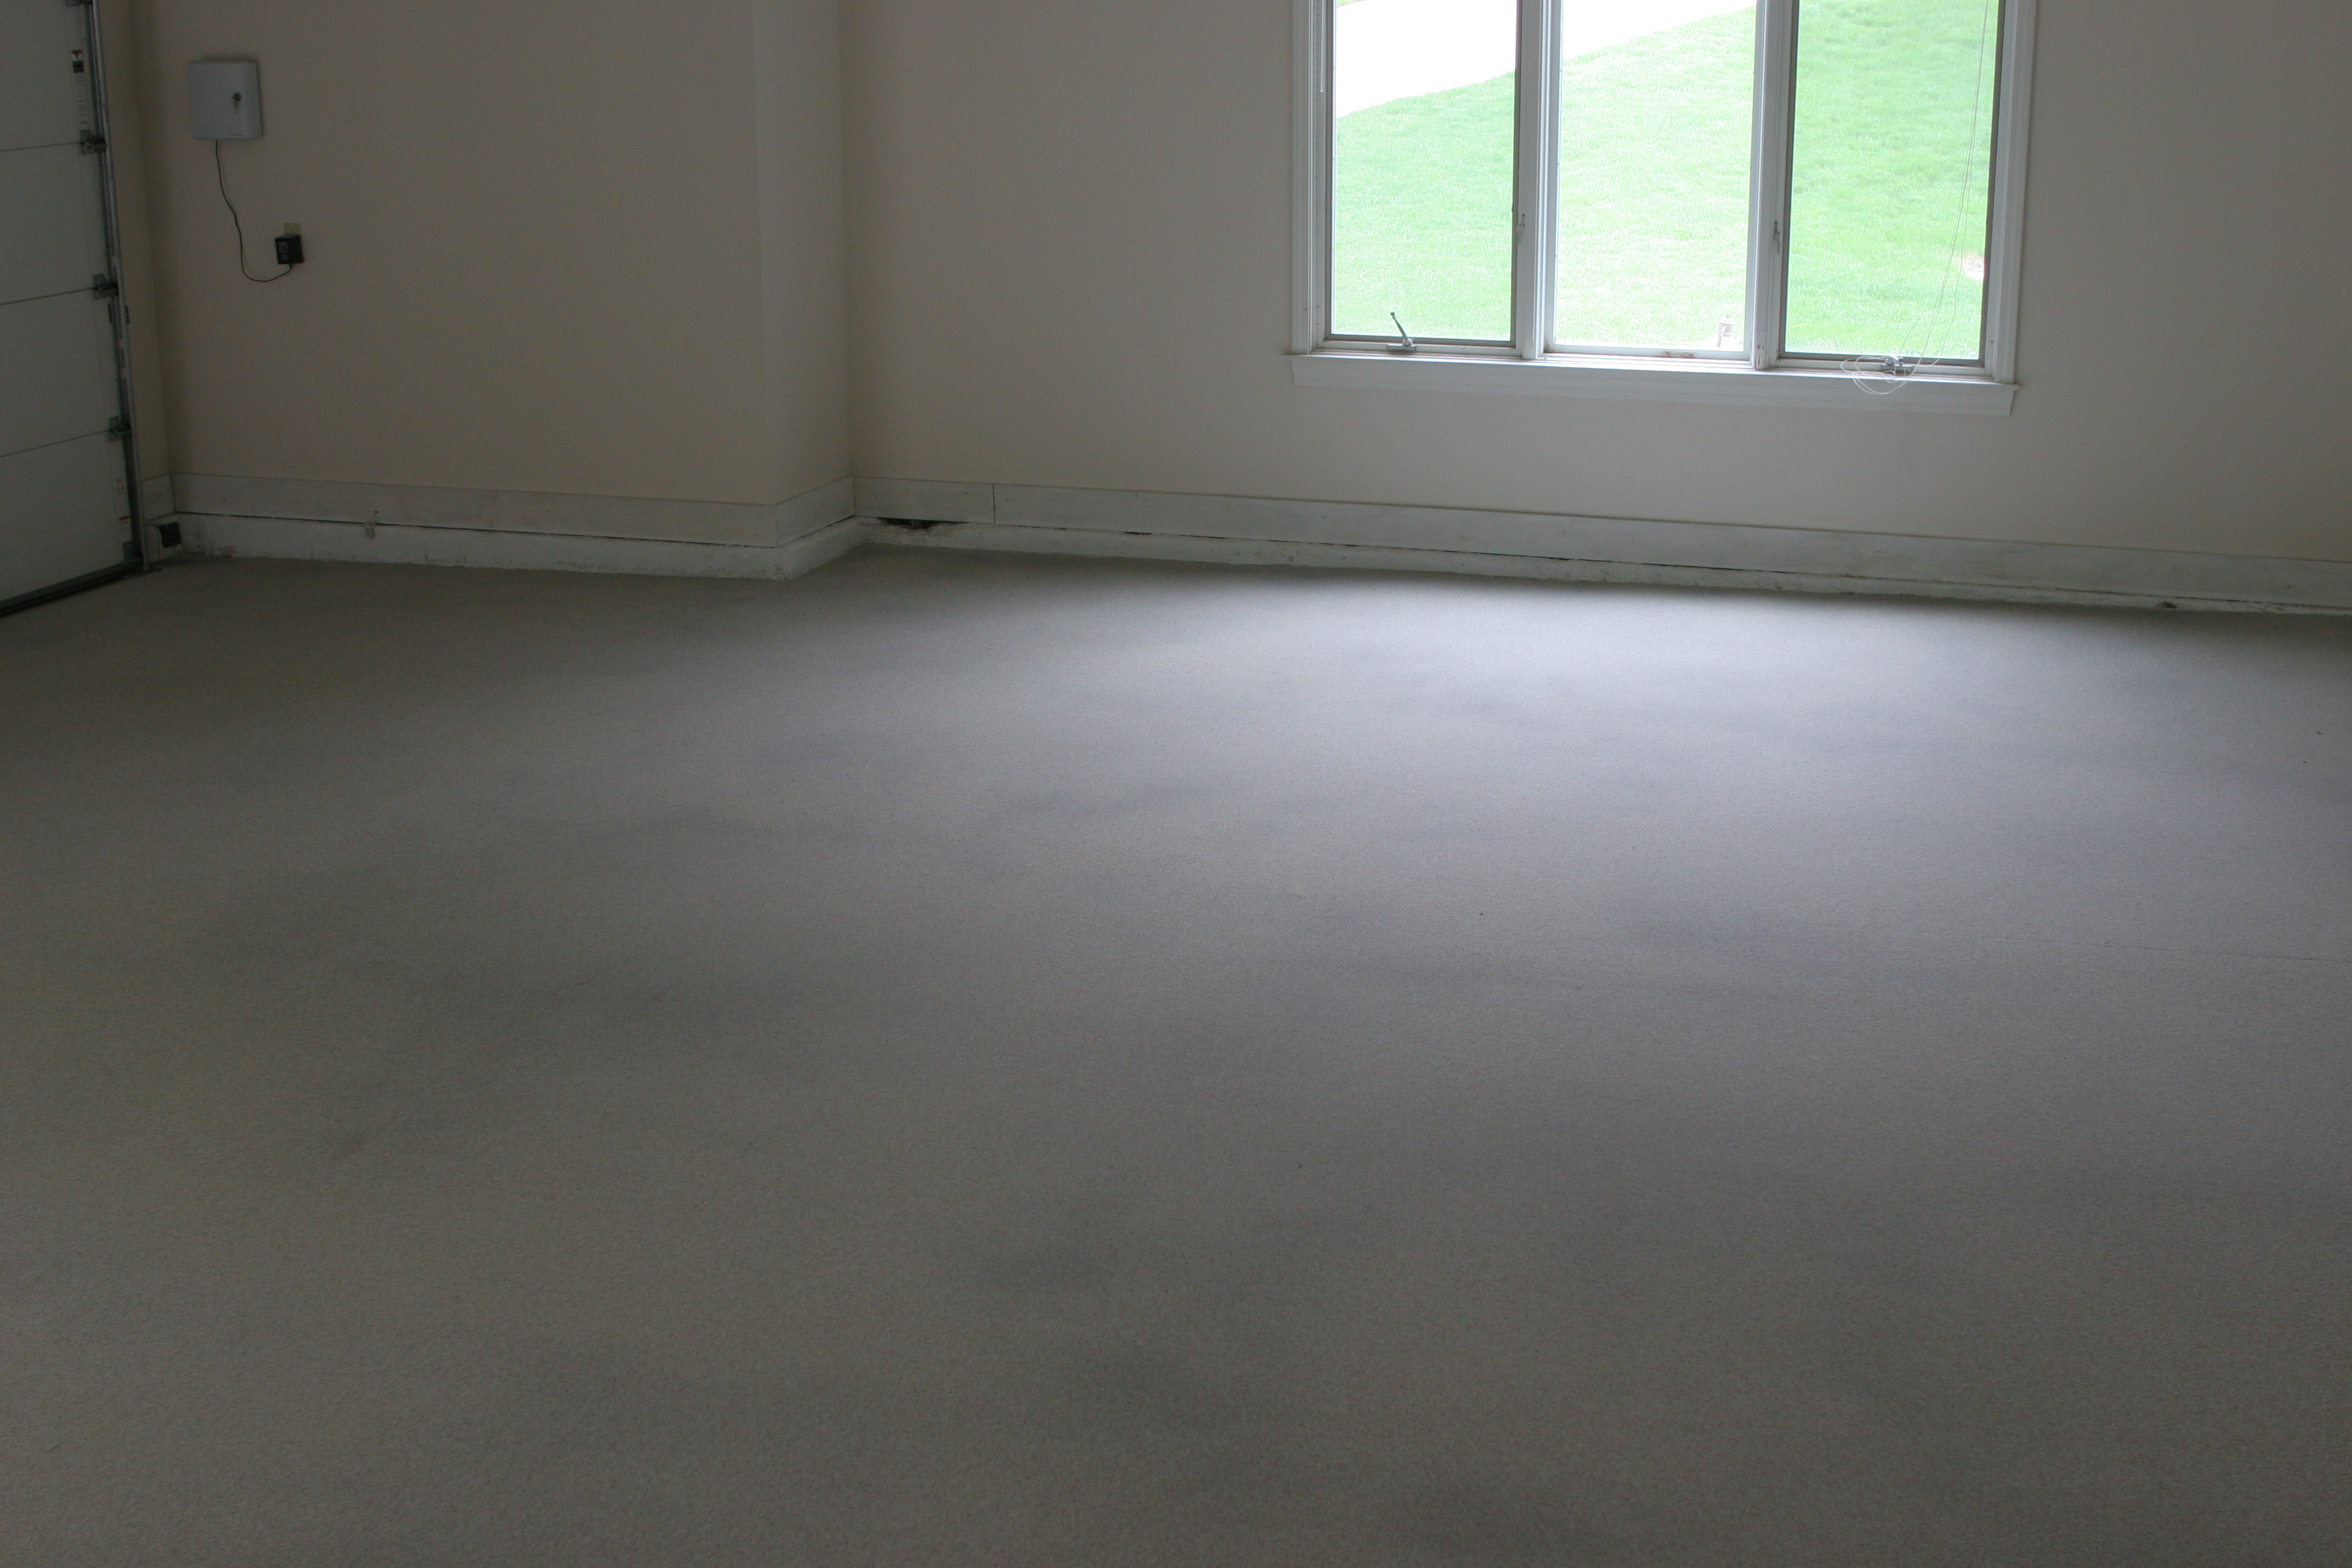
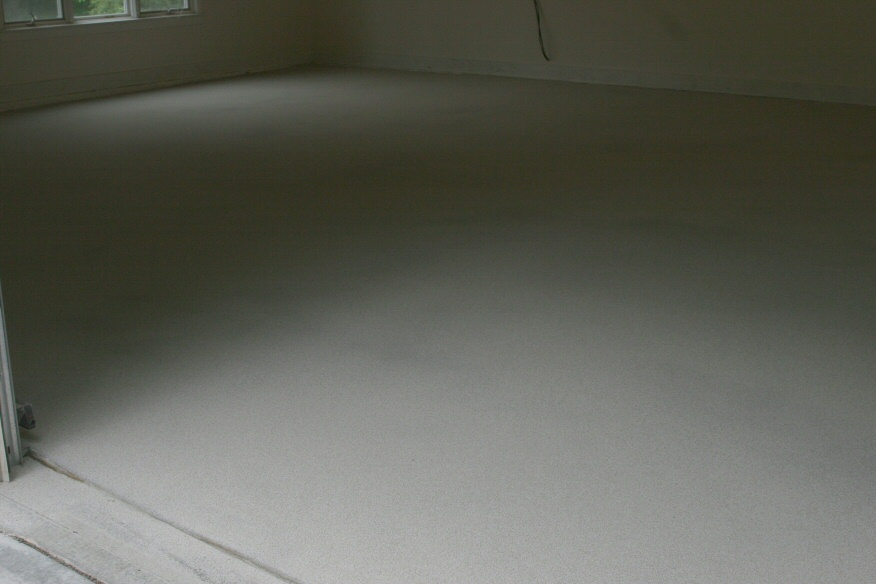
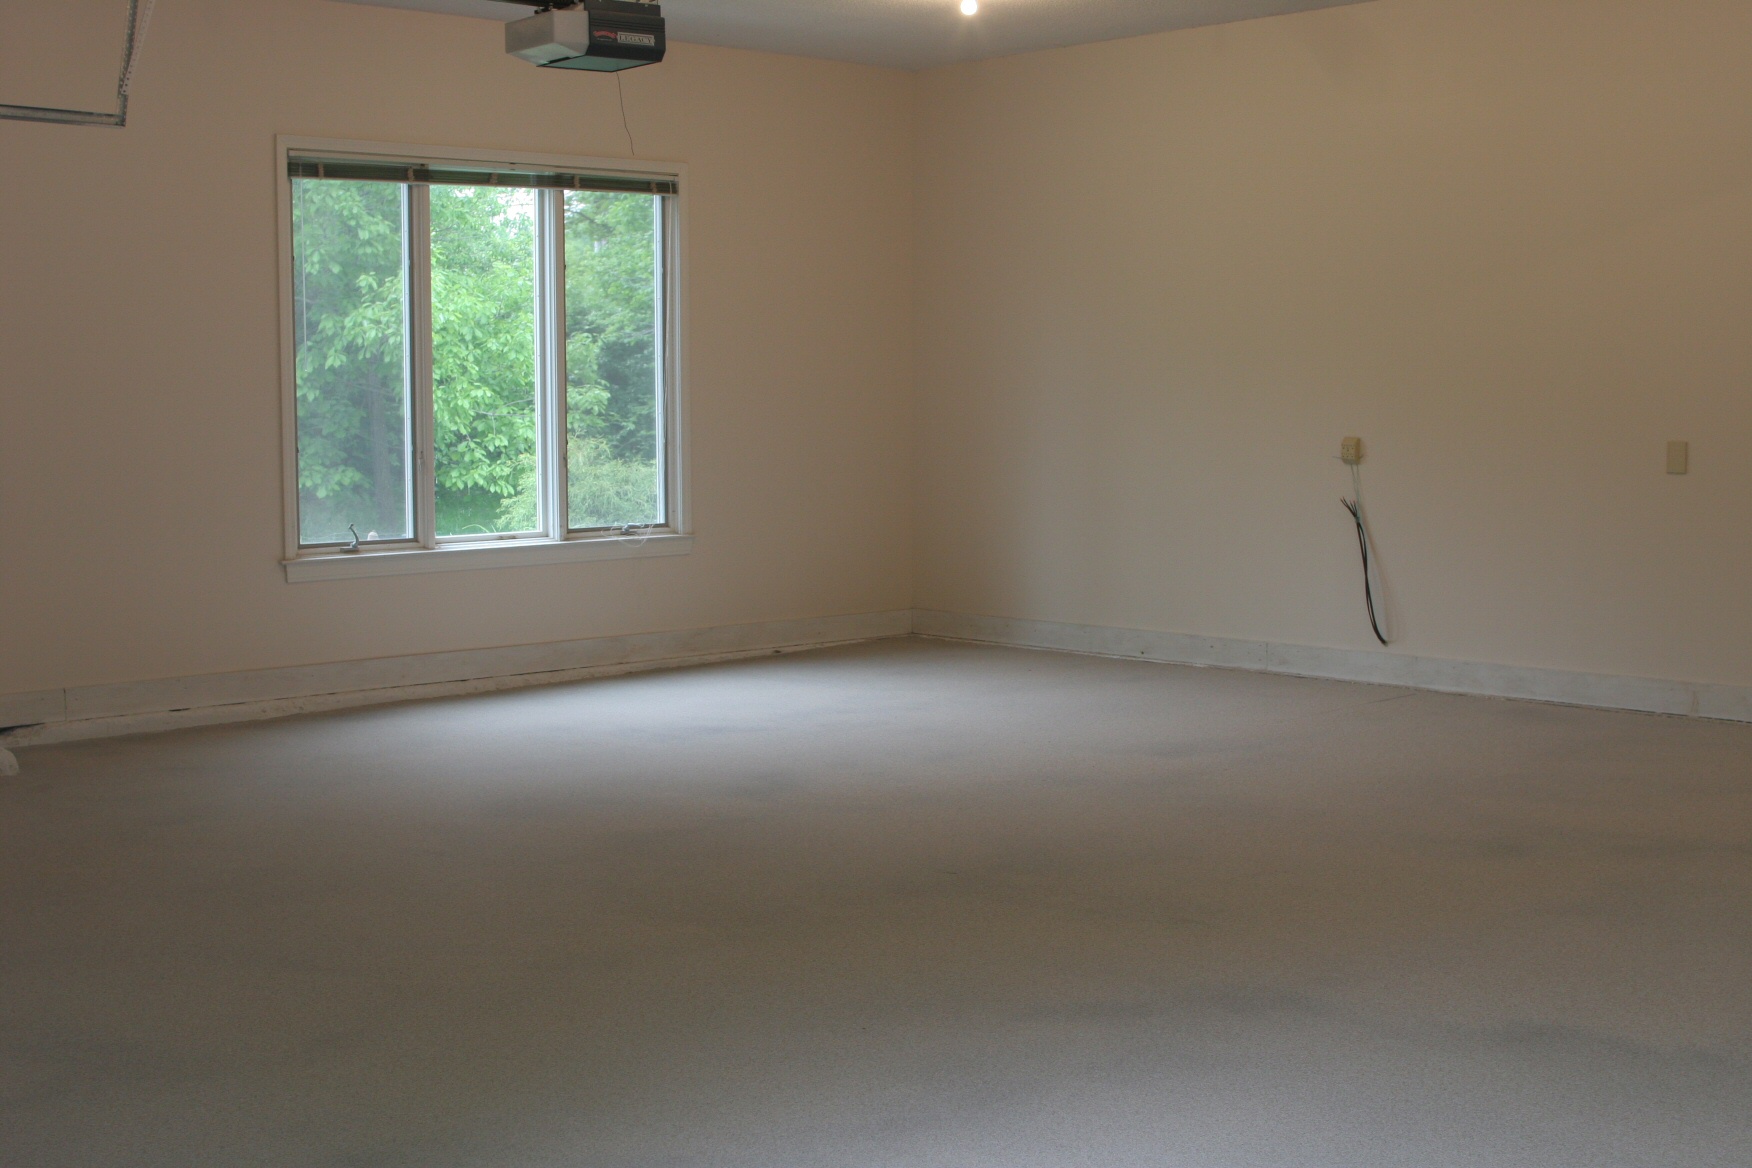
Before and After
The best "before and after" photos I could find (where I was lucky
enough to have taken photos from about the same place):
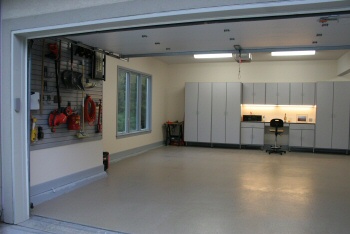
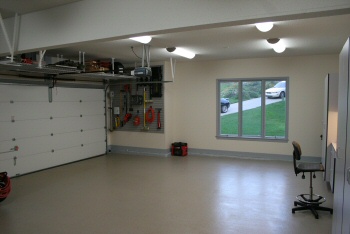
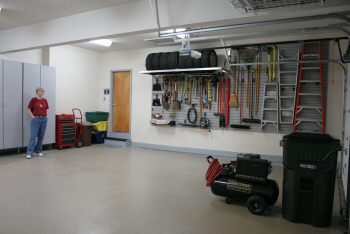
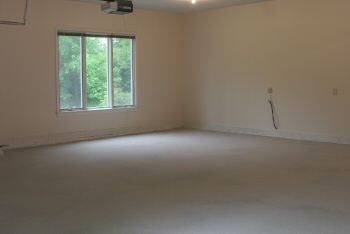
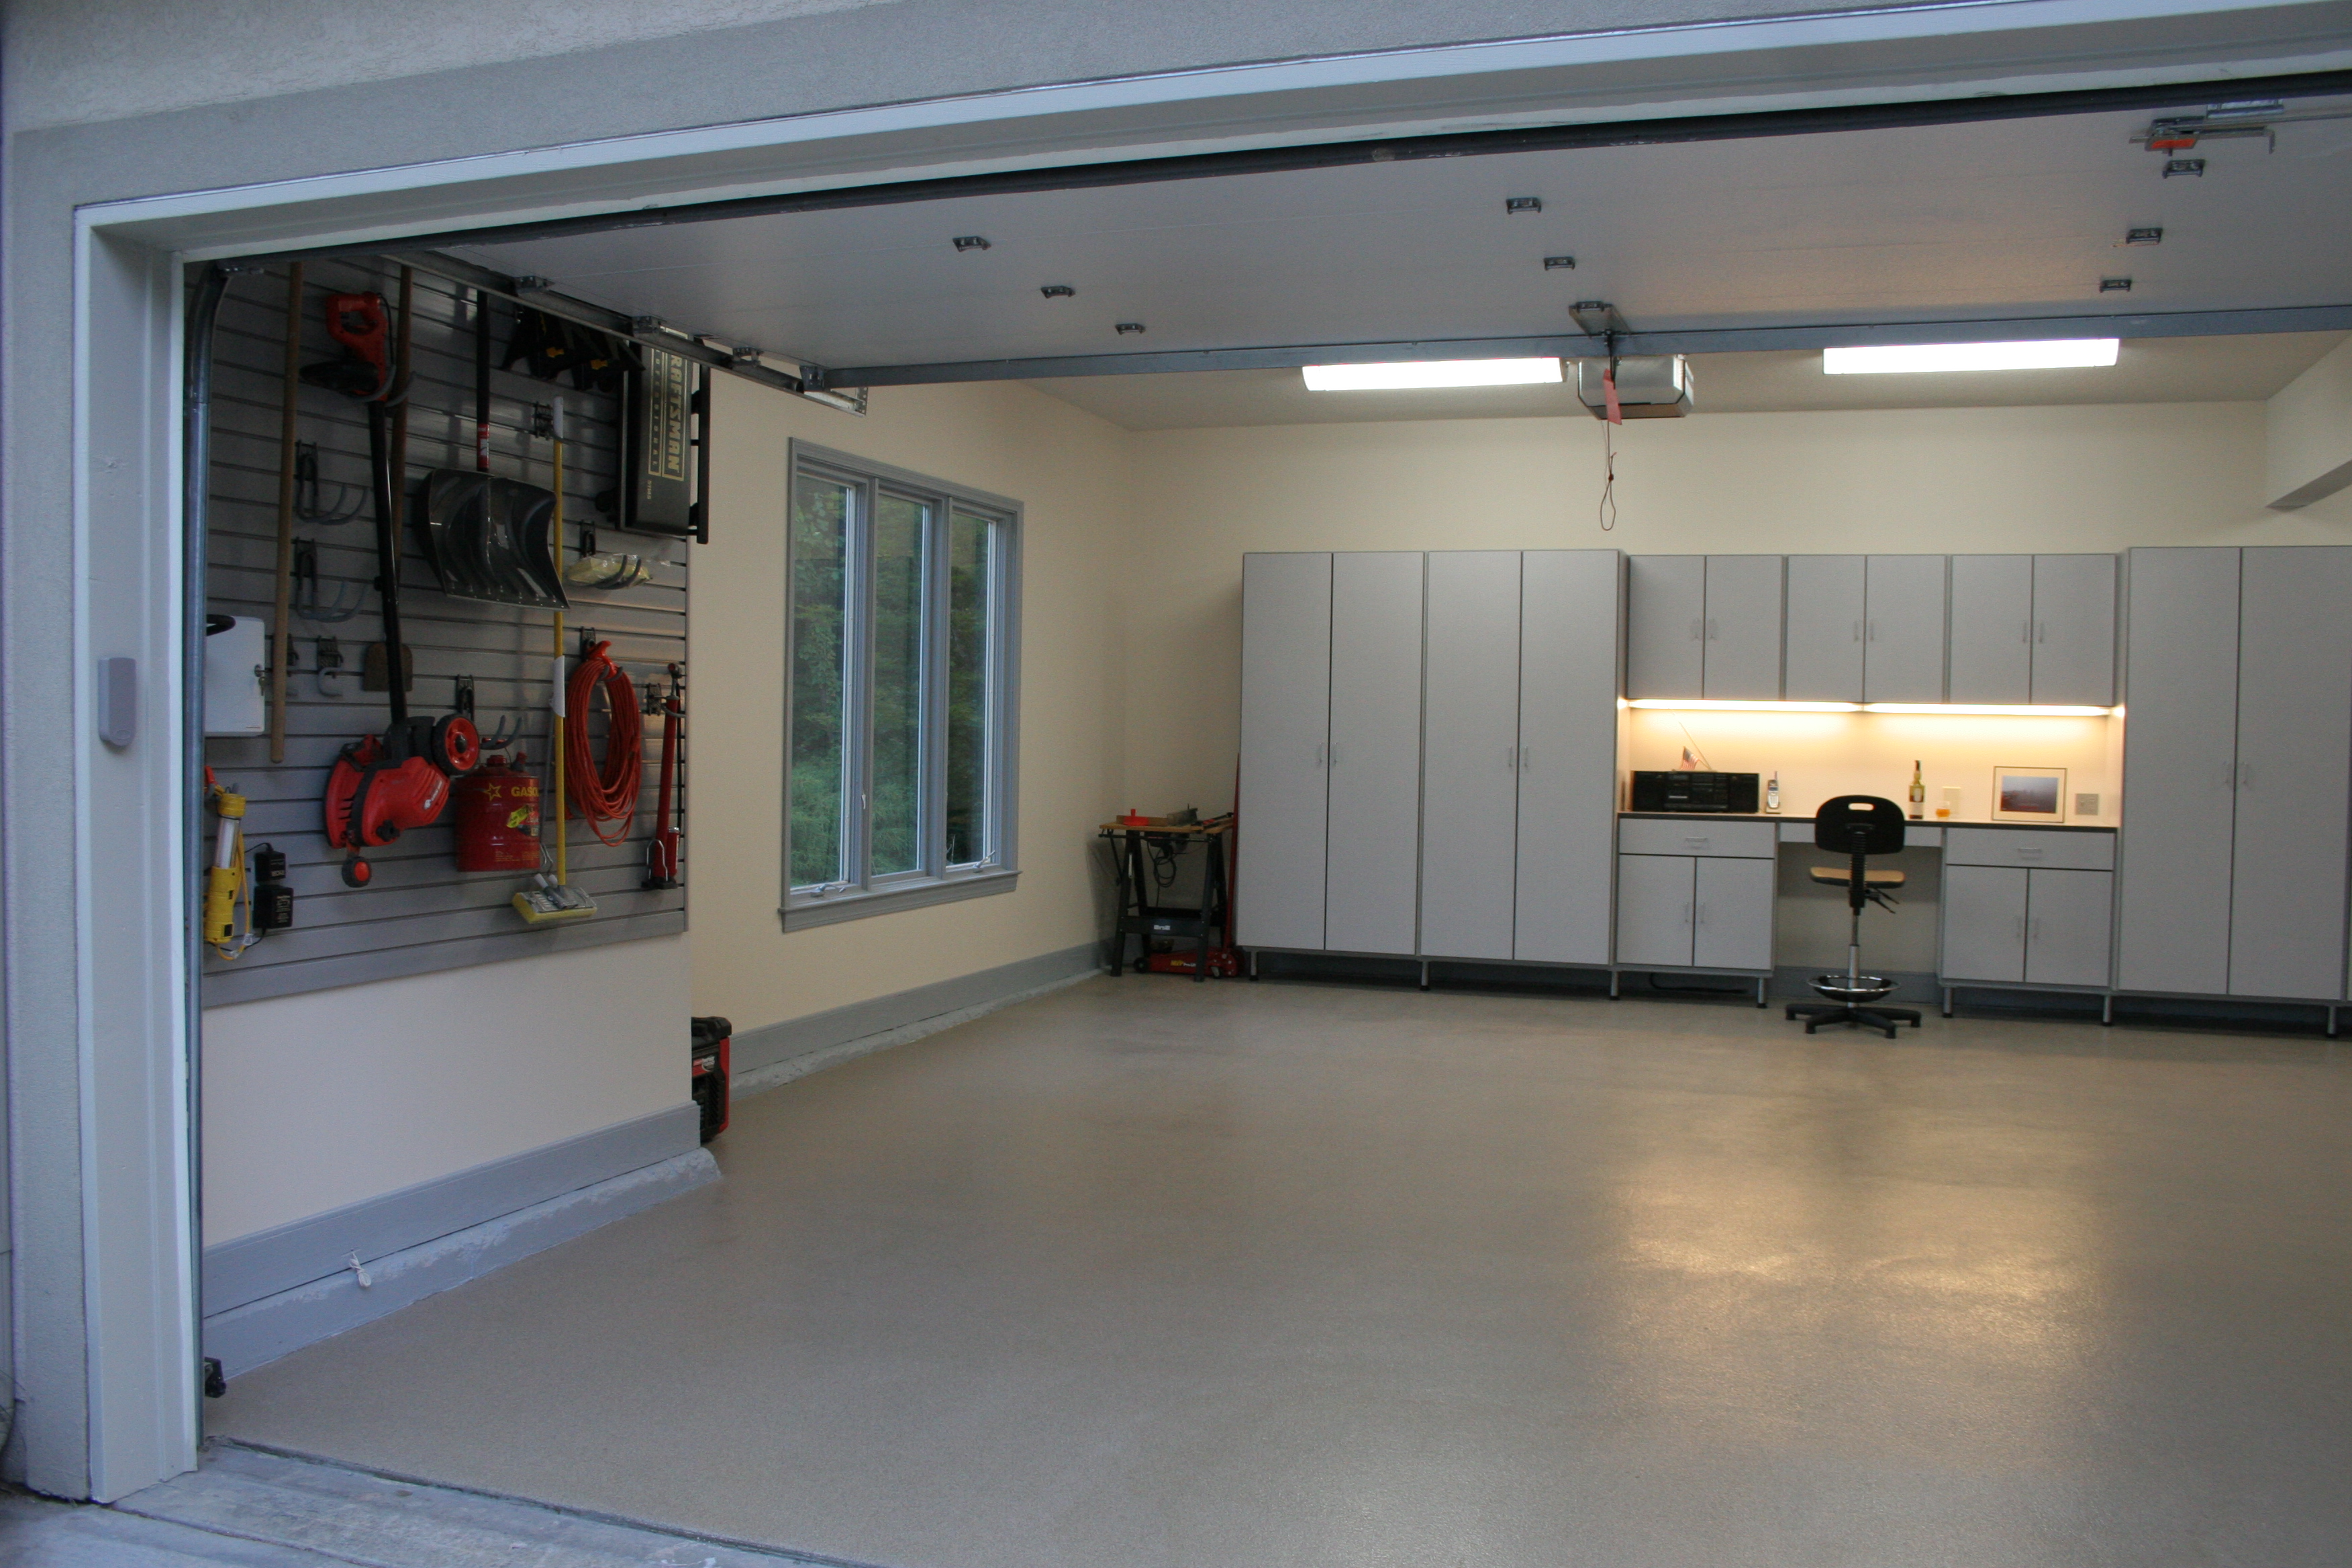
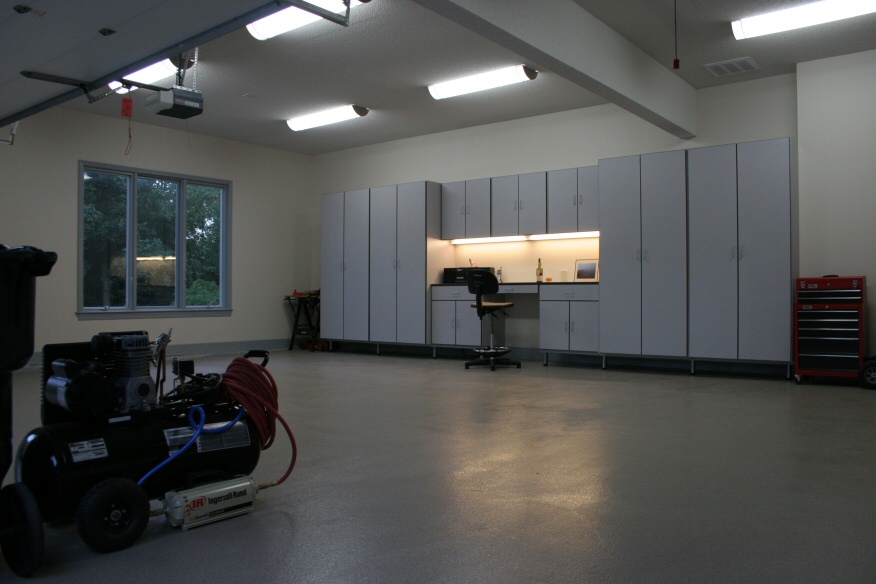
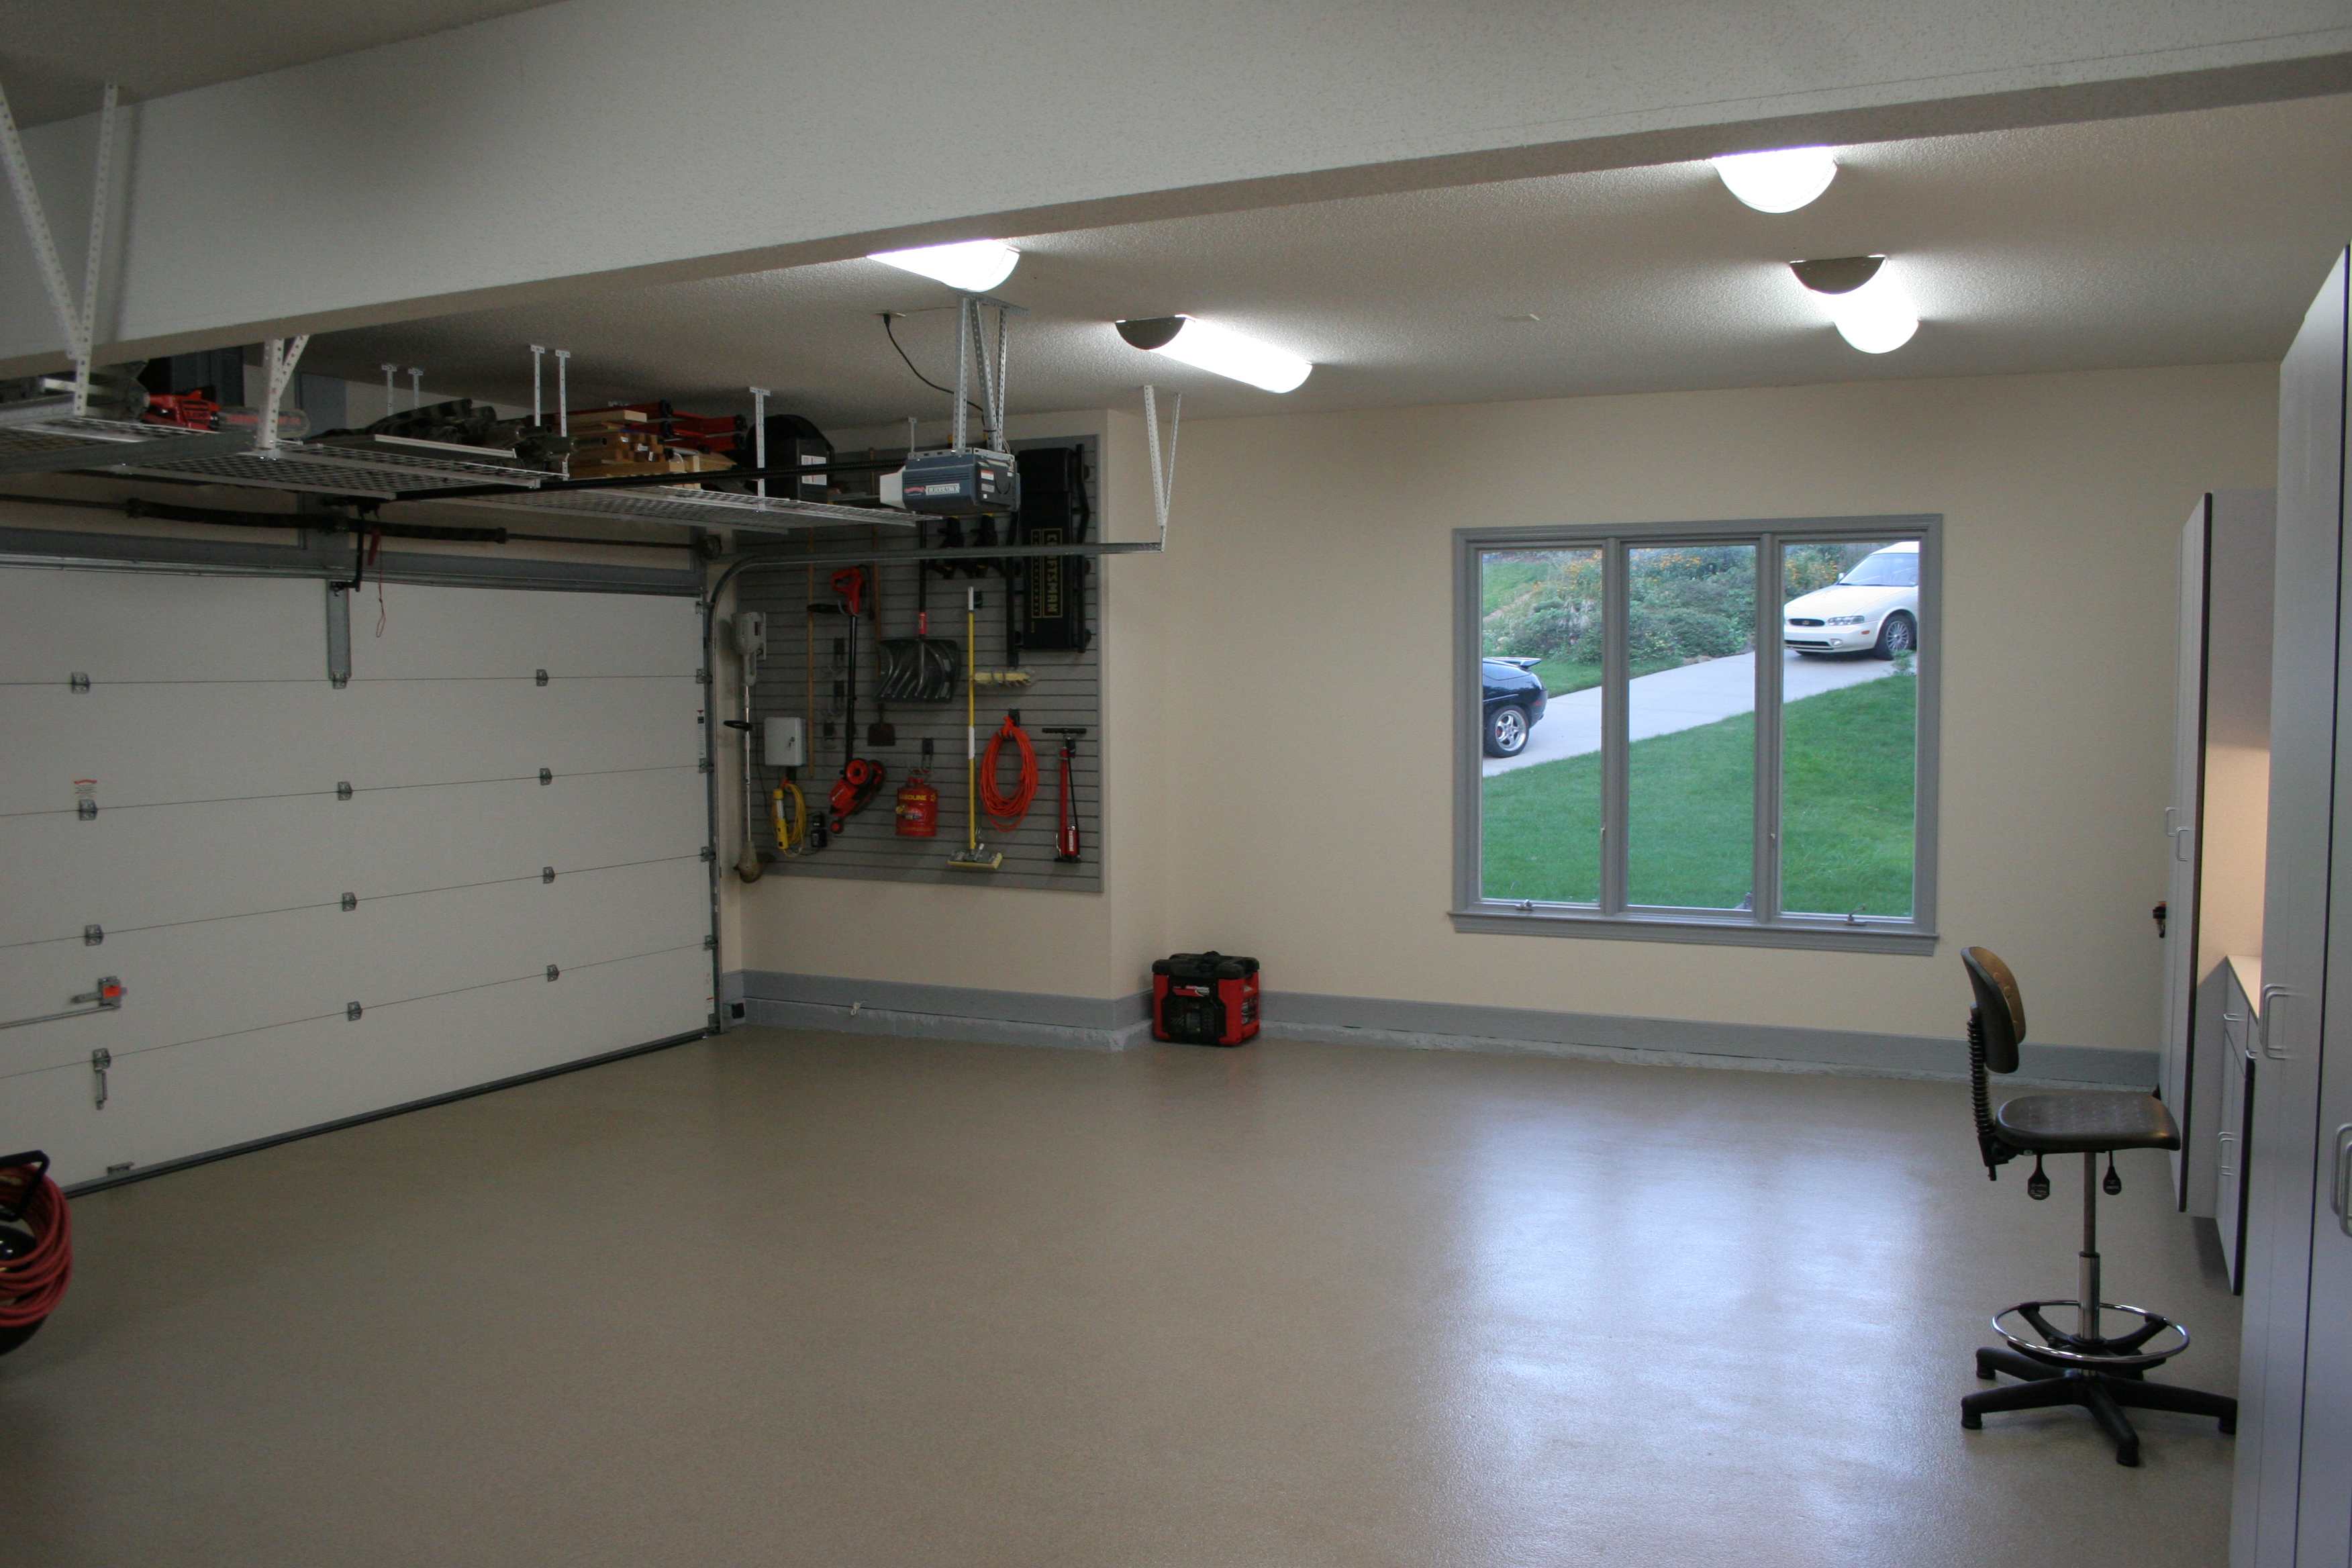
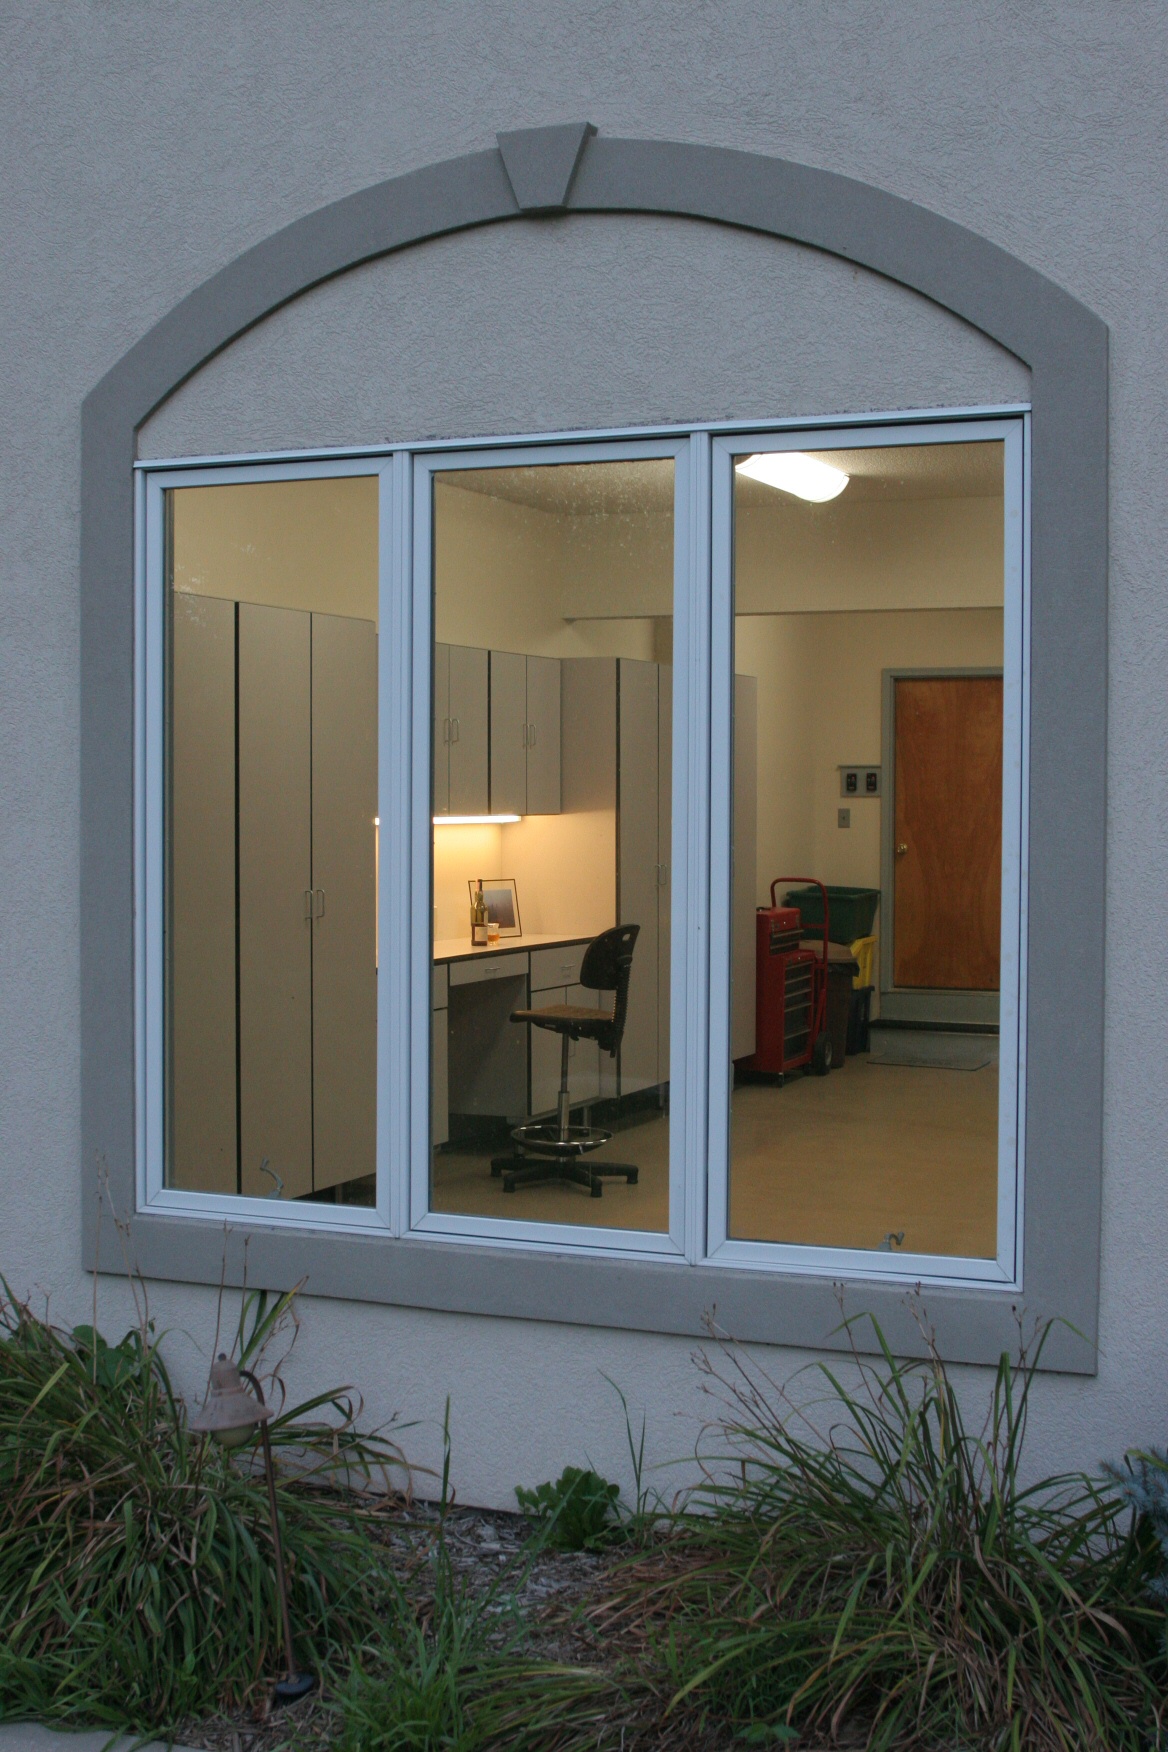
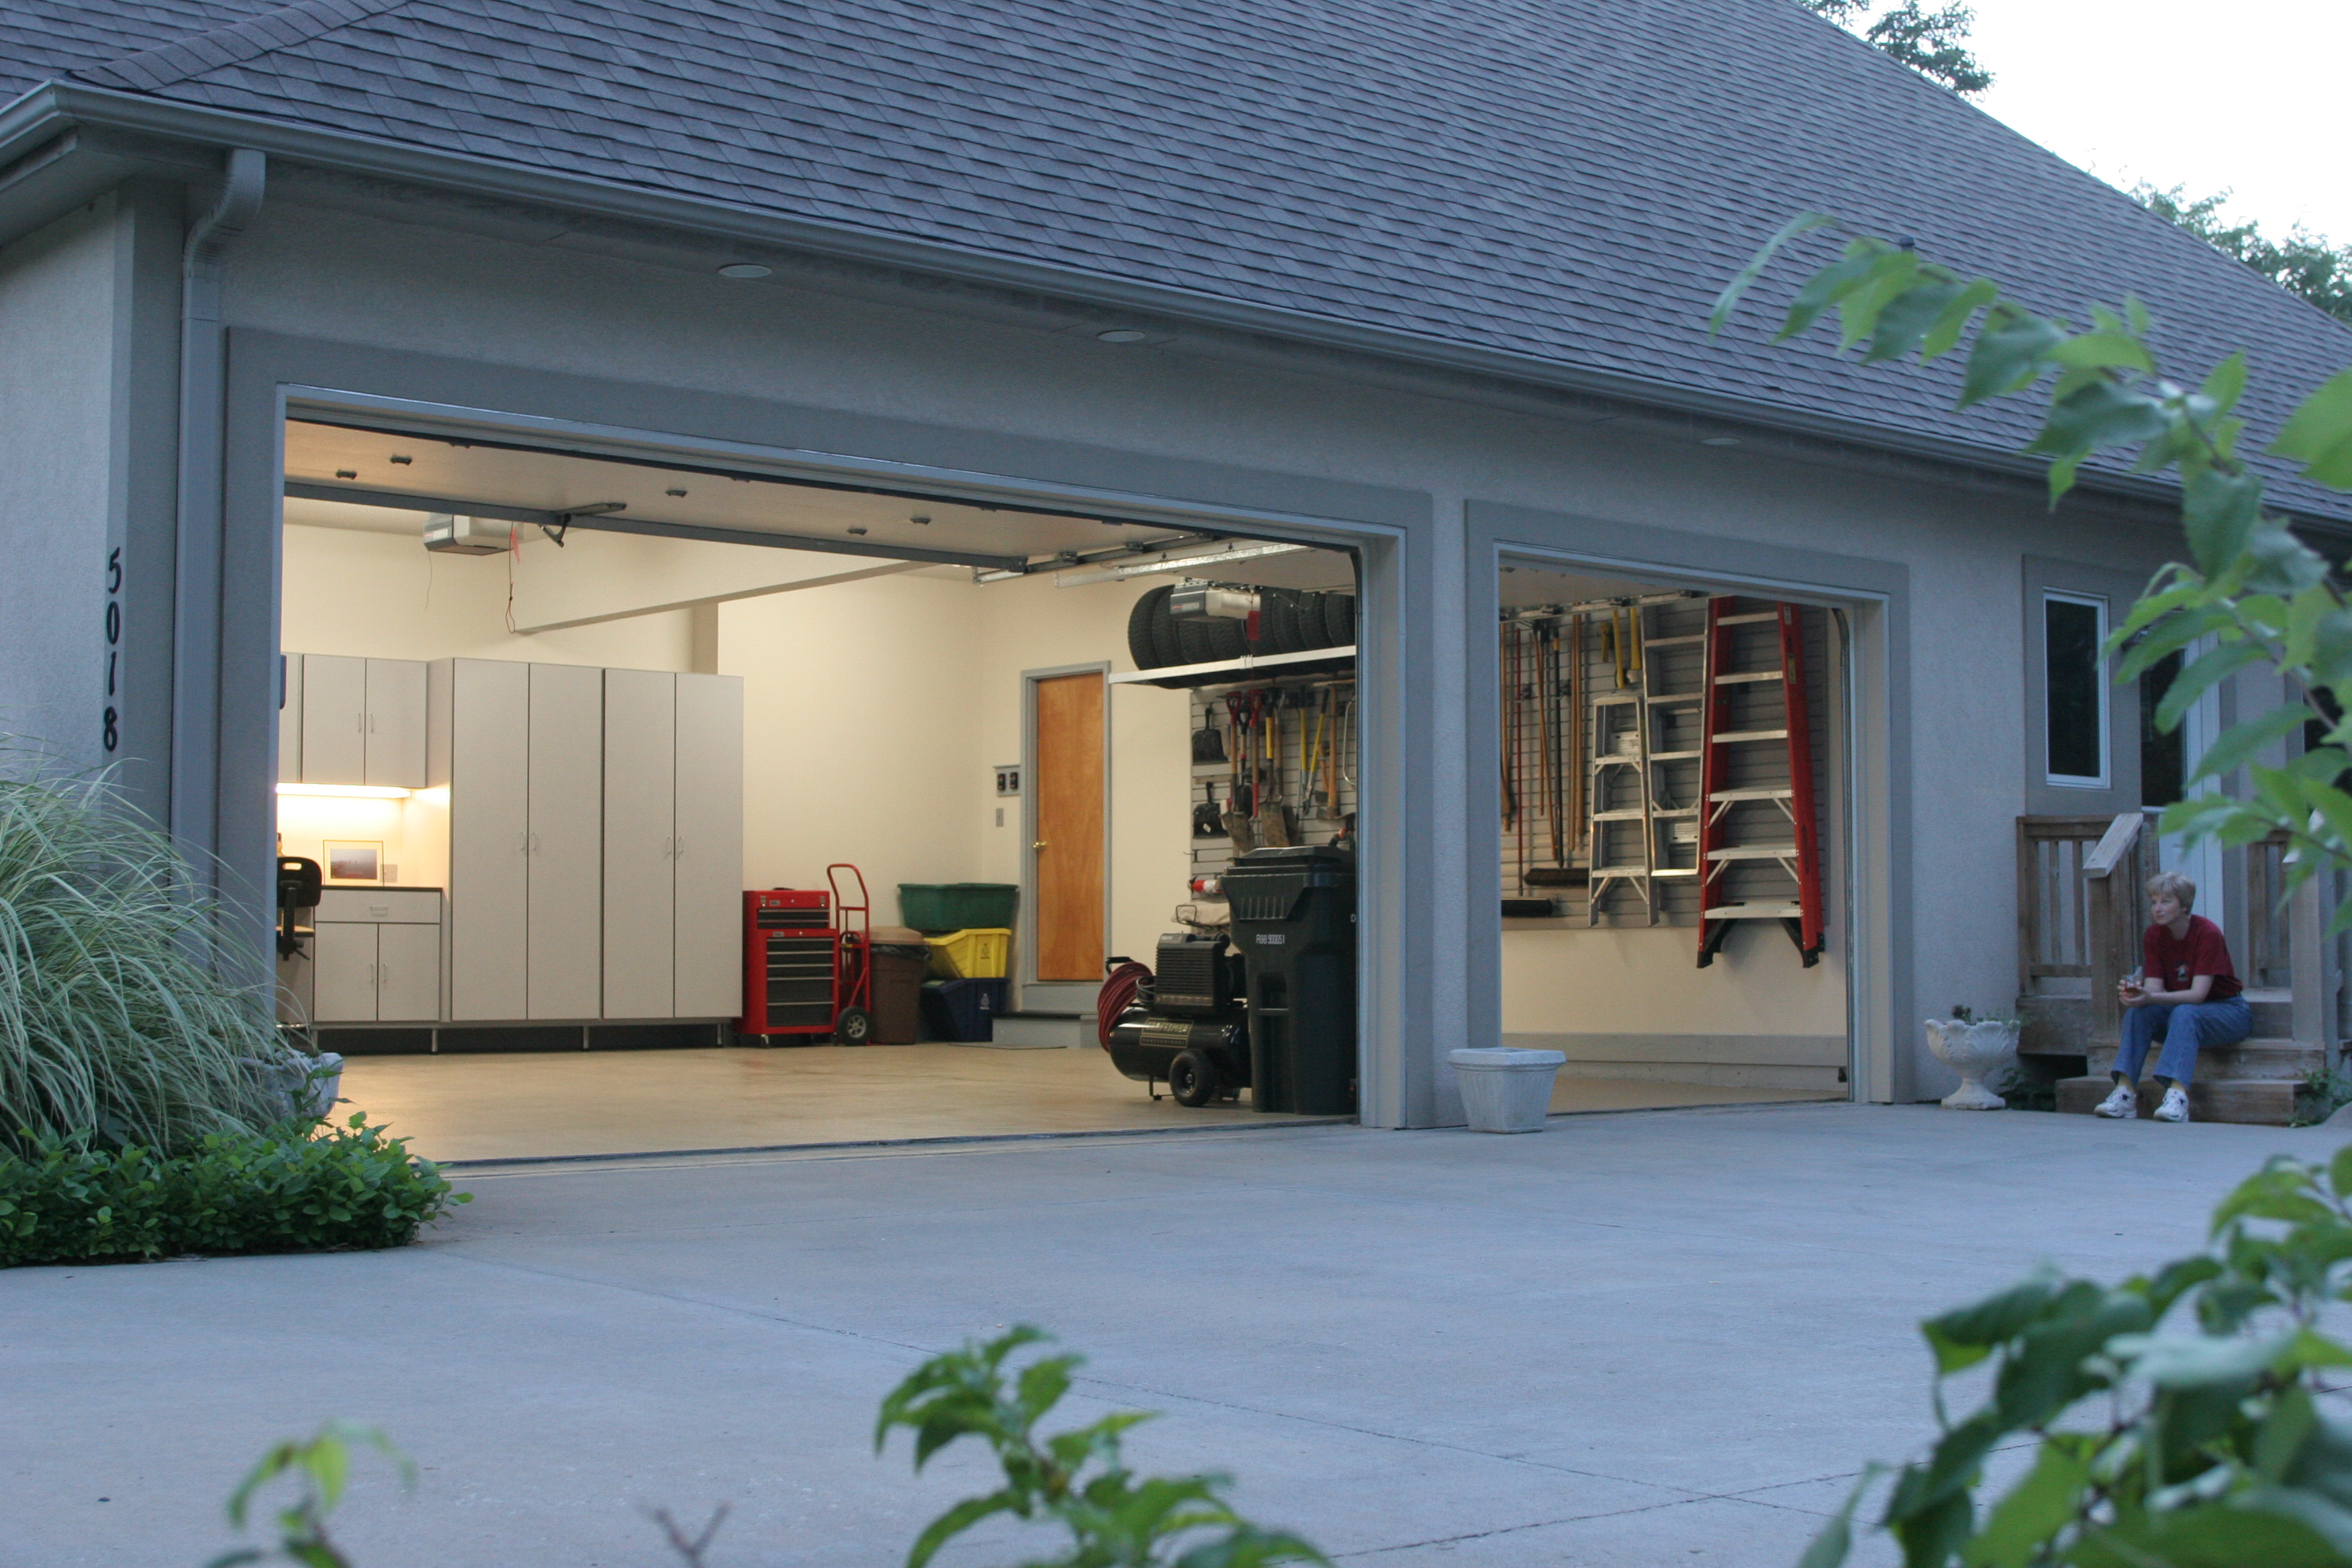
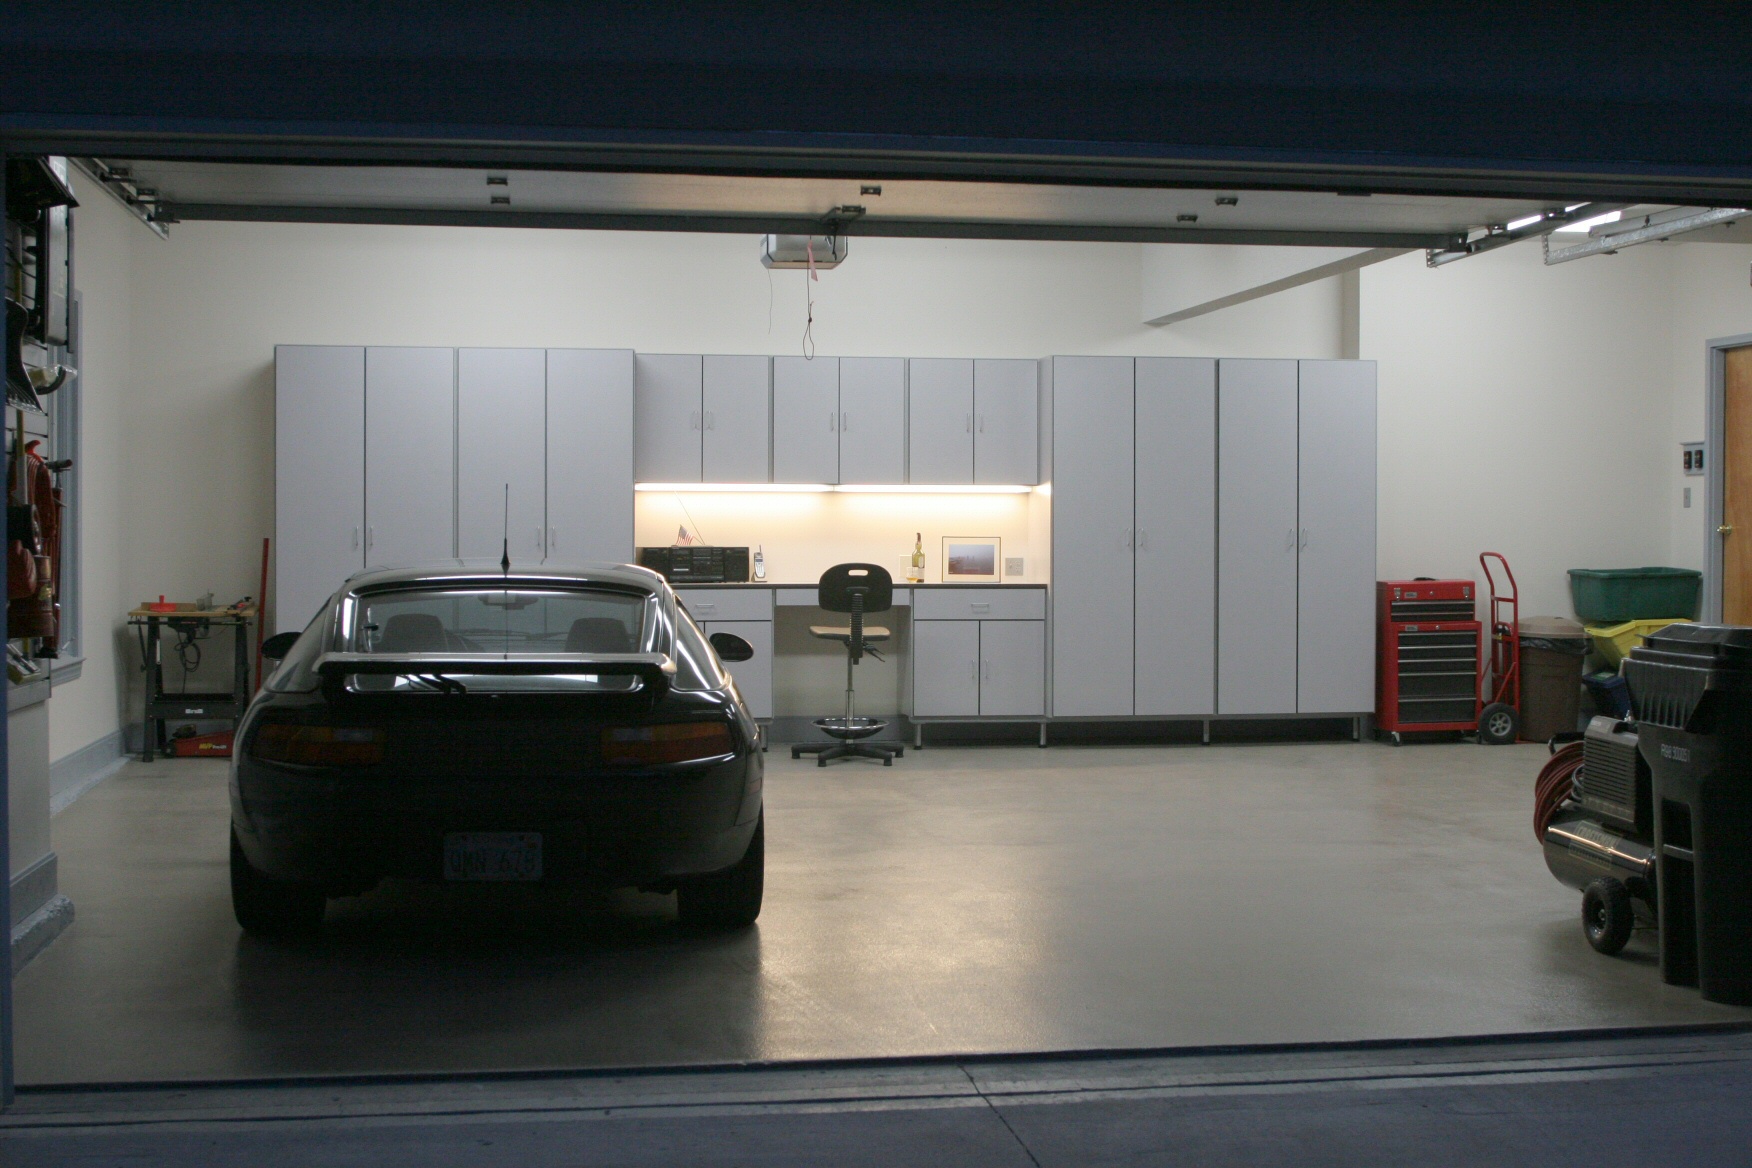
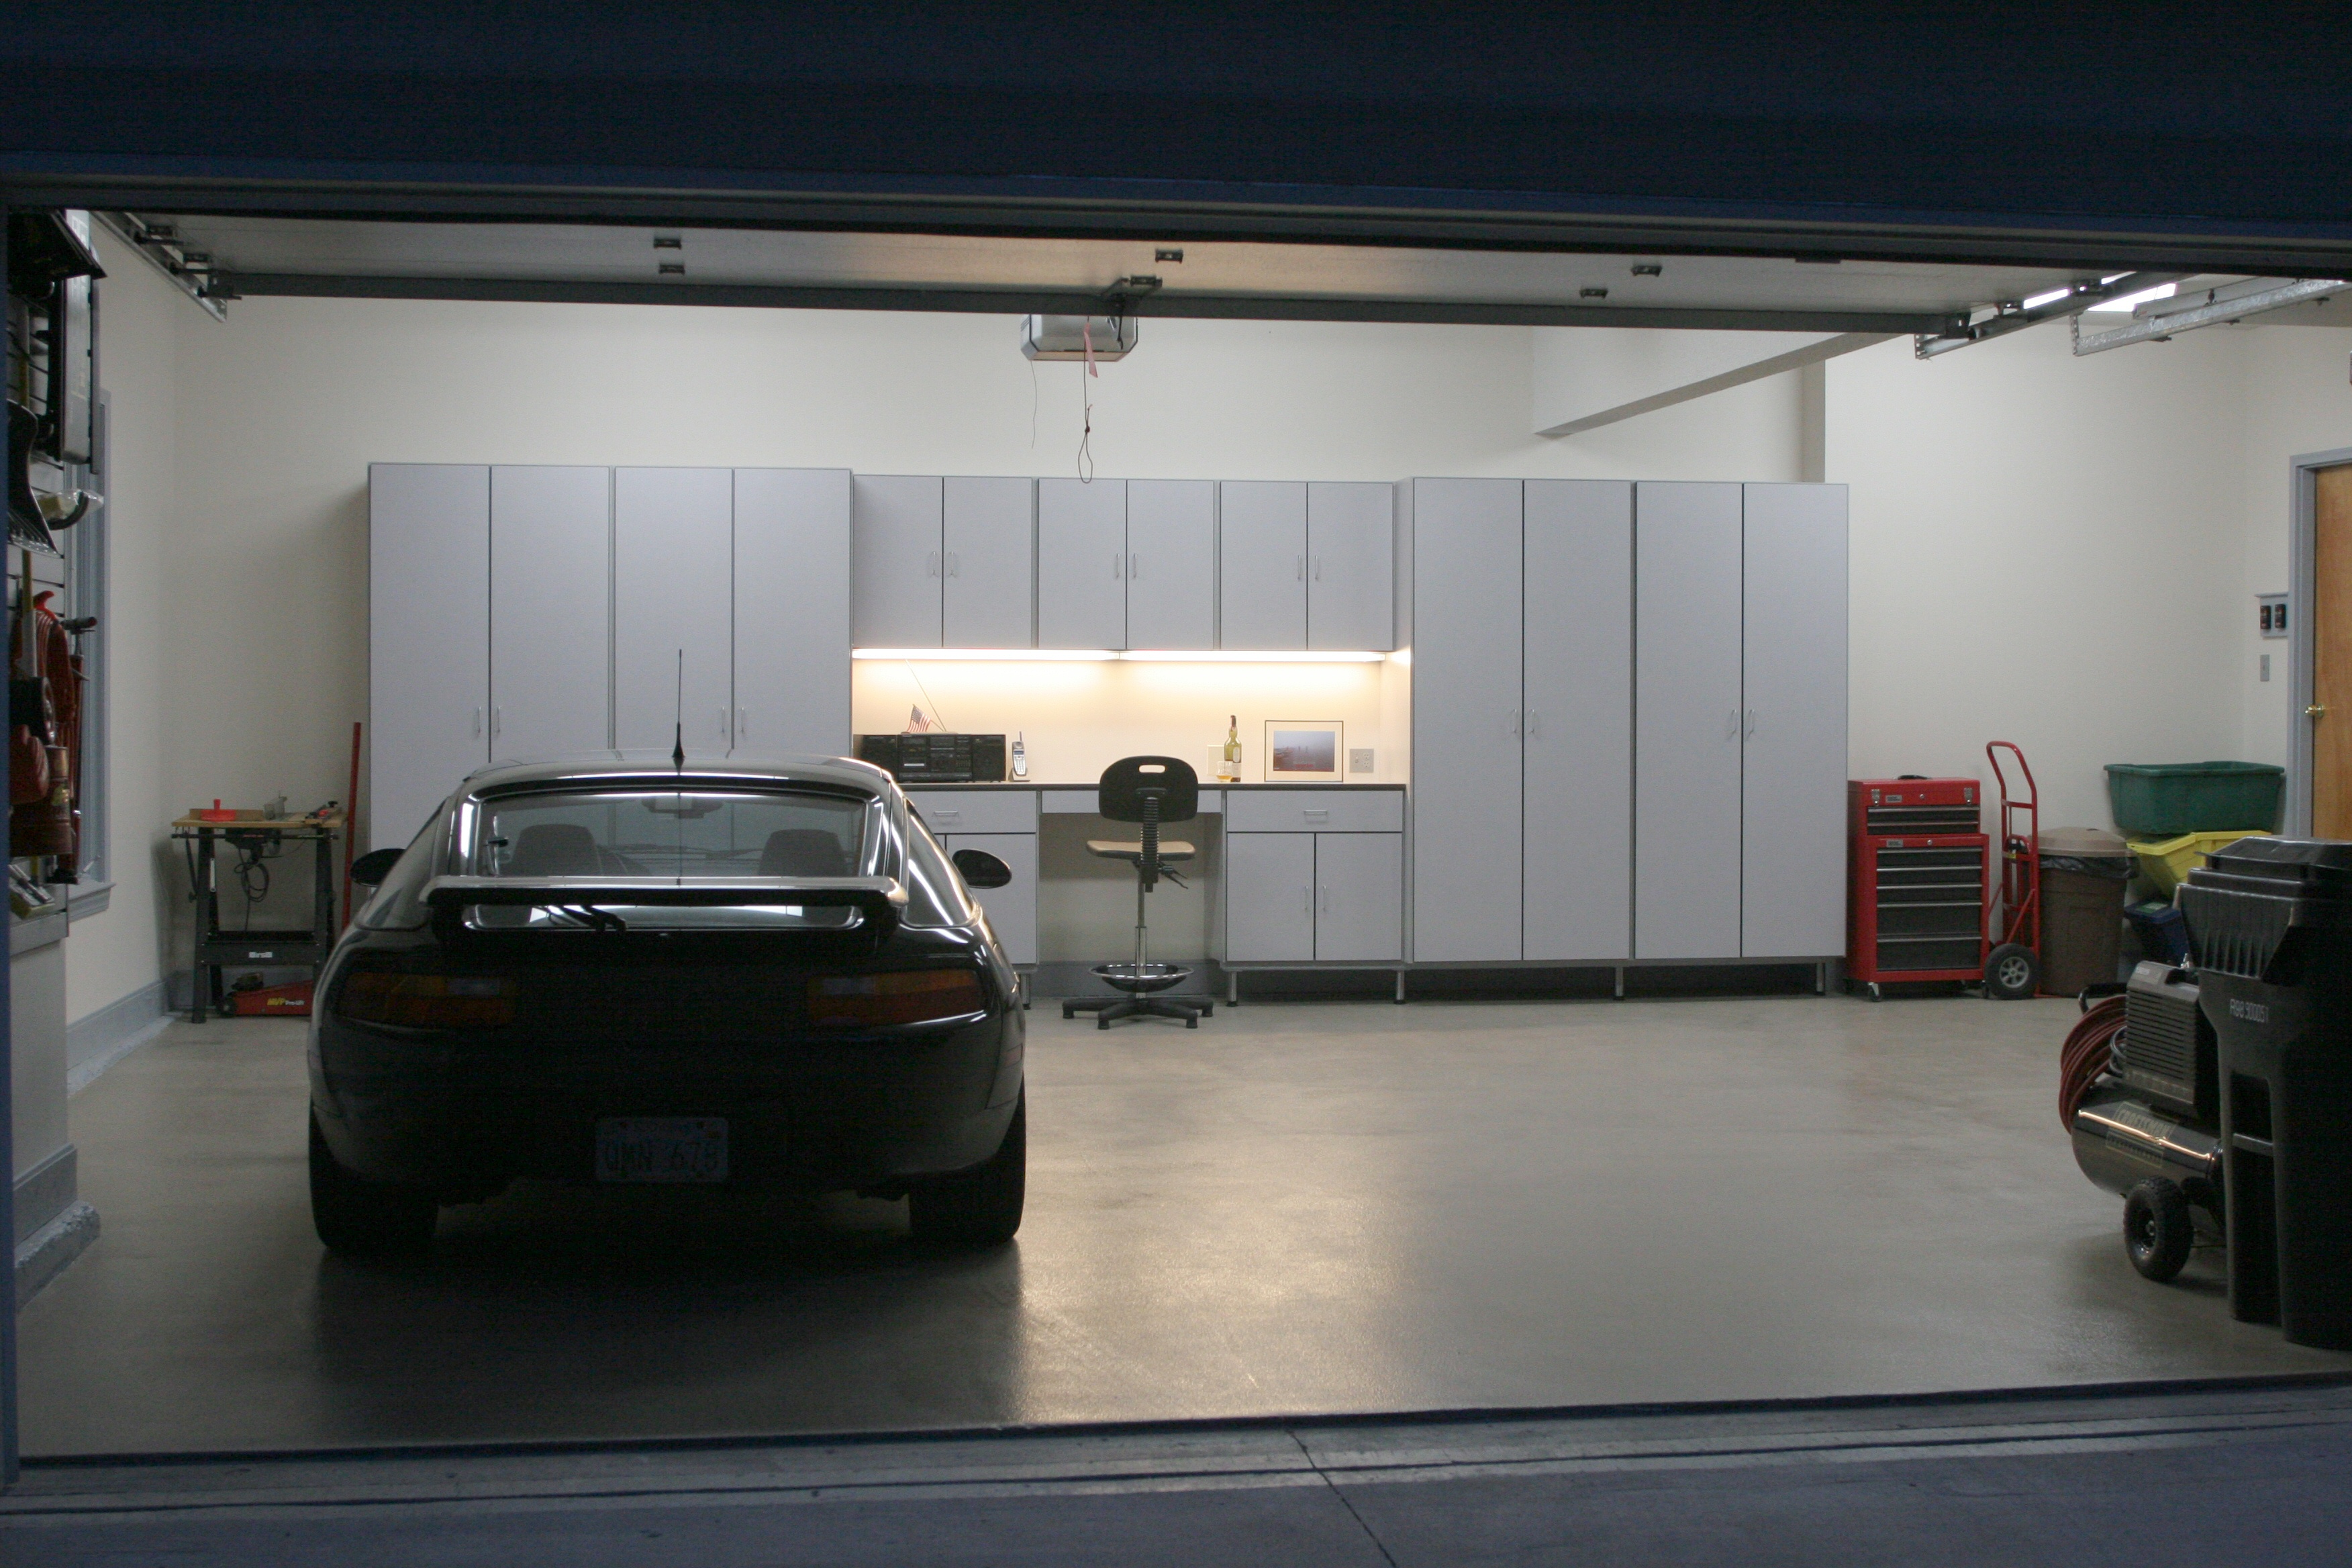
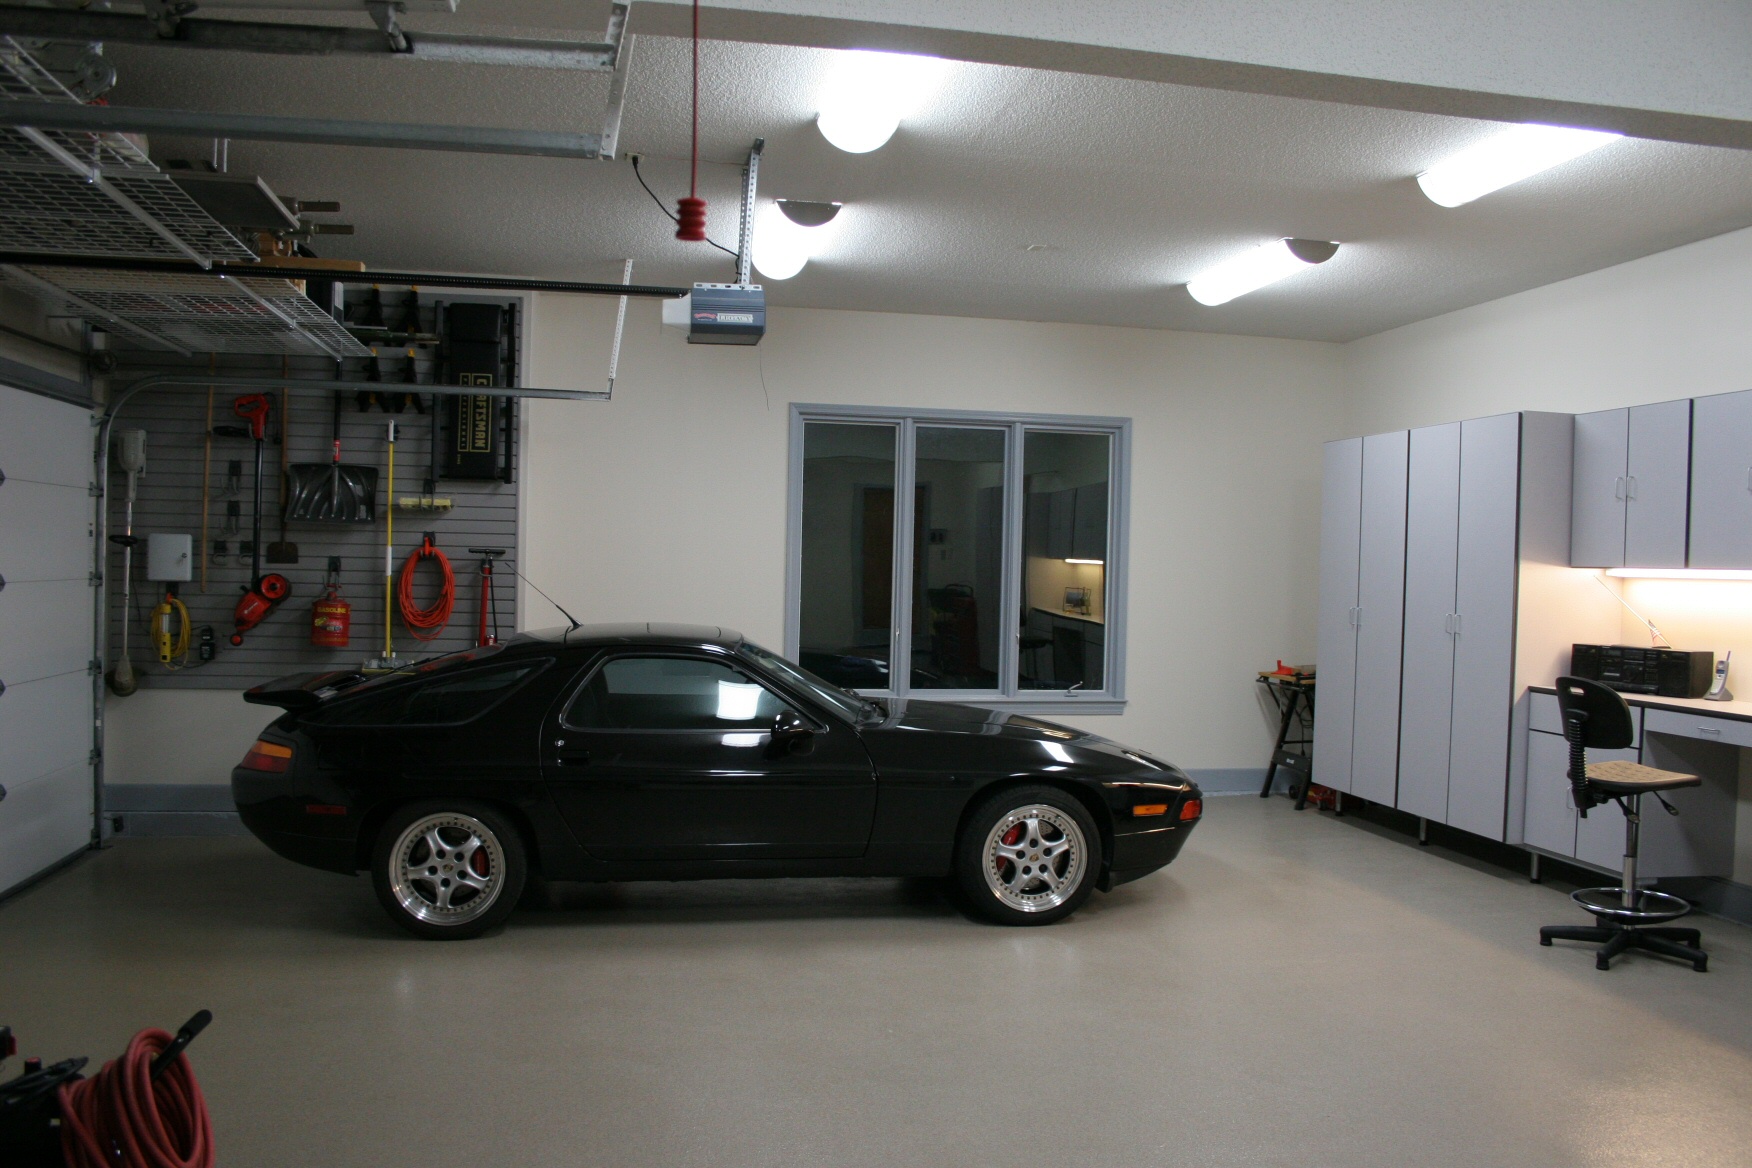
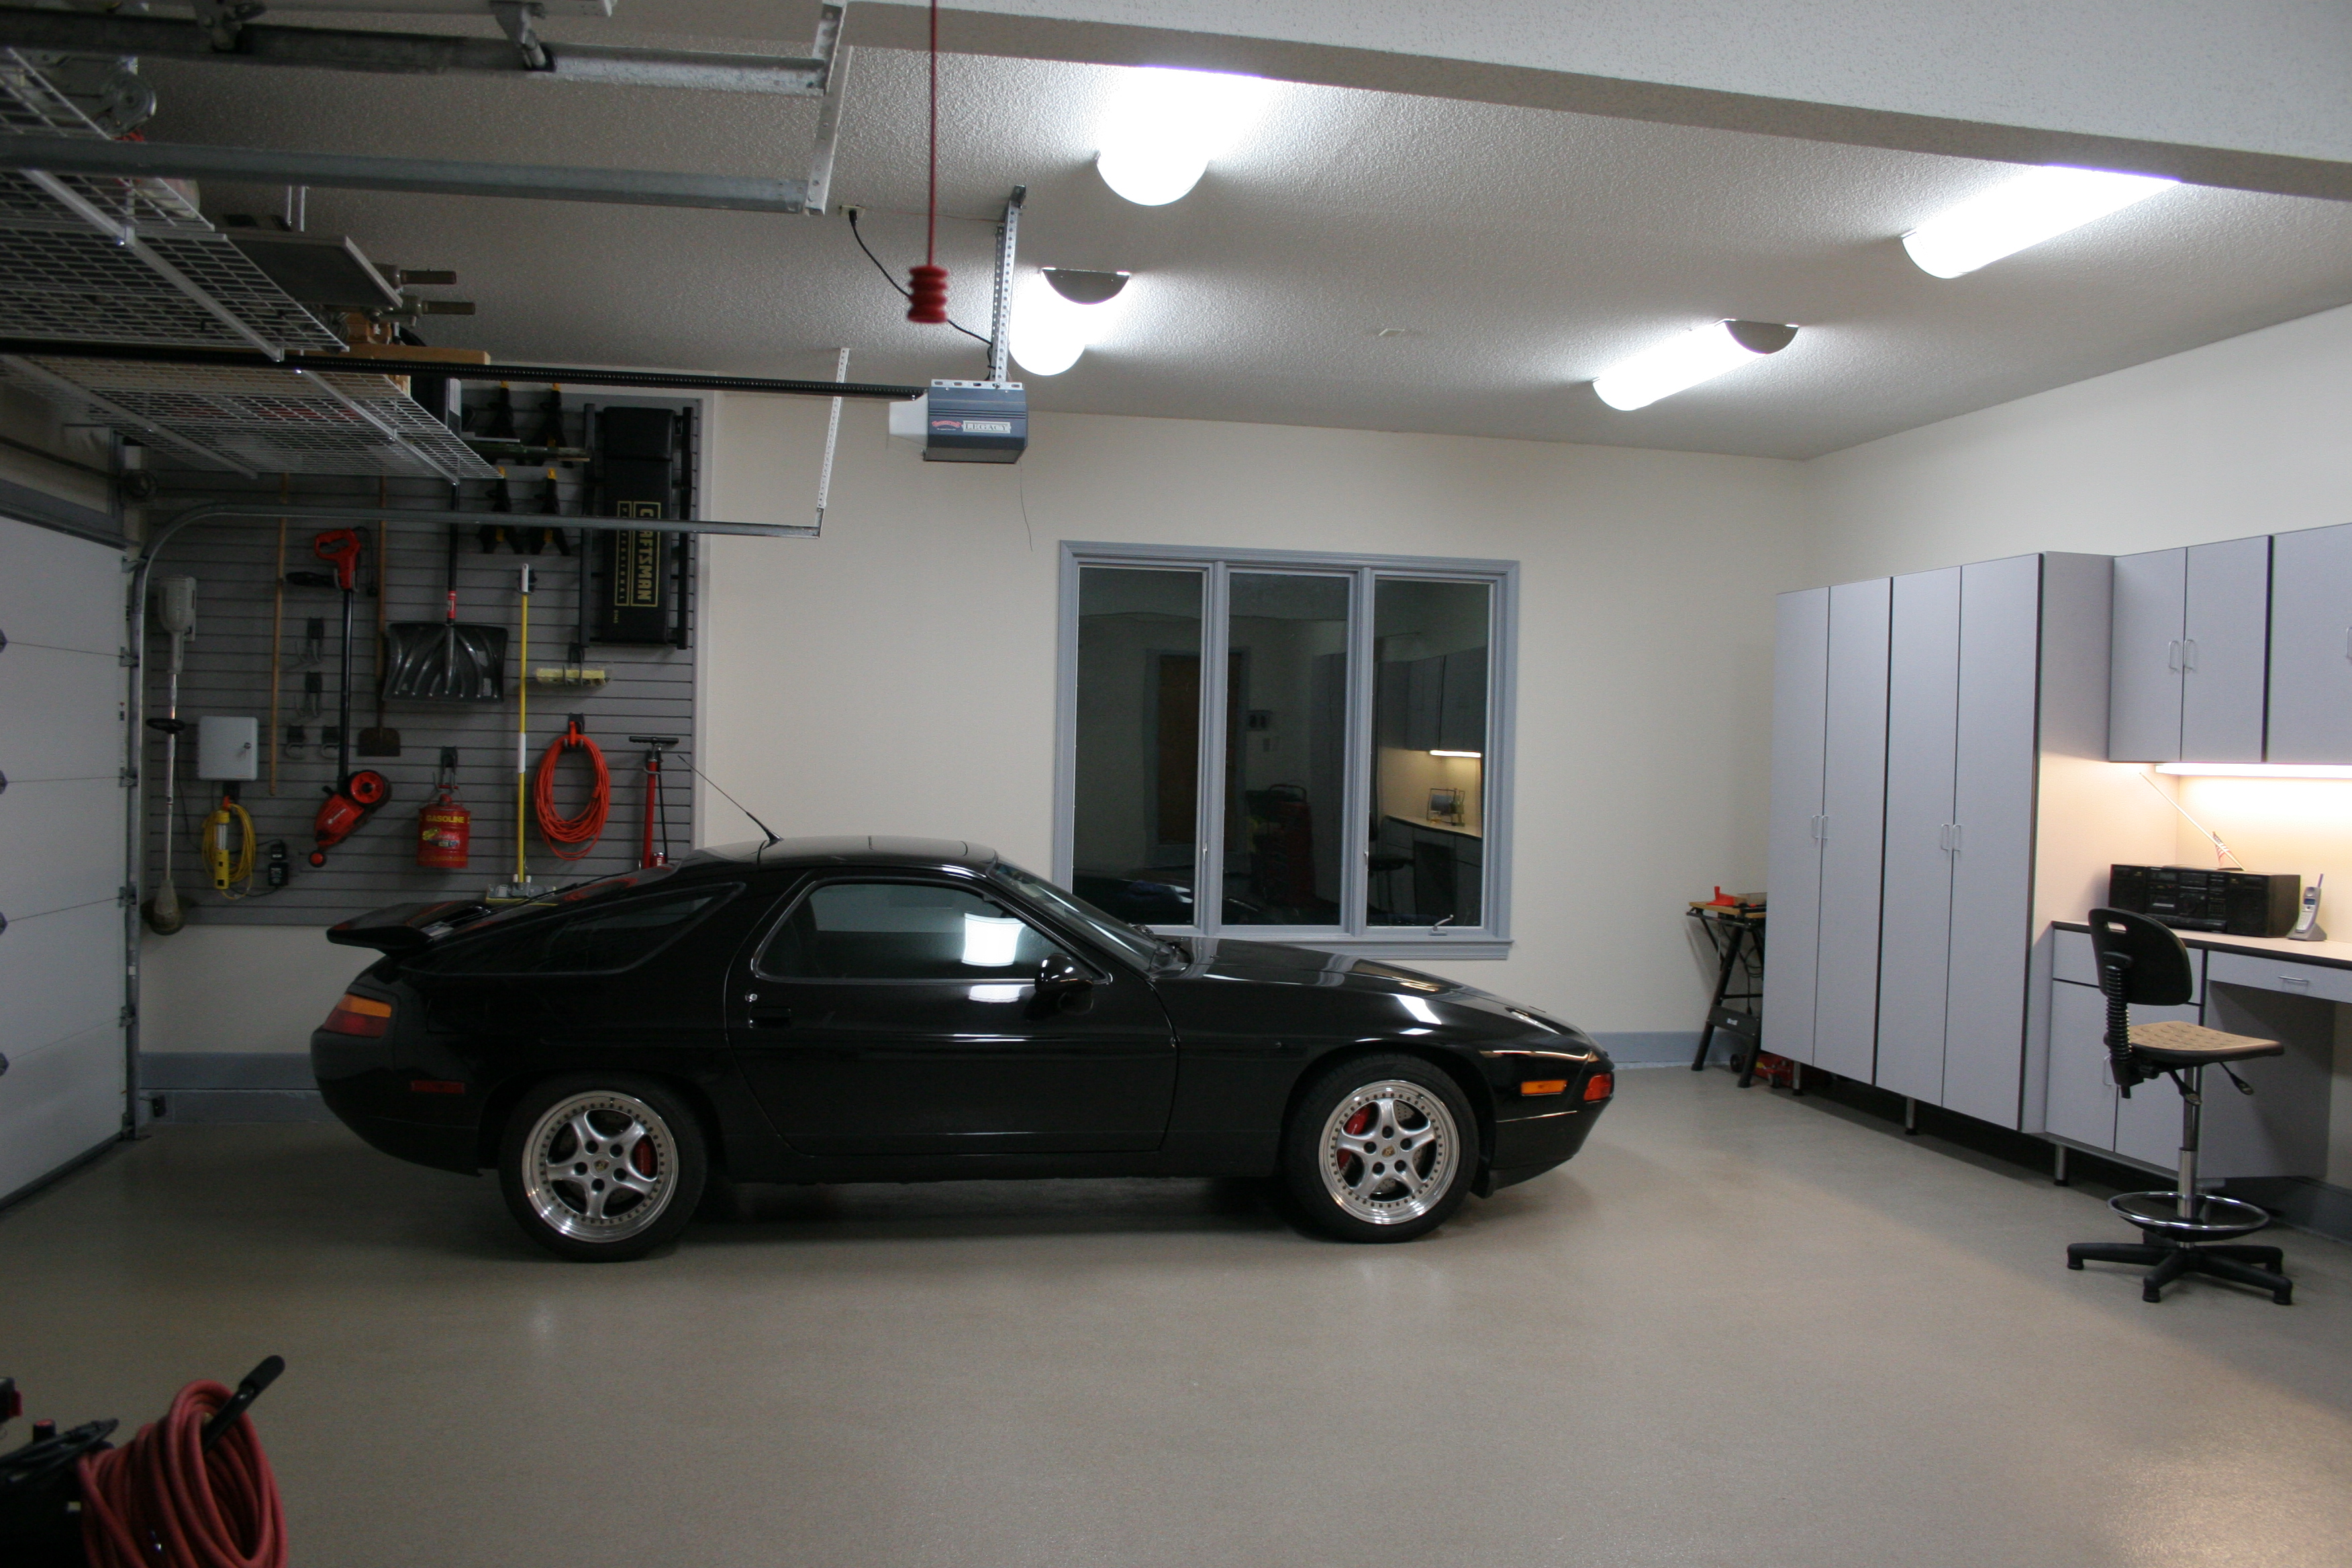
Completed Garage
 |
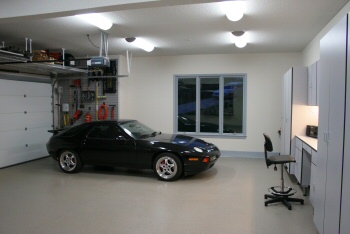
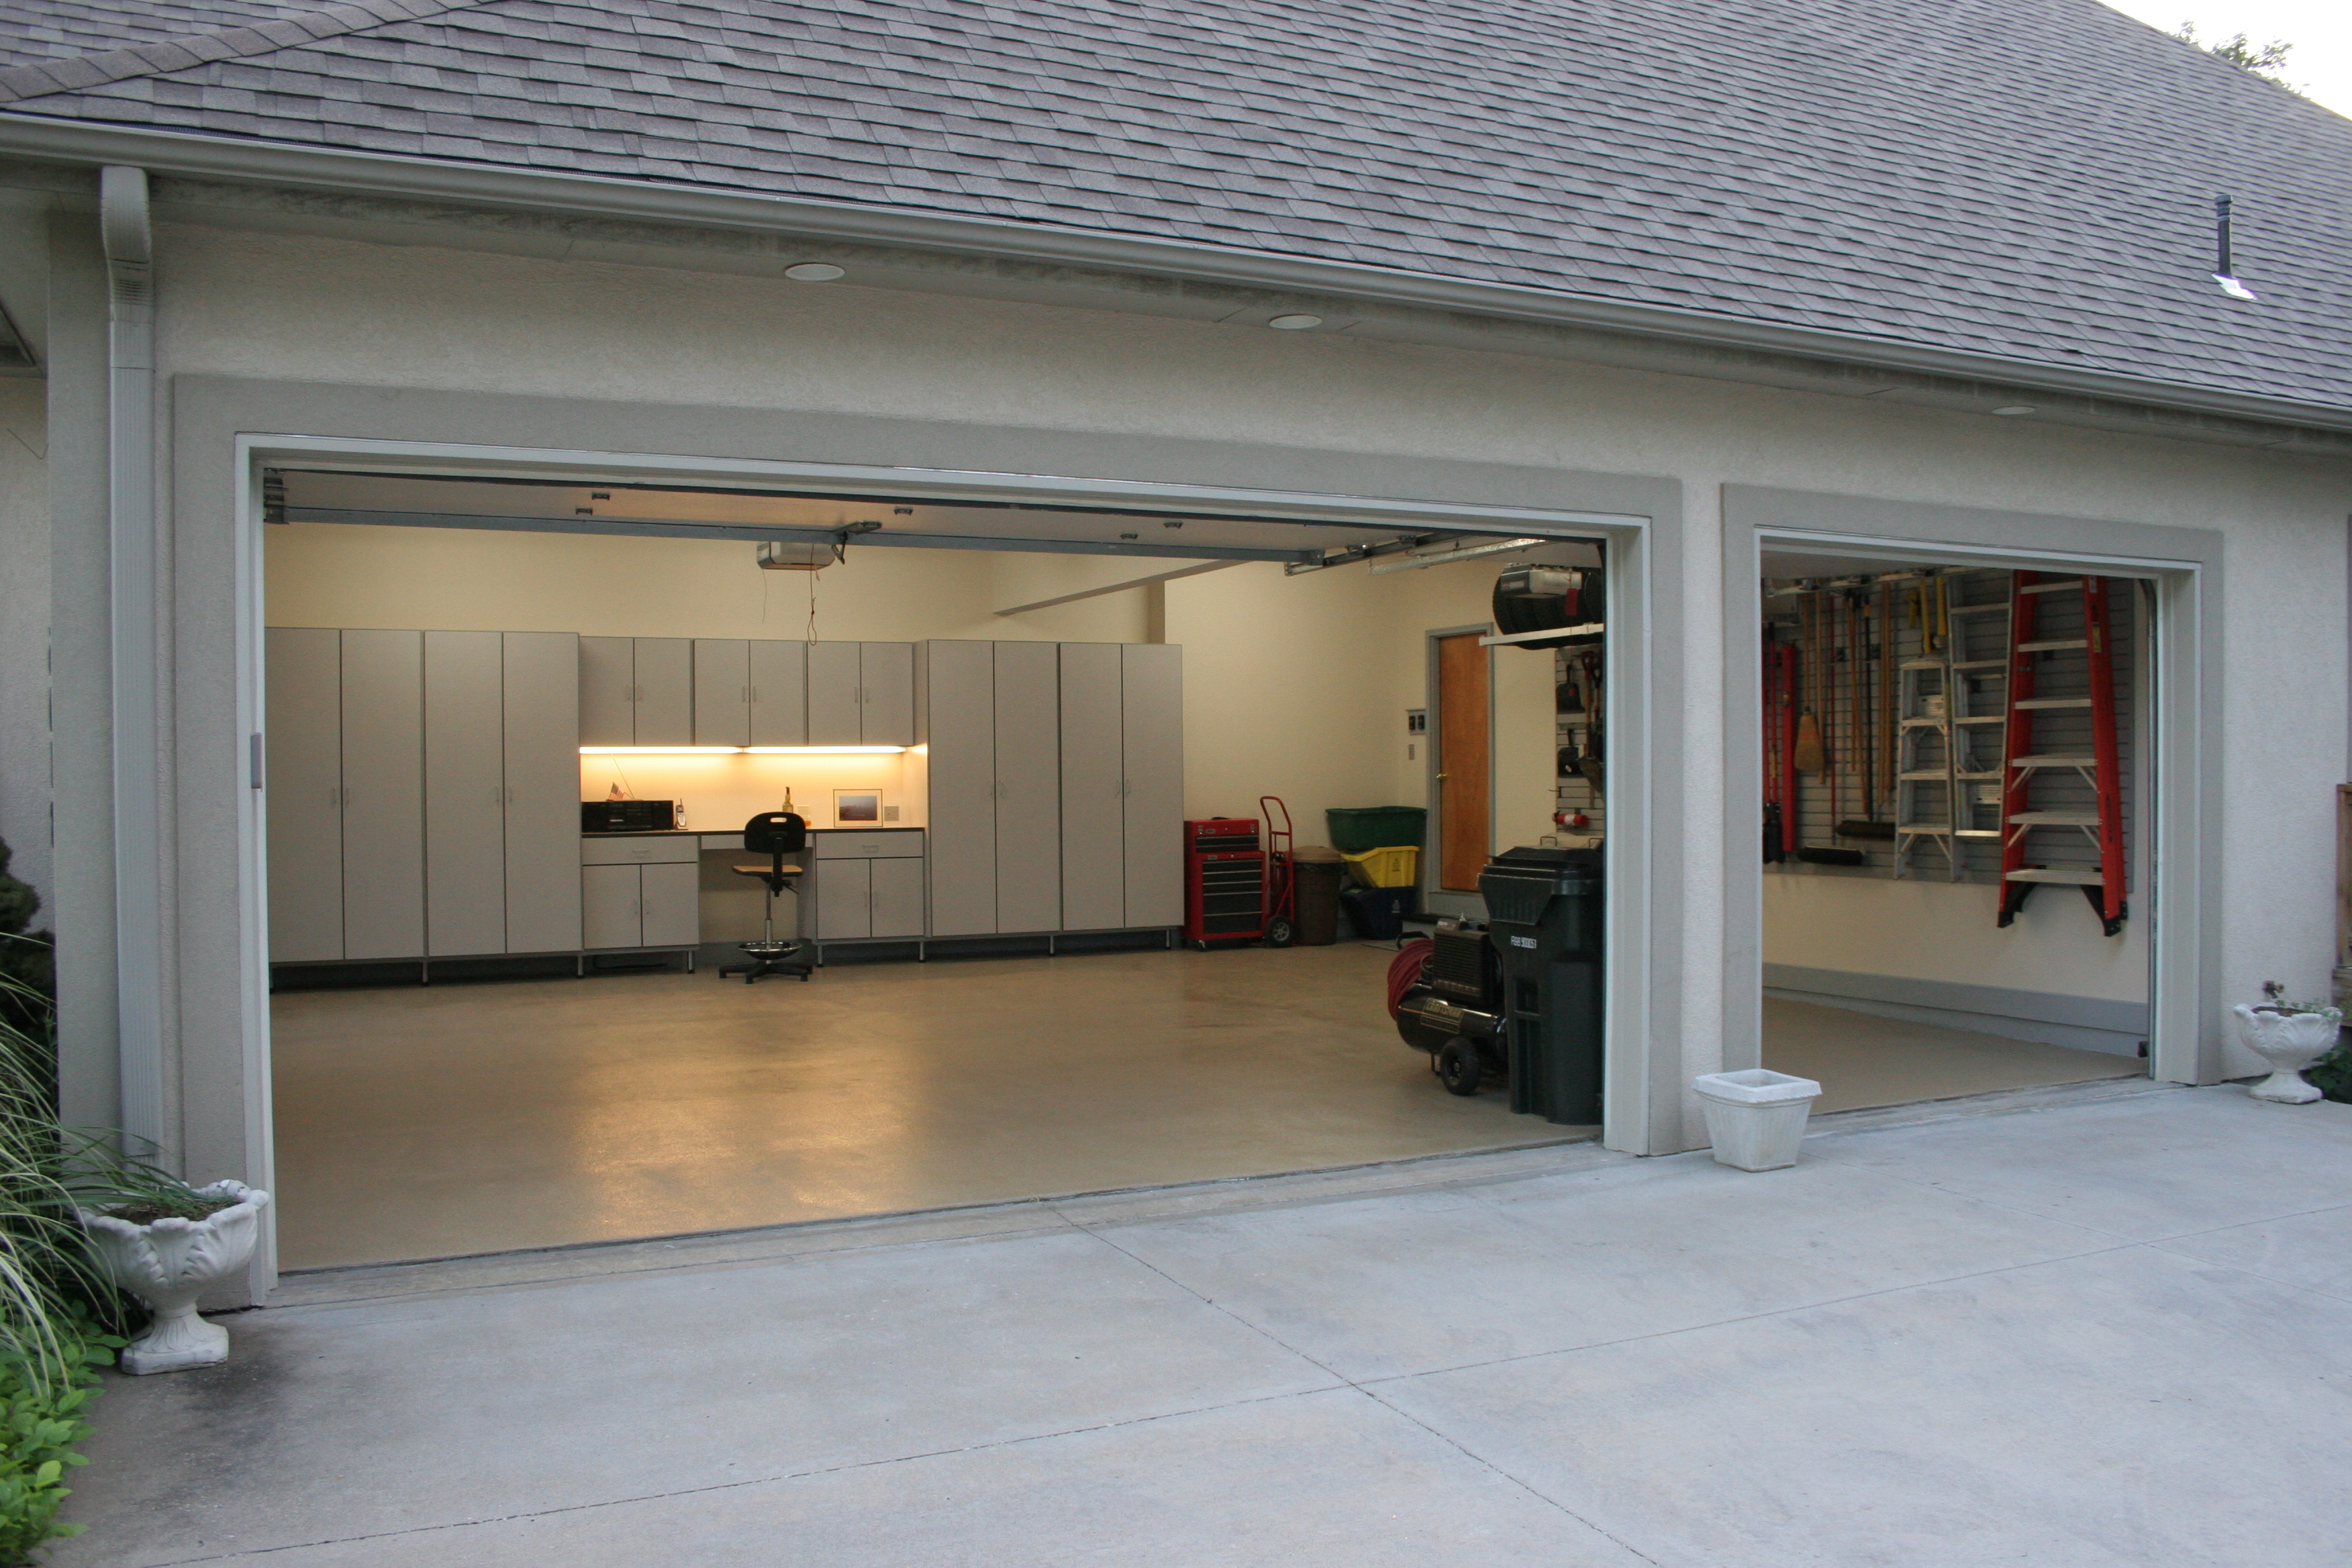
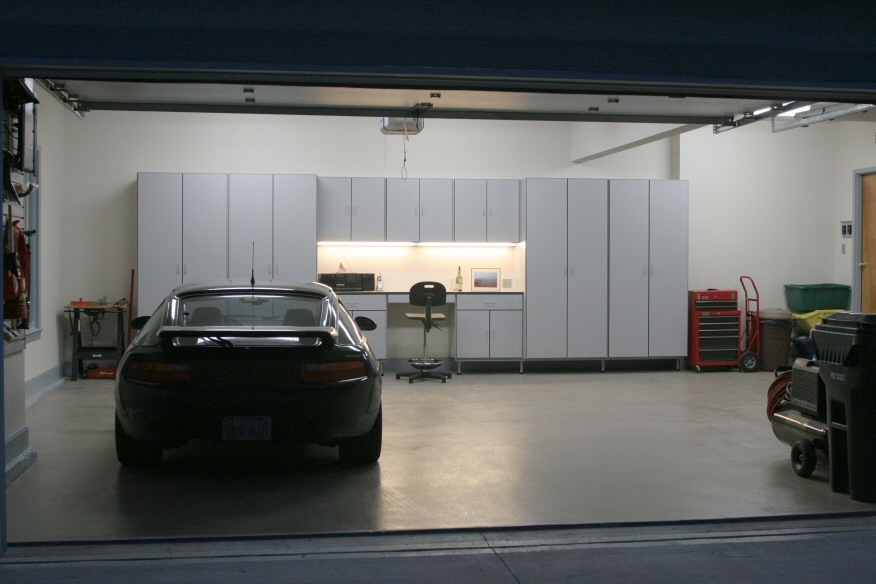
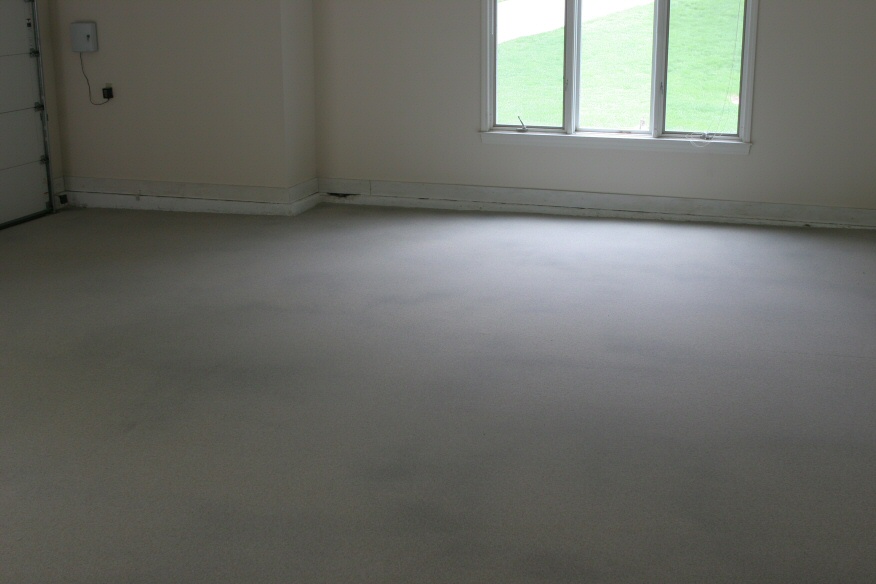
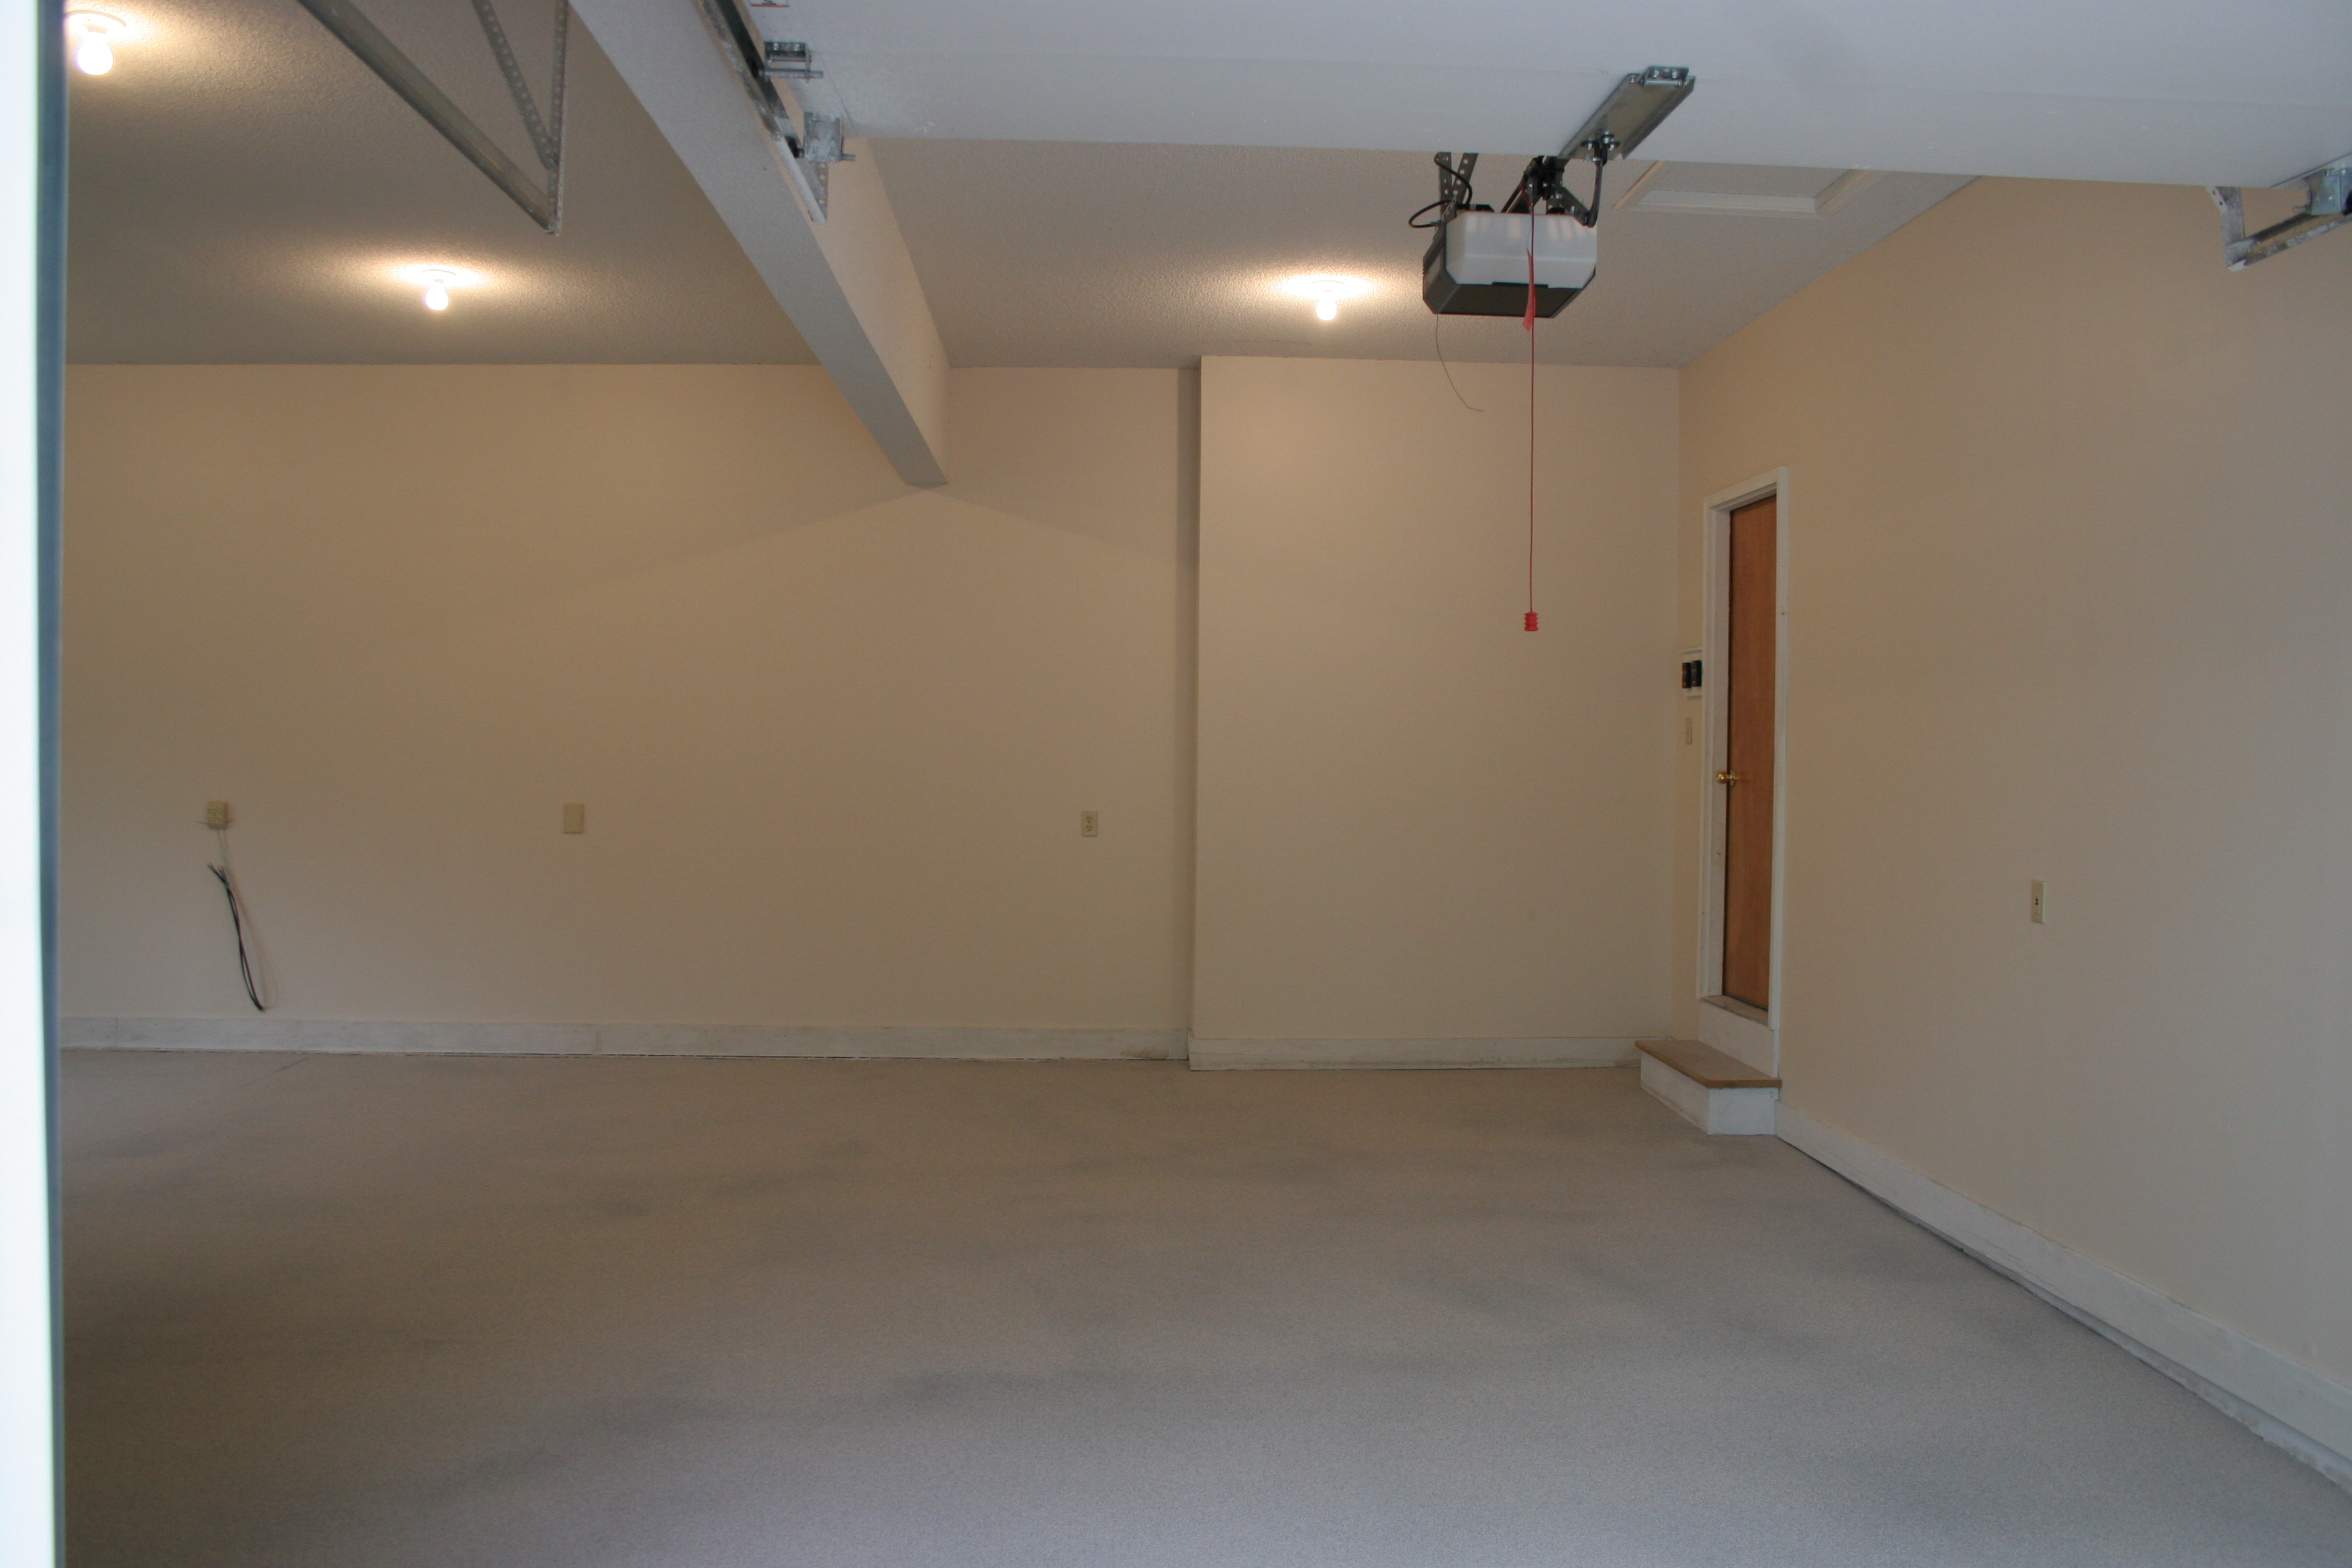
| IMG_1279: [medium | large | huge] |
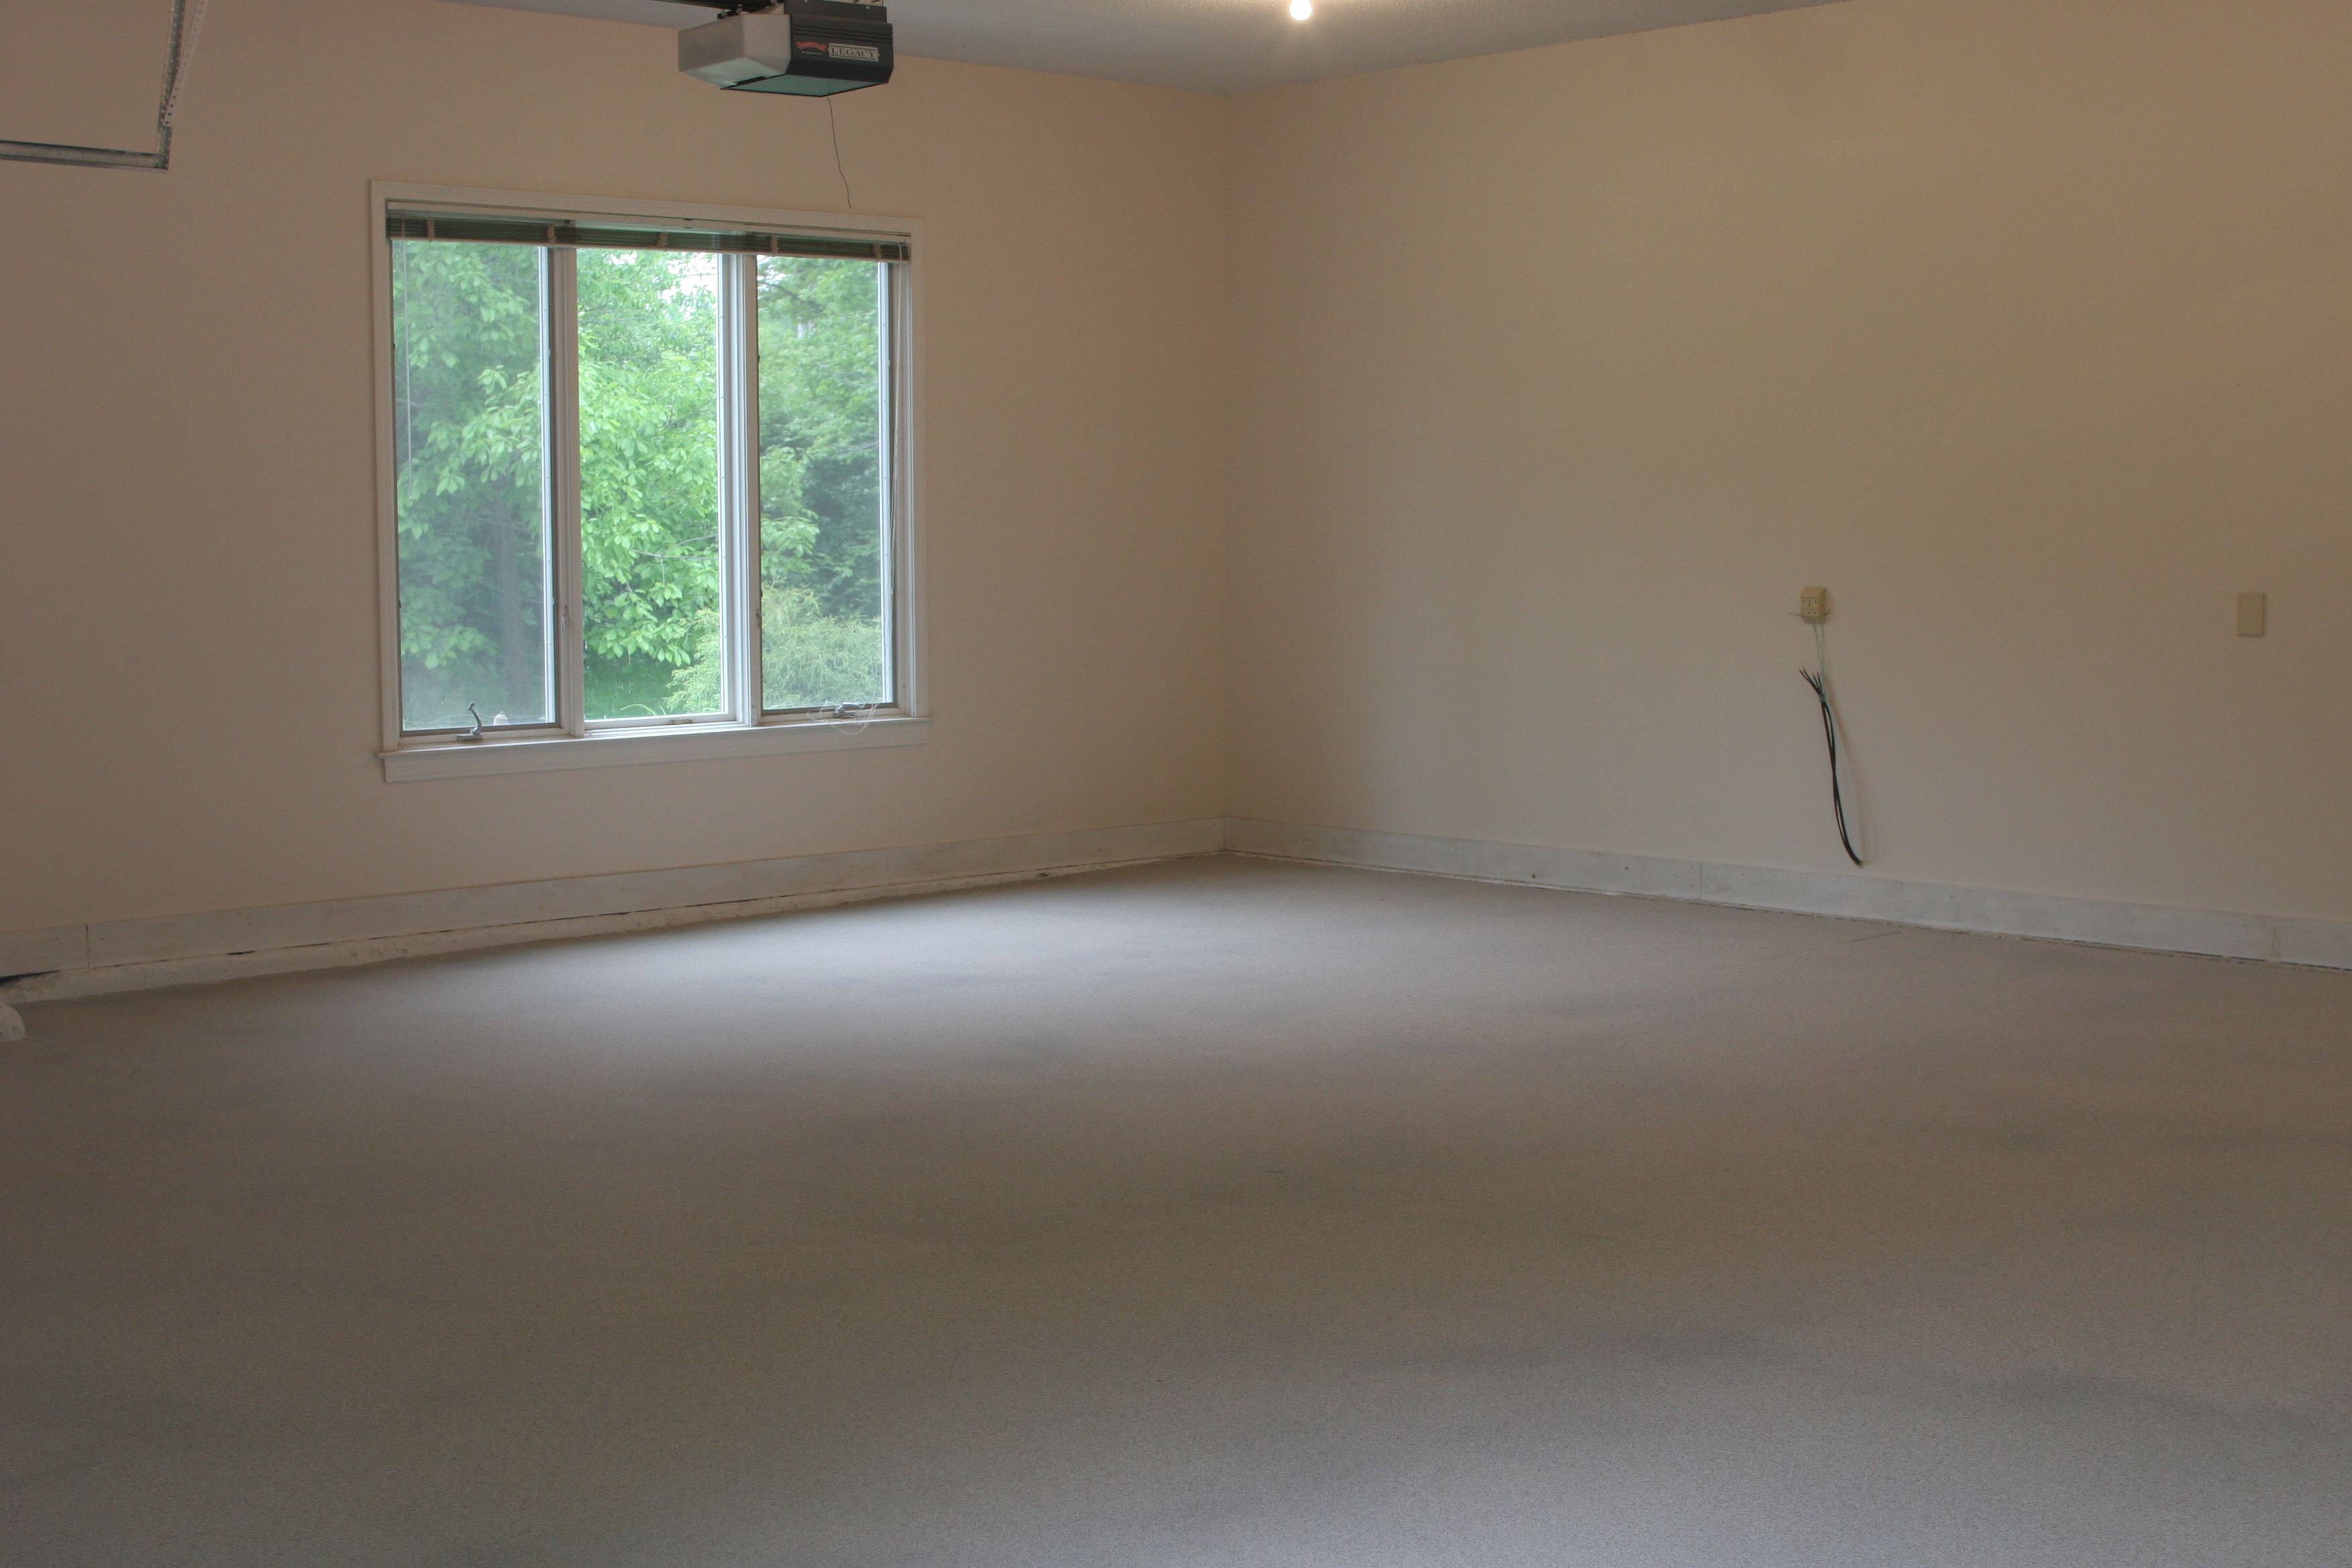
| Shark has to wait outside while I take some "empty garage"
photos. |
 |
| IMG_1280: [medium | large | huge] |
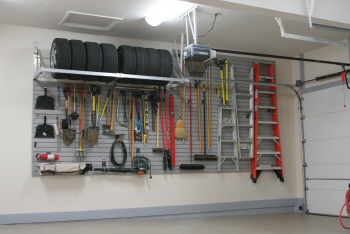
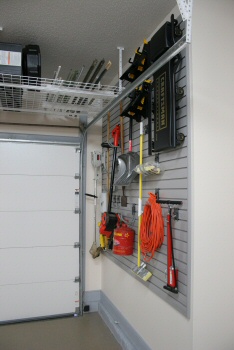
| storeWALL is pretty densely populated with all sorts of stuff. |
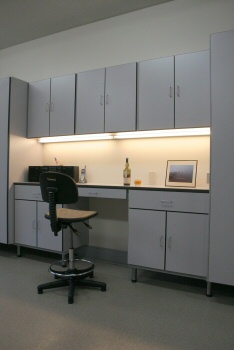 |
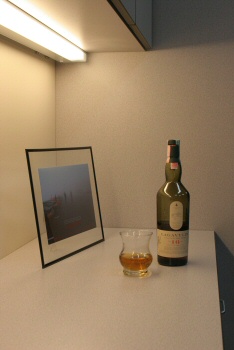
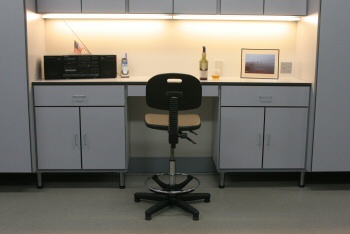
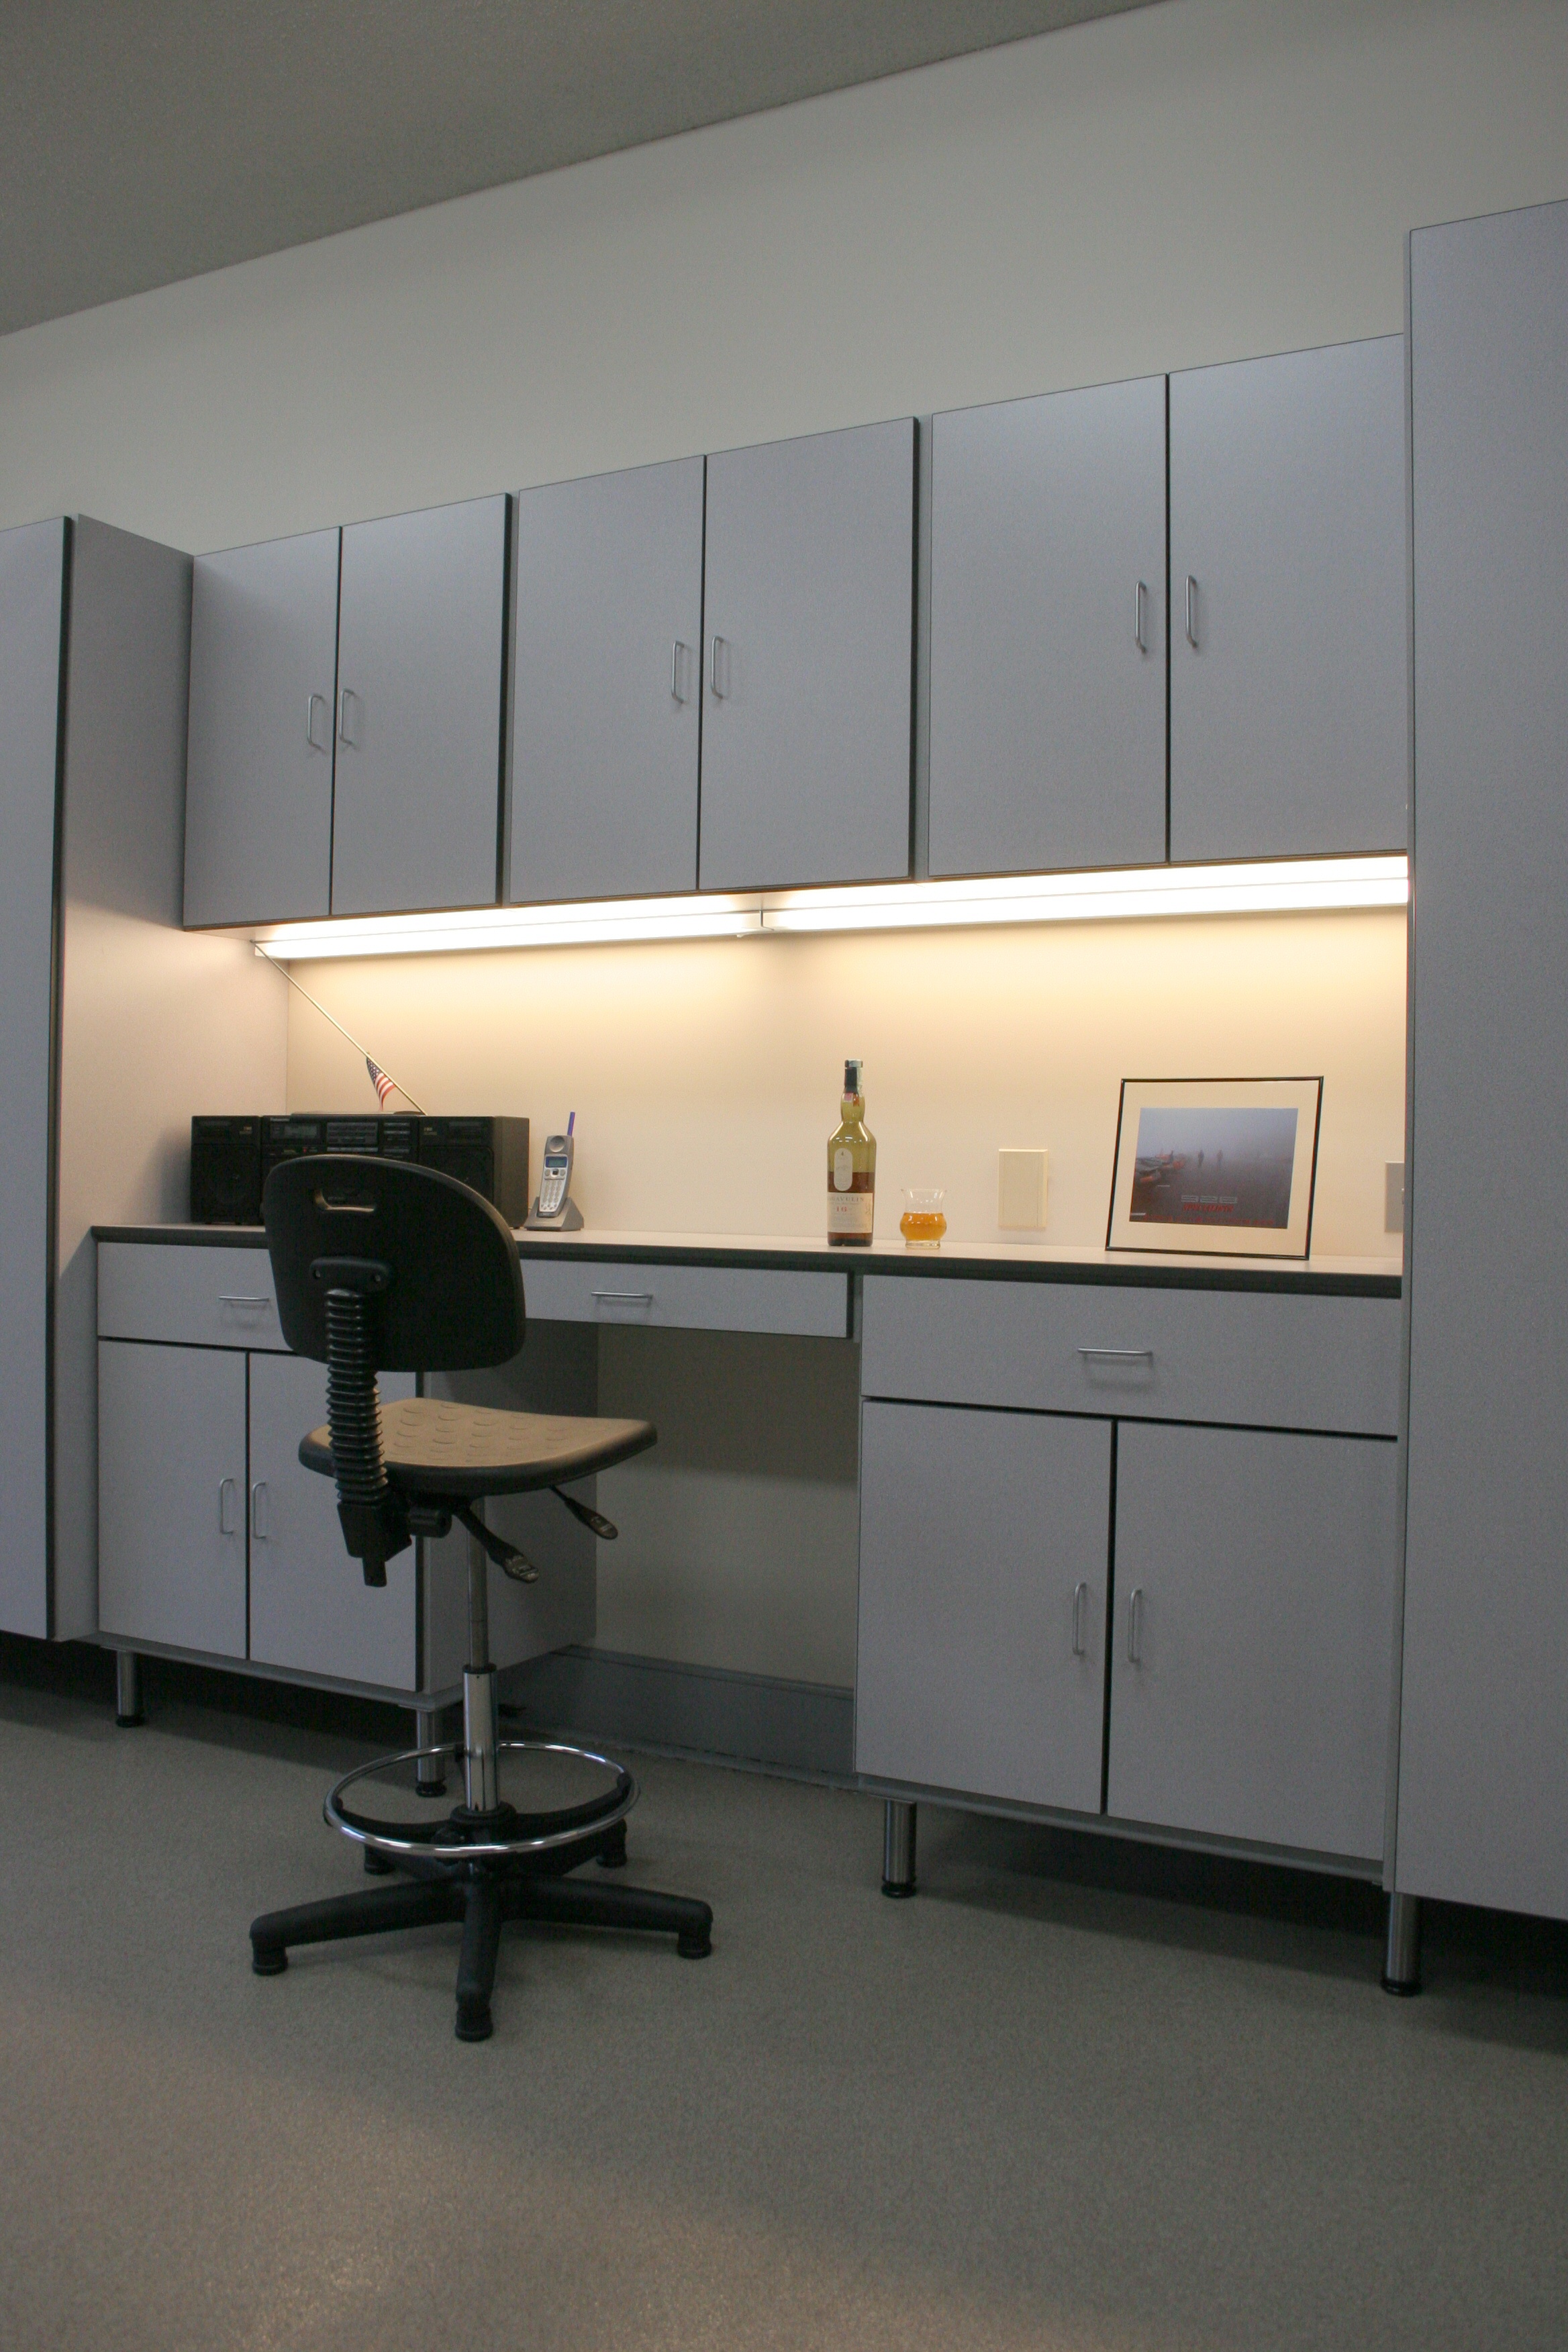
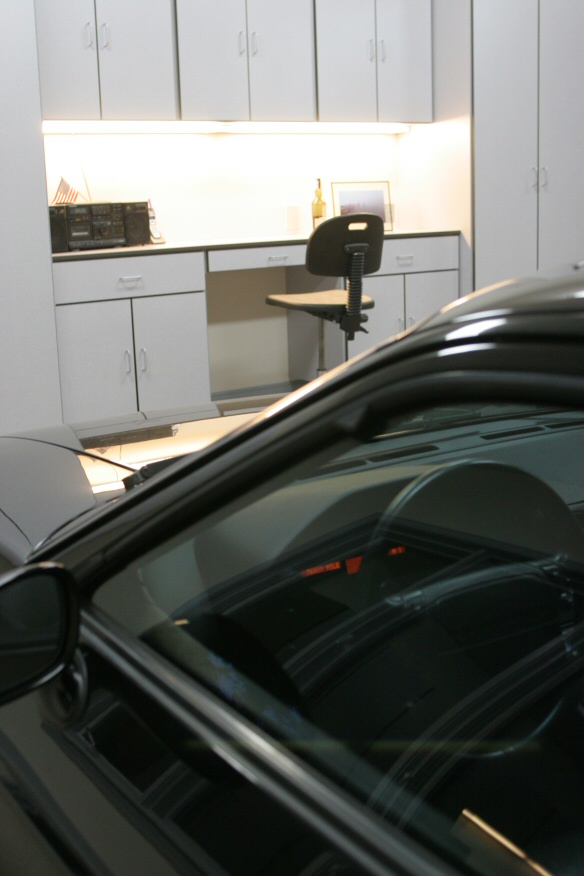
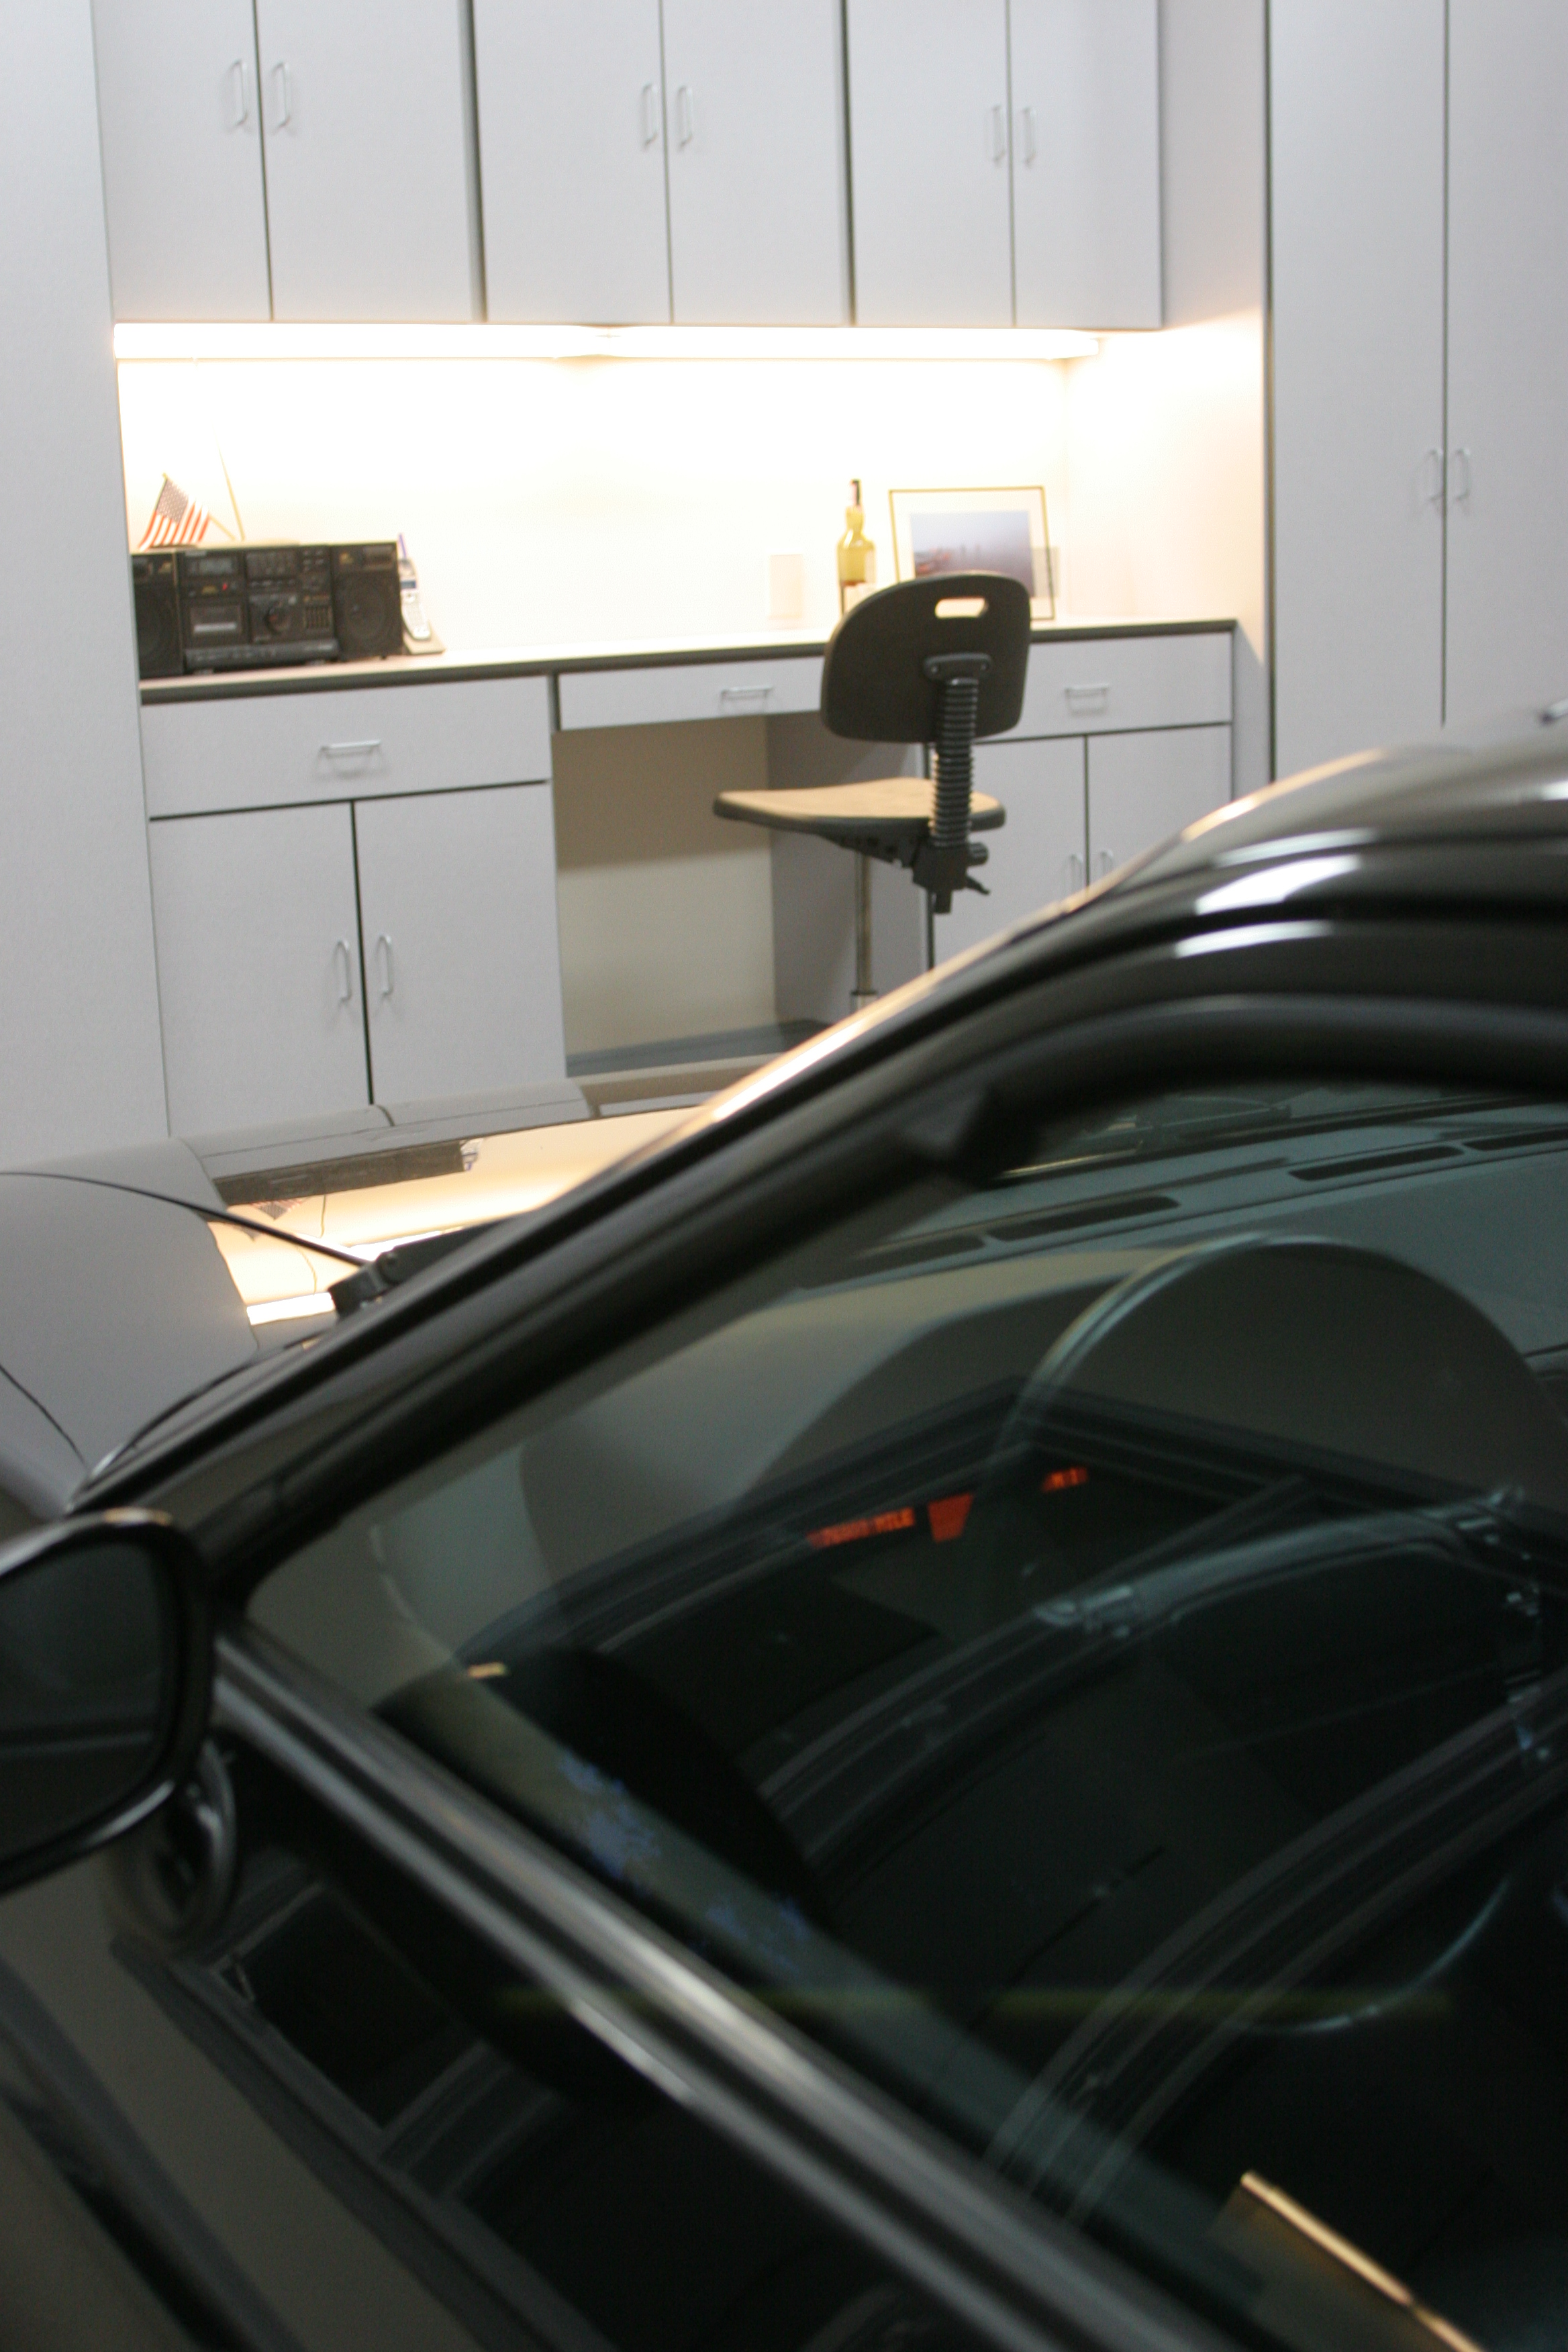
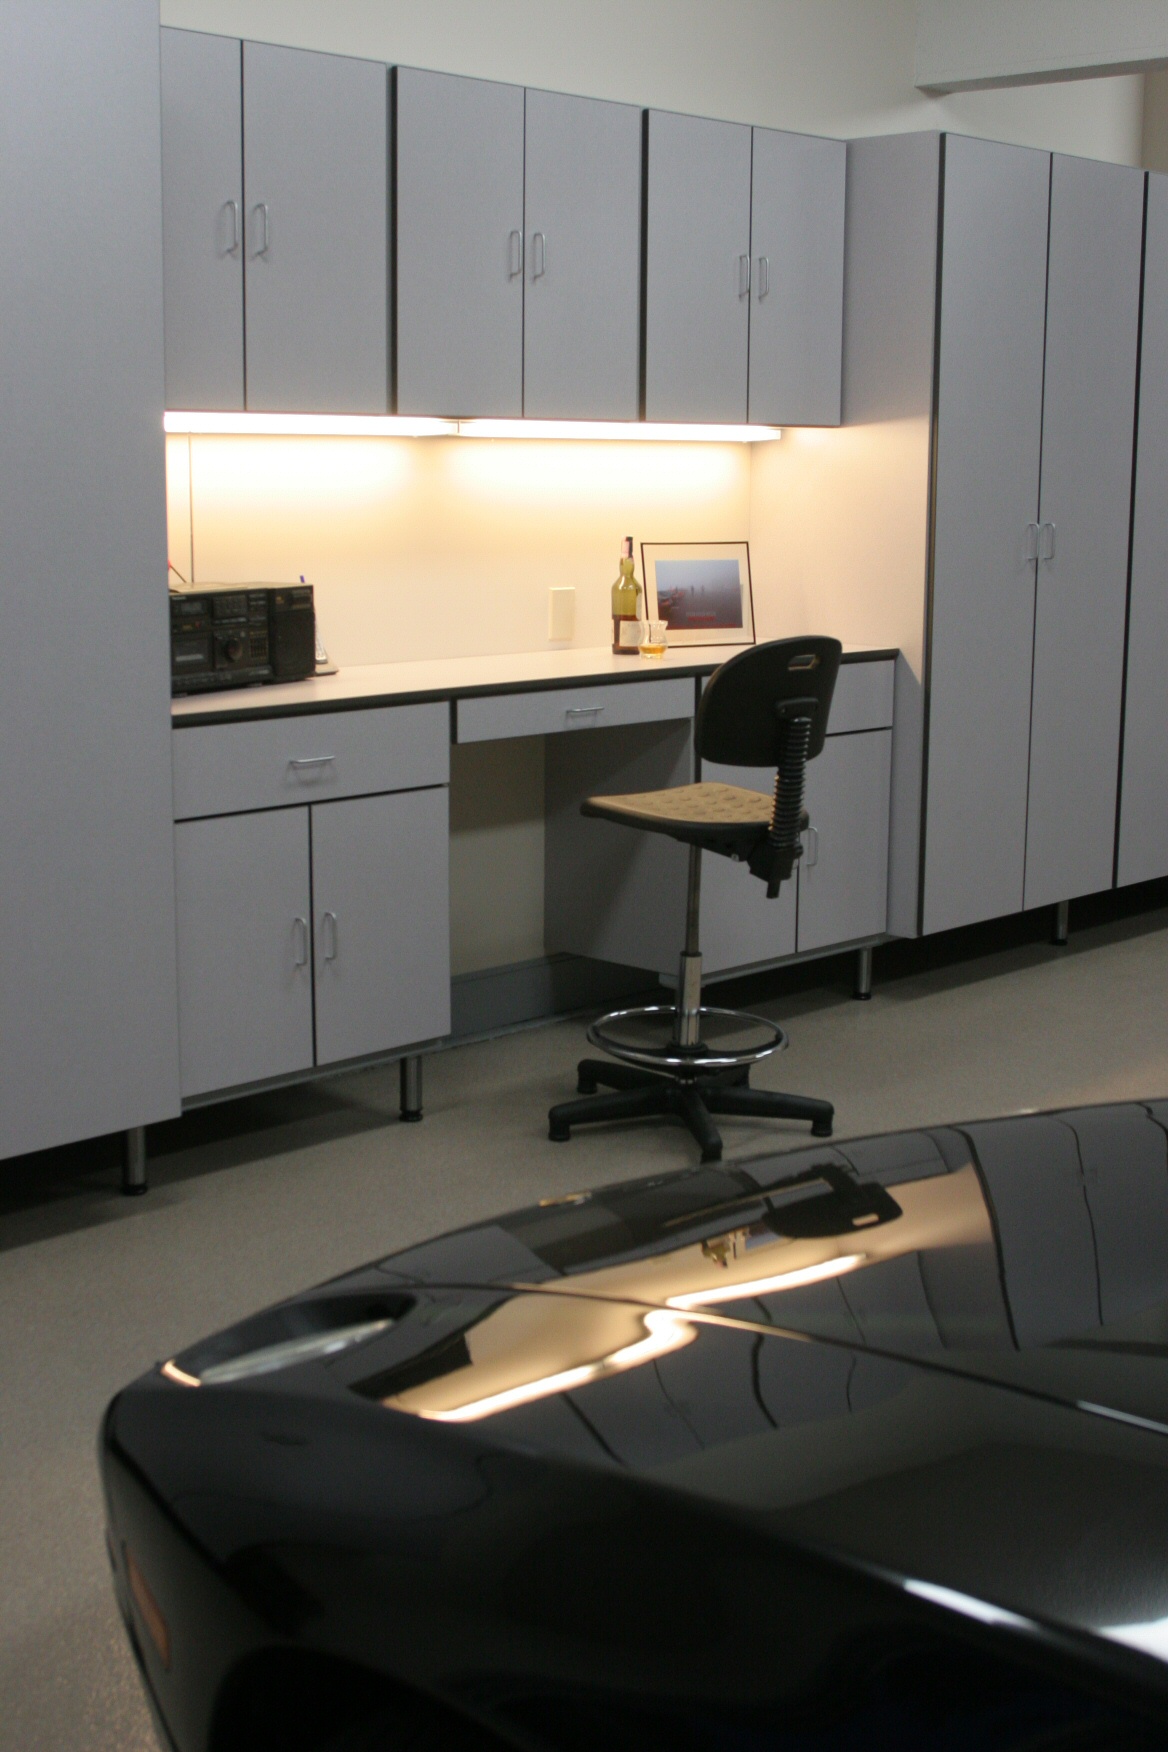
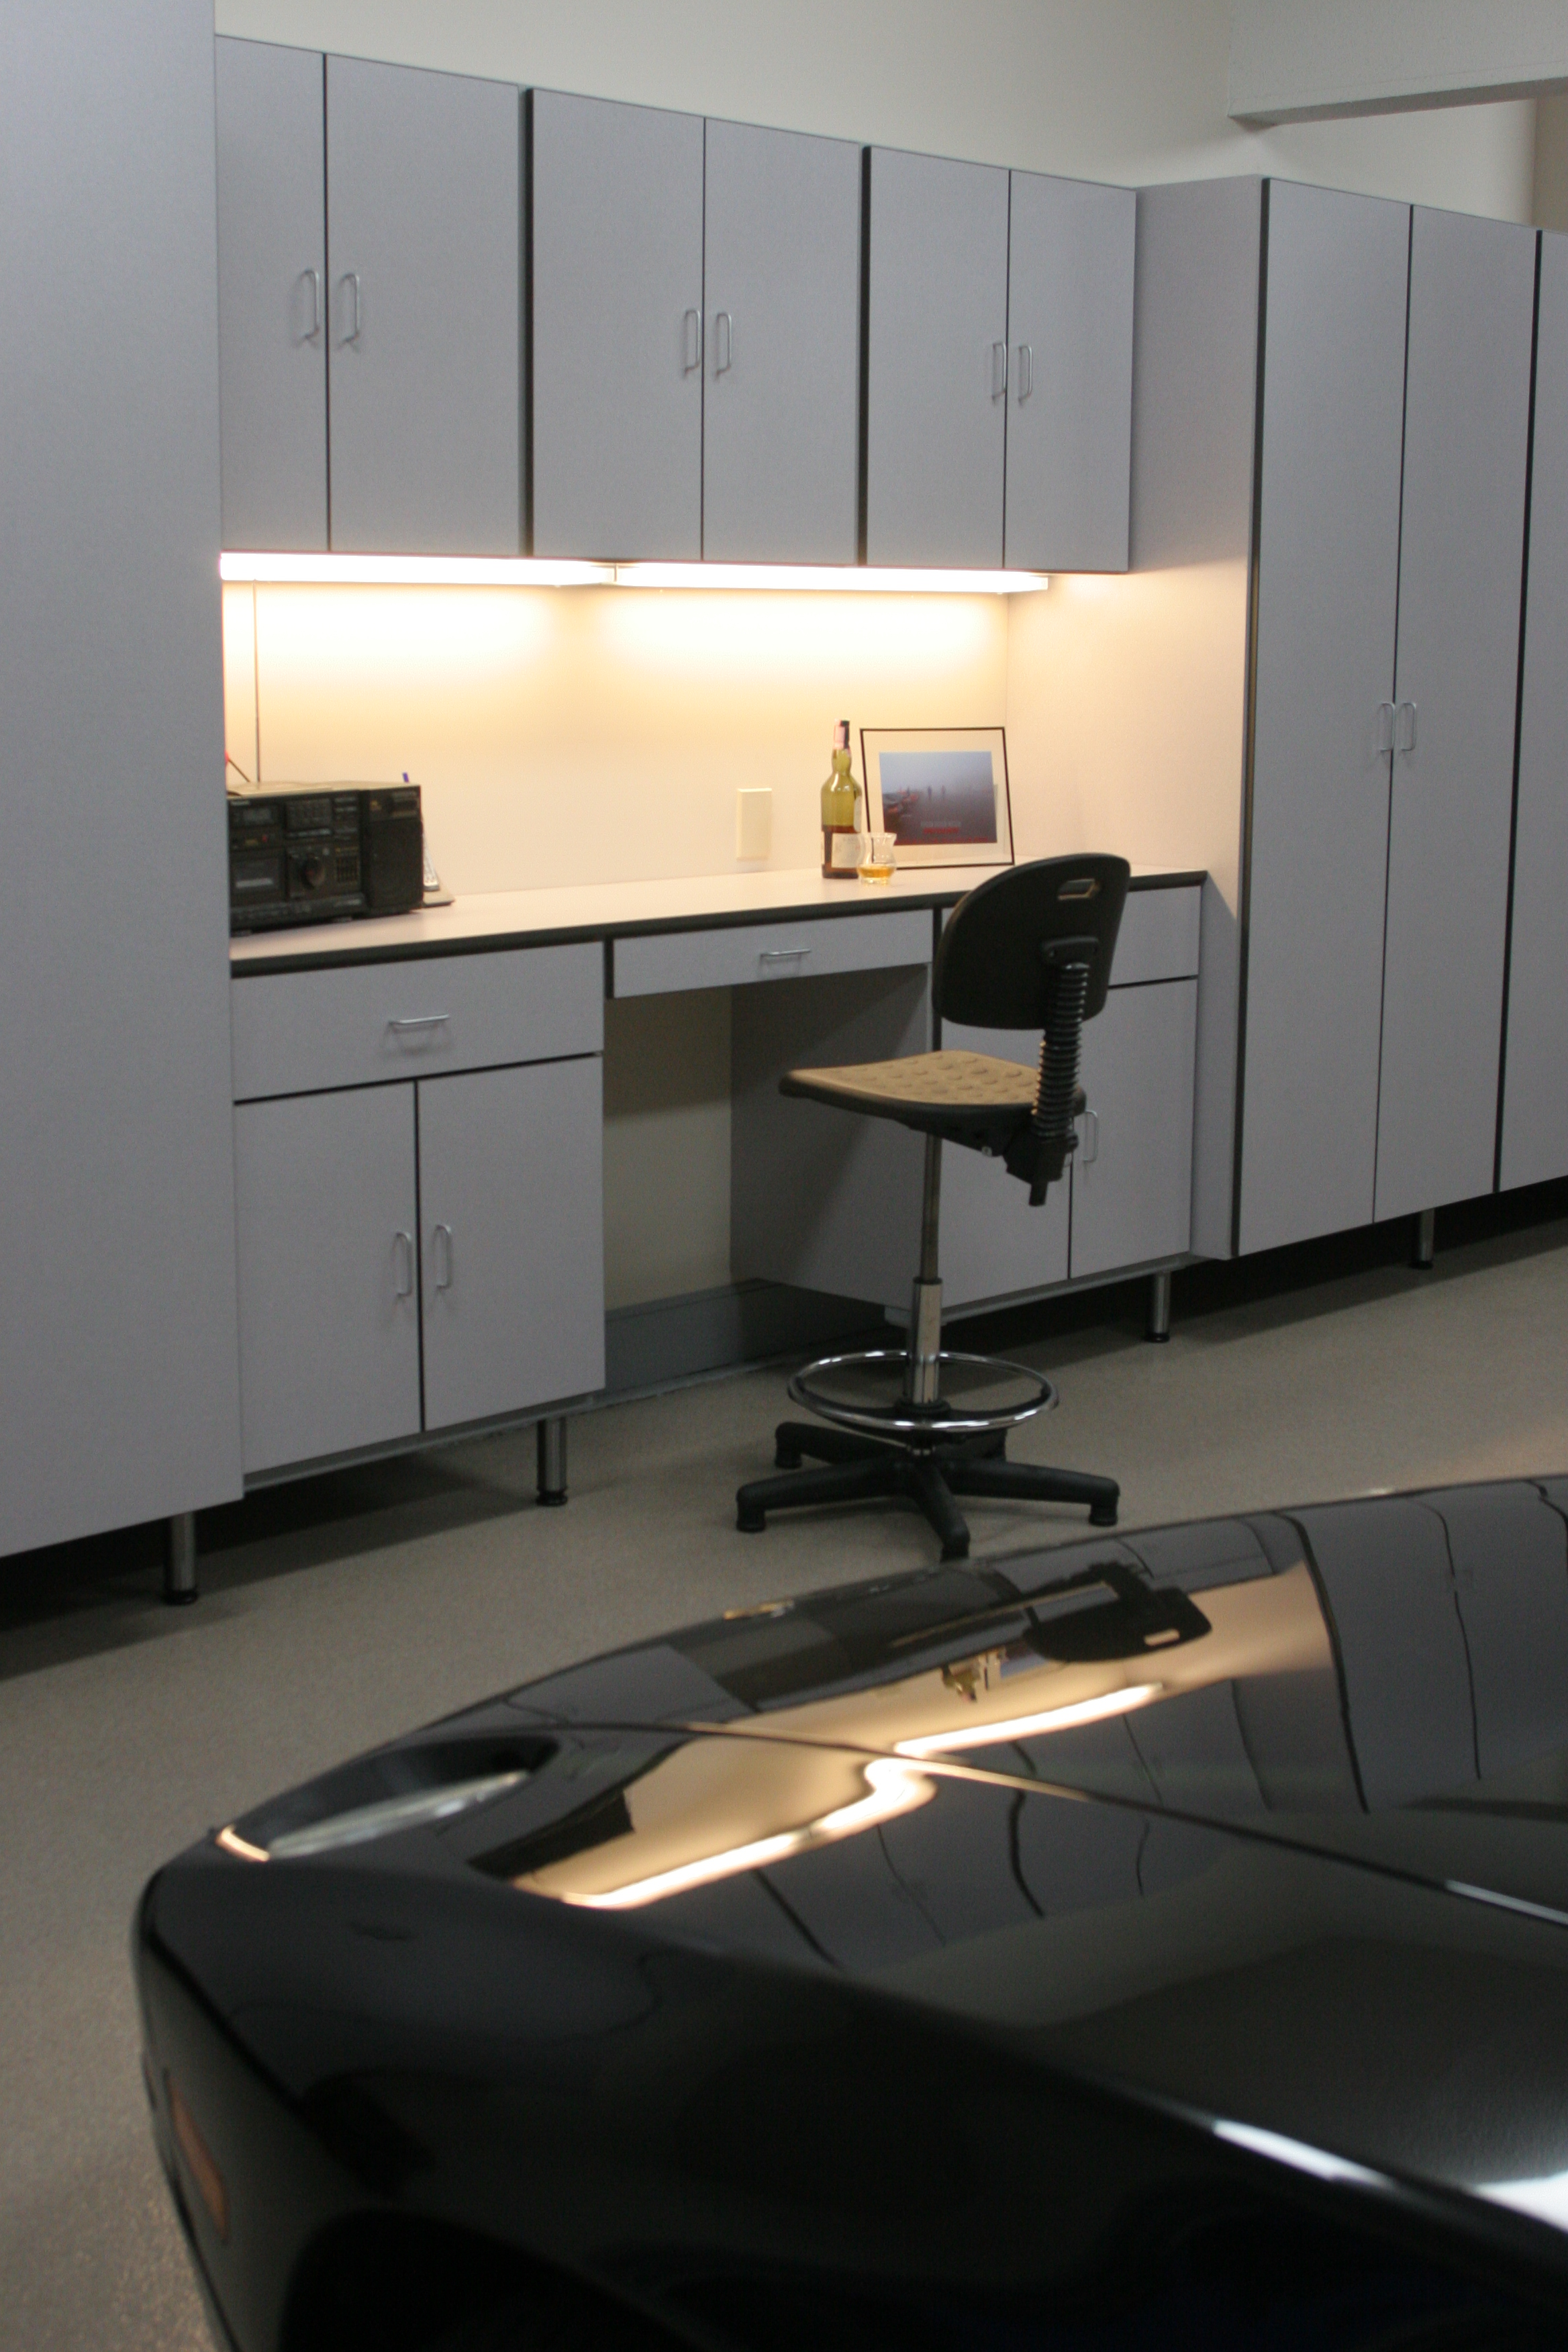
| IMG_1298: [medium | large | huge] |
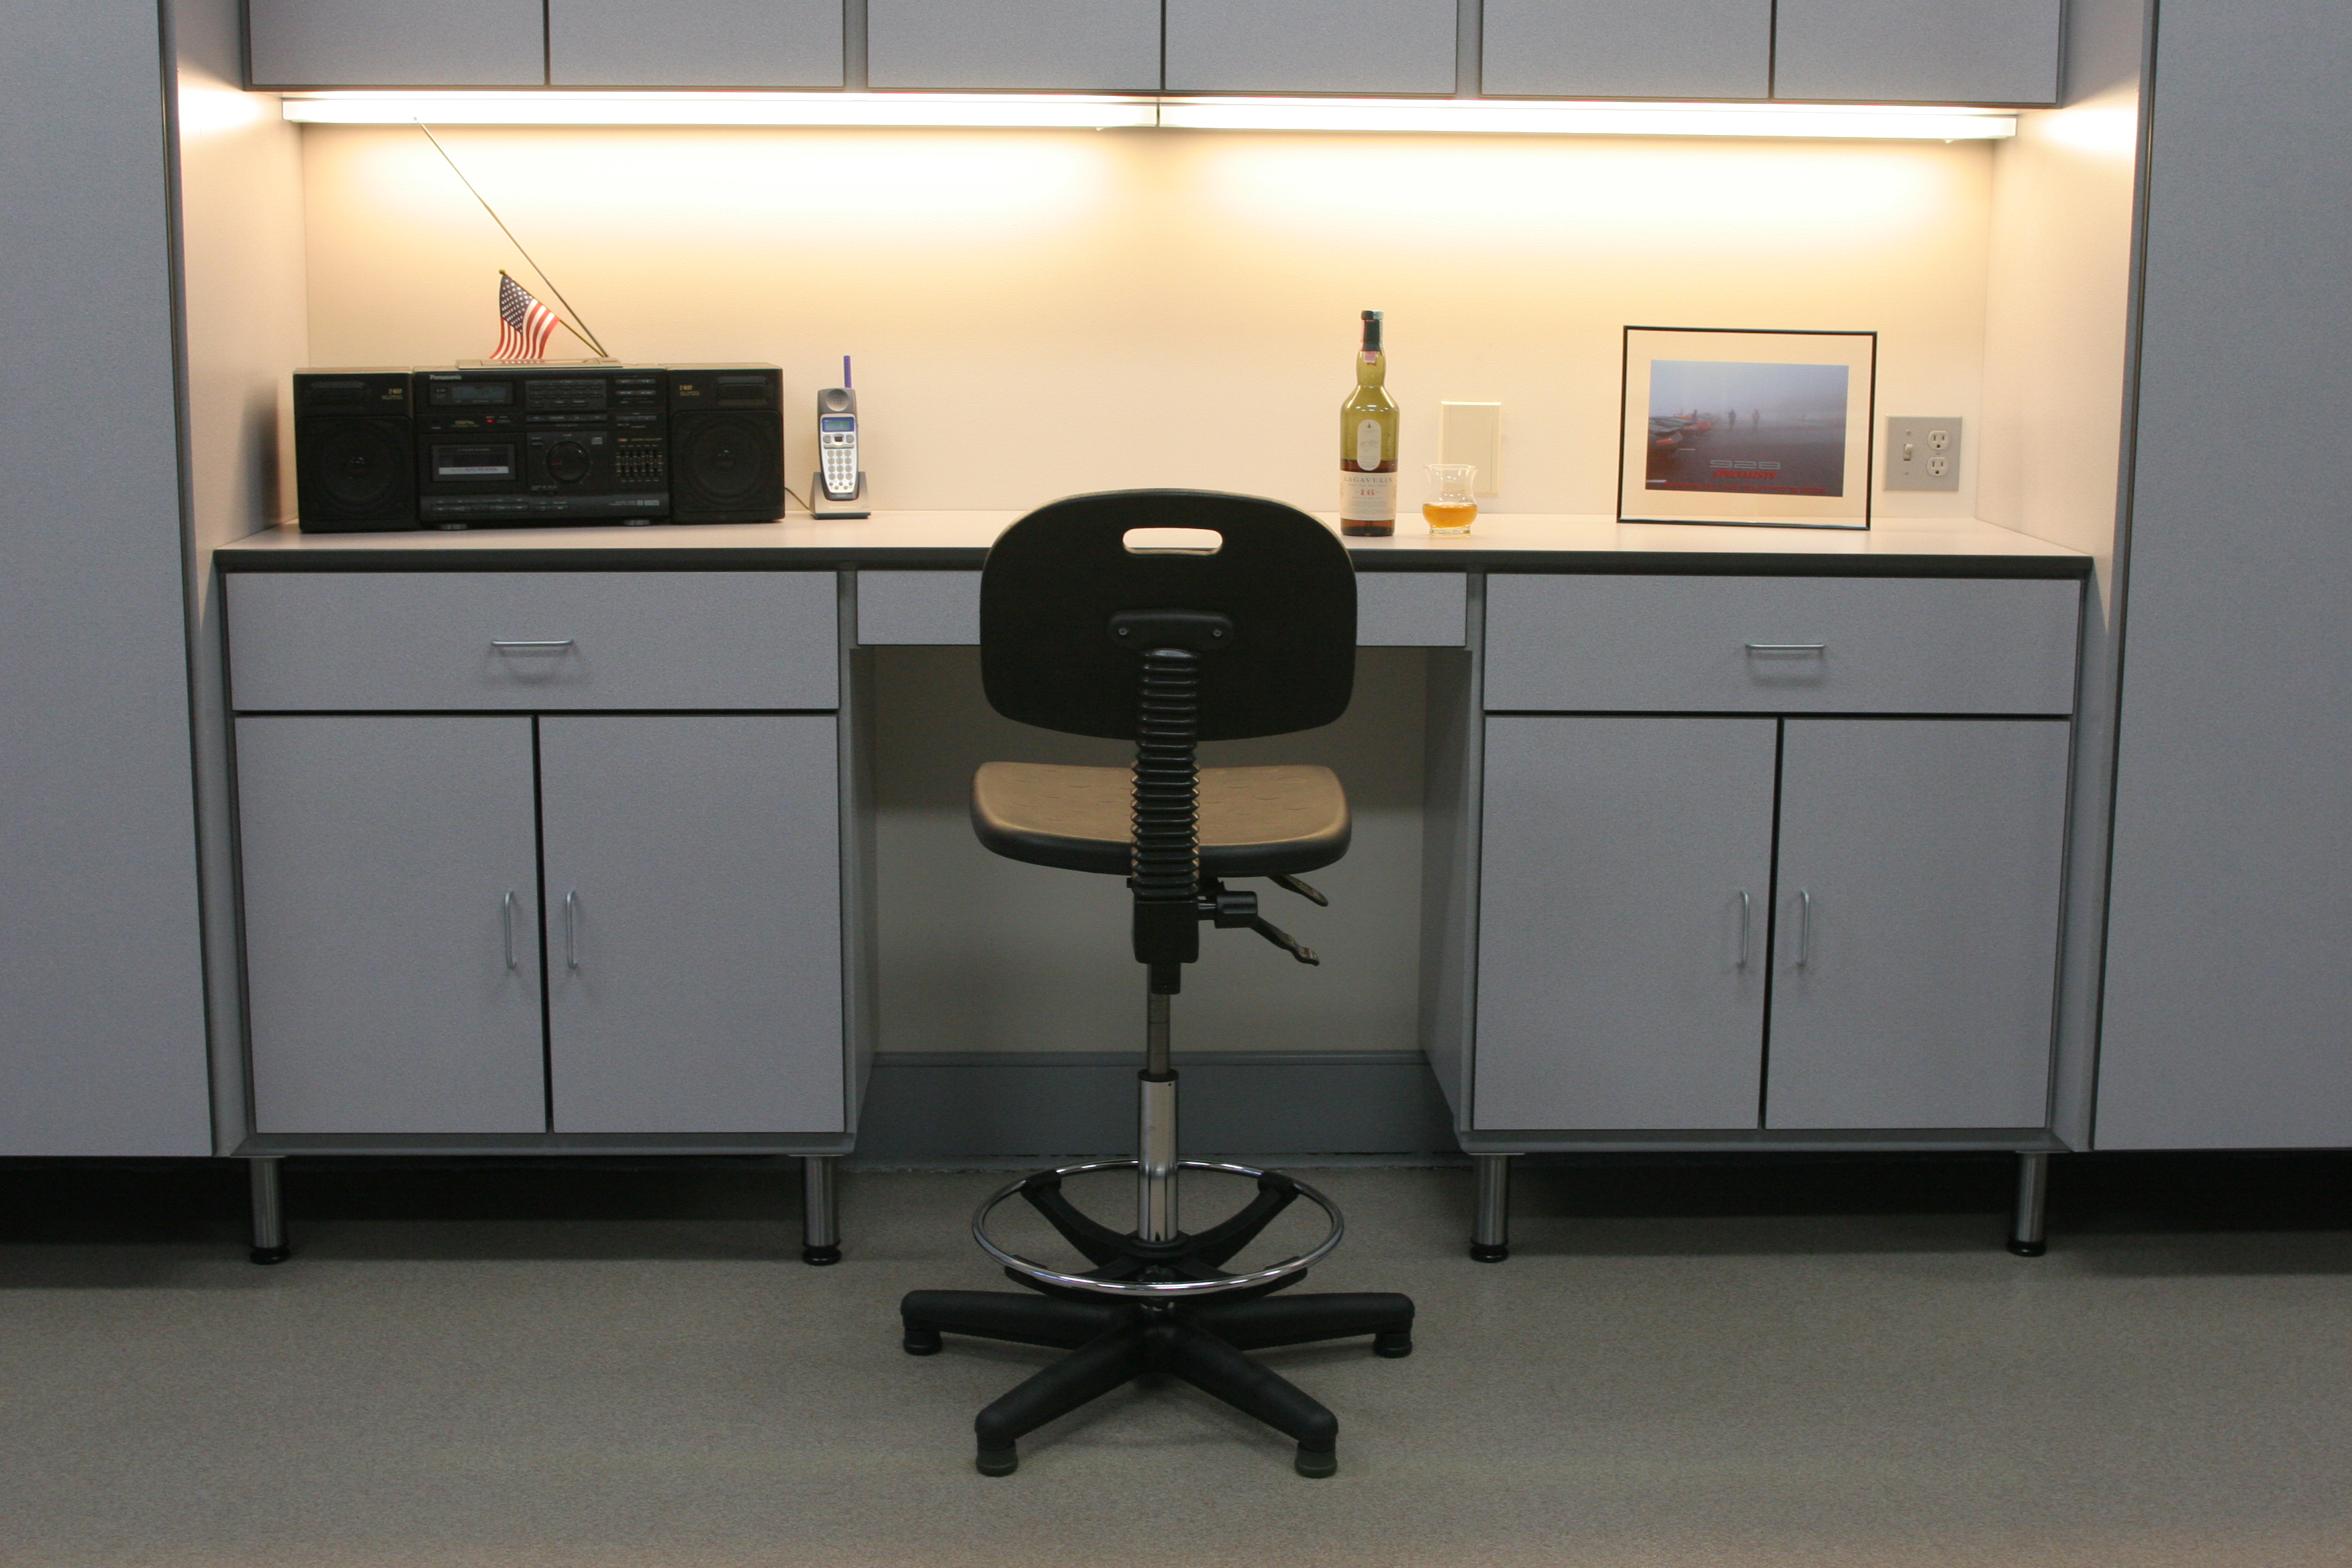
| Celebratory bottle of Lagavulin on the workbench. |
 |
| IMG_1300: [medium | large | huge] |
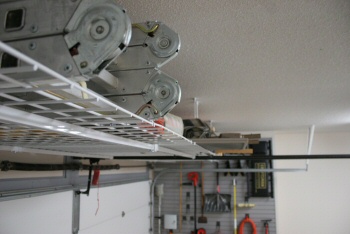
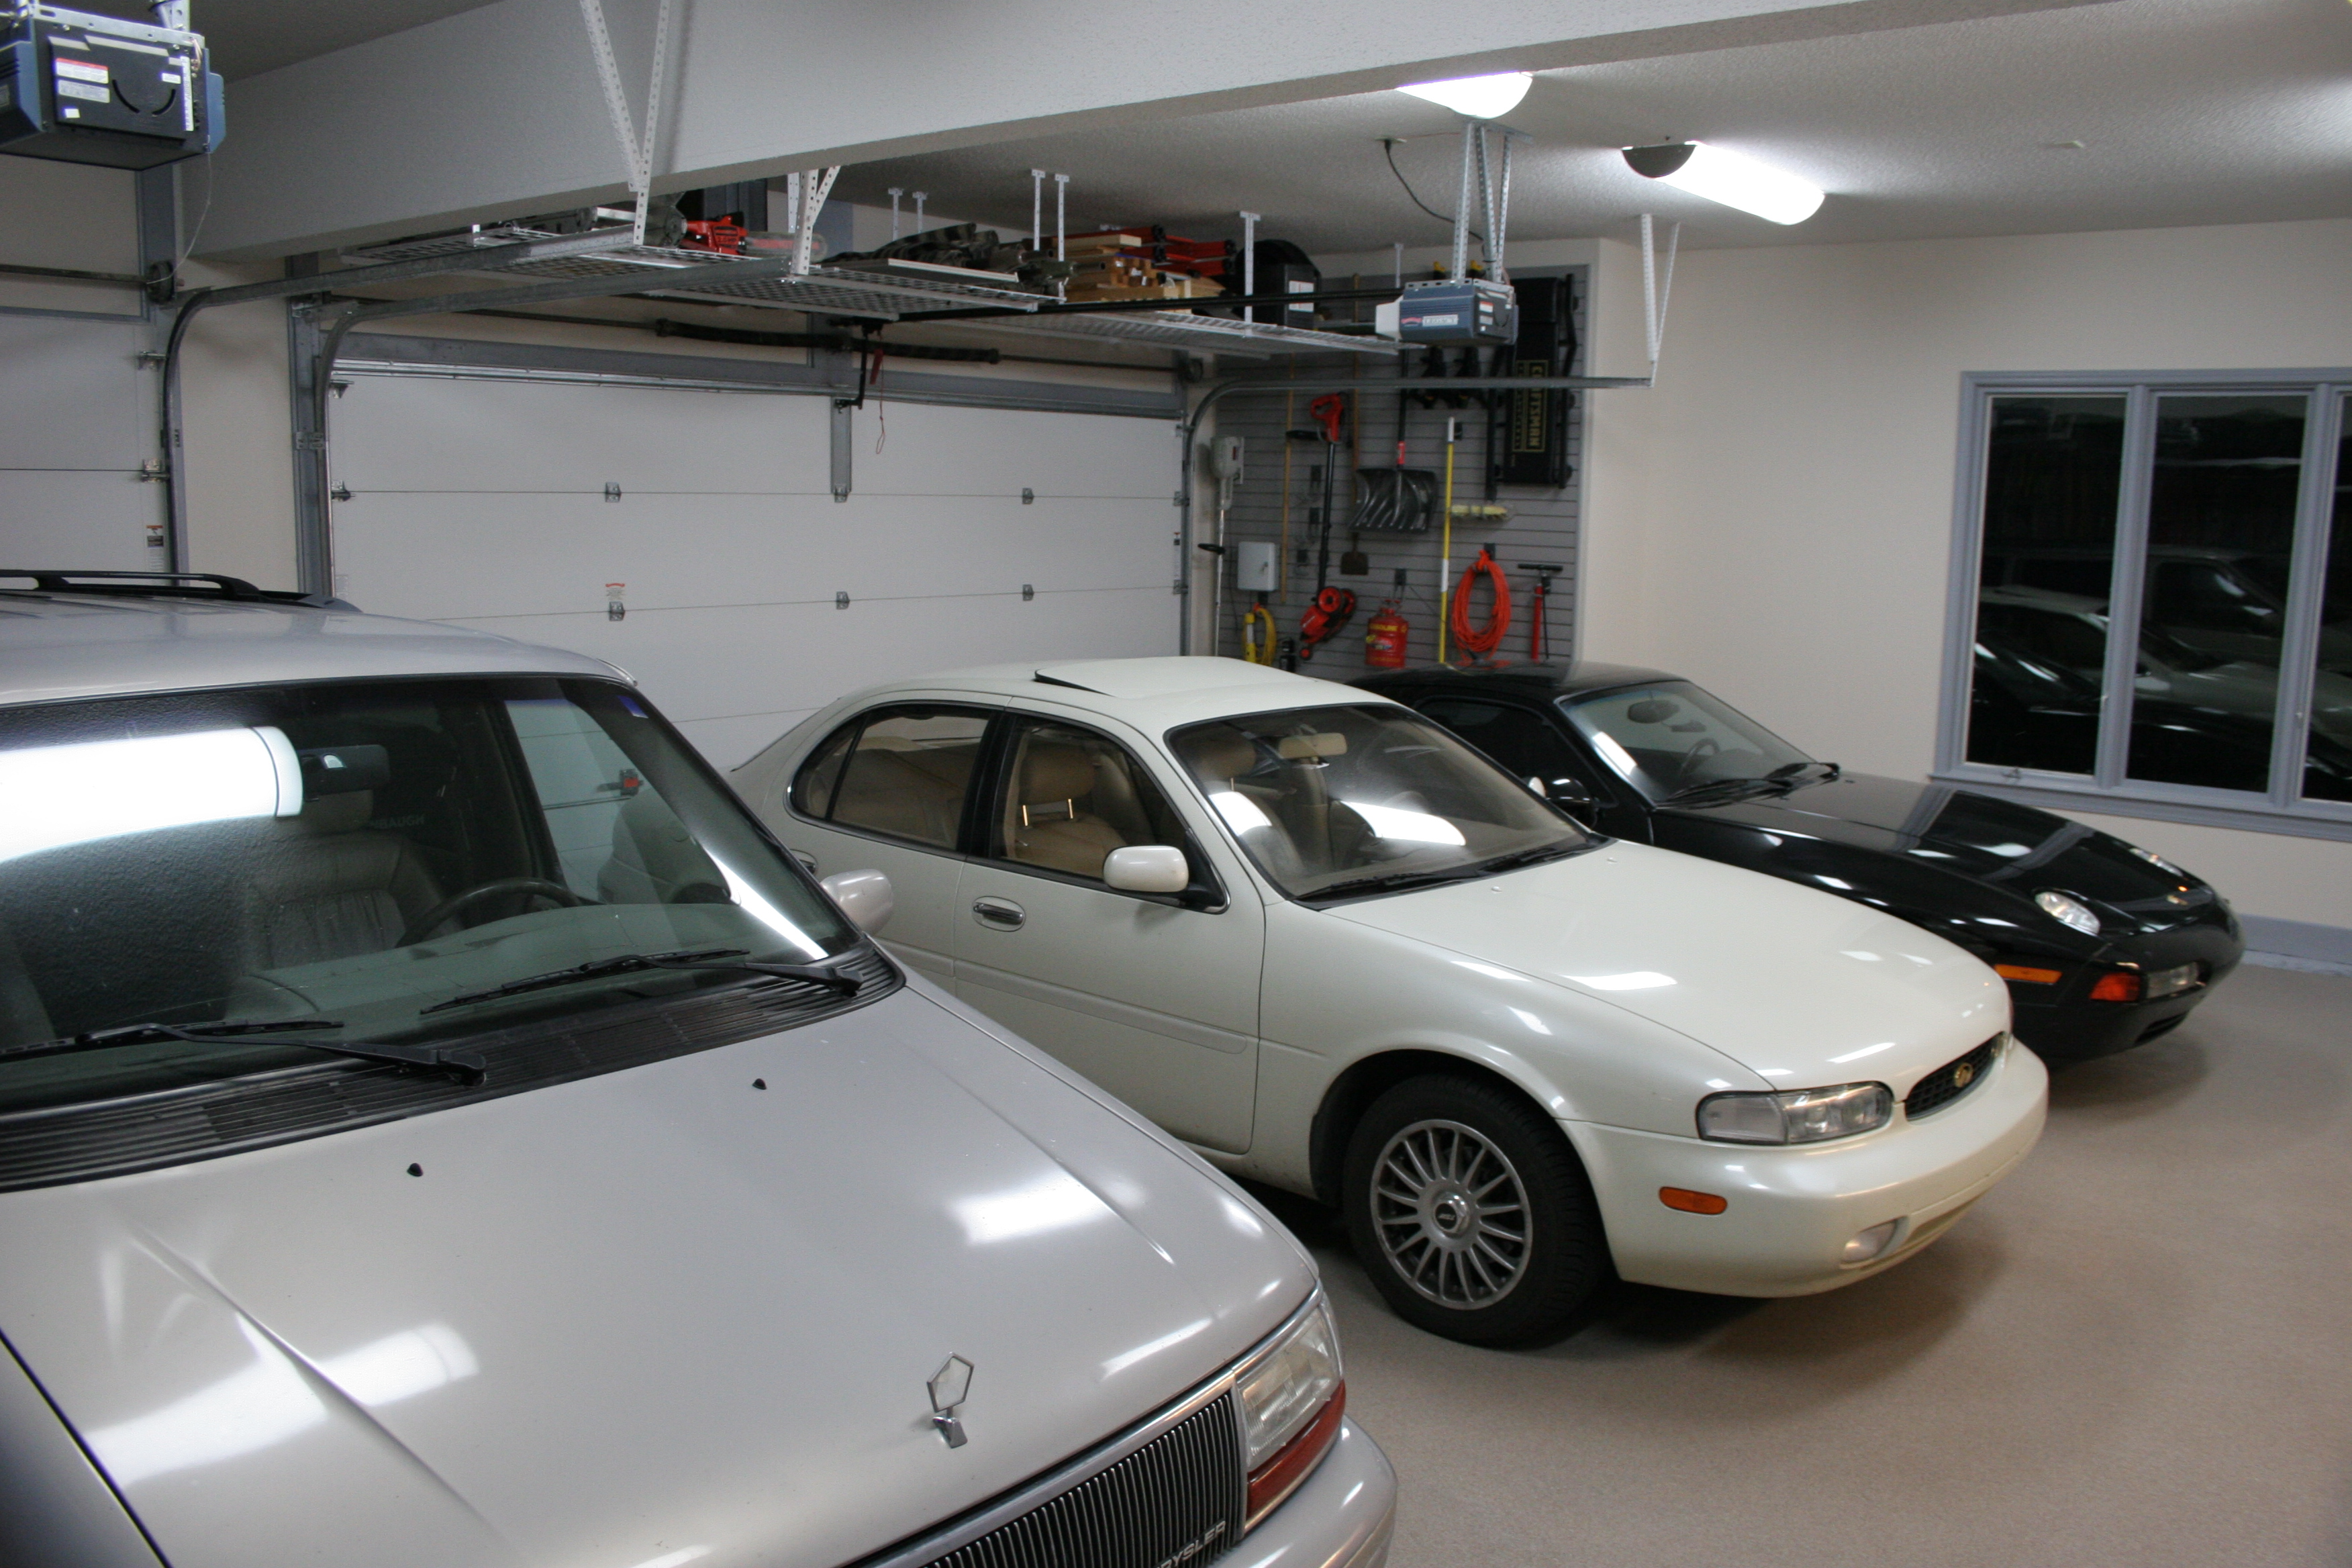
| Good view of Hyloft overhead storage (already pretty filled up!) |
 |
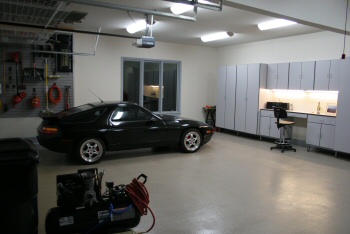
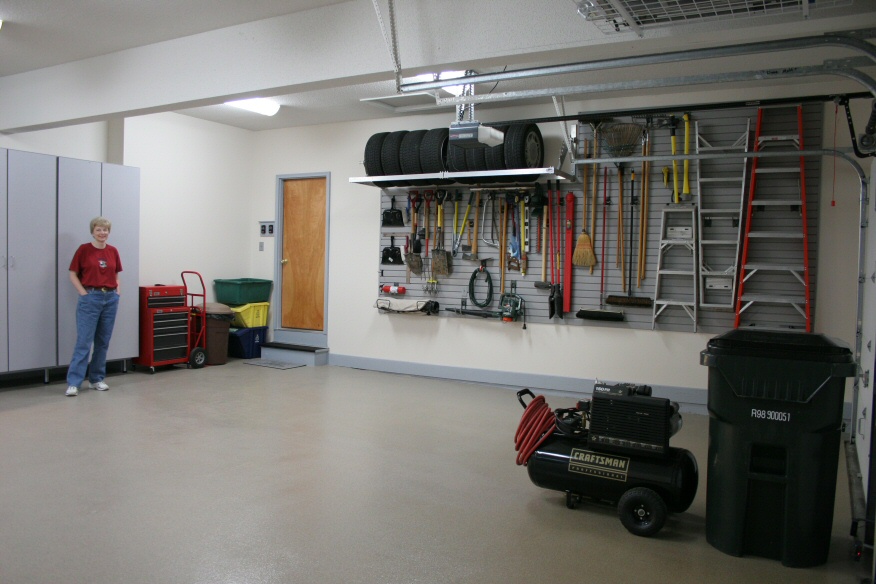
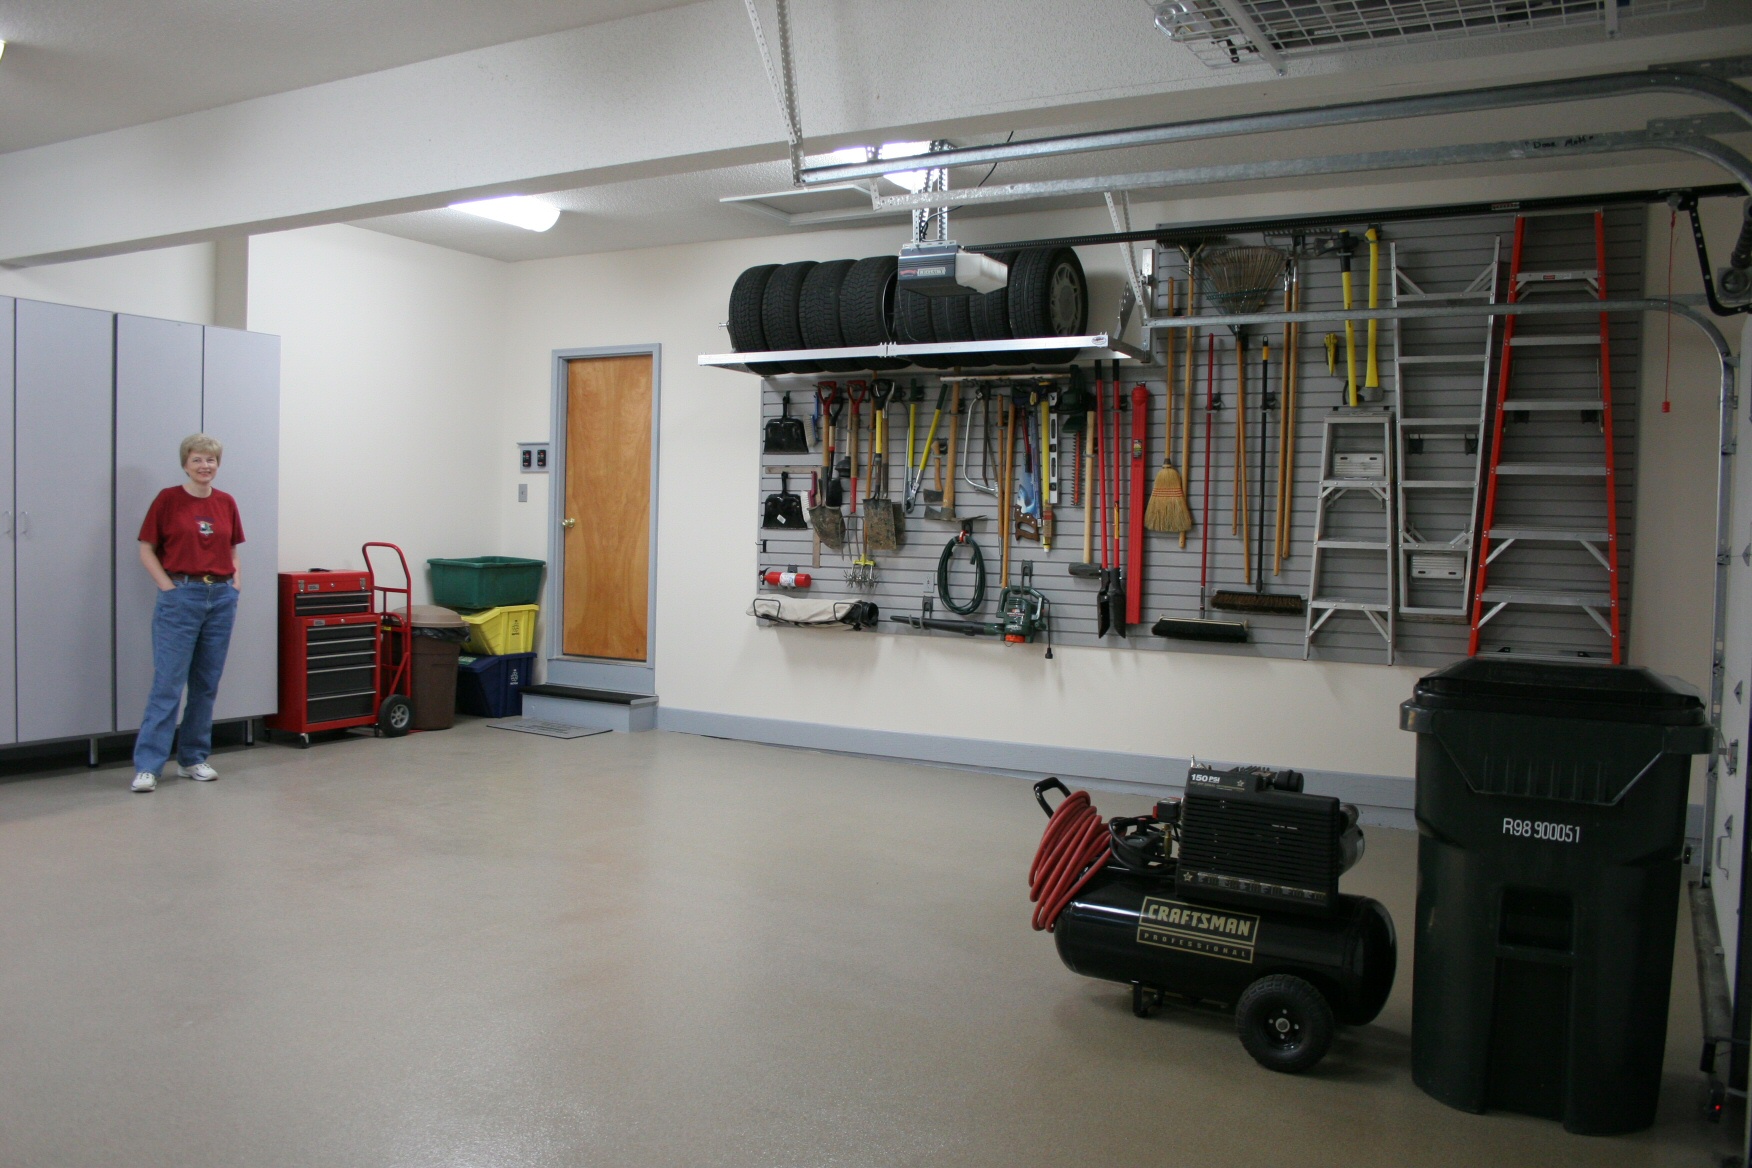
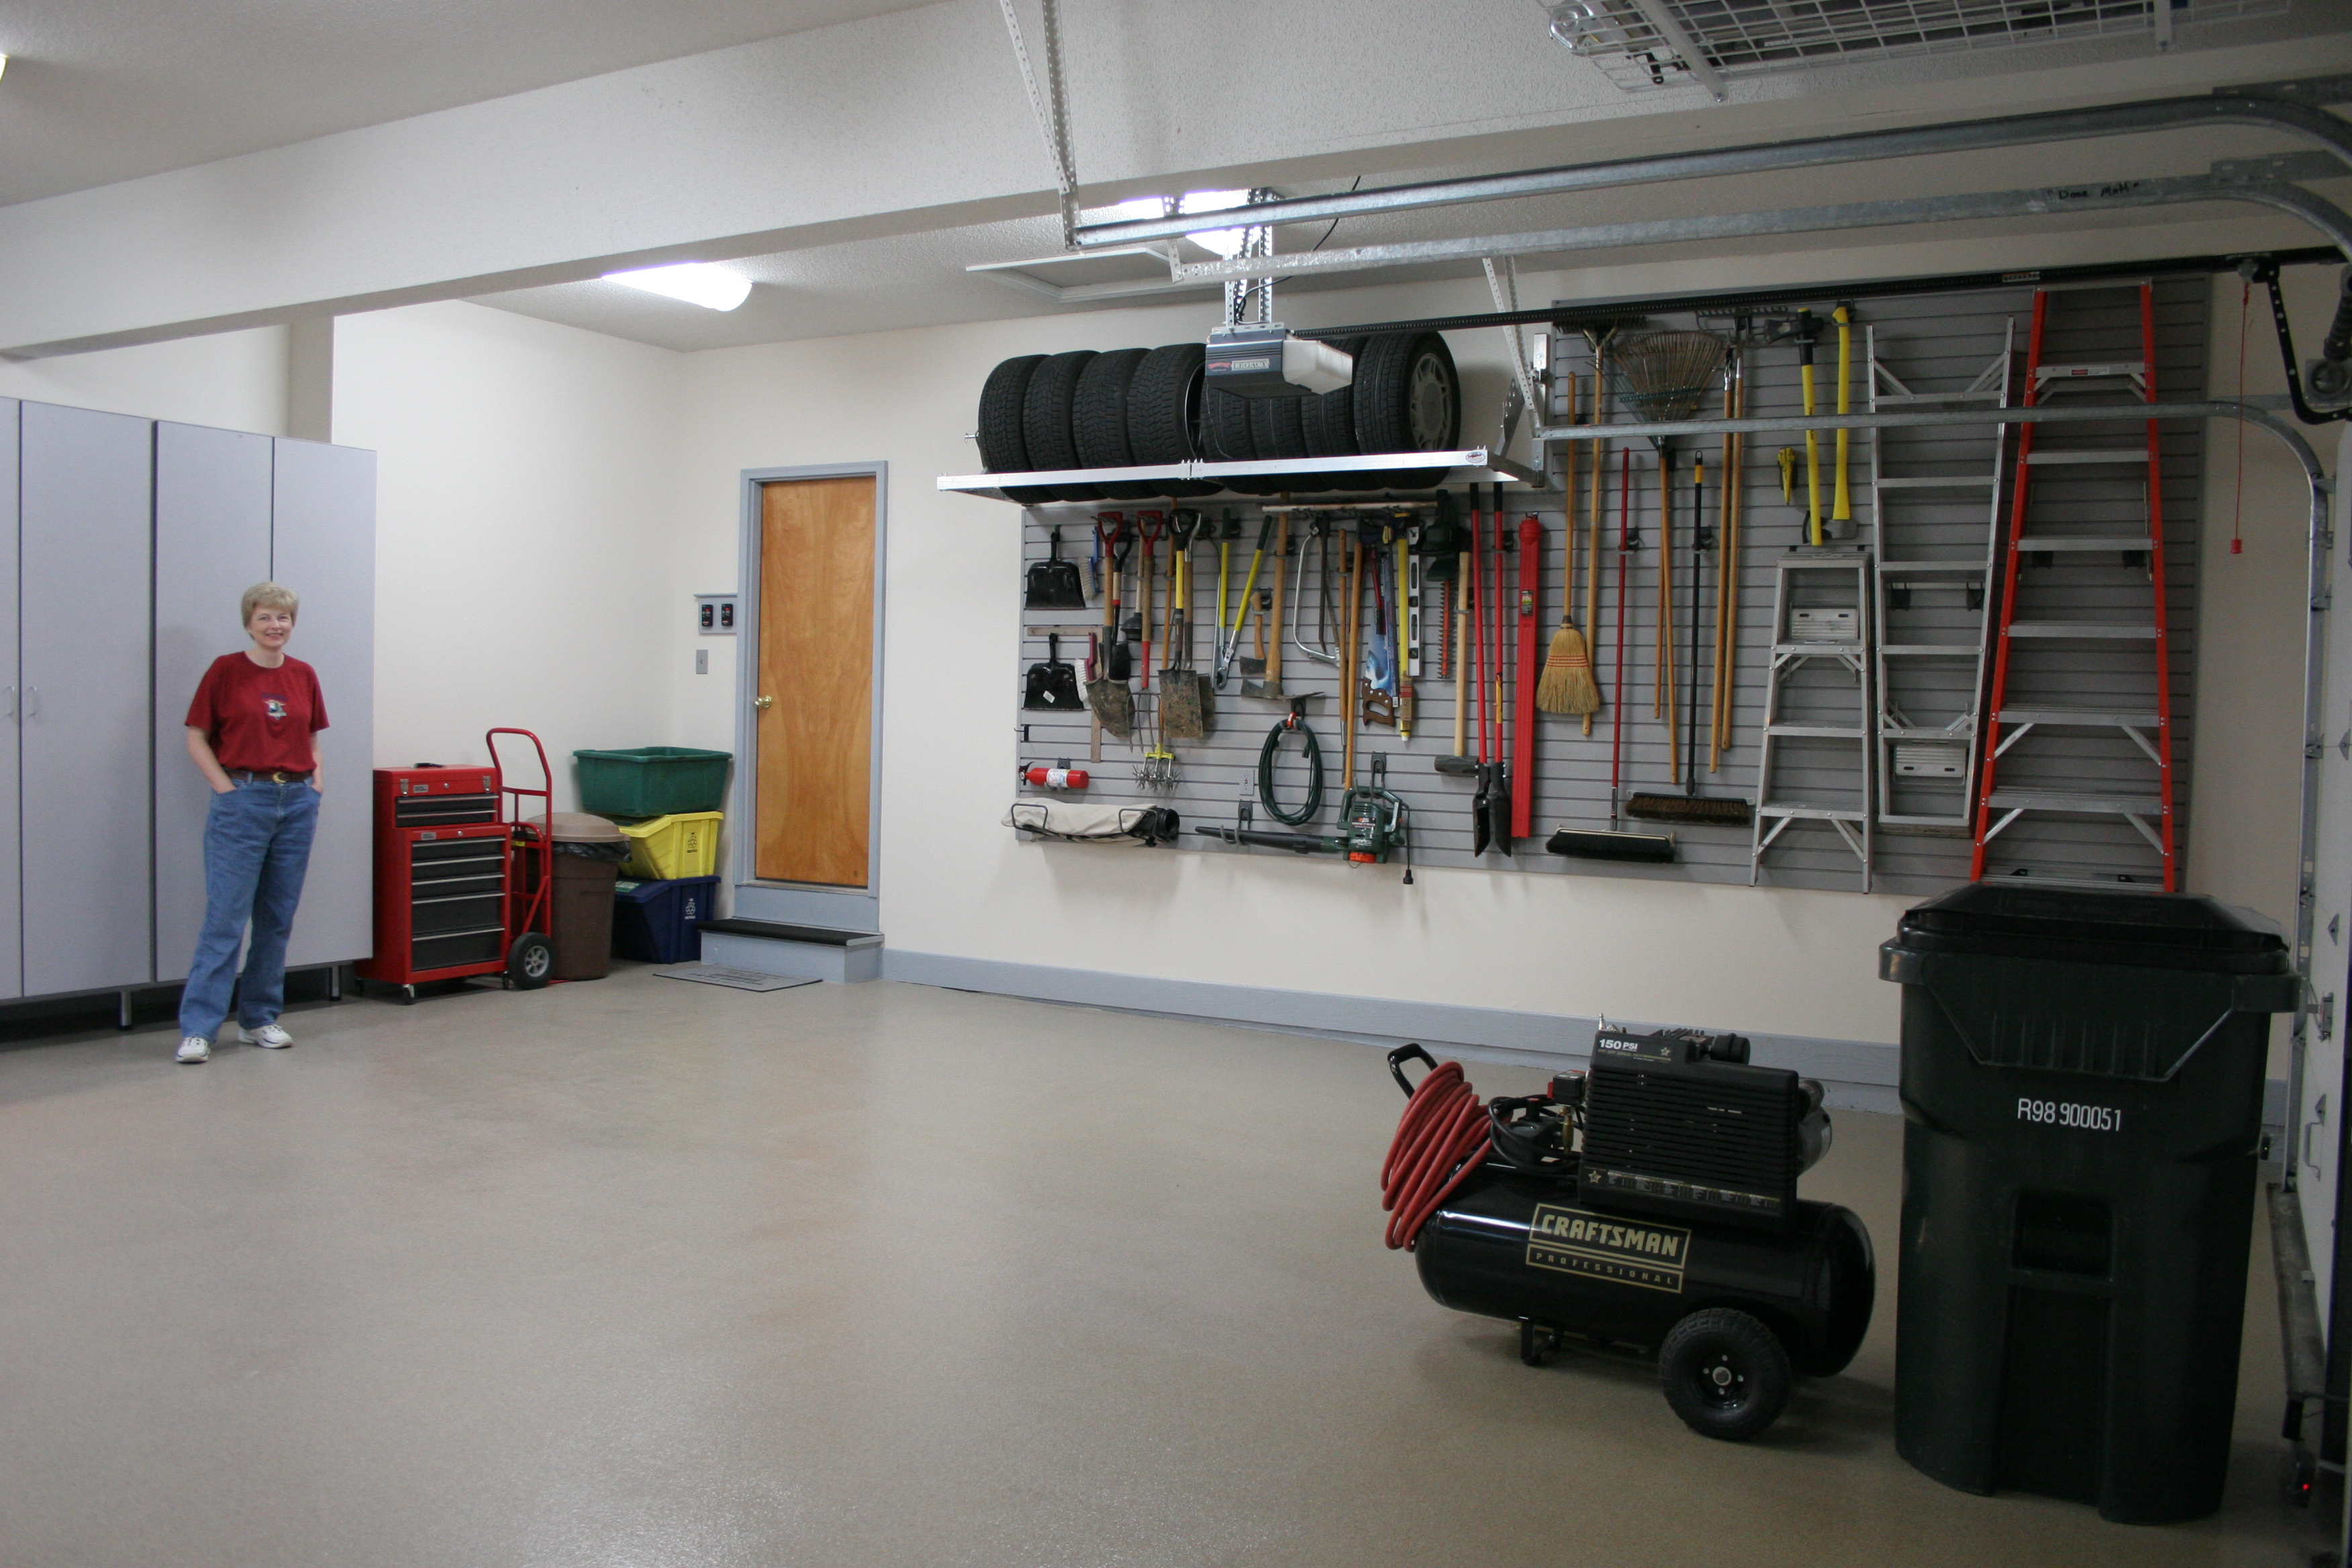
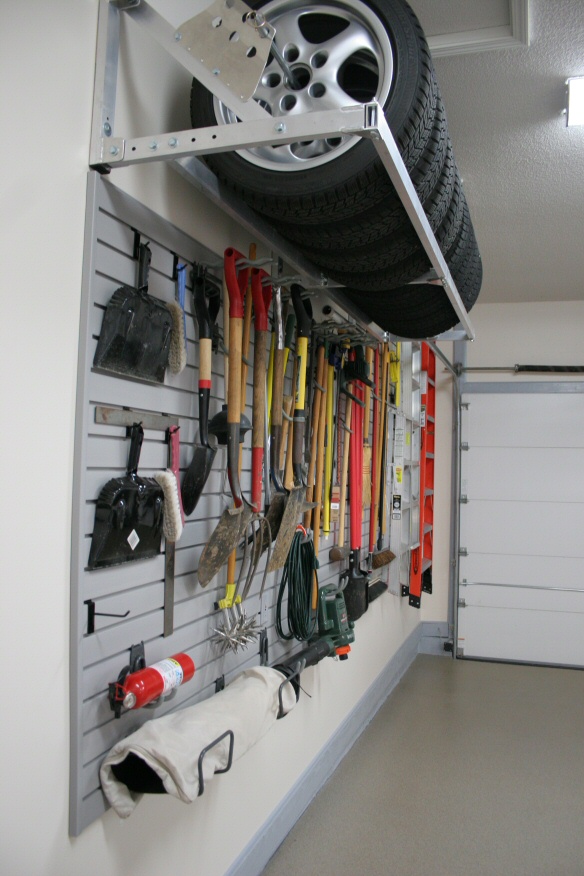
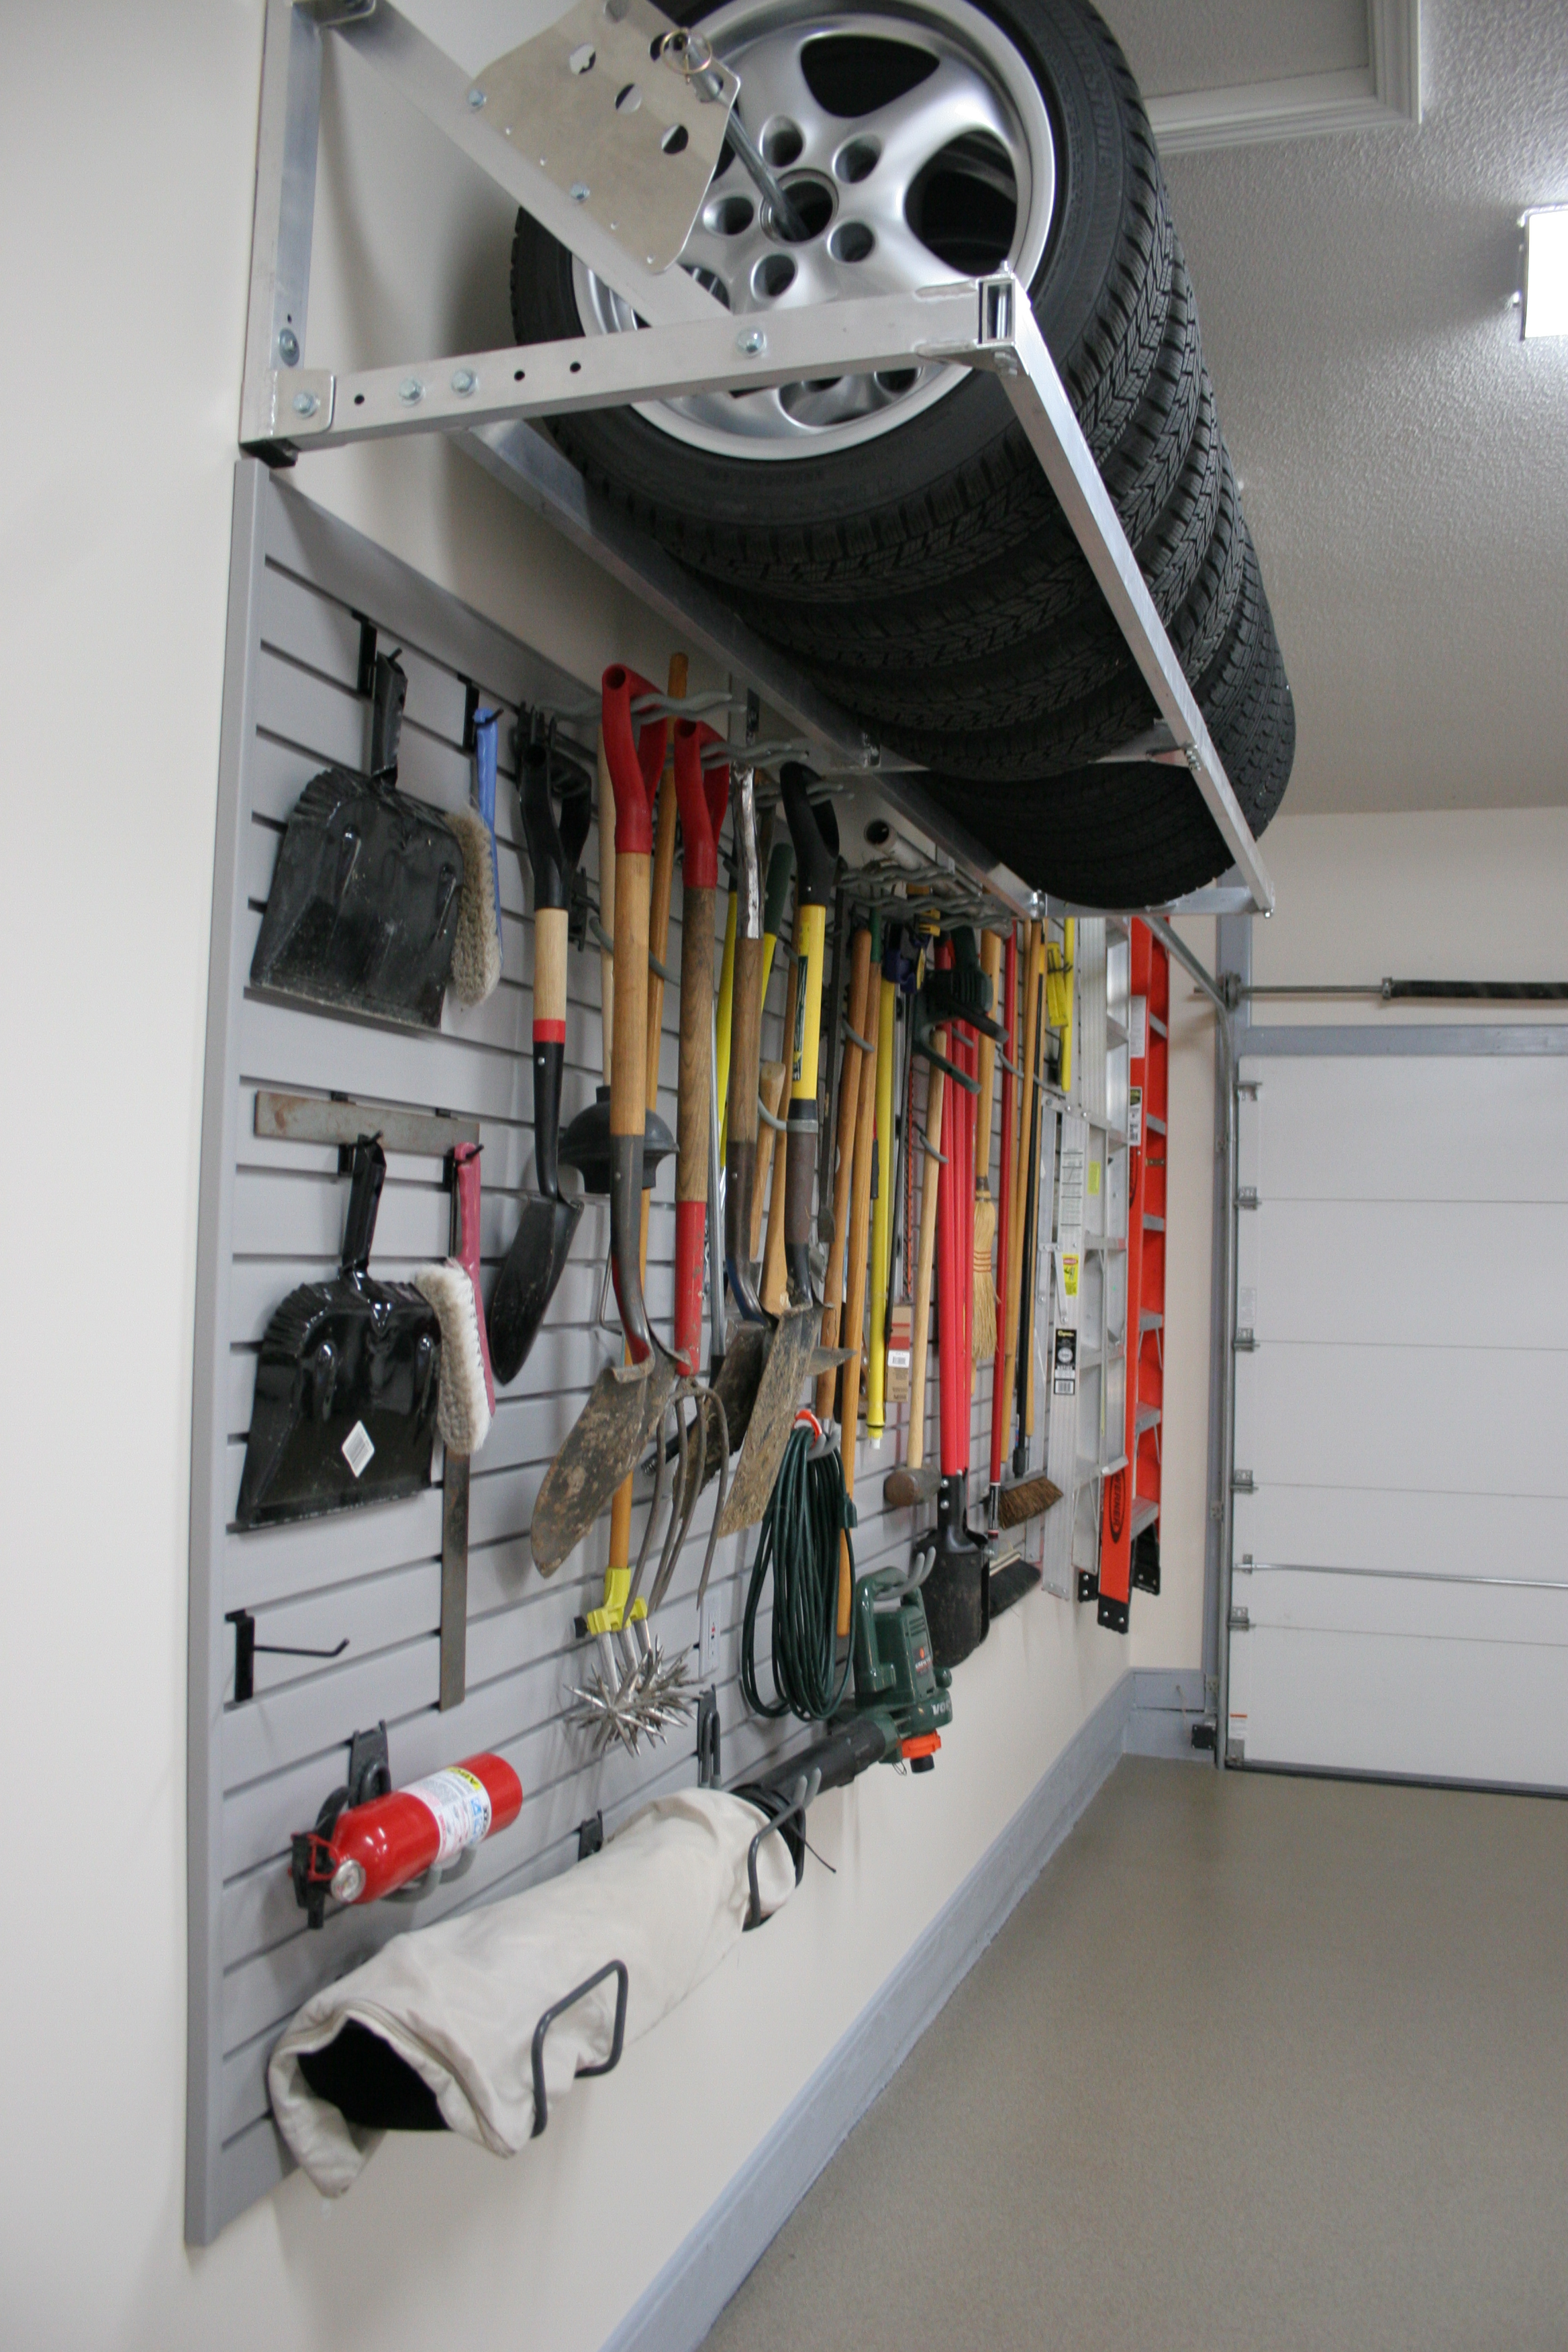
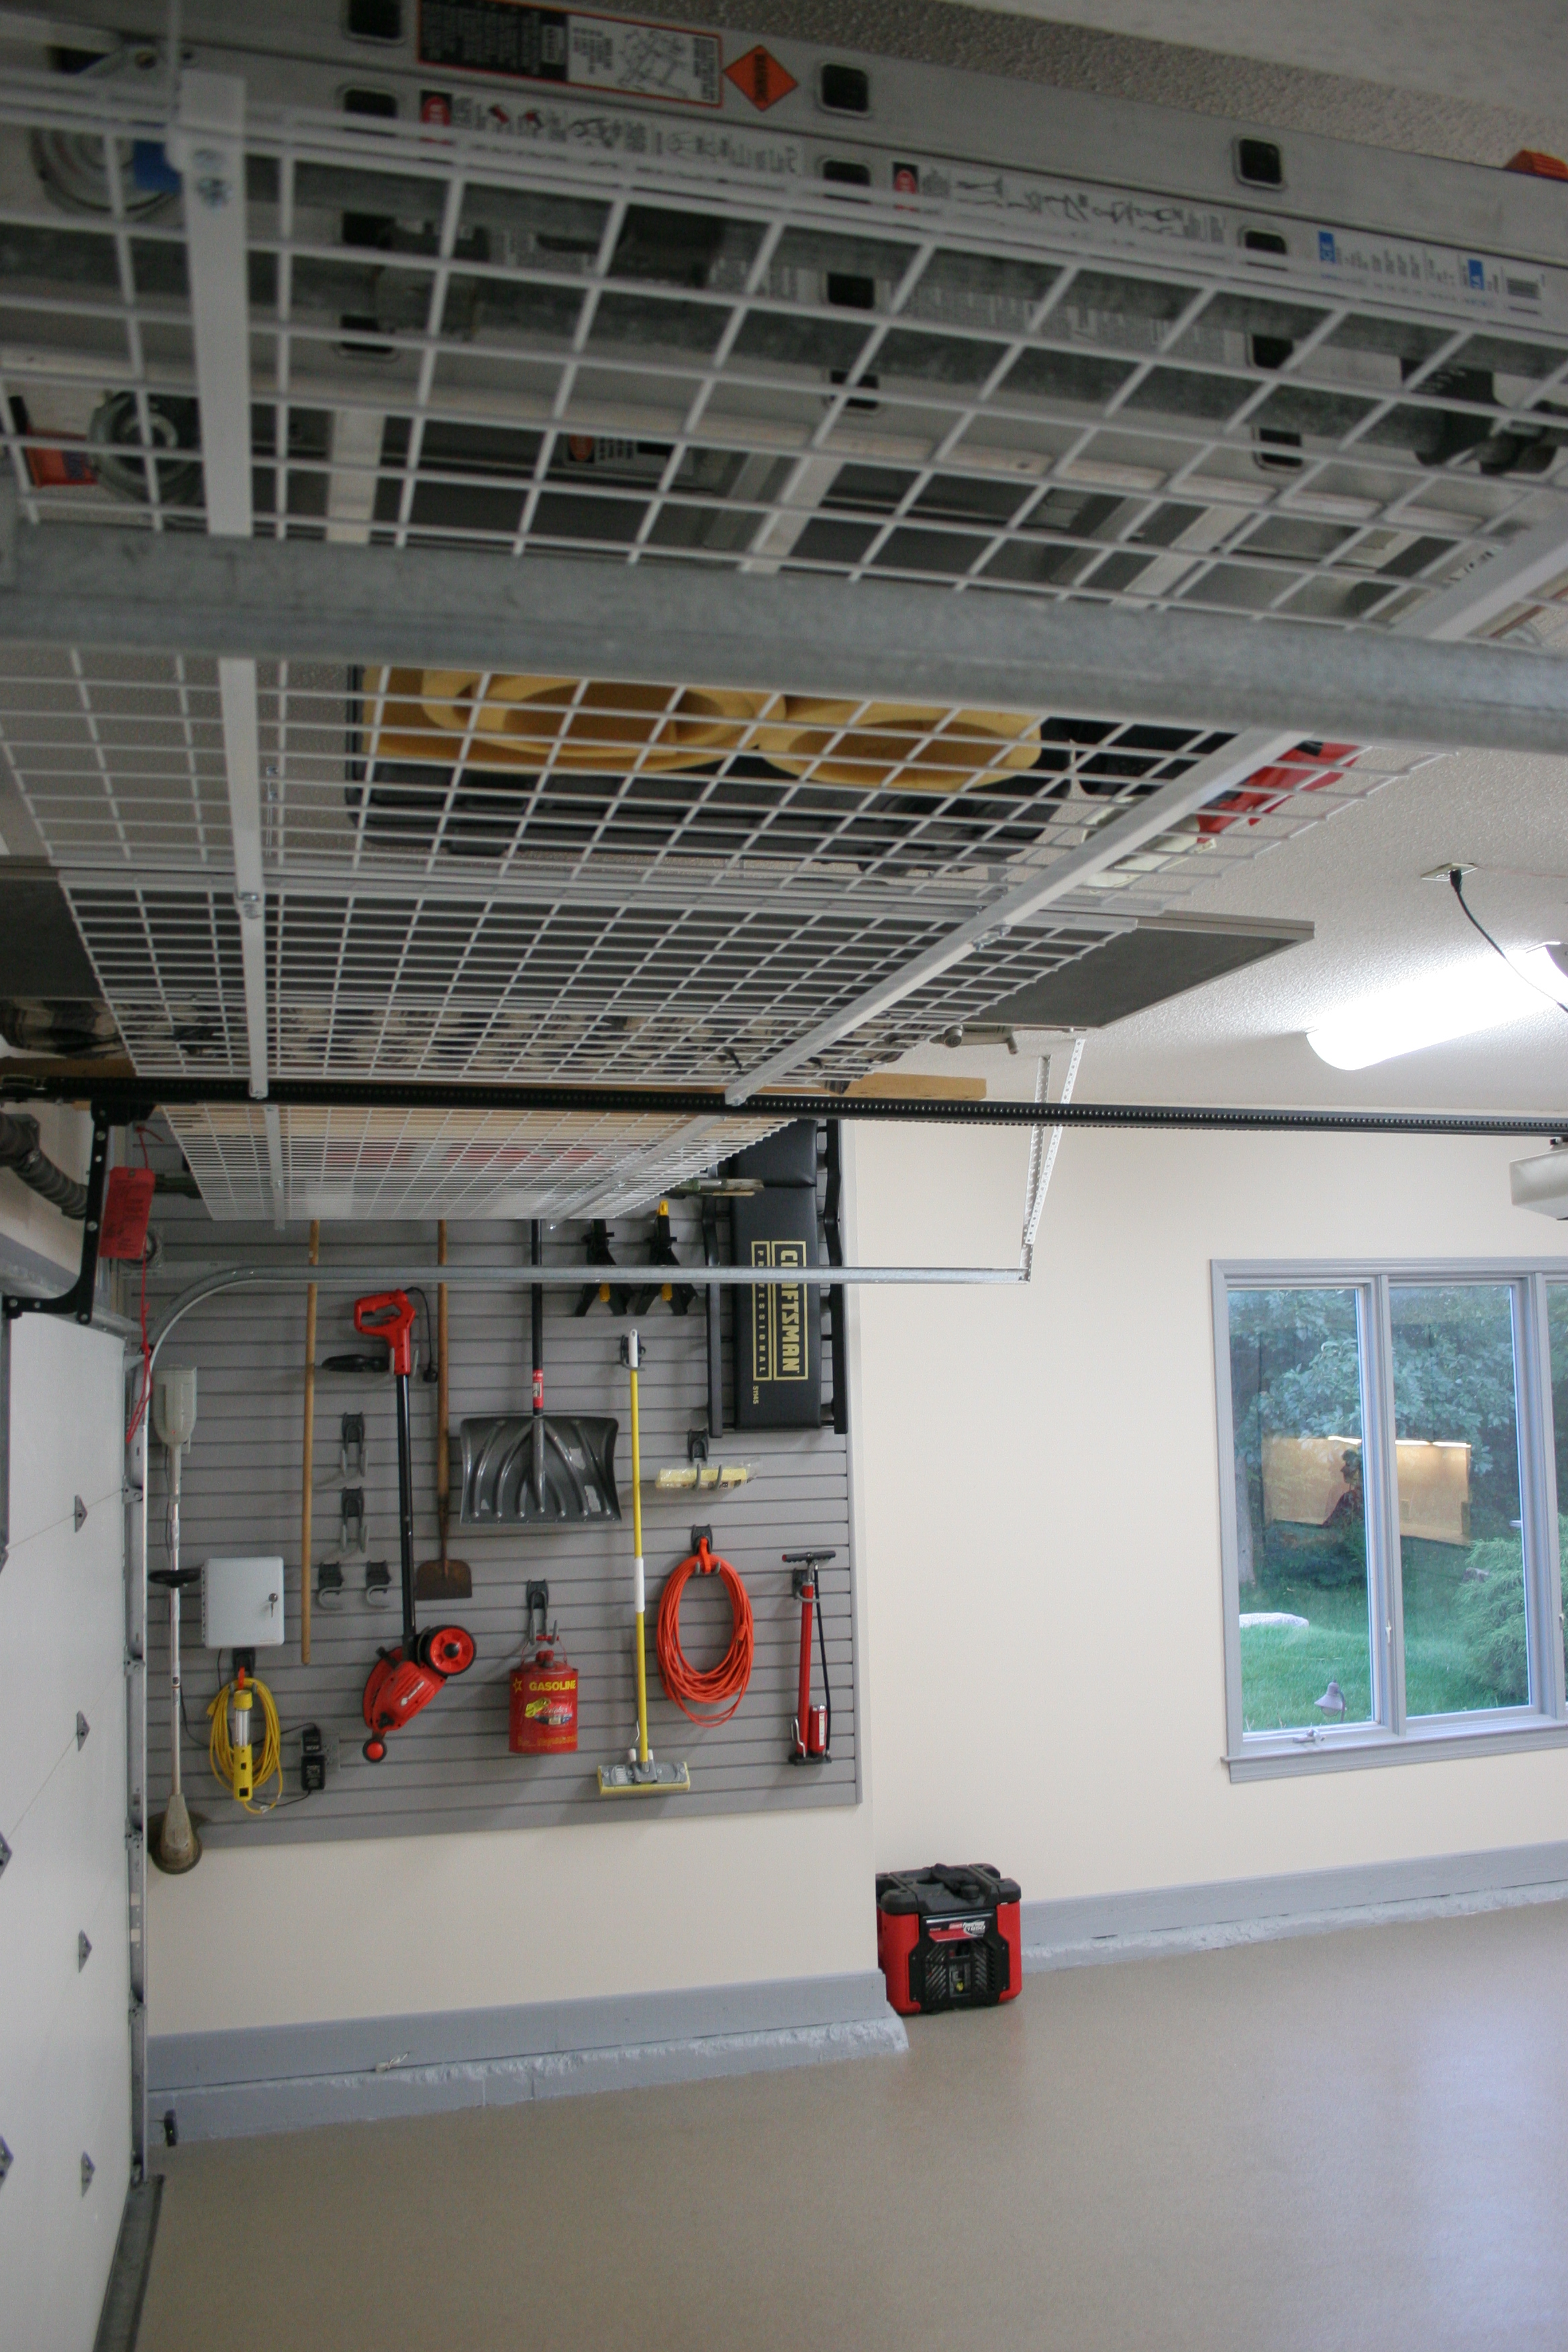
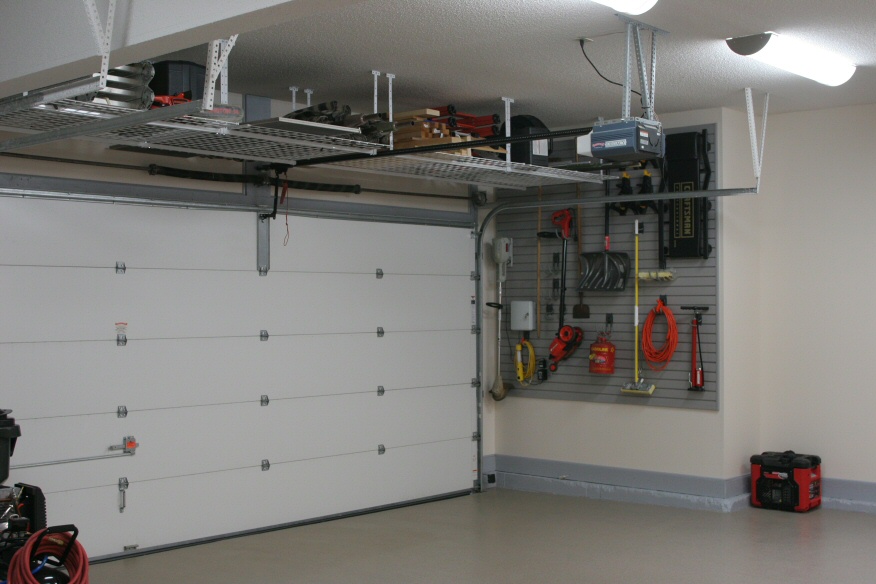
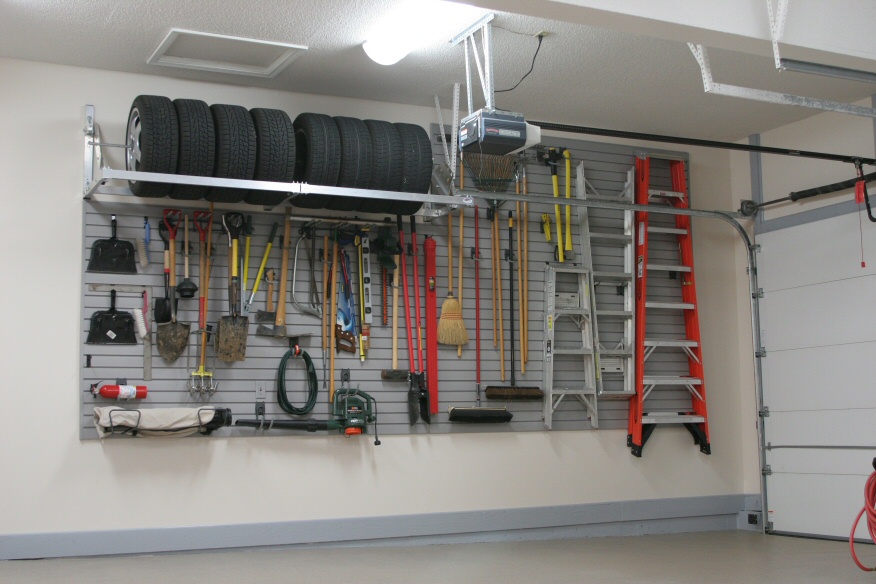
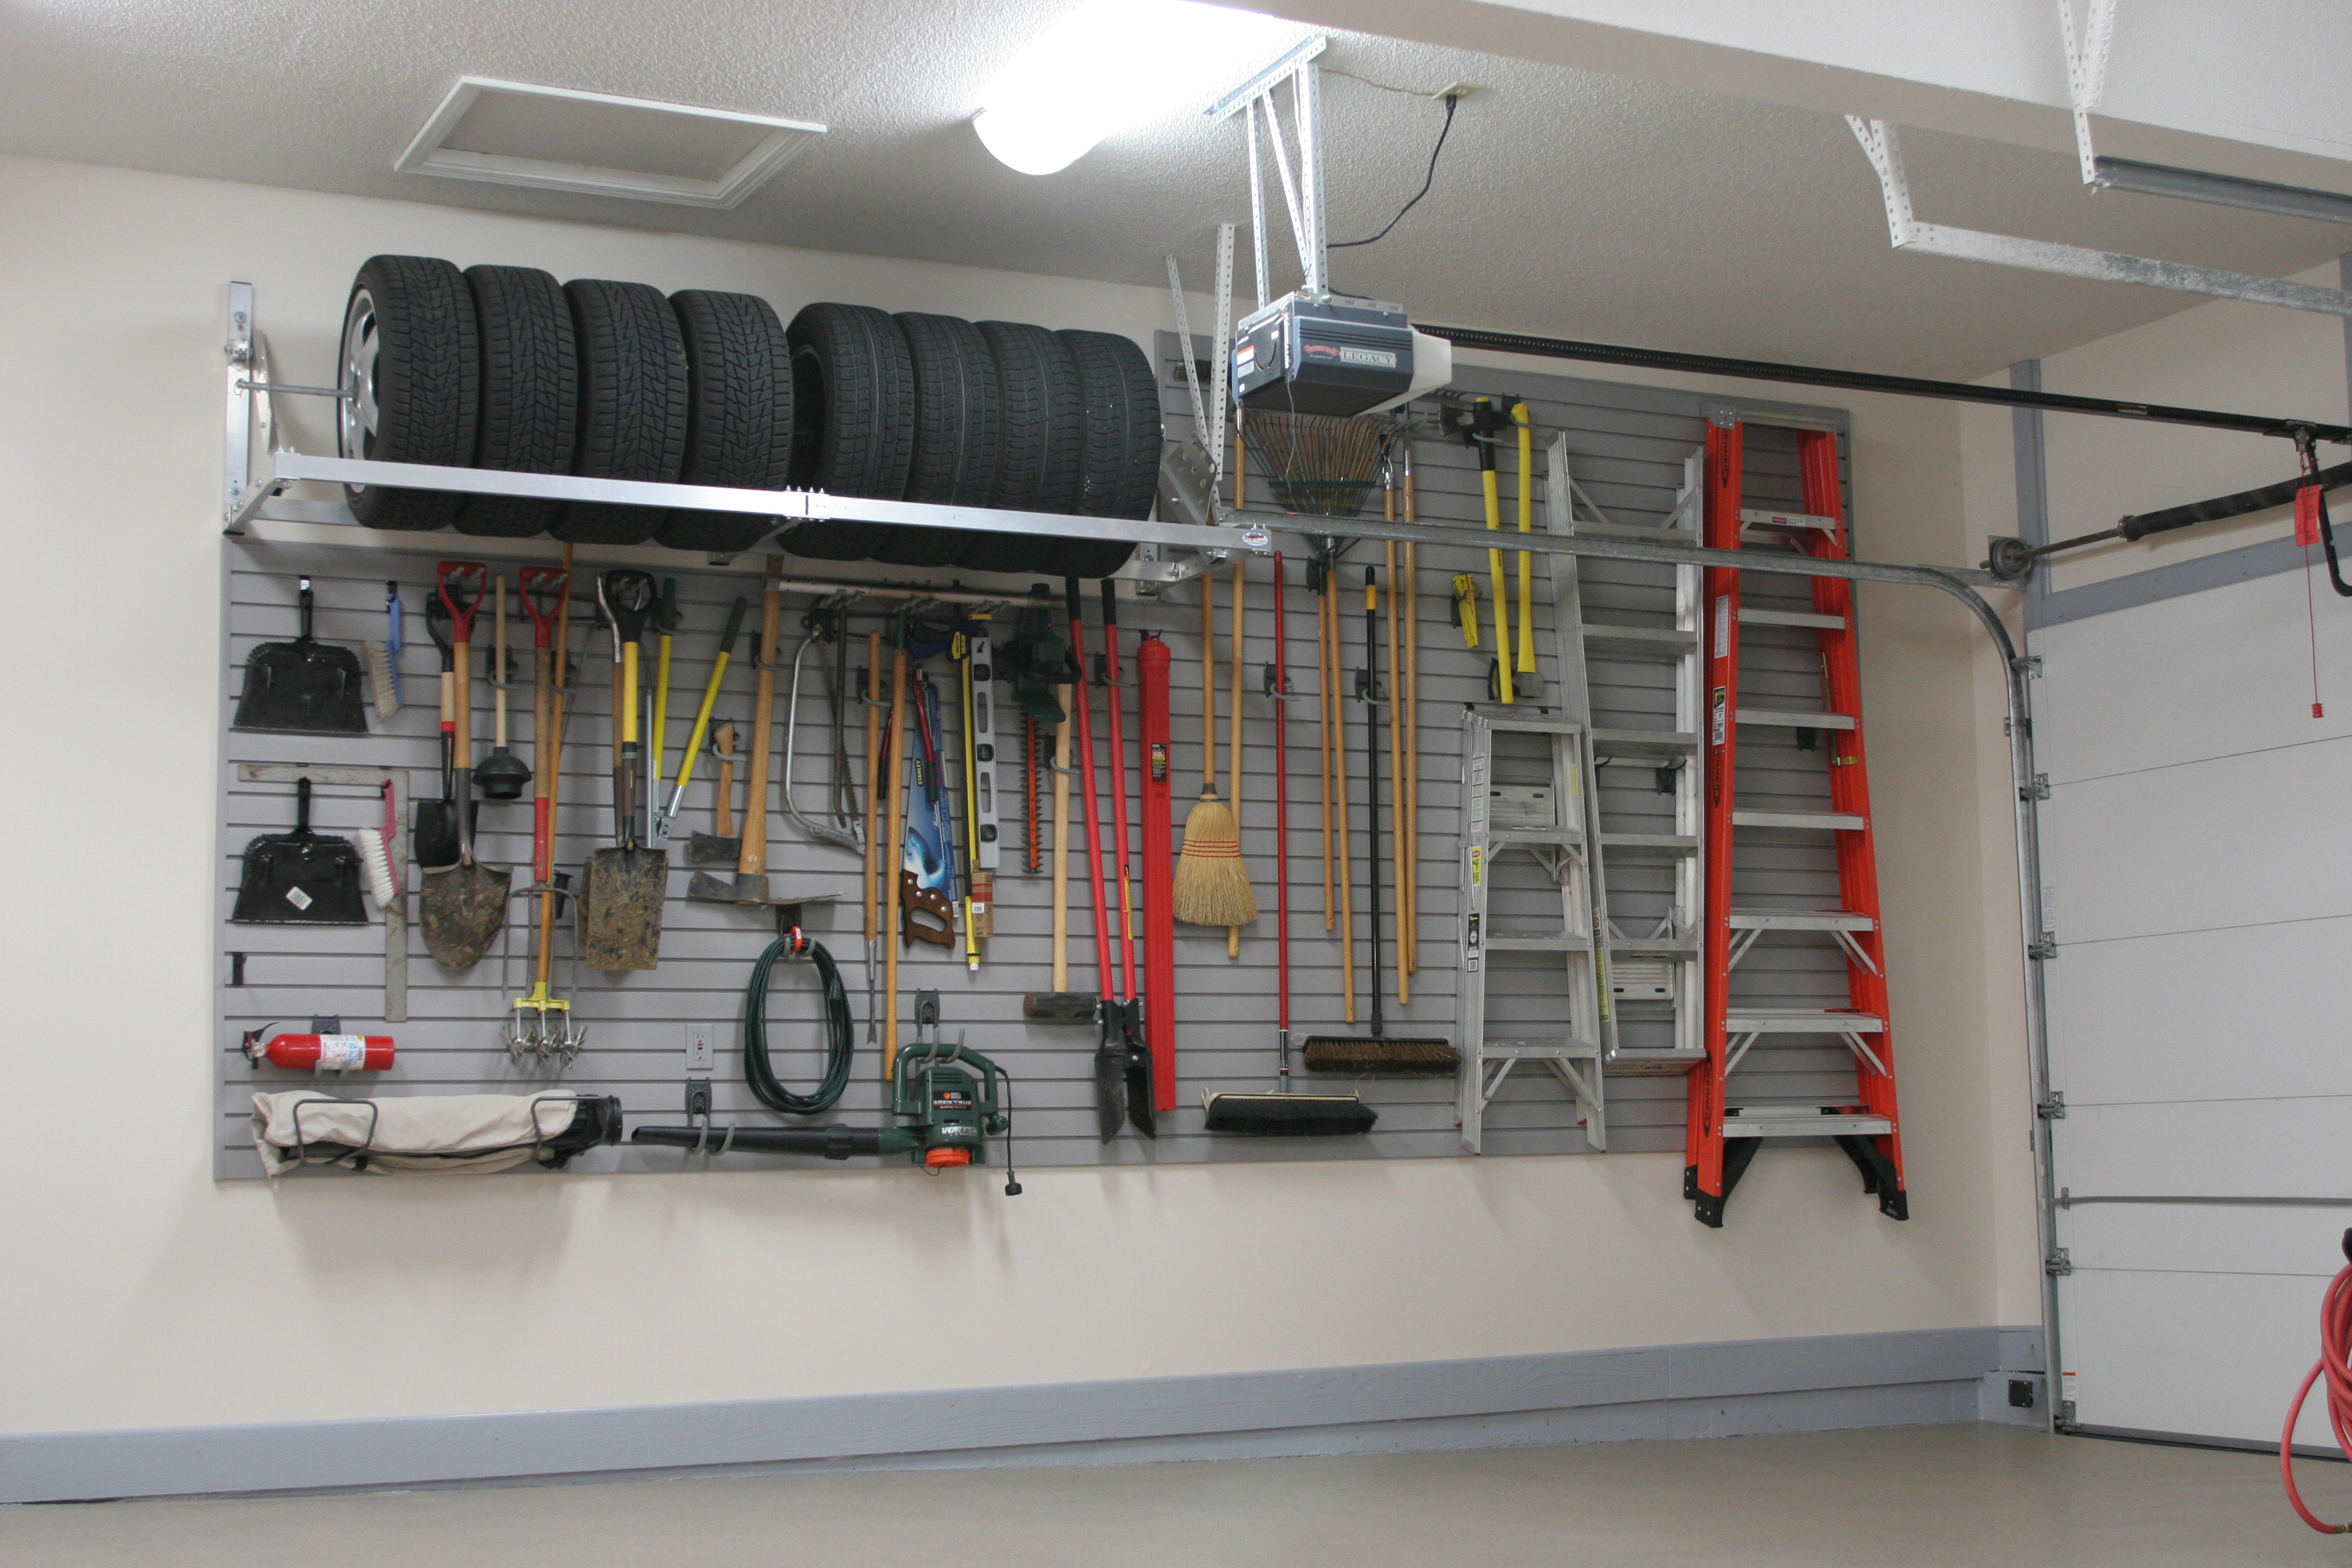
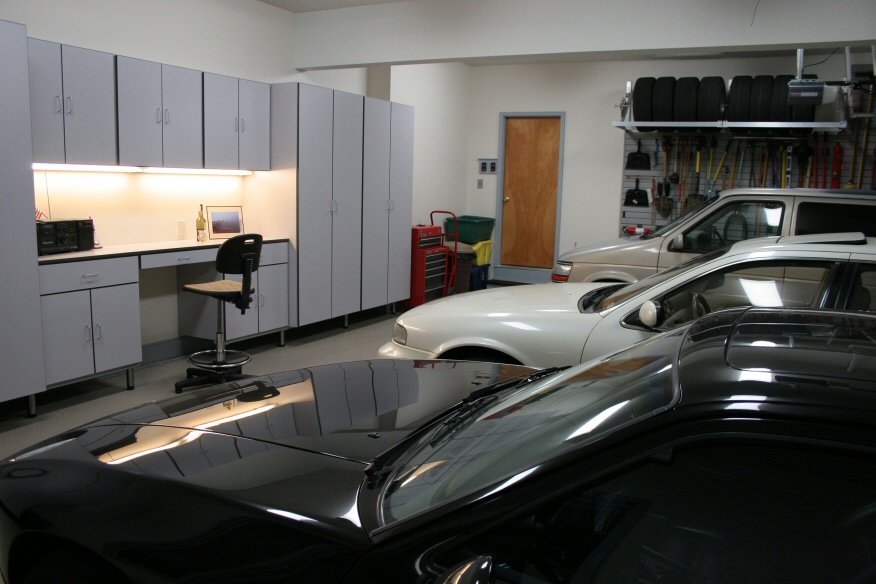
| IMG_1302: [medium | large | huge] |
| Good side view of "Track Master" tire rack above and storeWALL
slat storage system below. |
 |
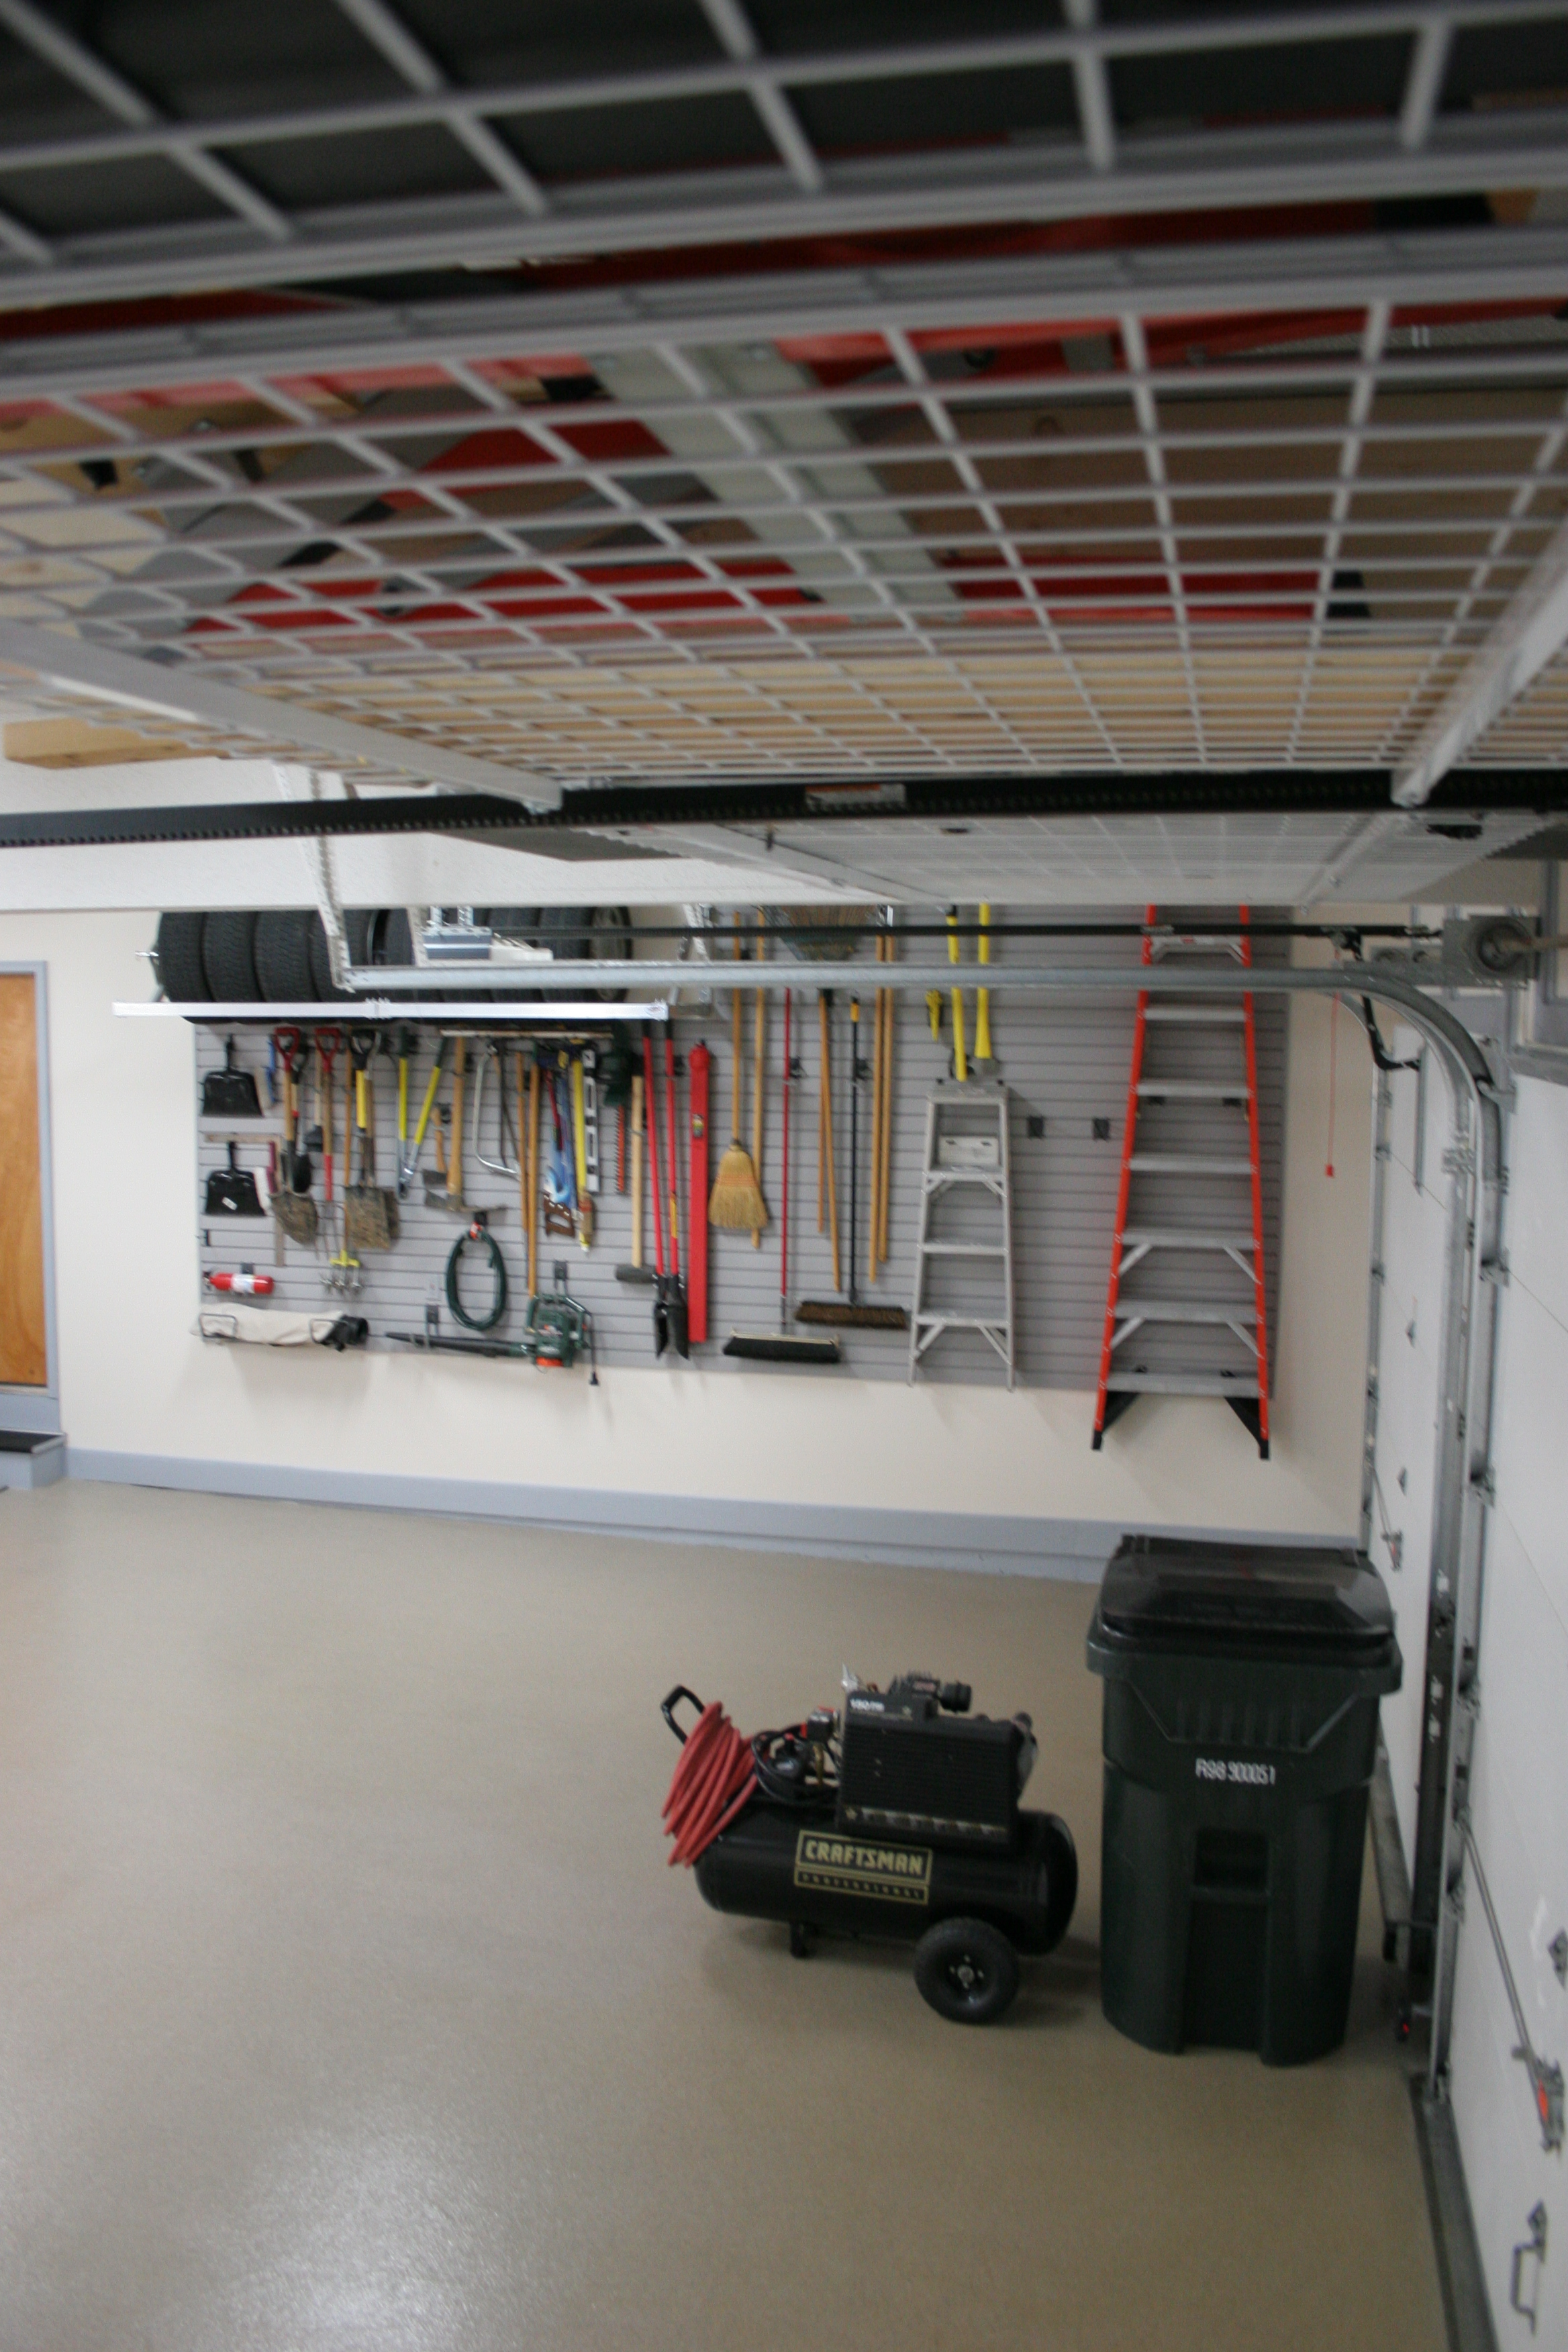
| IMG_1308: [medium | large | huge] |
| View along underside of overhead storage. |
 |
| IMG_1312: [medium | large | huge] |
| storeWALL is already pretty densely populated! |
 |
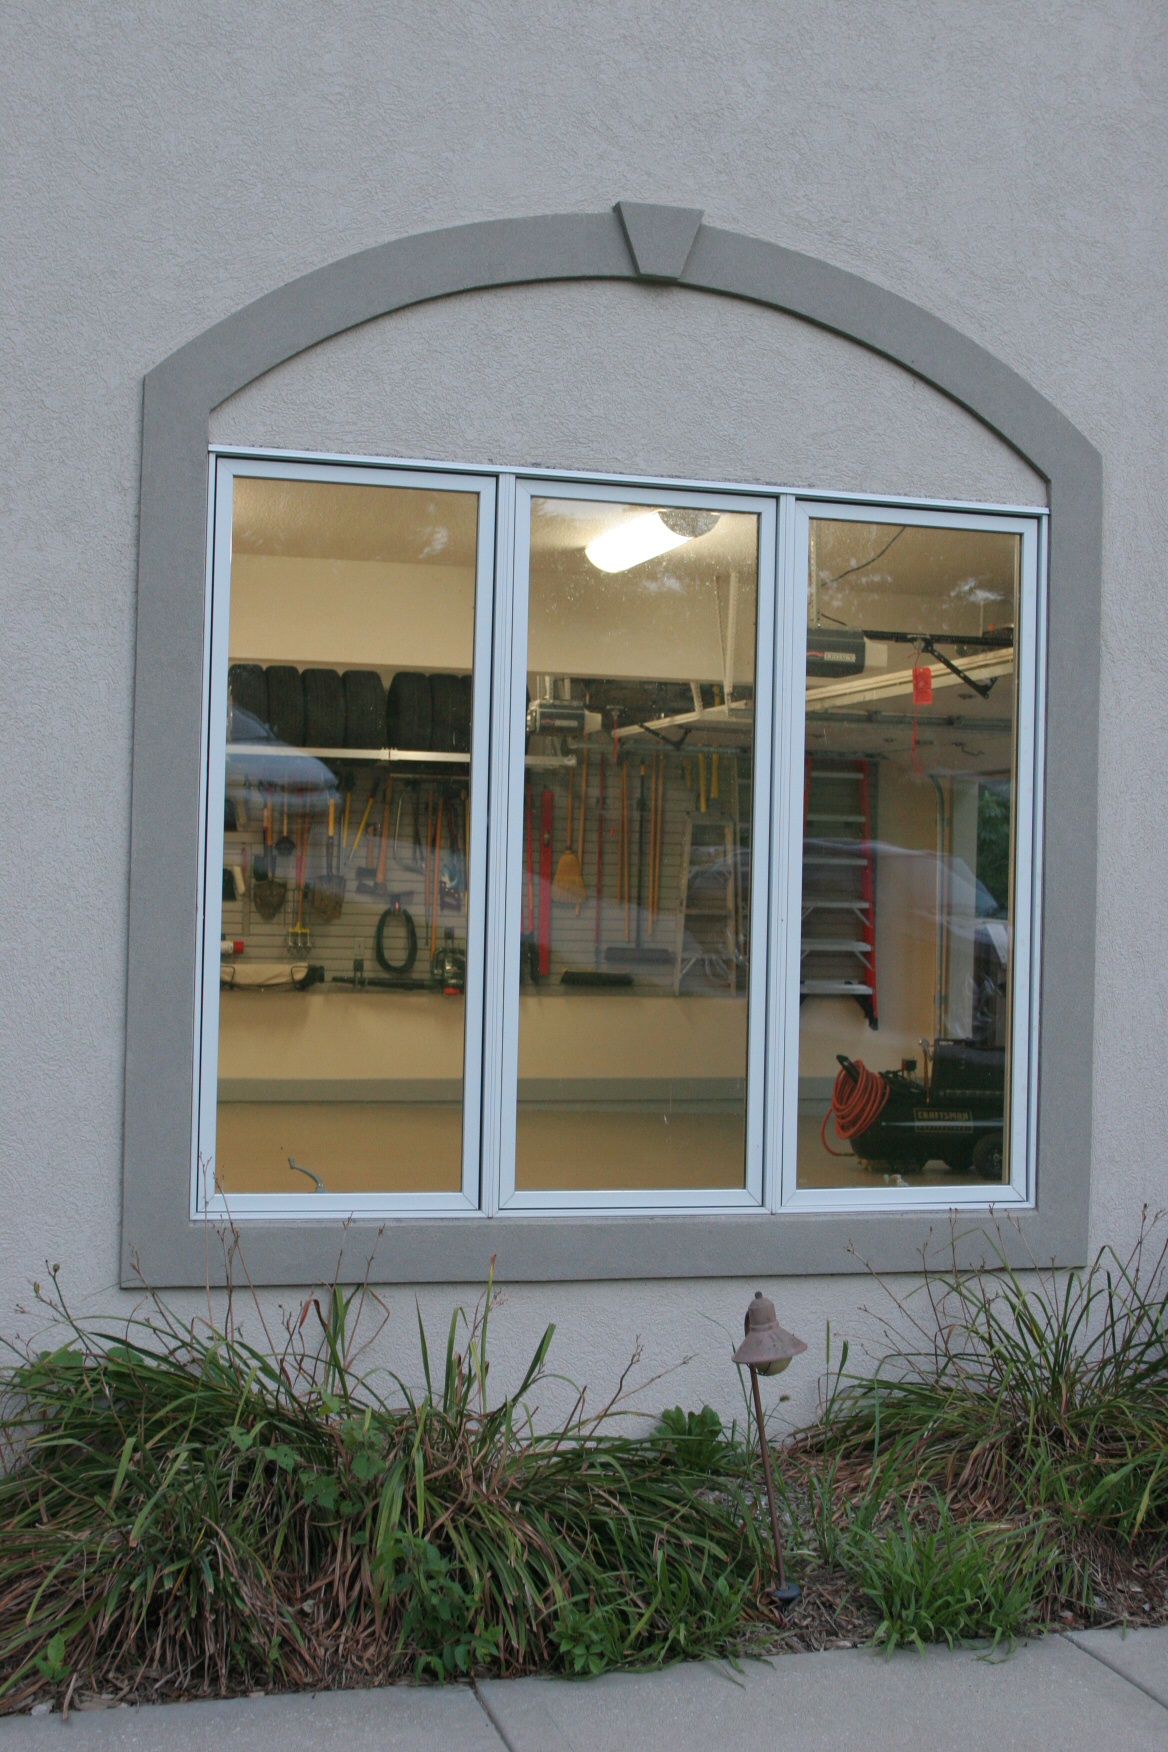
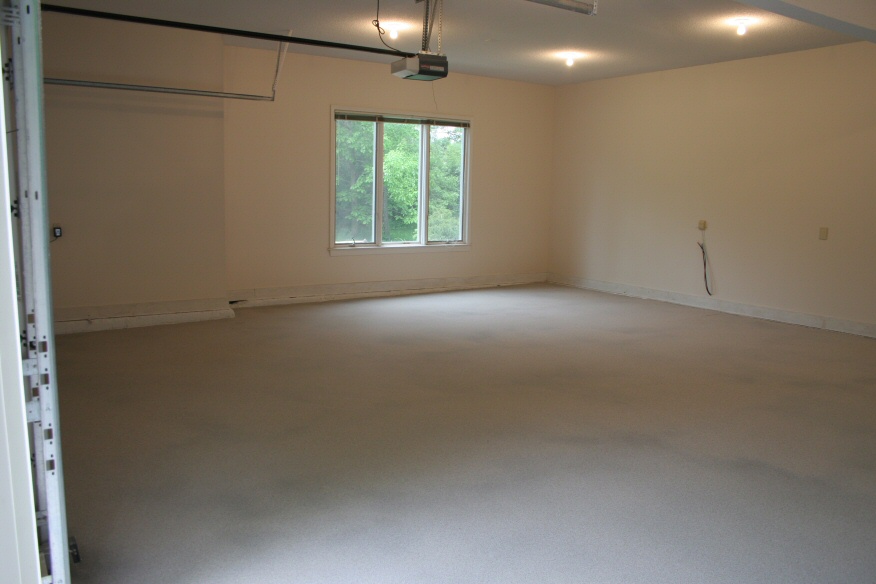
| IMG_1319: [medium | large | huge] |
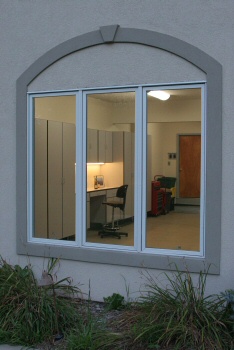
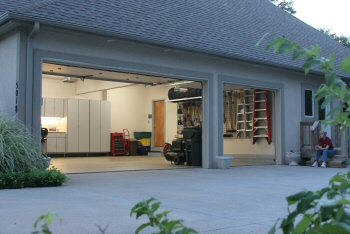
| View from the front yard. We'll be putting in some kind of blinds
later. |
 |
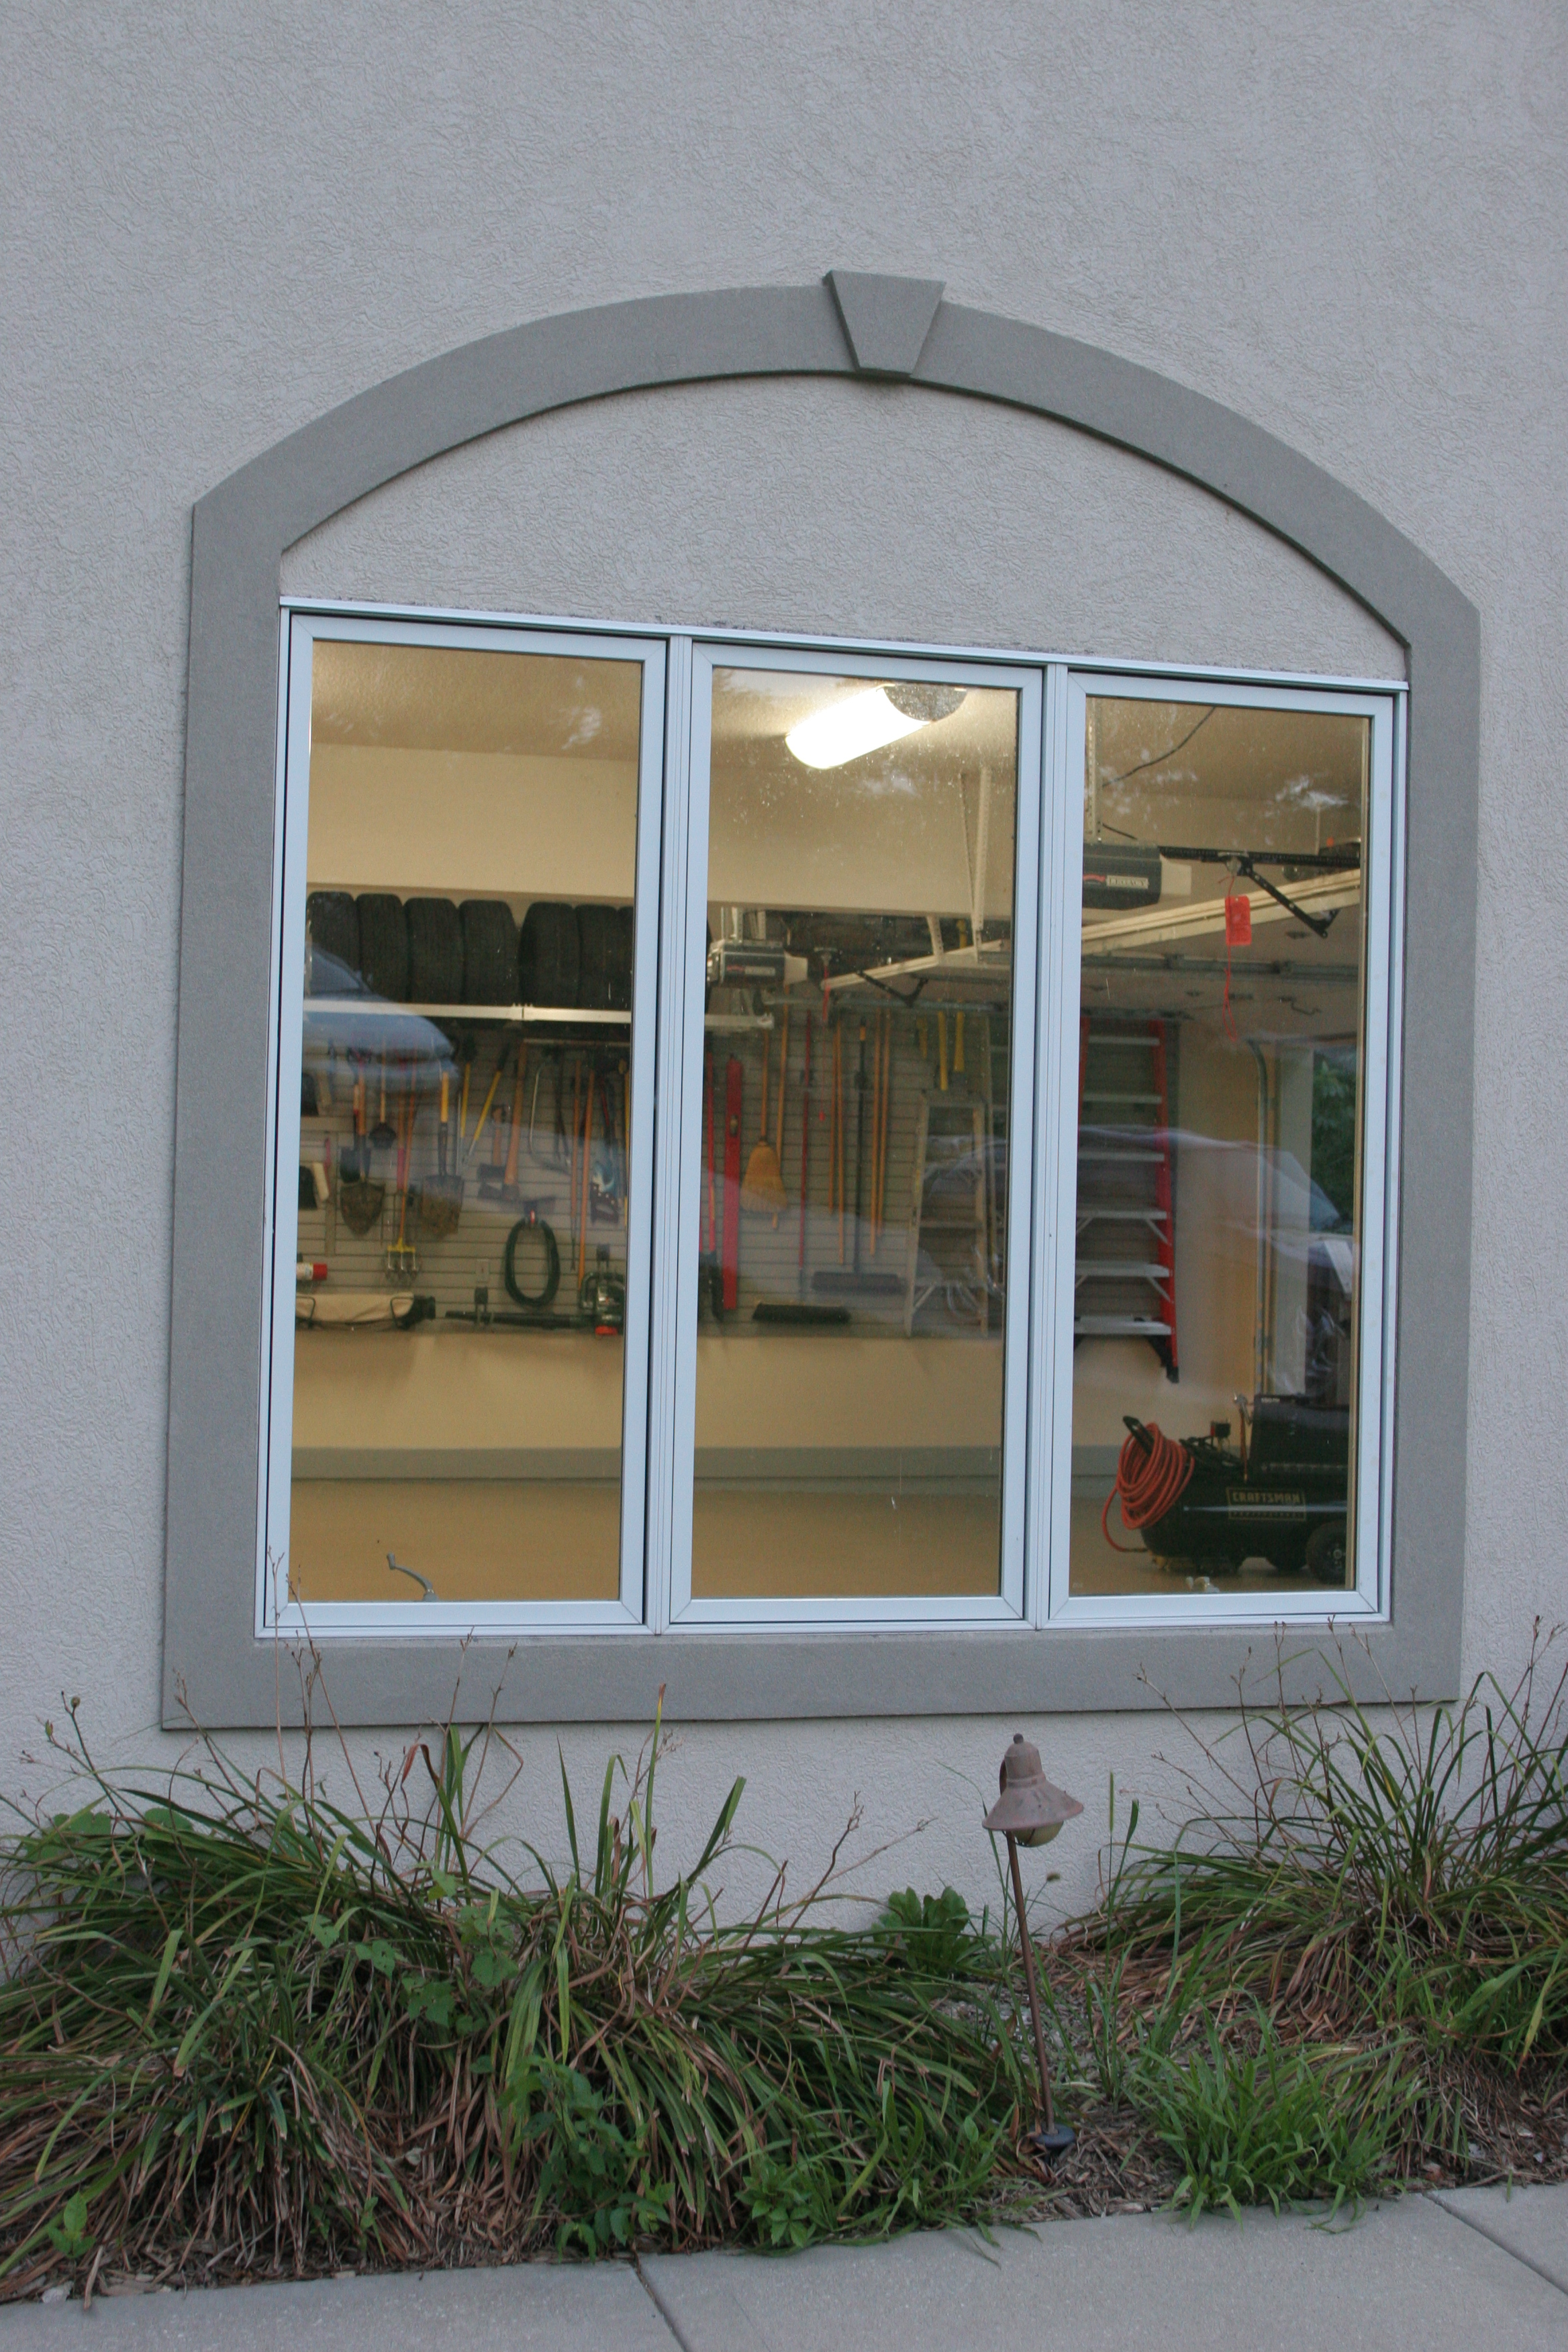
| IMG_1321: [medium | large | huge] |
| What it's going to be like coming home in the evening. |
 |
| IMG_1330: [medium | large | huge] |
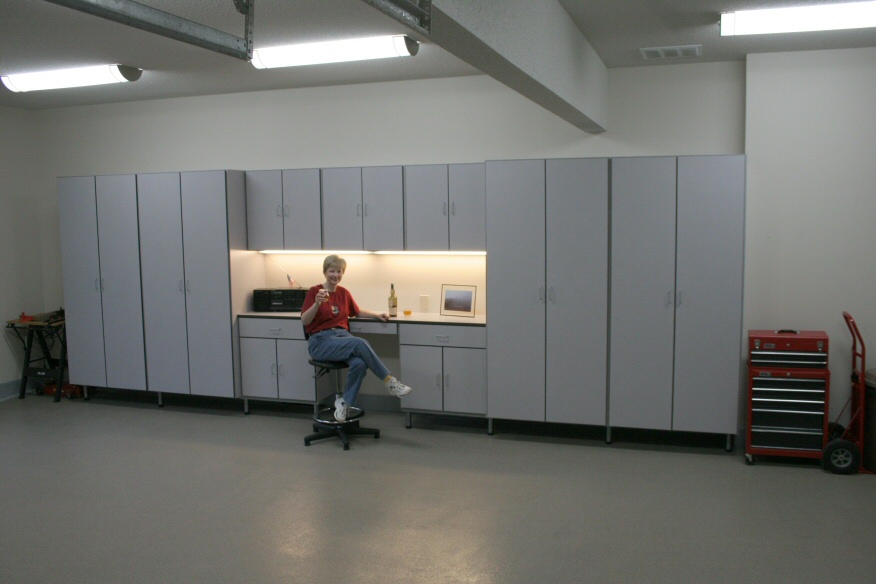
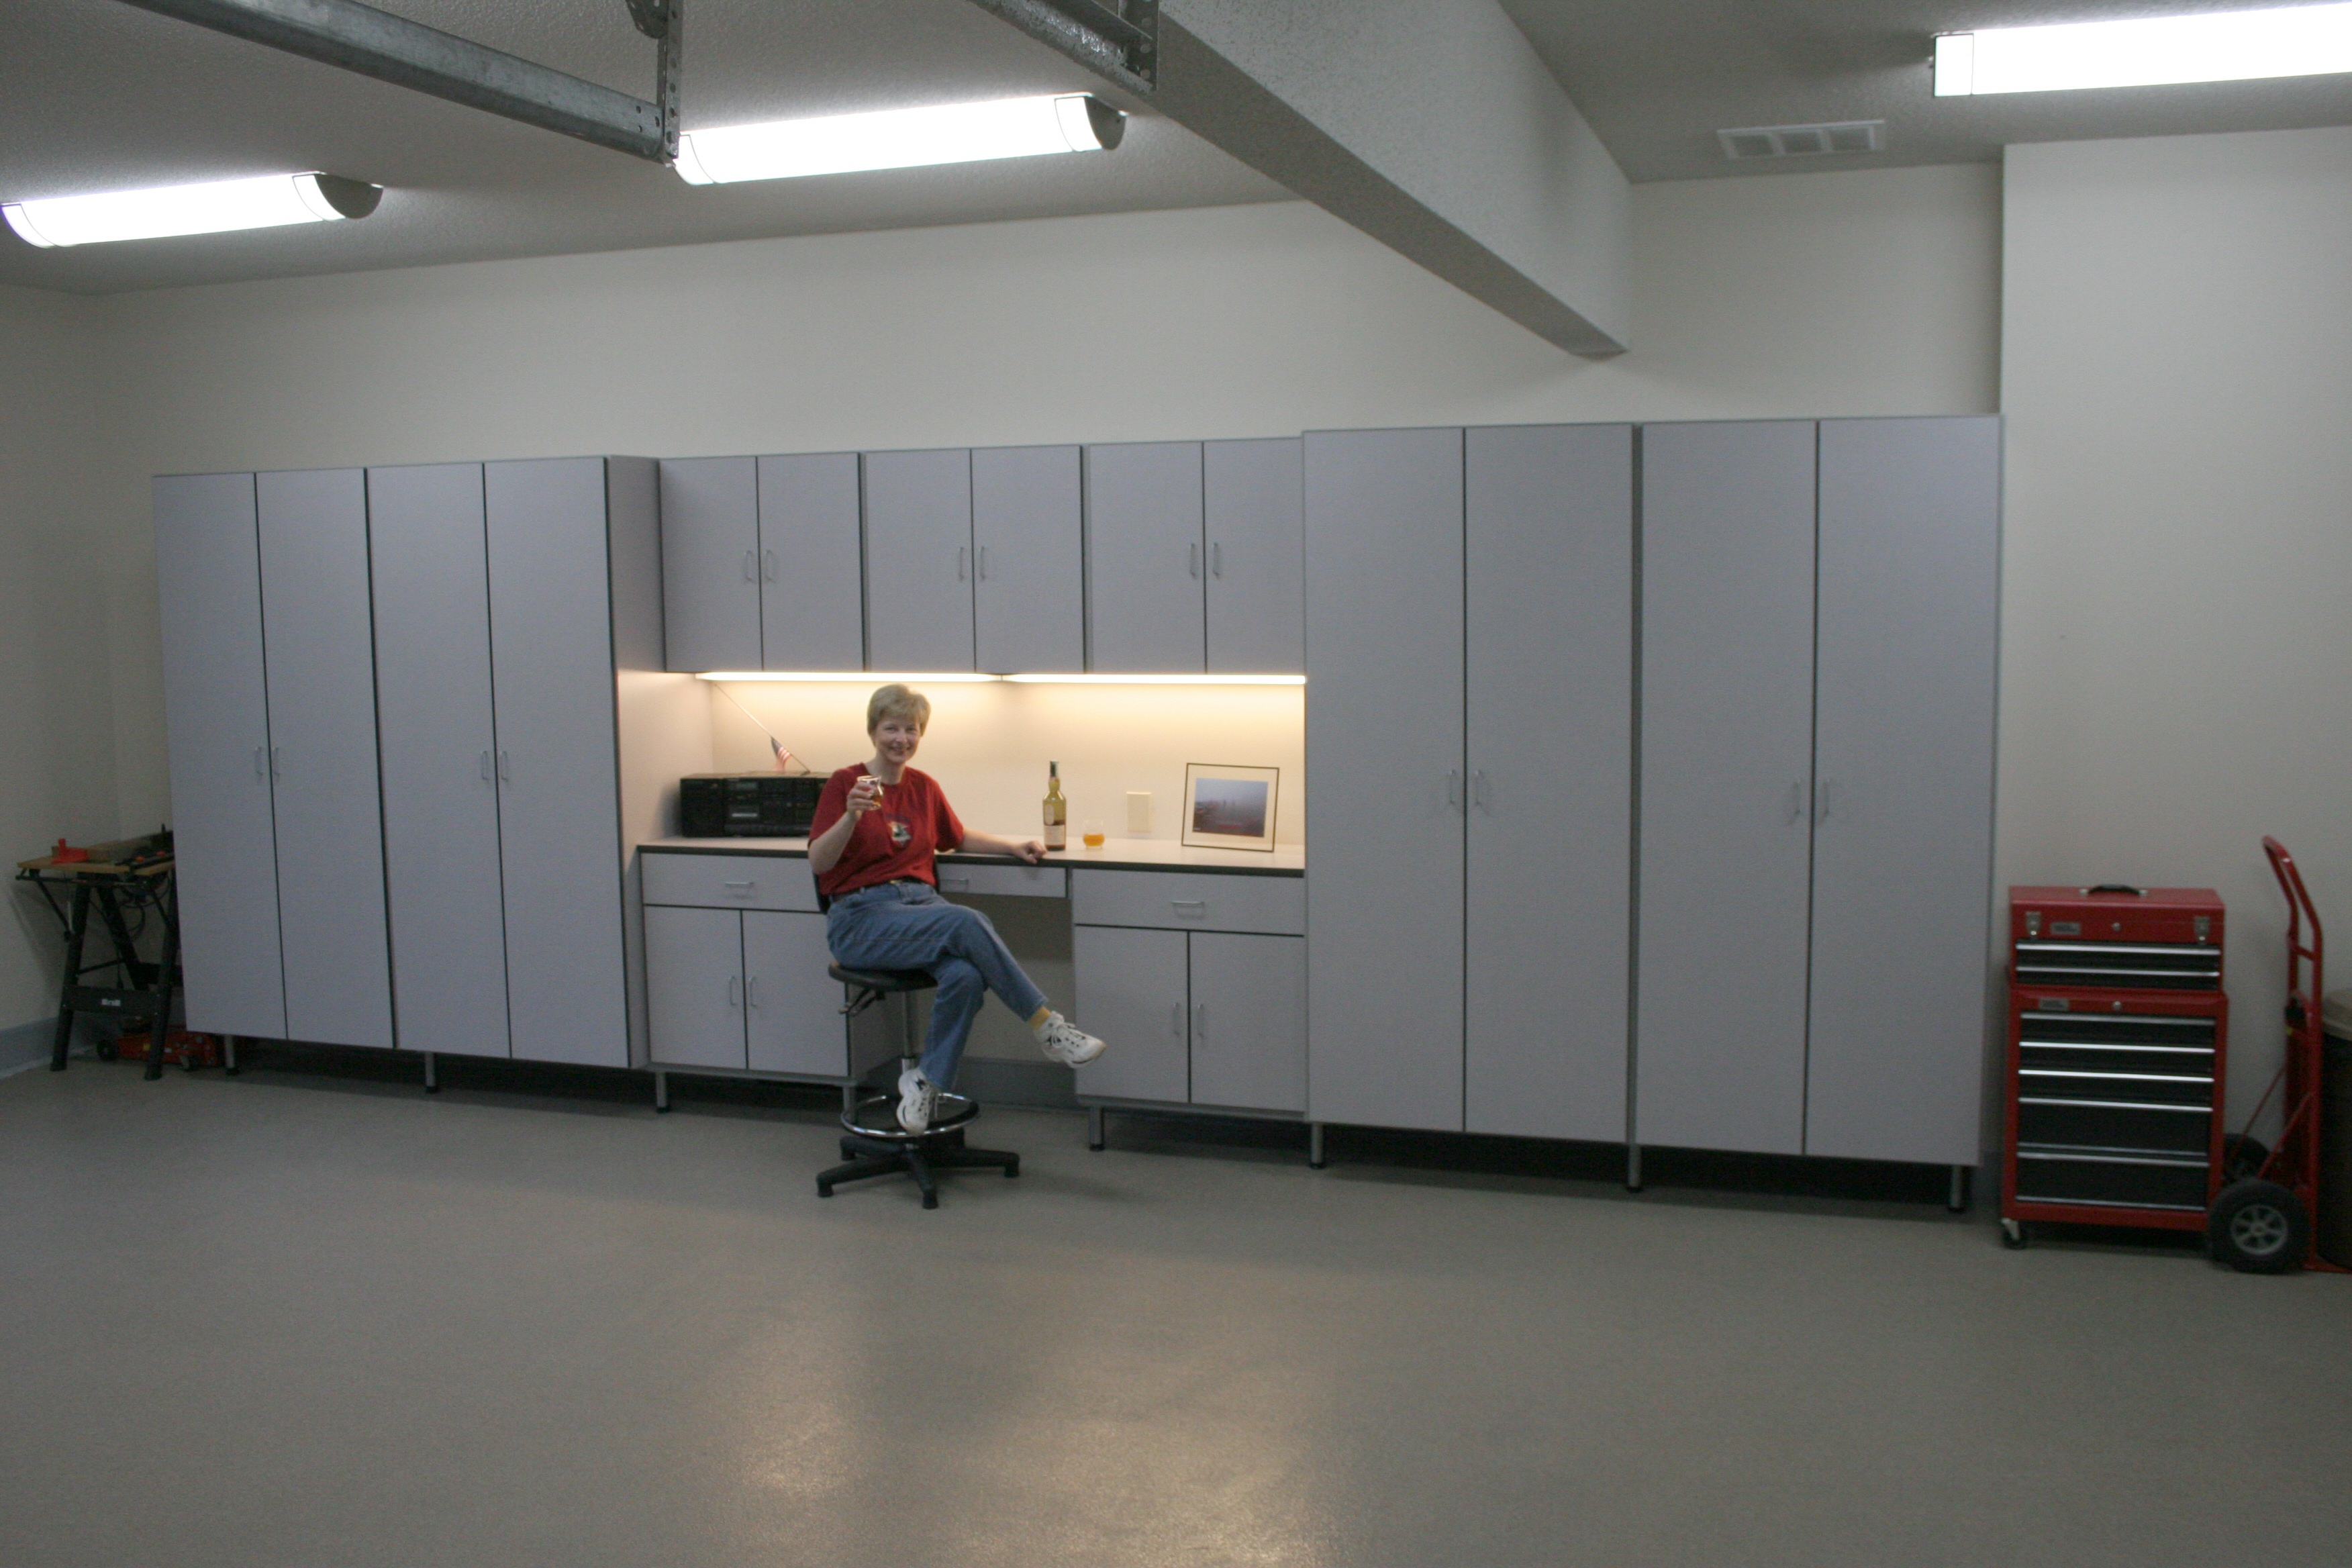
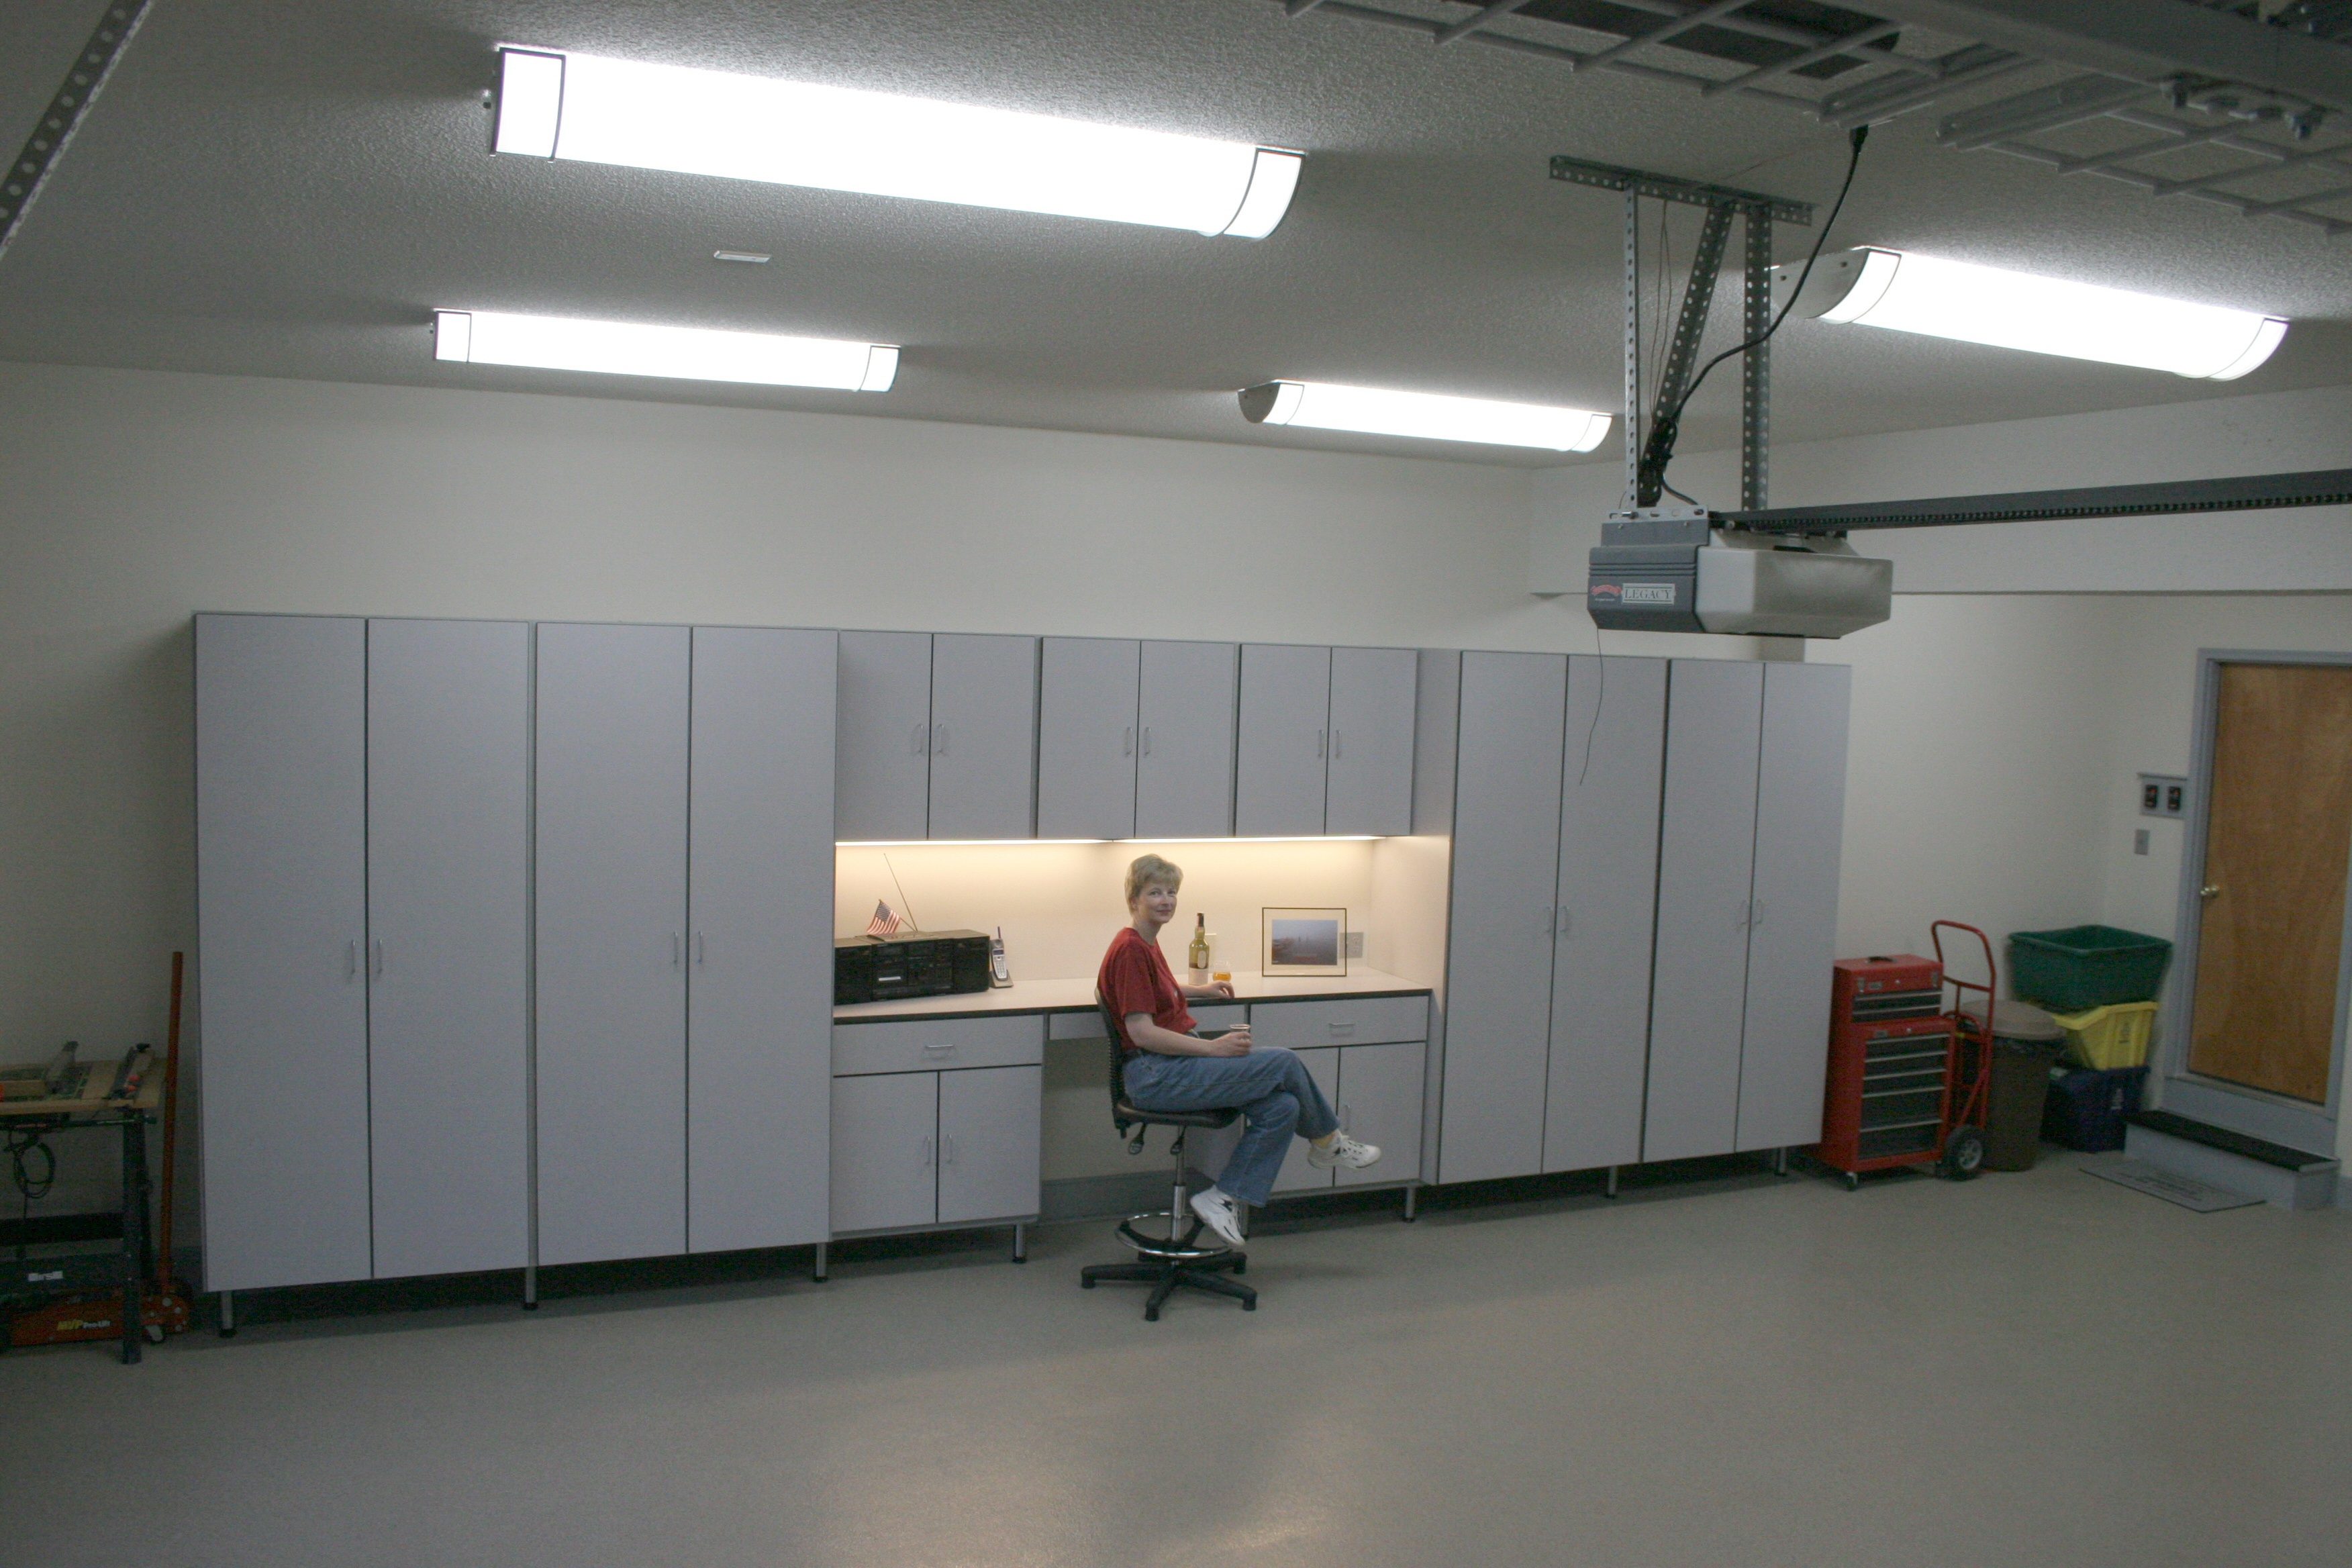
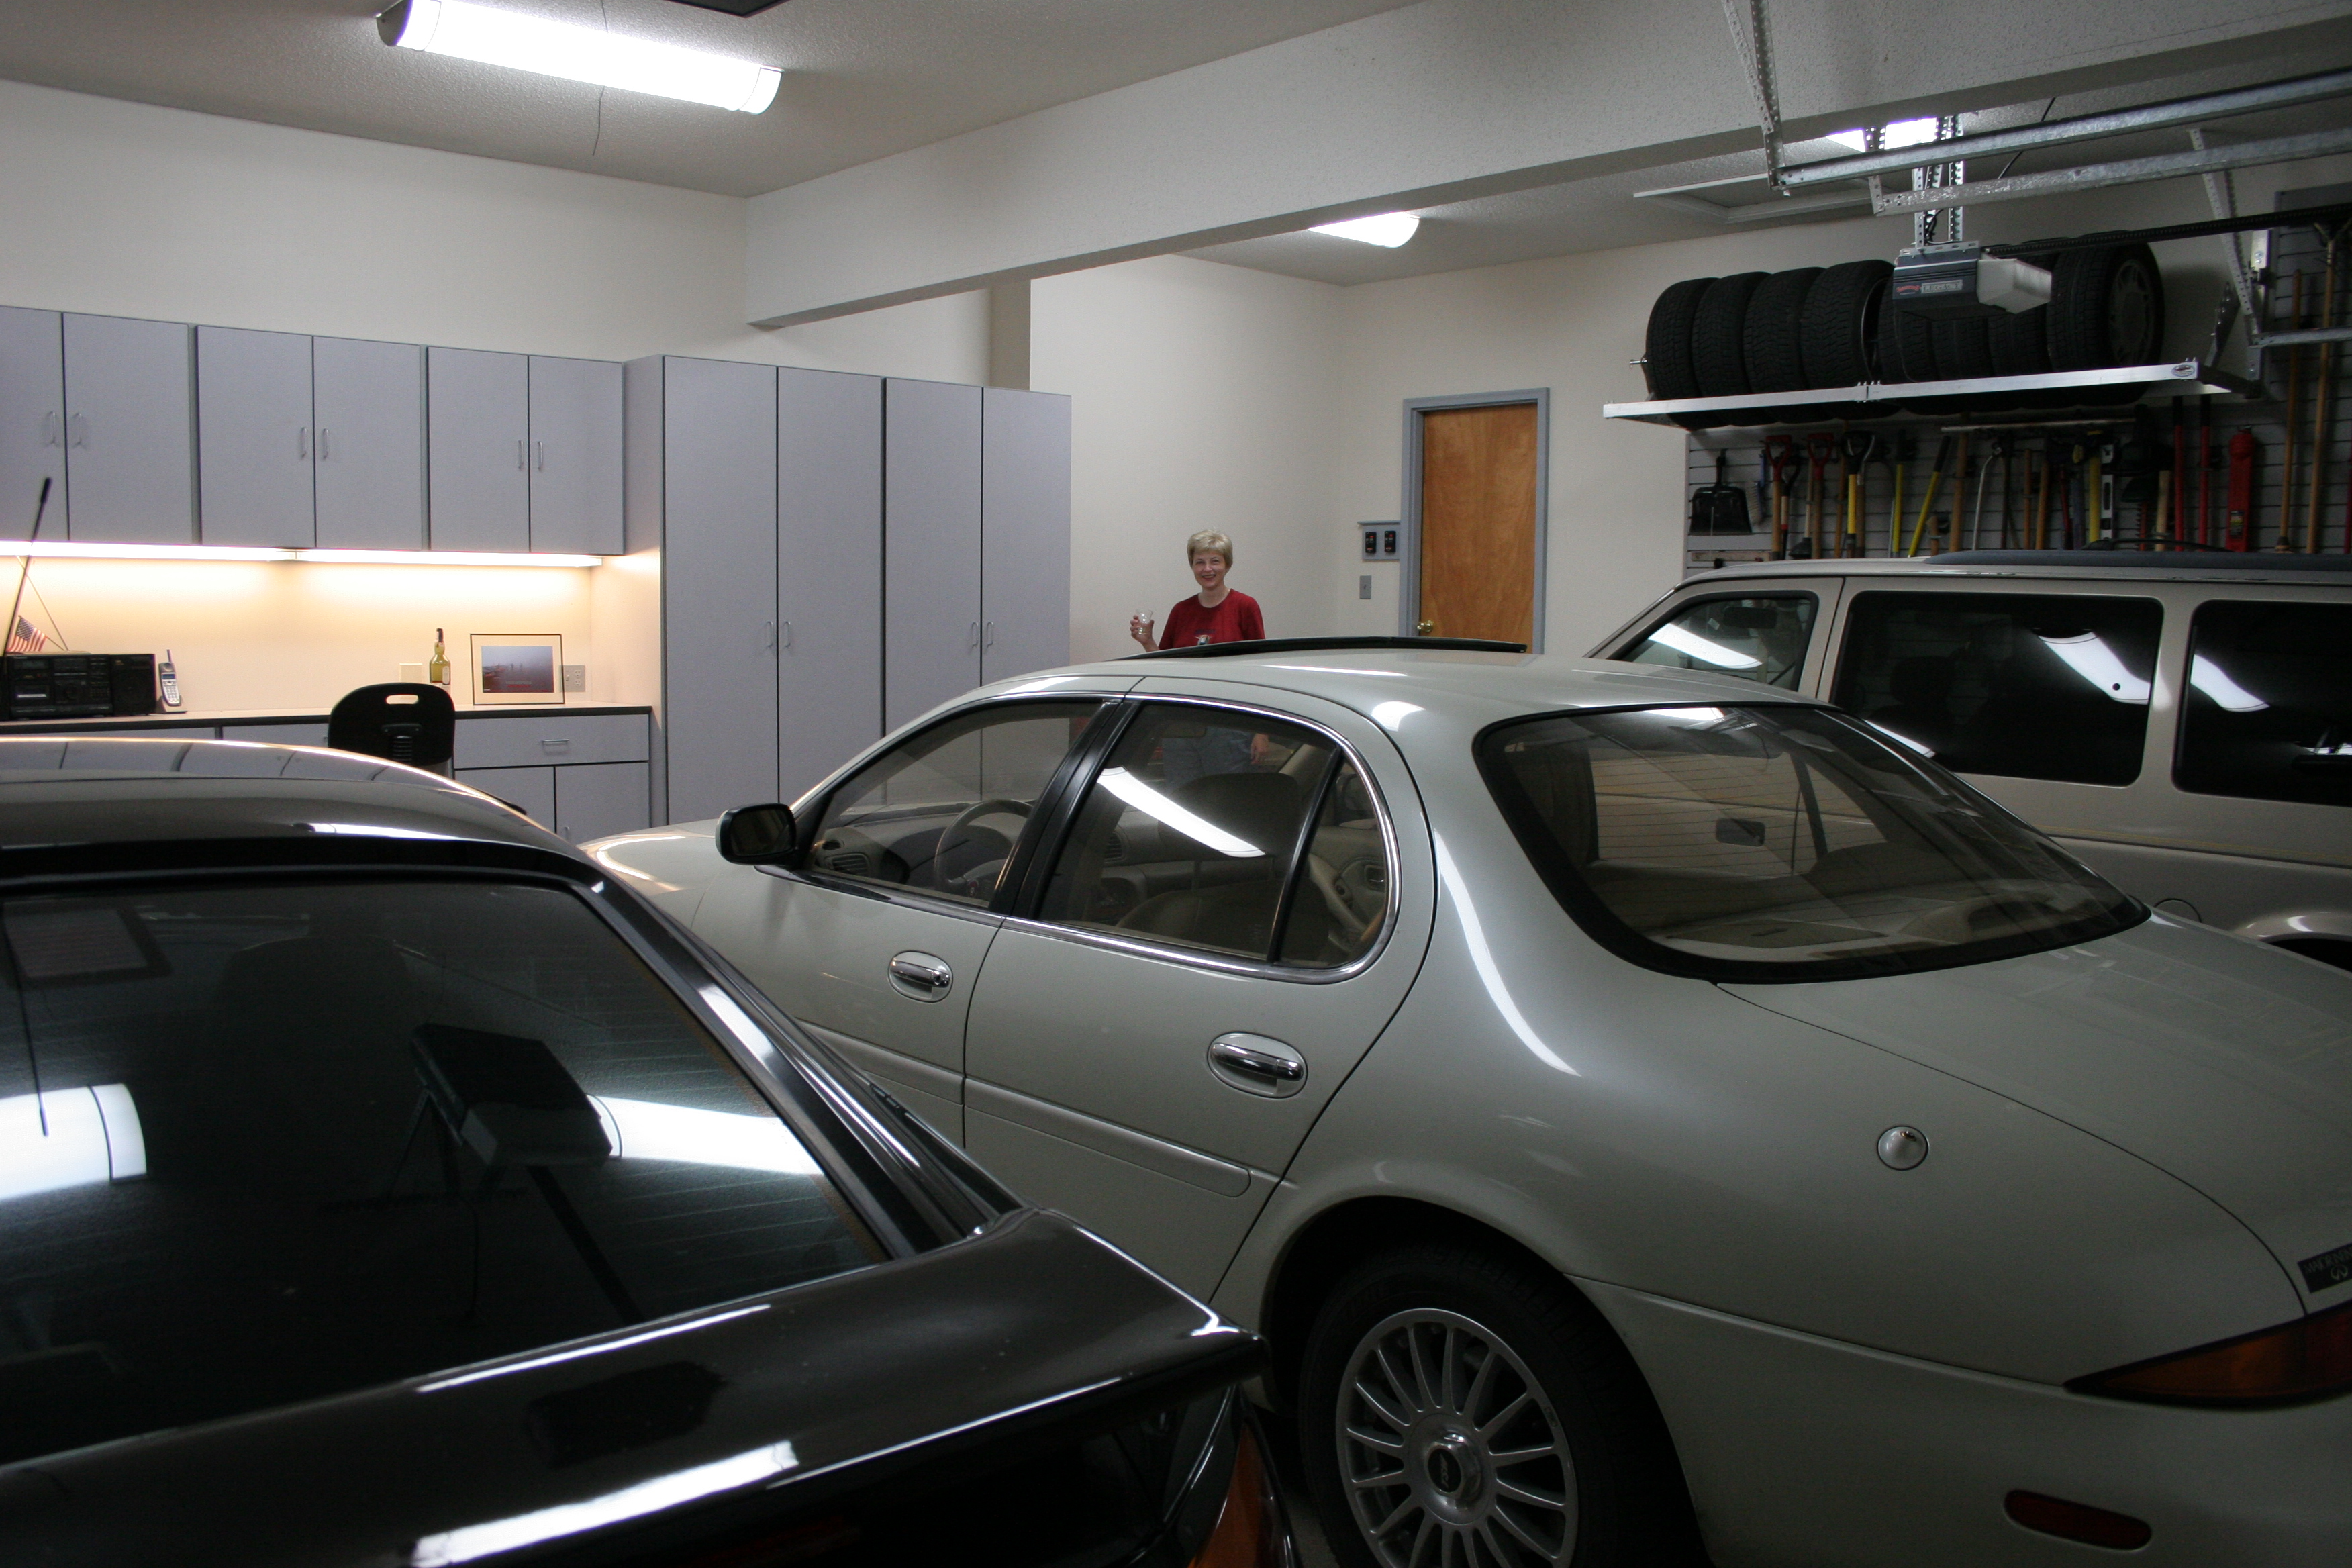
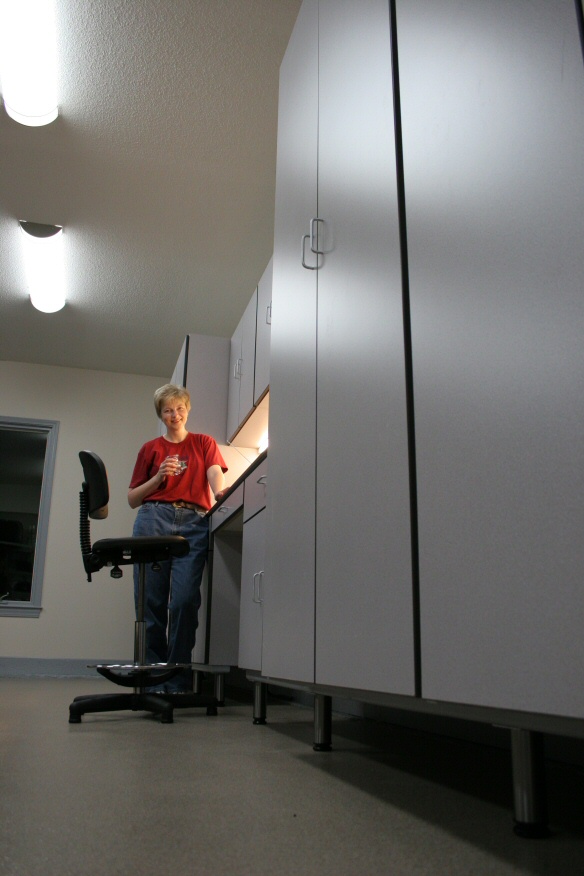
| Life is good. Occasionally, one must pause for the good things... |
 |
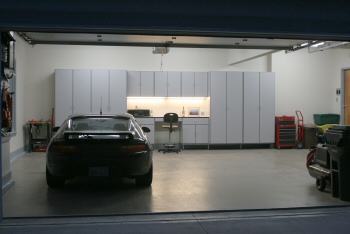
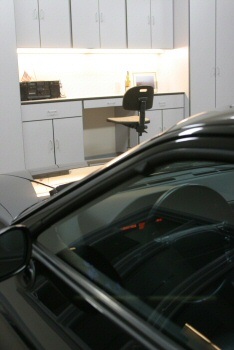
| IMG_1346: [medium | large | huge] |
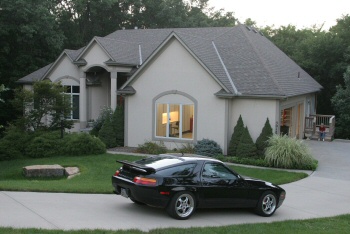
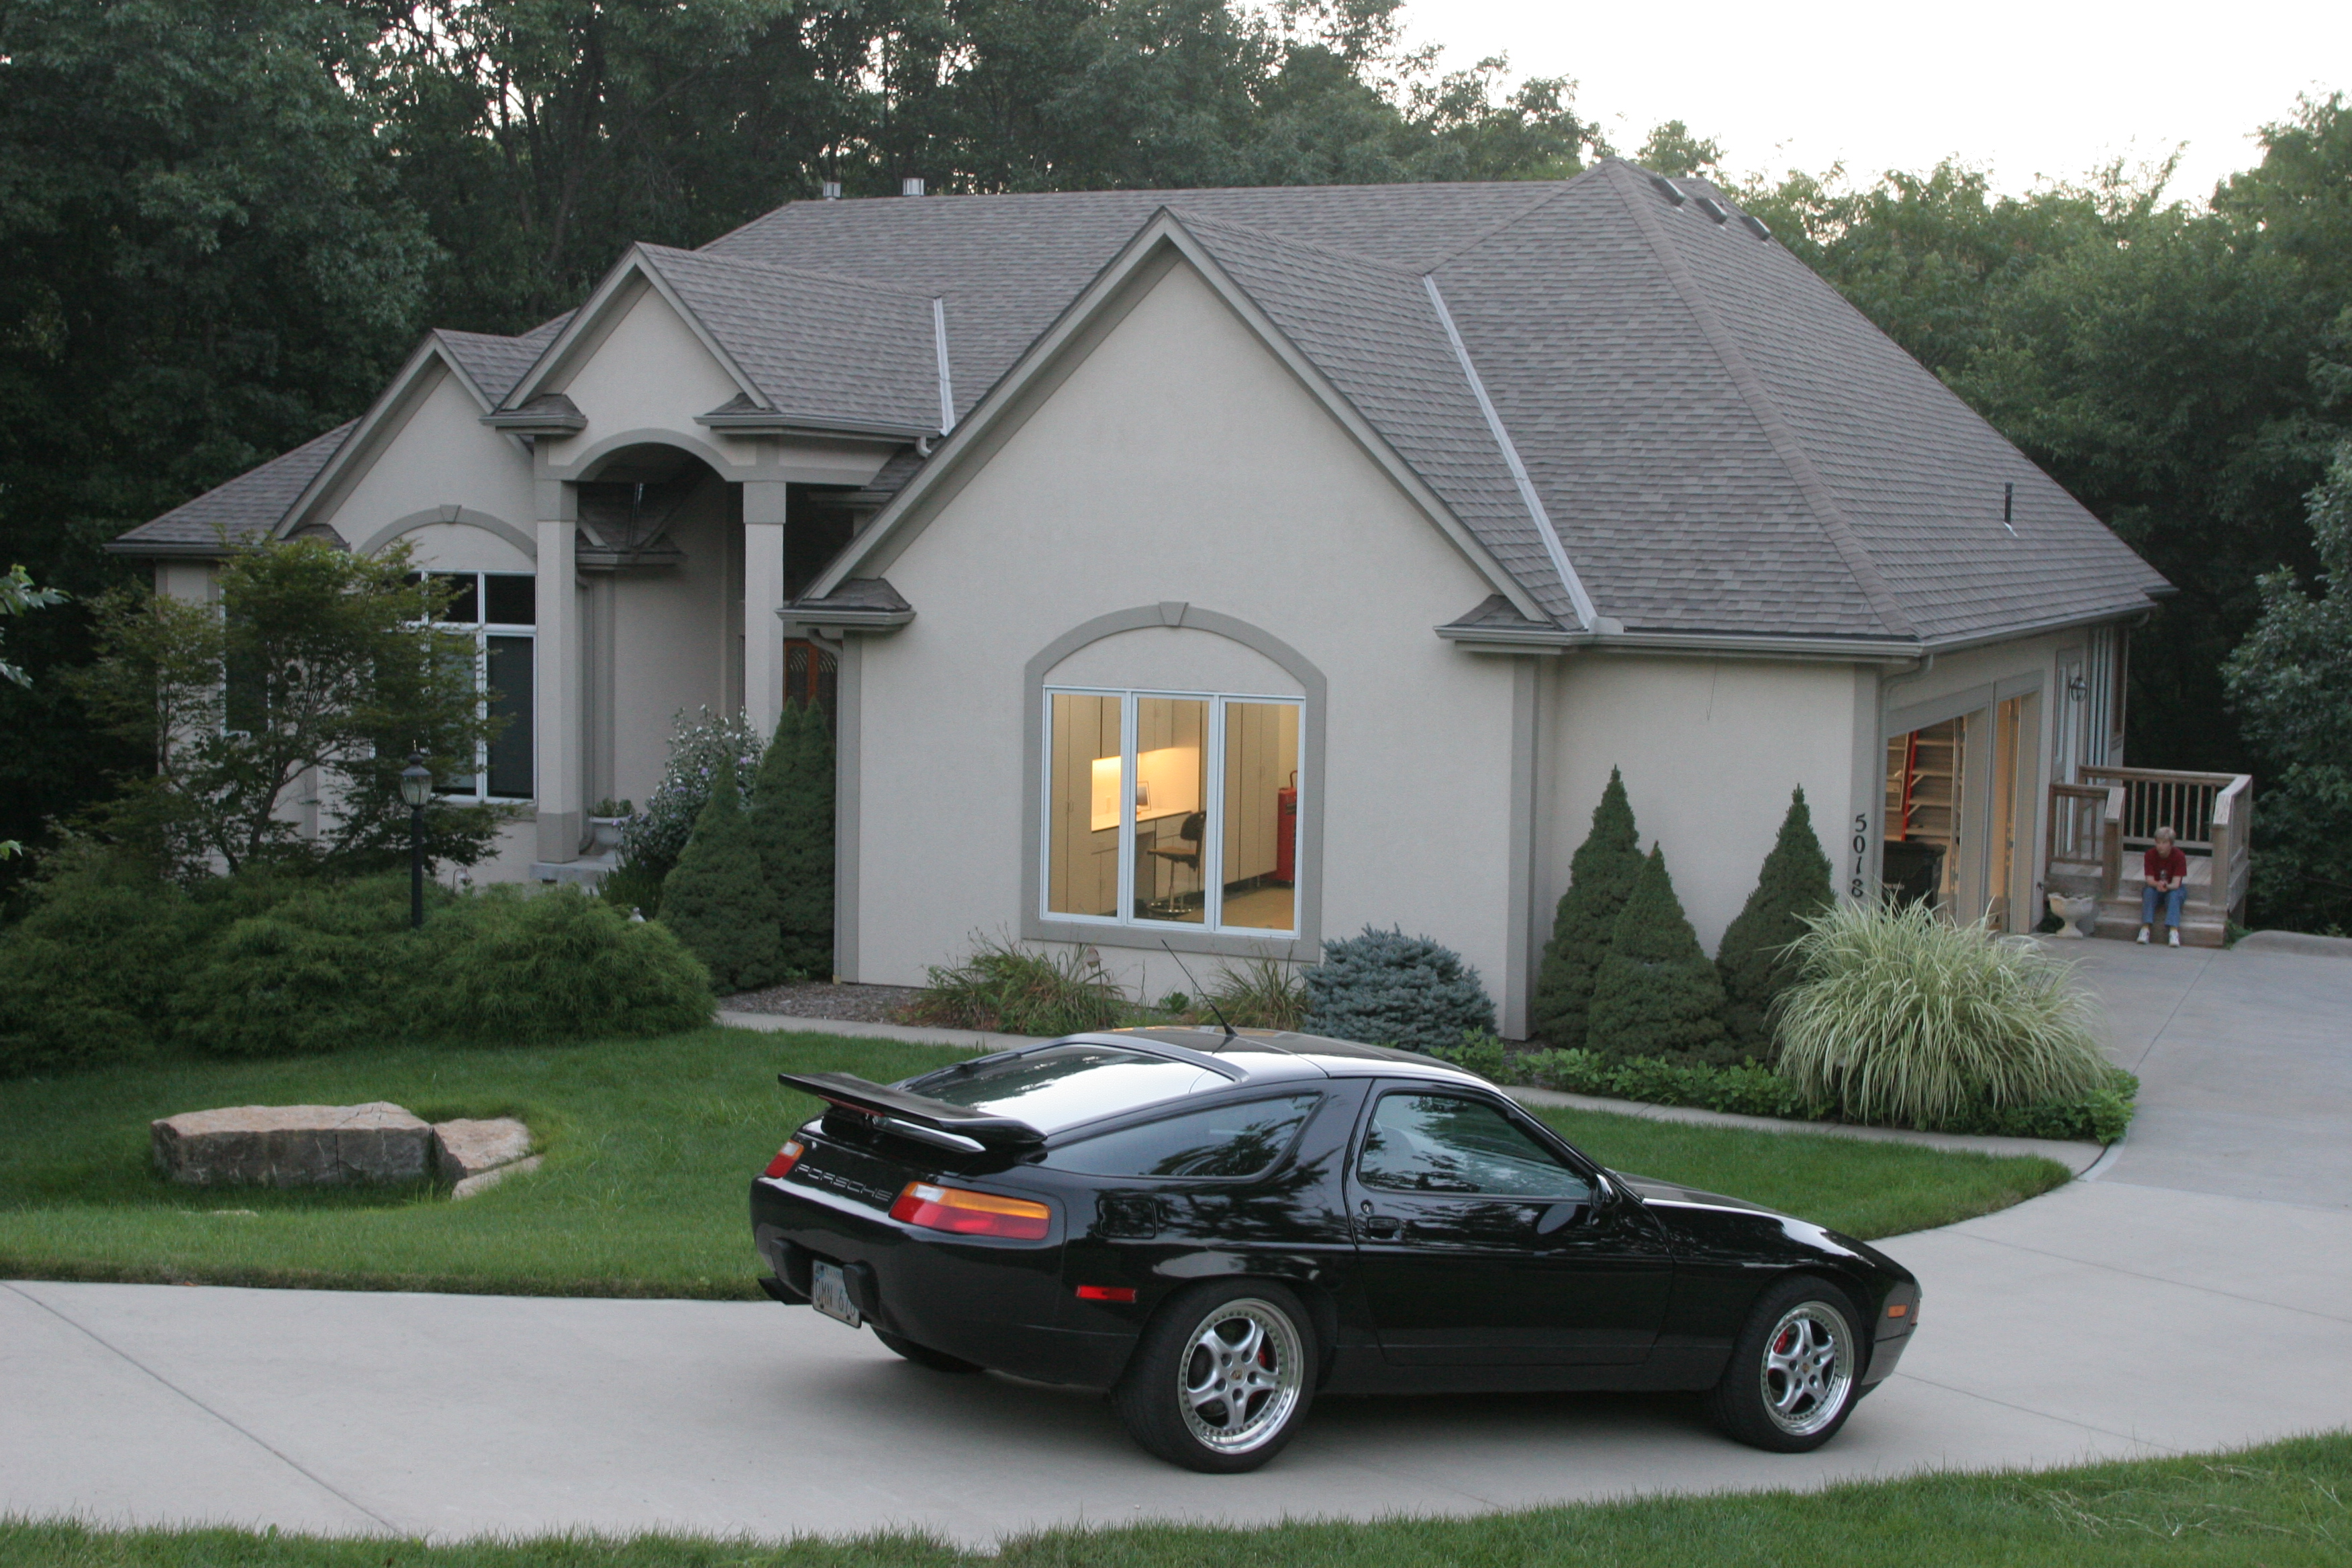
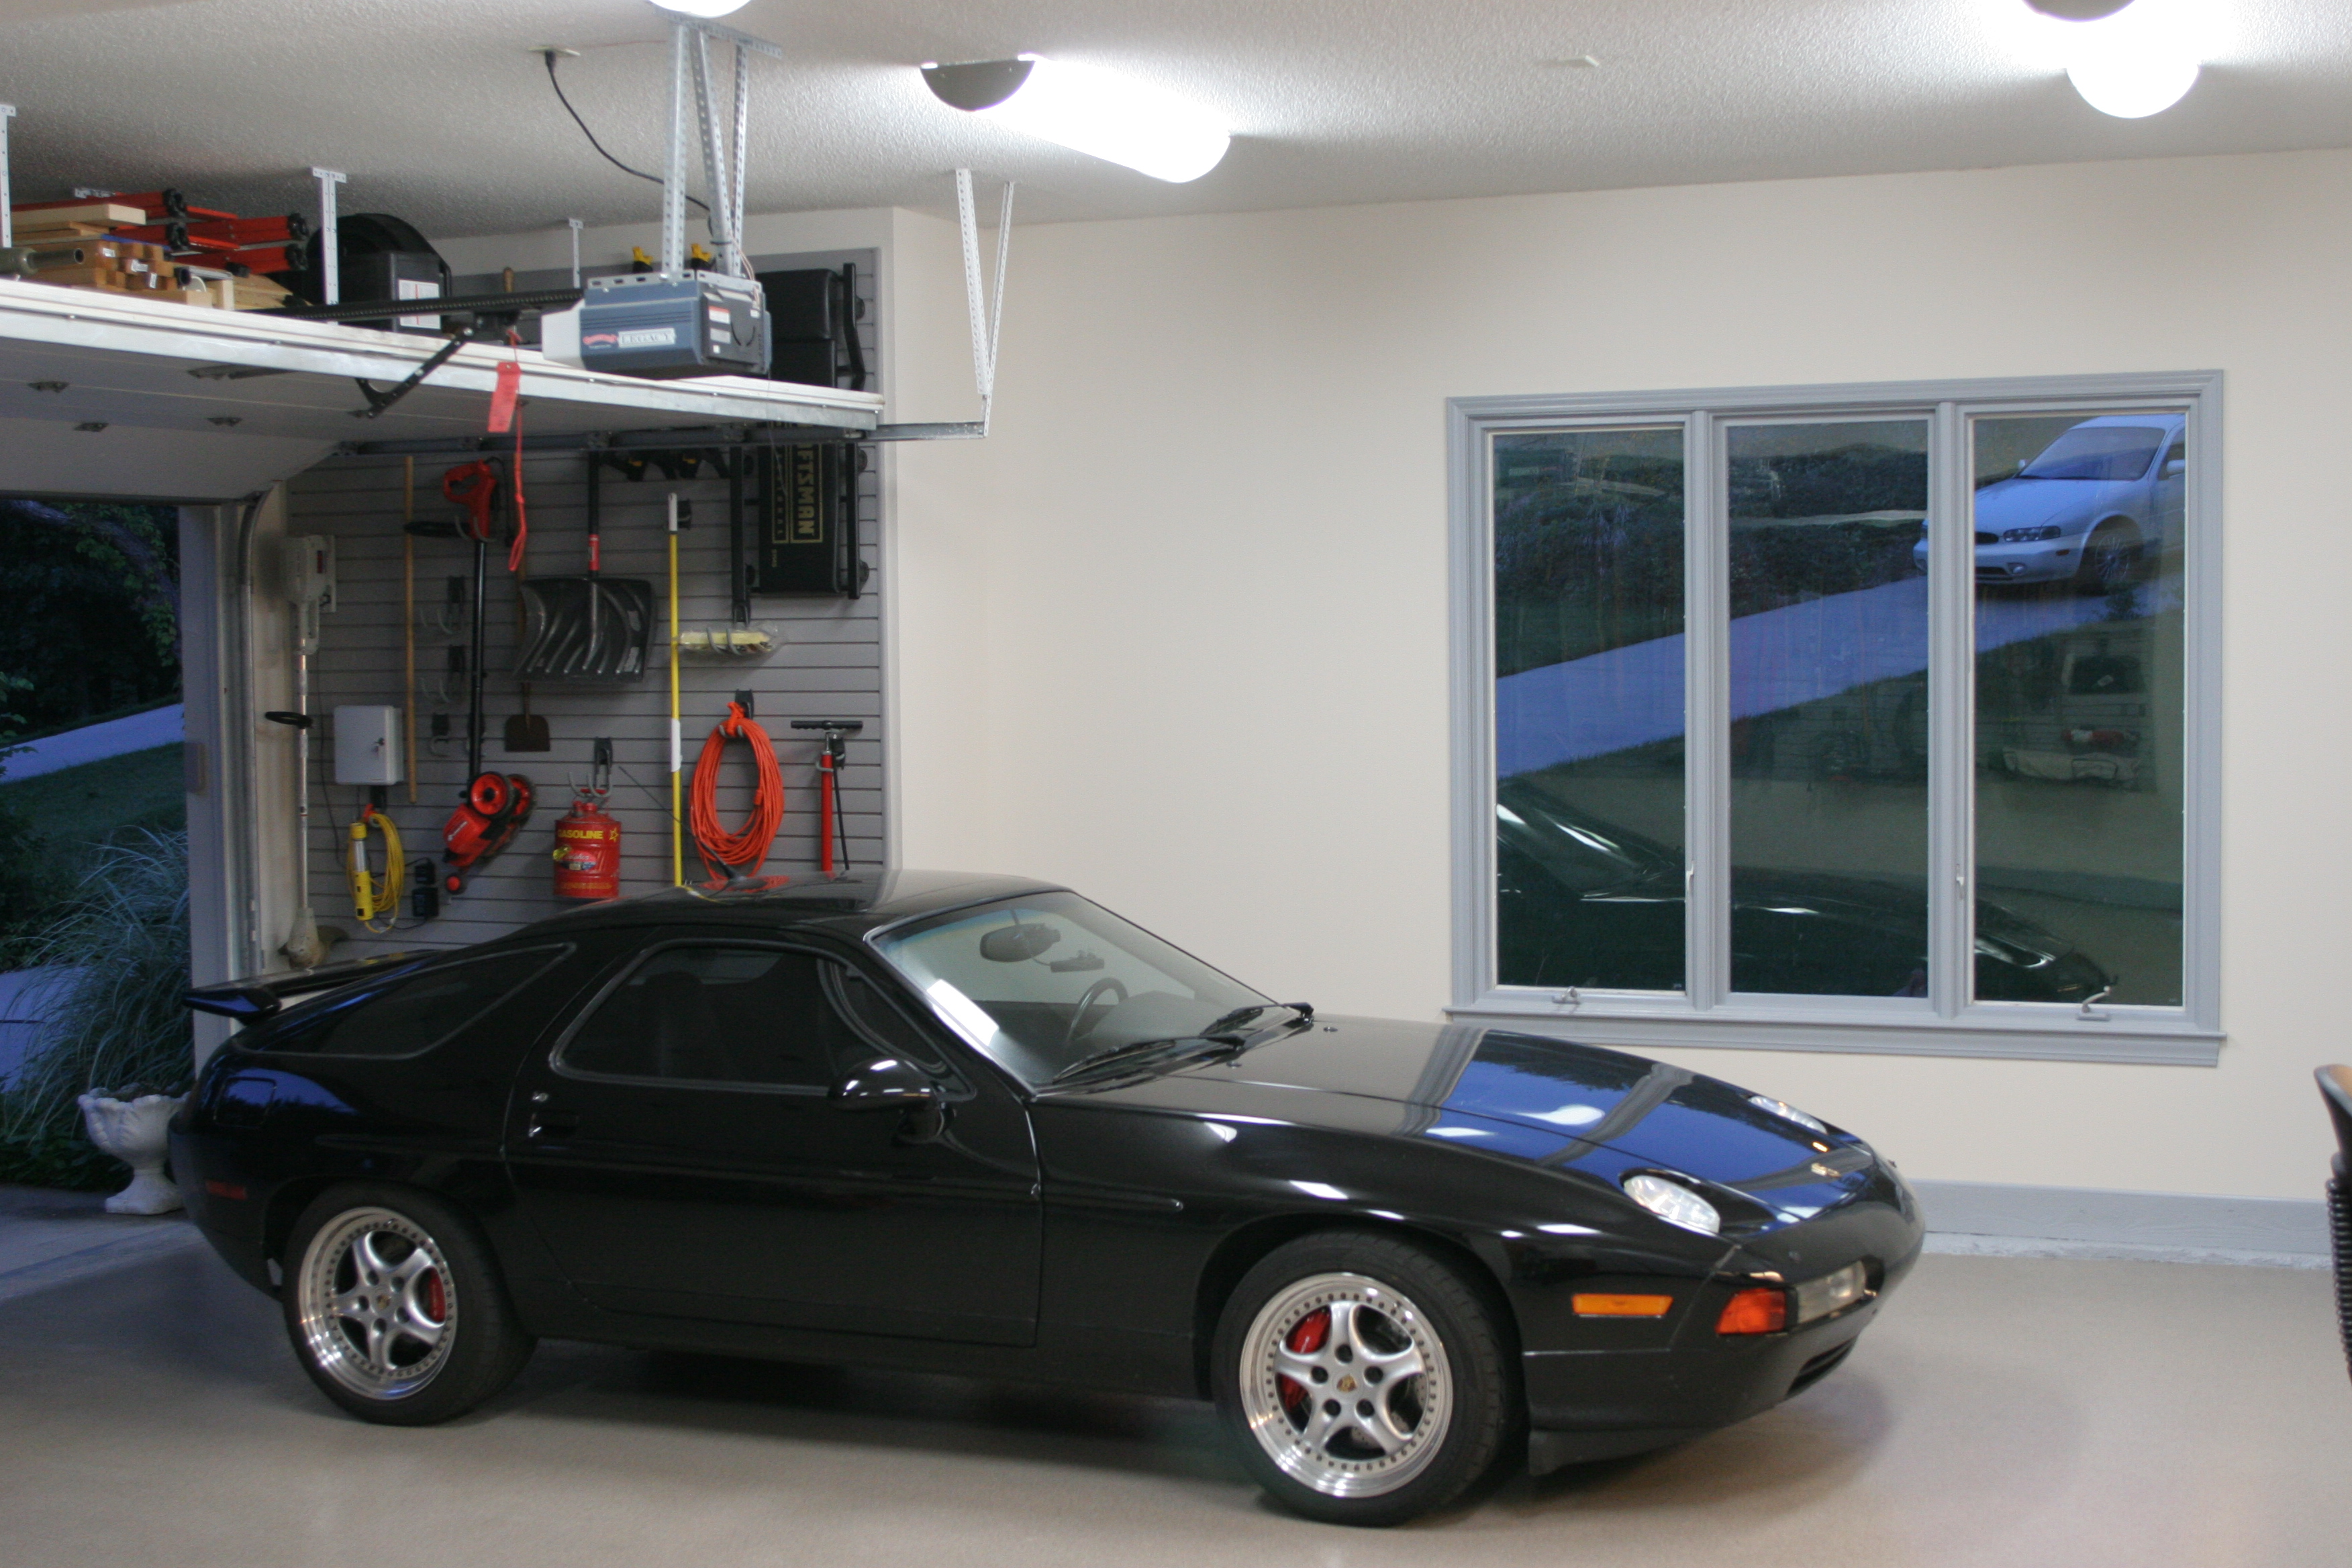
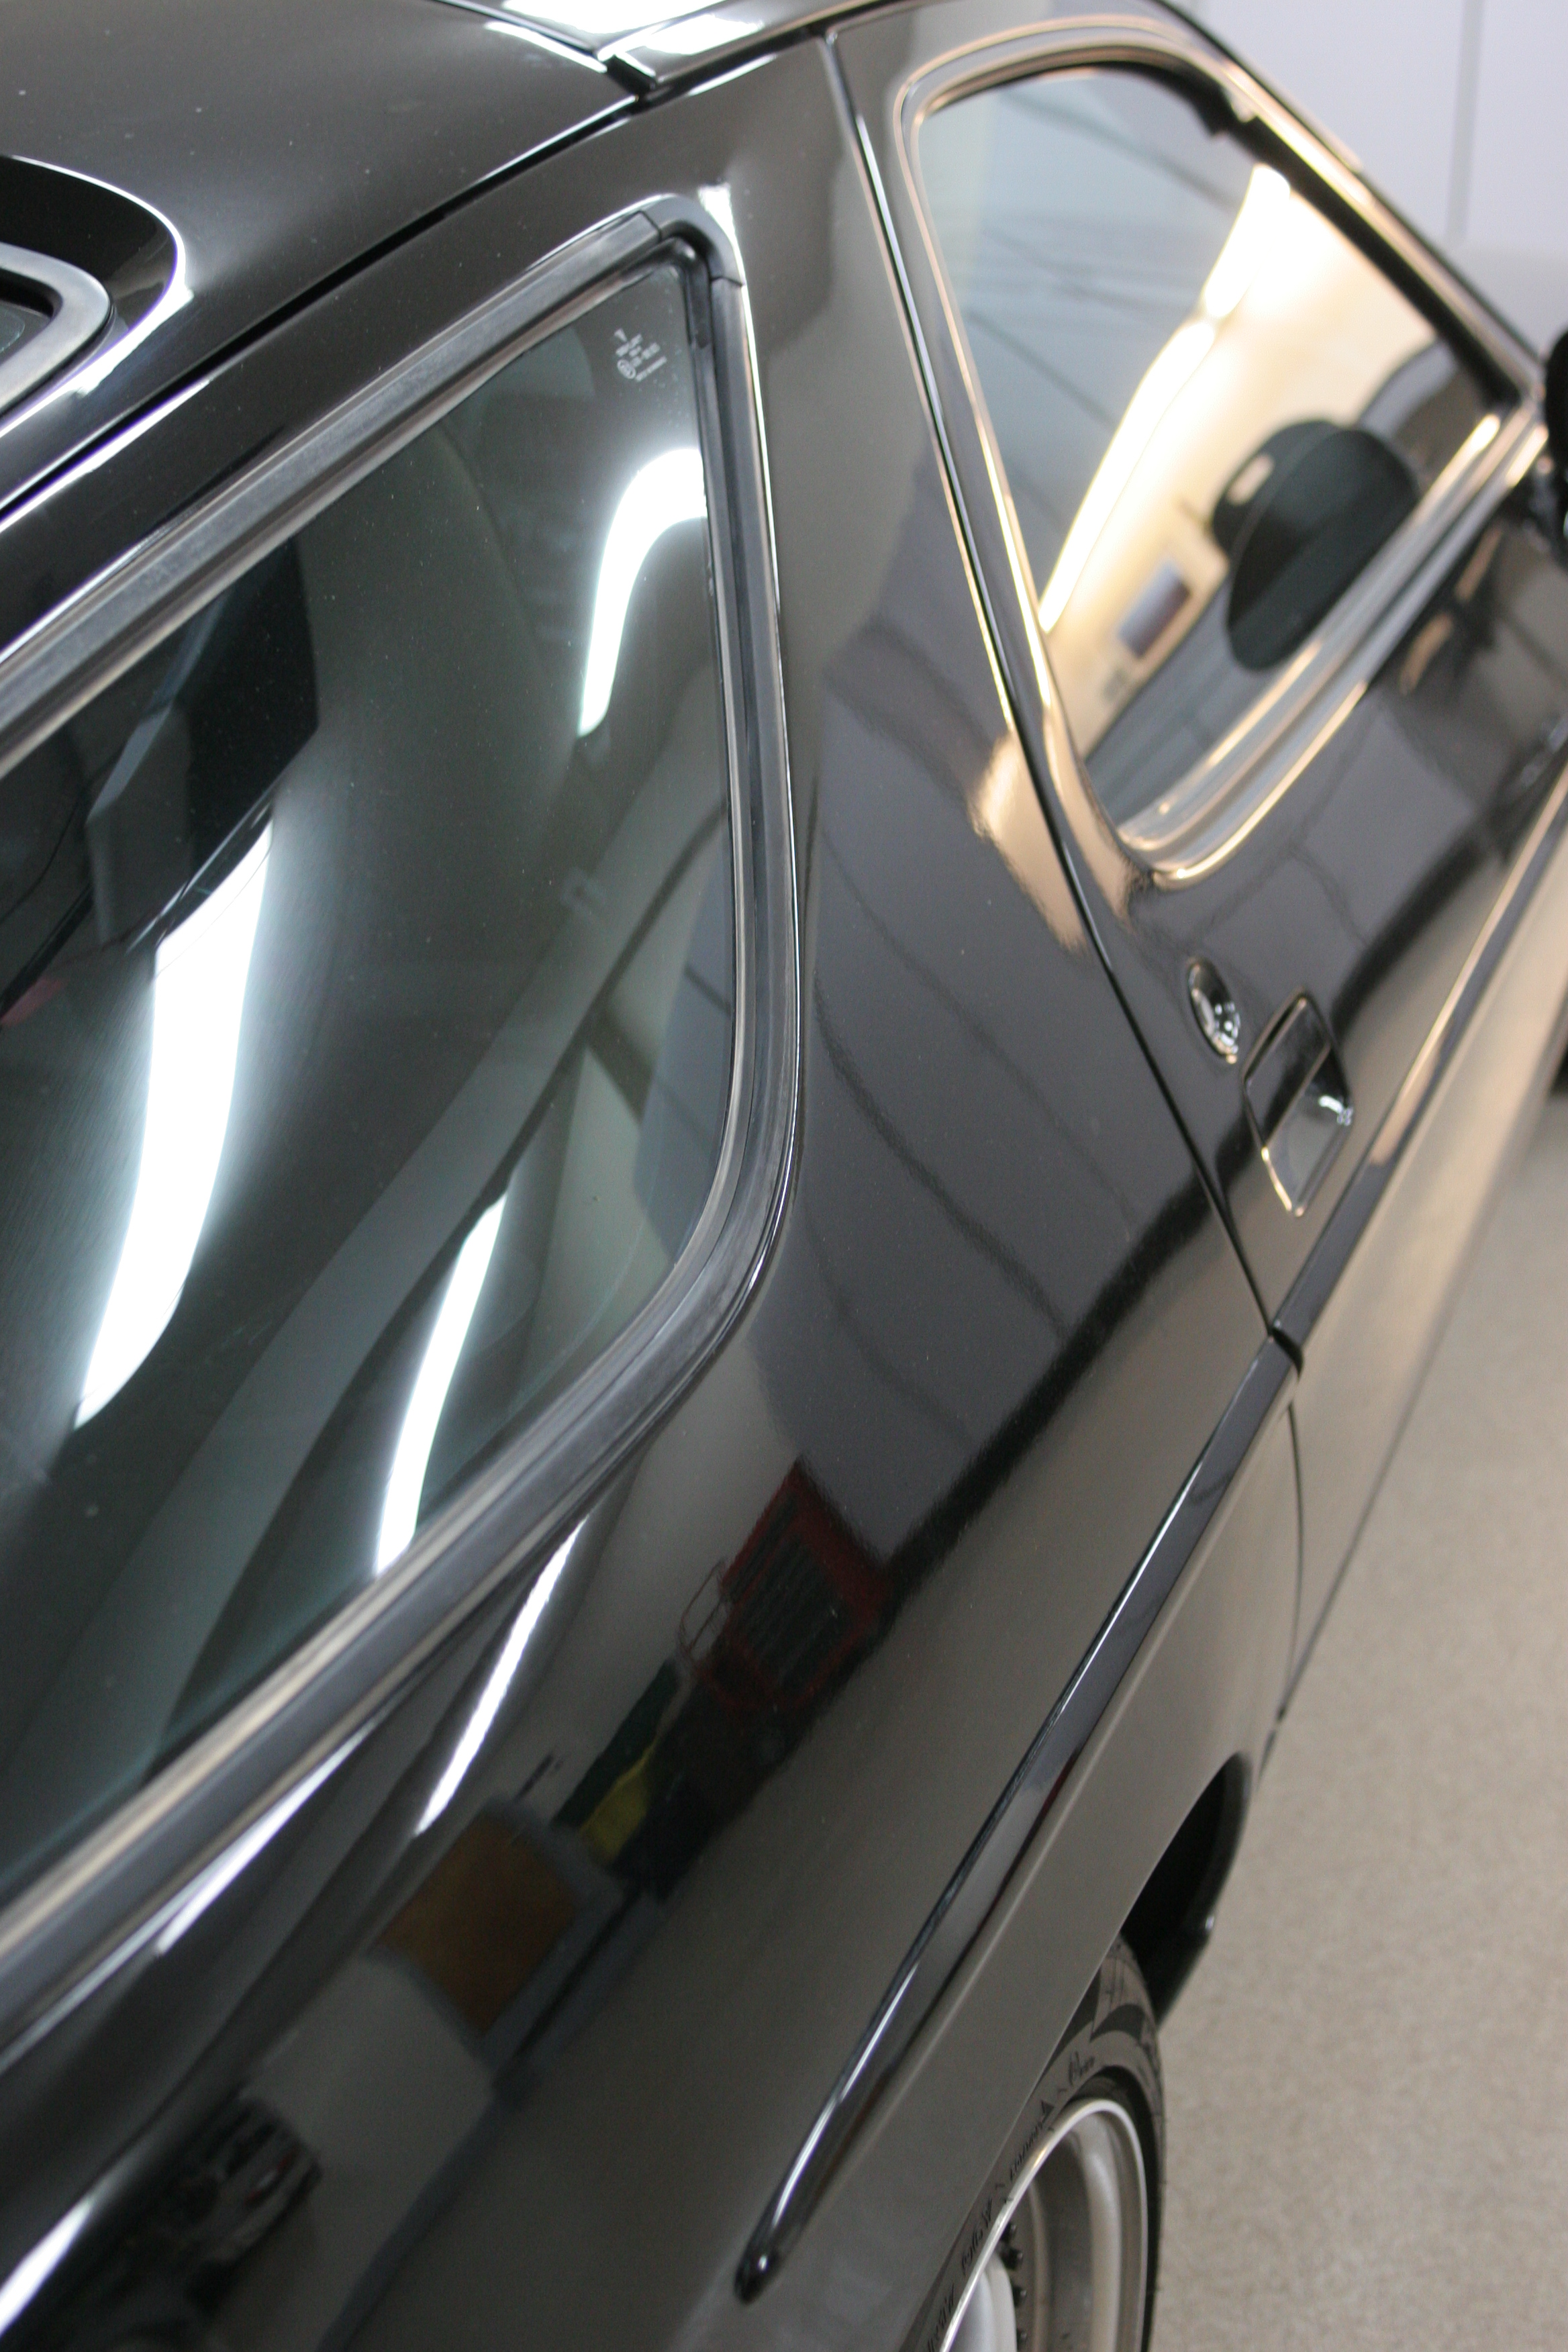
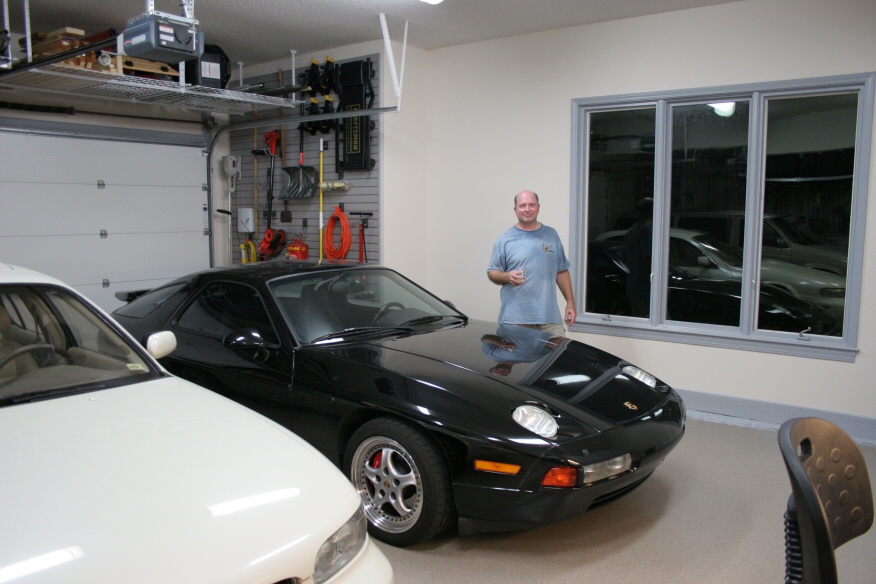
| Artsy-fartsy view of the garage reflected off the 928 (which,
unfortunately, hasn't been polished and waxed for quite some time...) |
 |
| IMG_1365: [medium | large | huge] |
| Hmmm... the cars actually match the garage color scheme.
Coincidence, or not? |
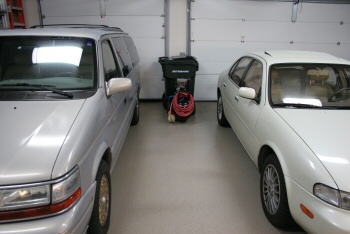 |
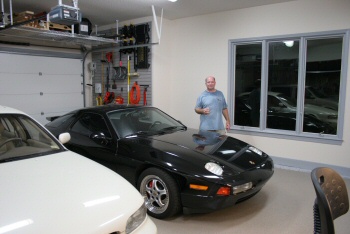
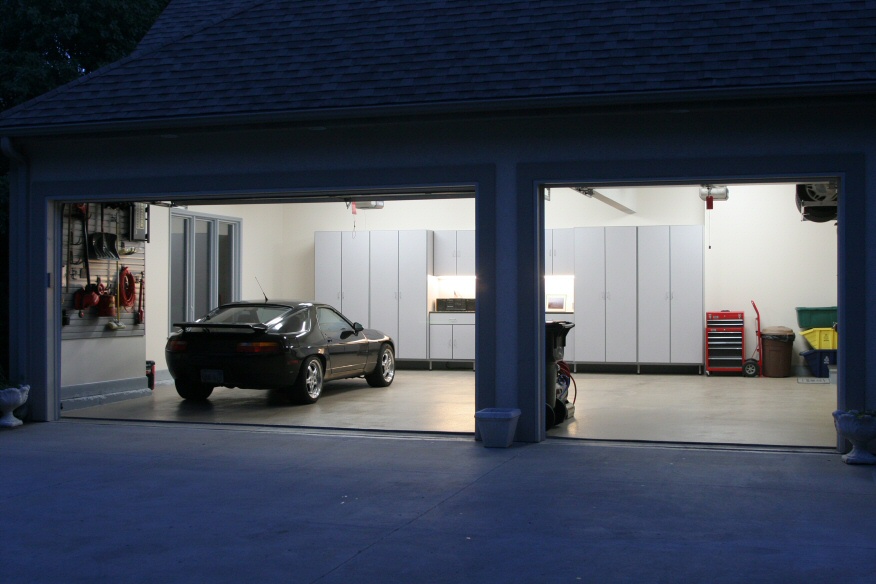
| IMG_1366: [medium | large | huge] |
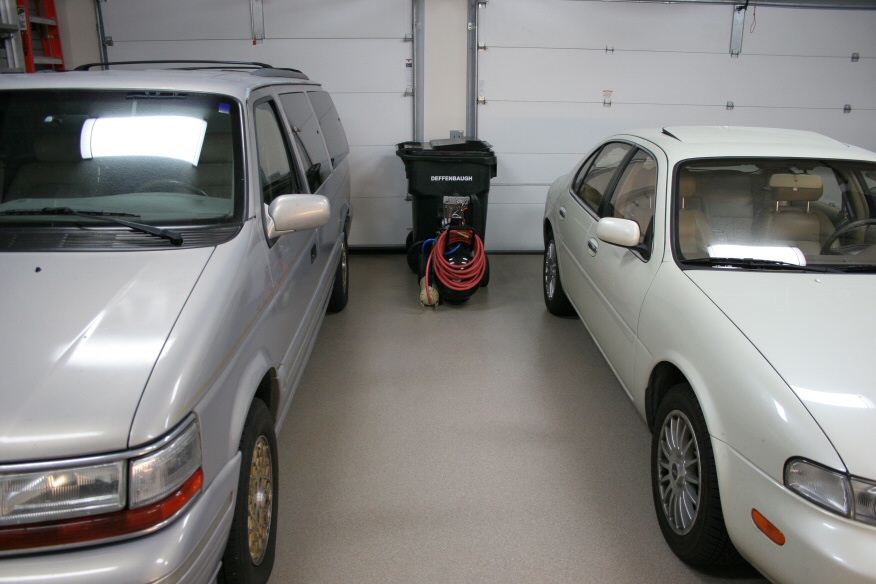
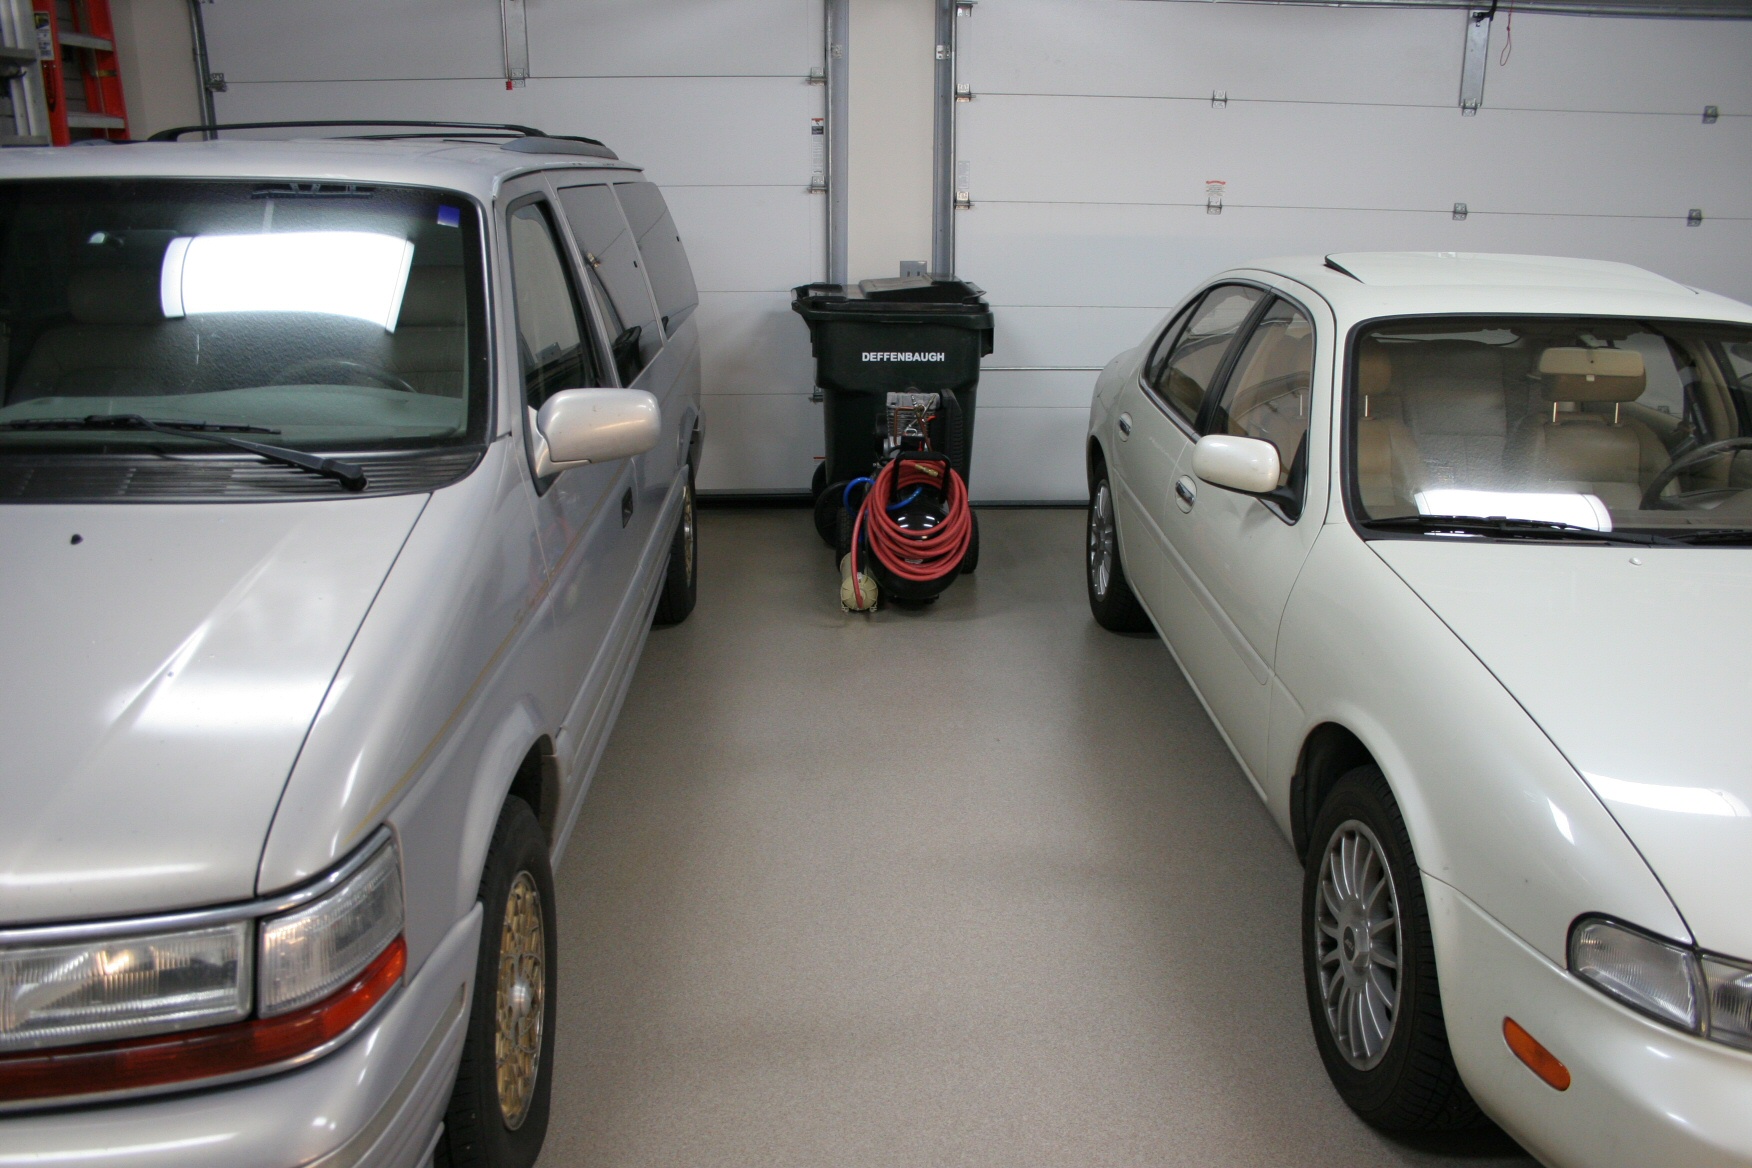
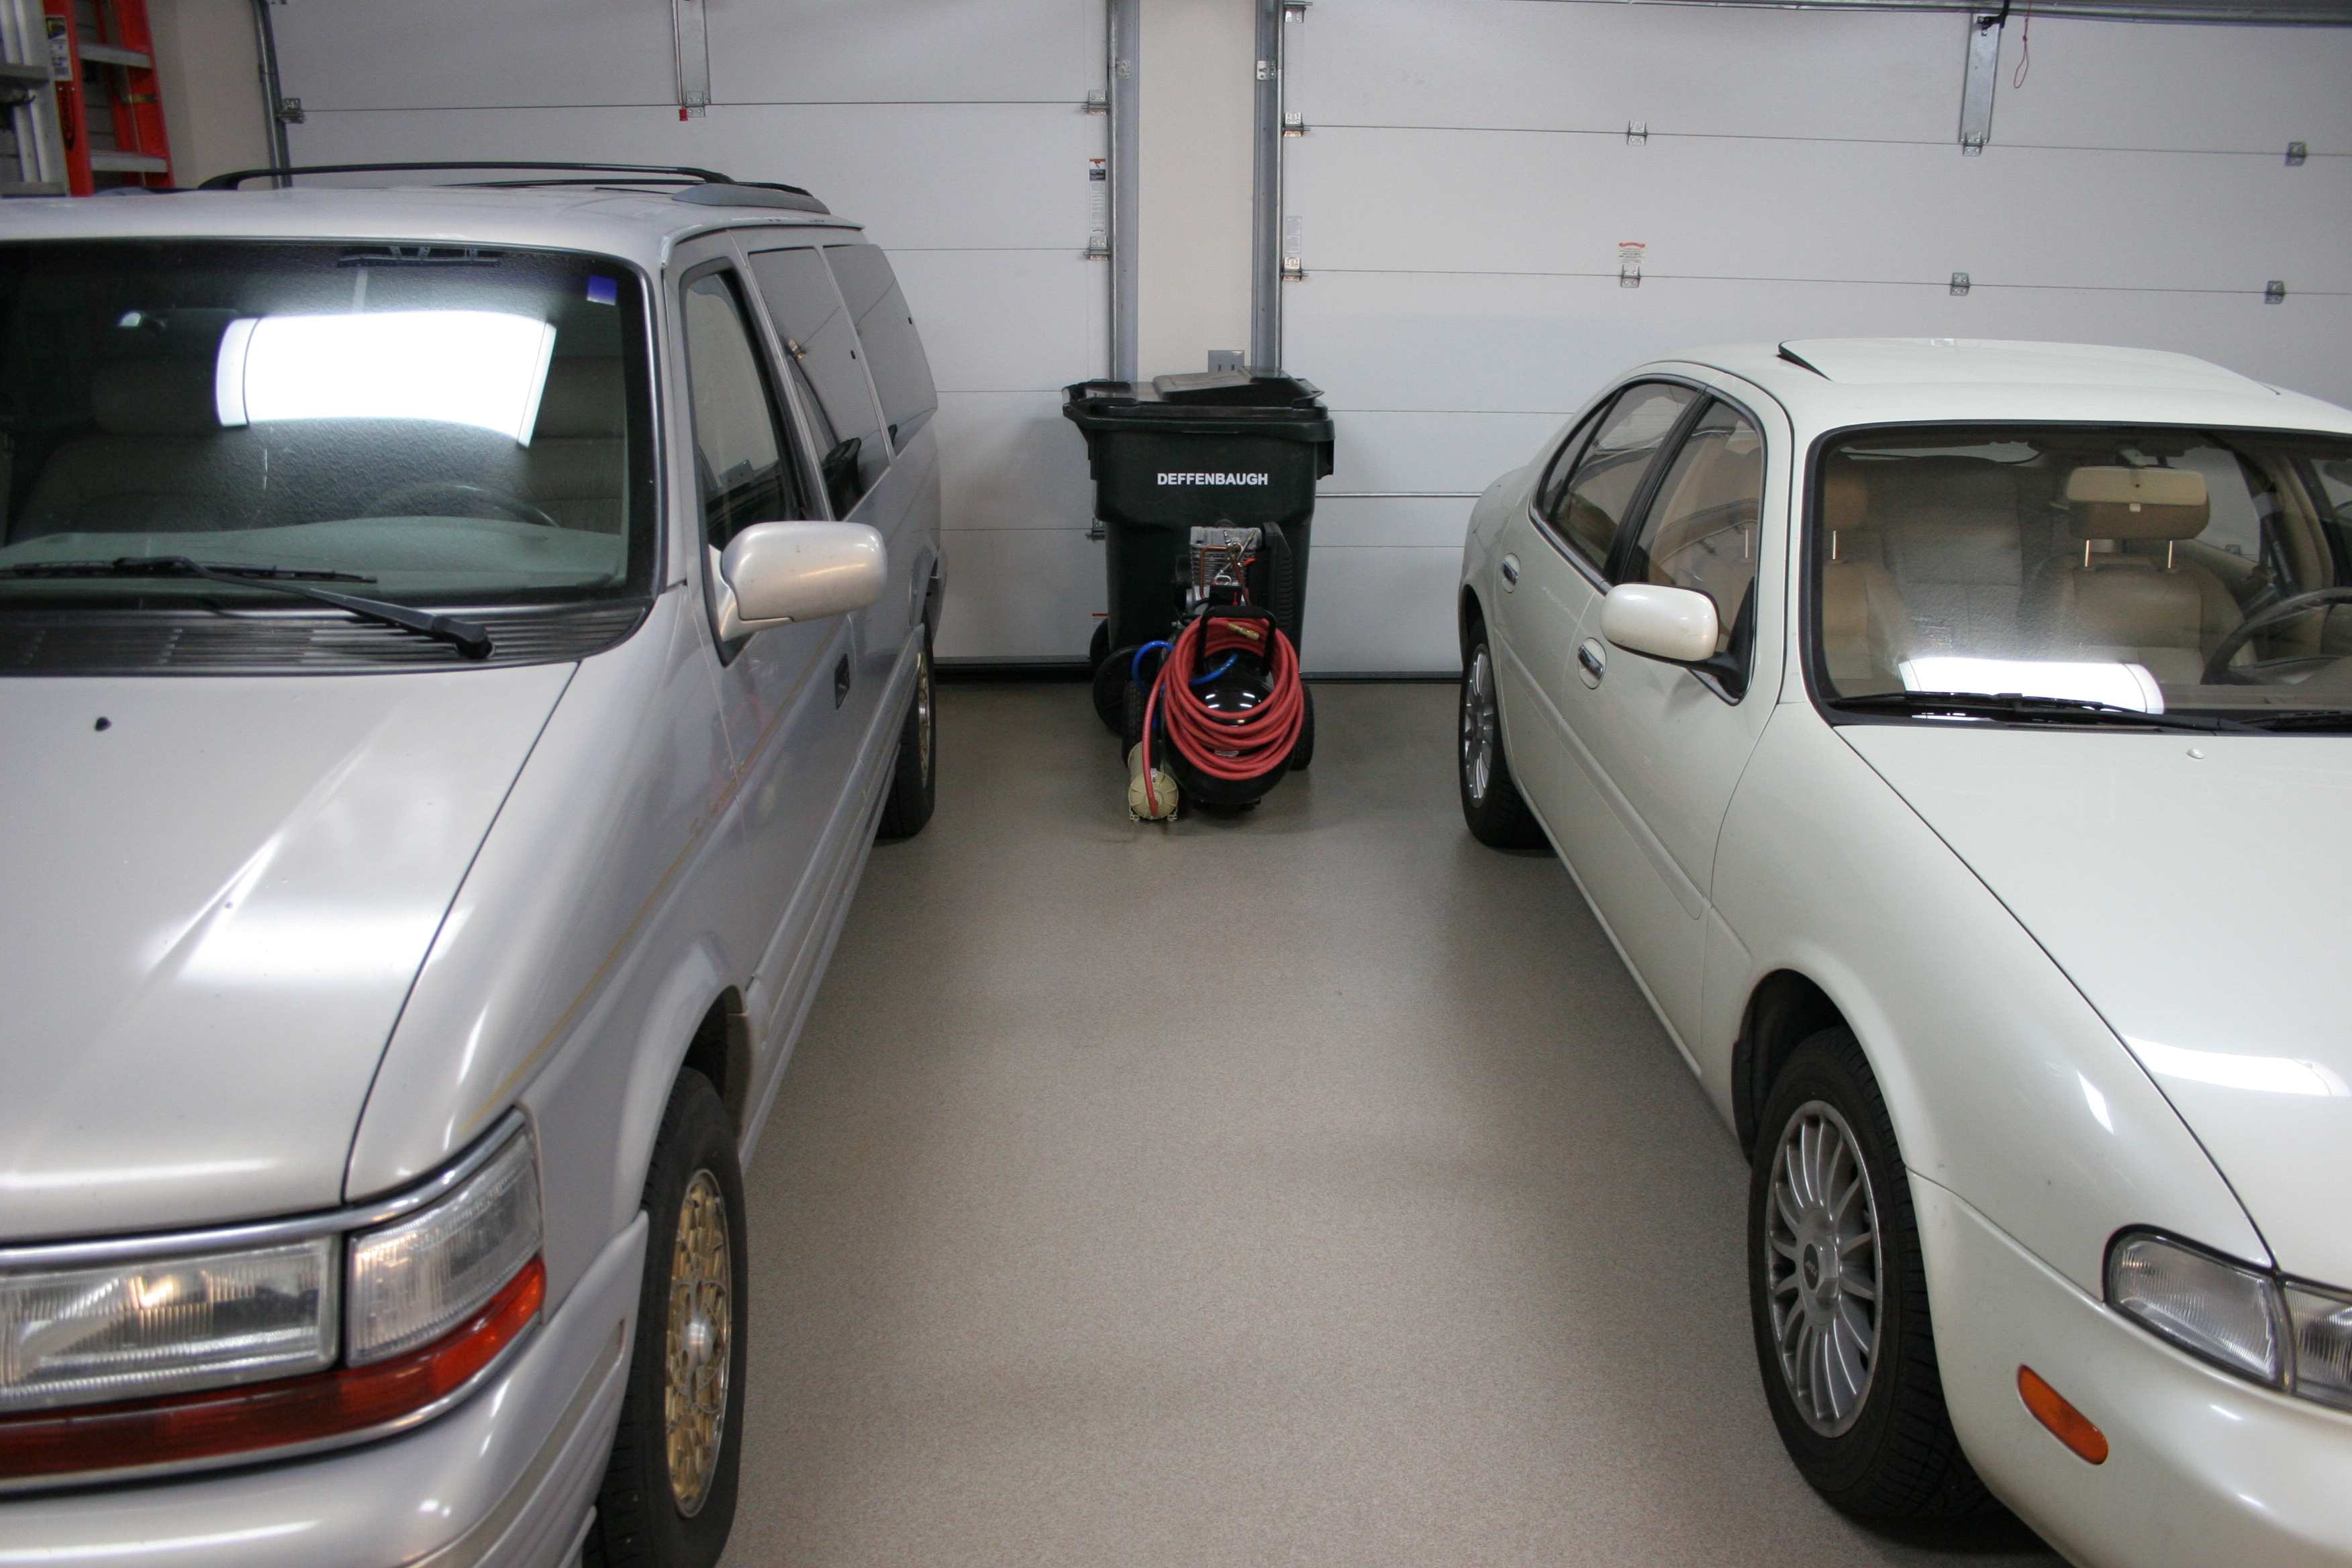
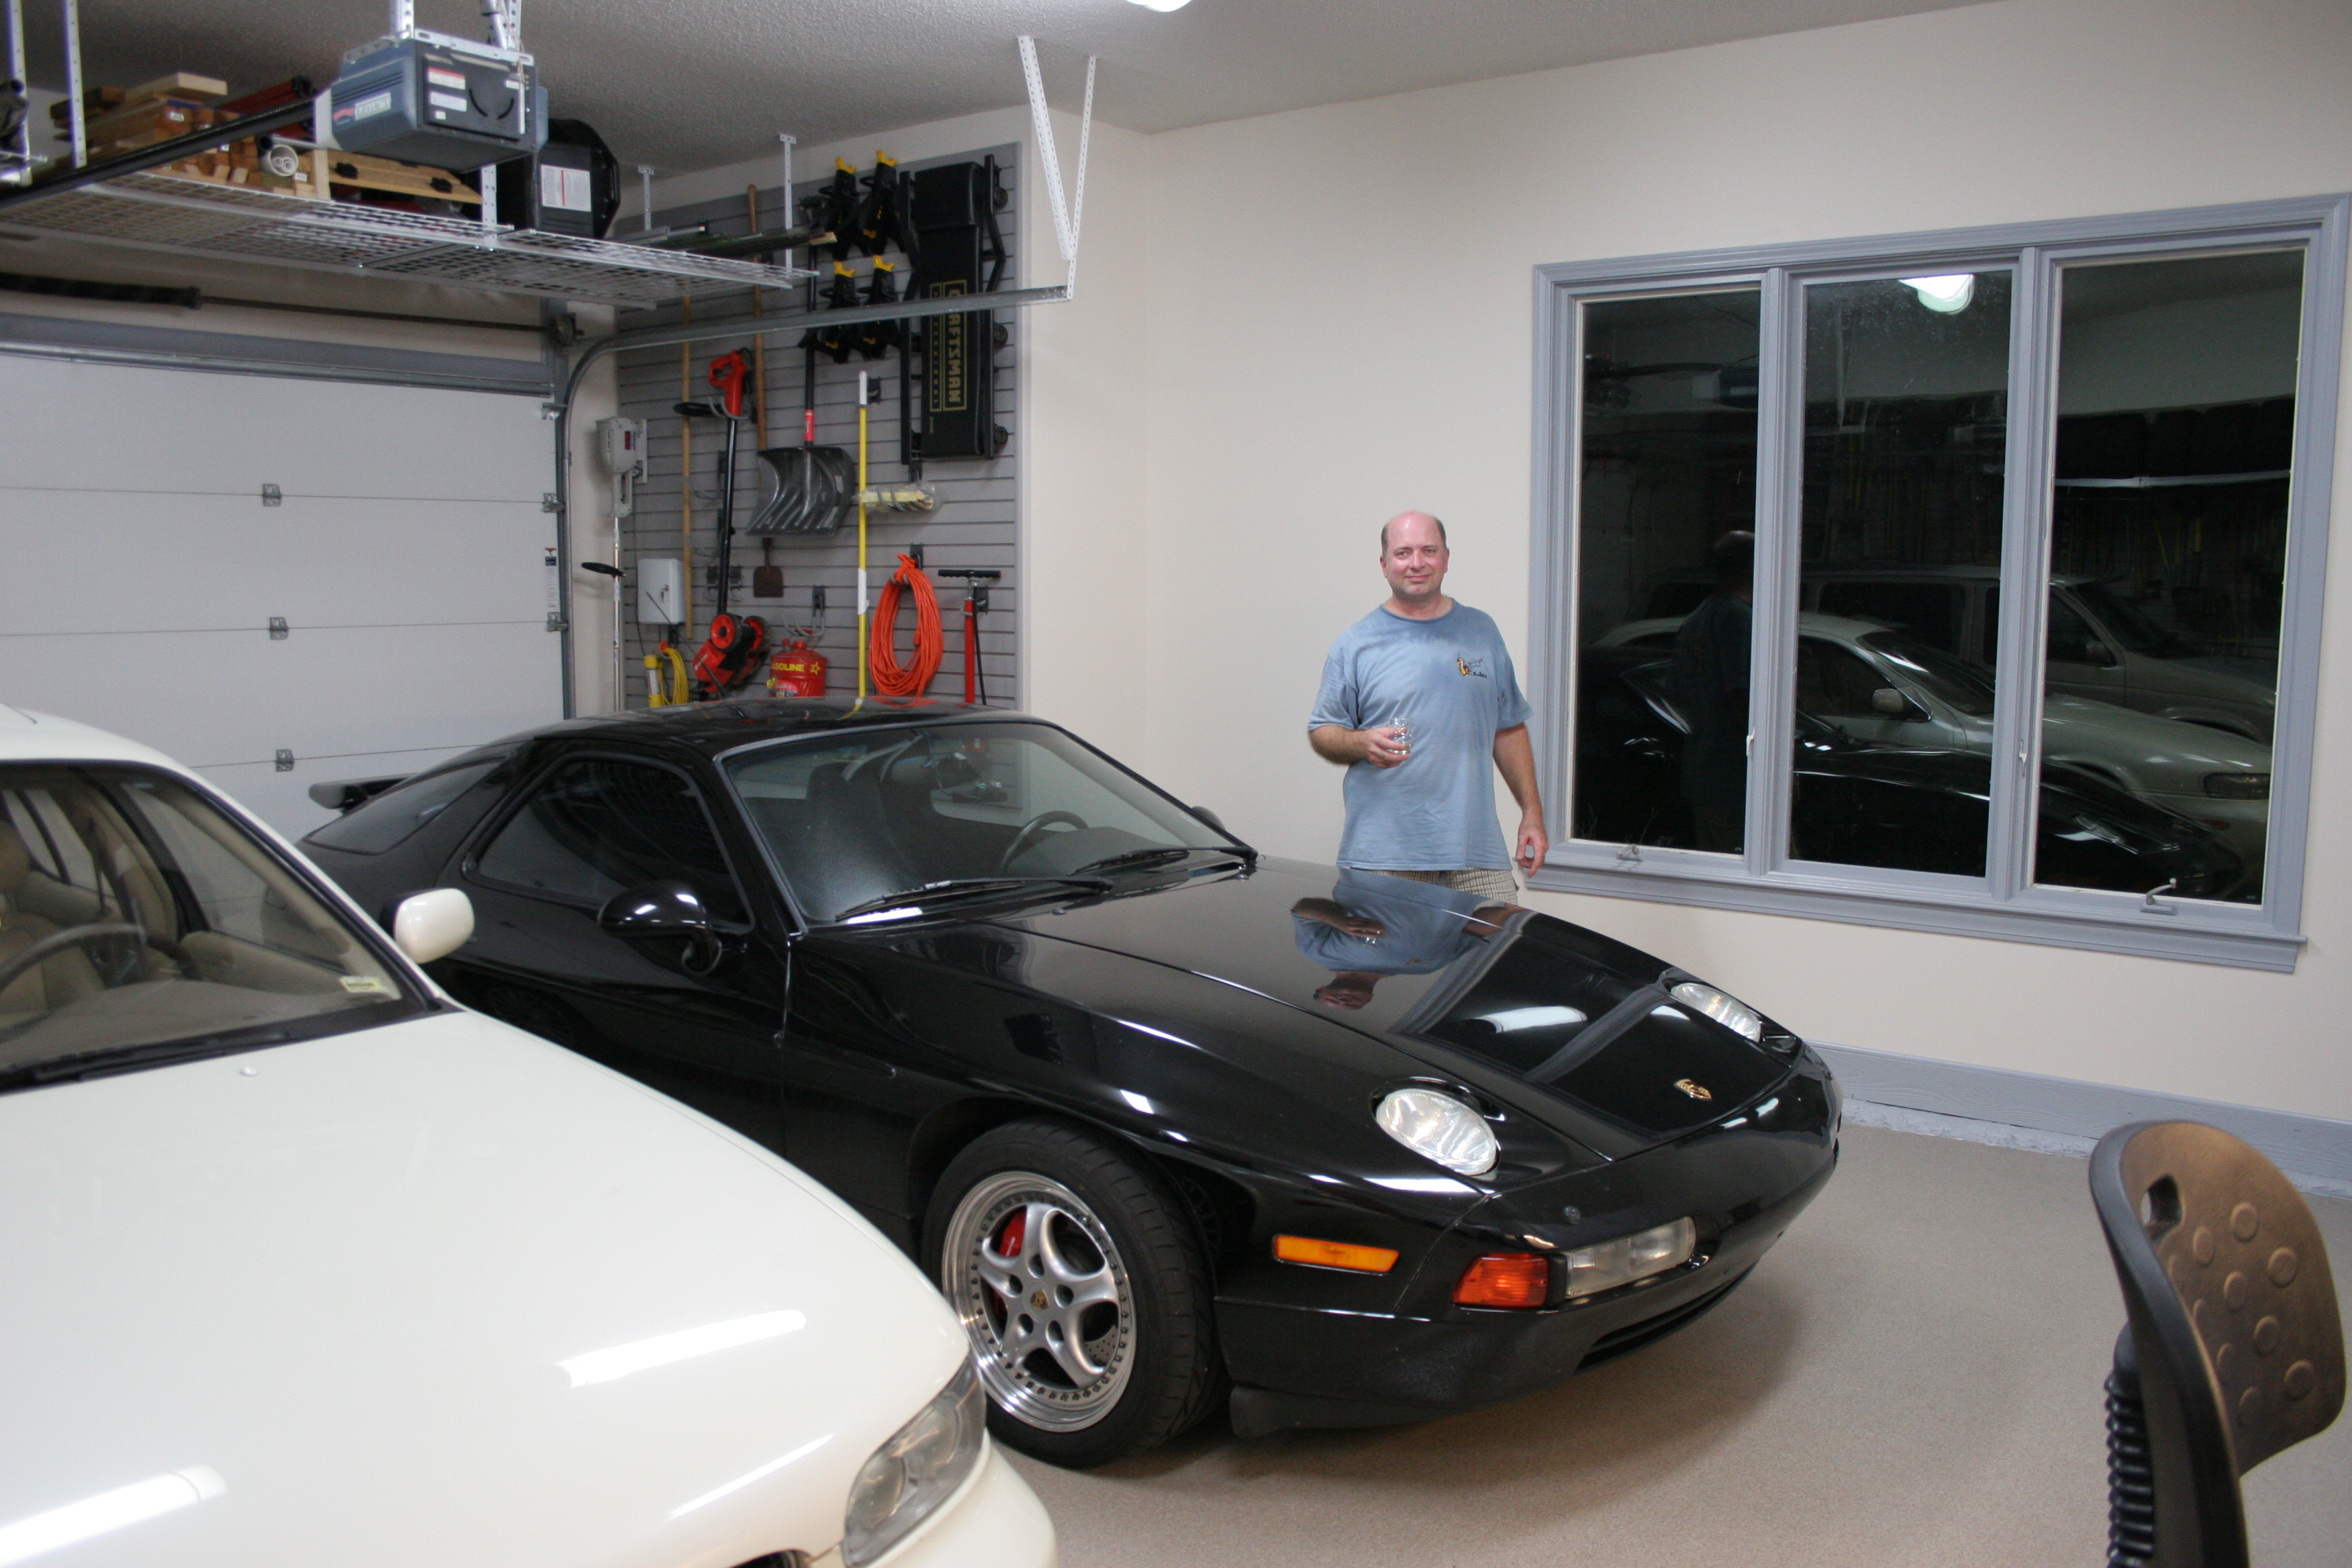
| Plenty of room between these two vehicles. Too bad it's not like
that between the other two. |
 |
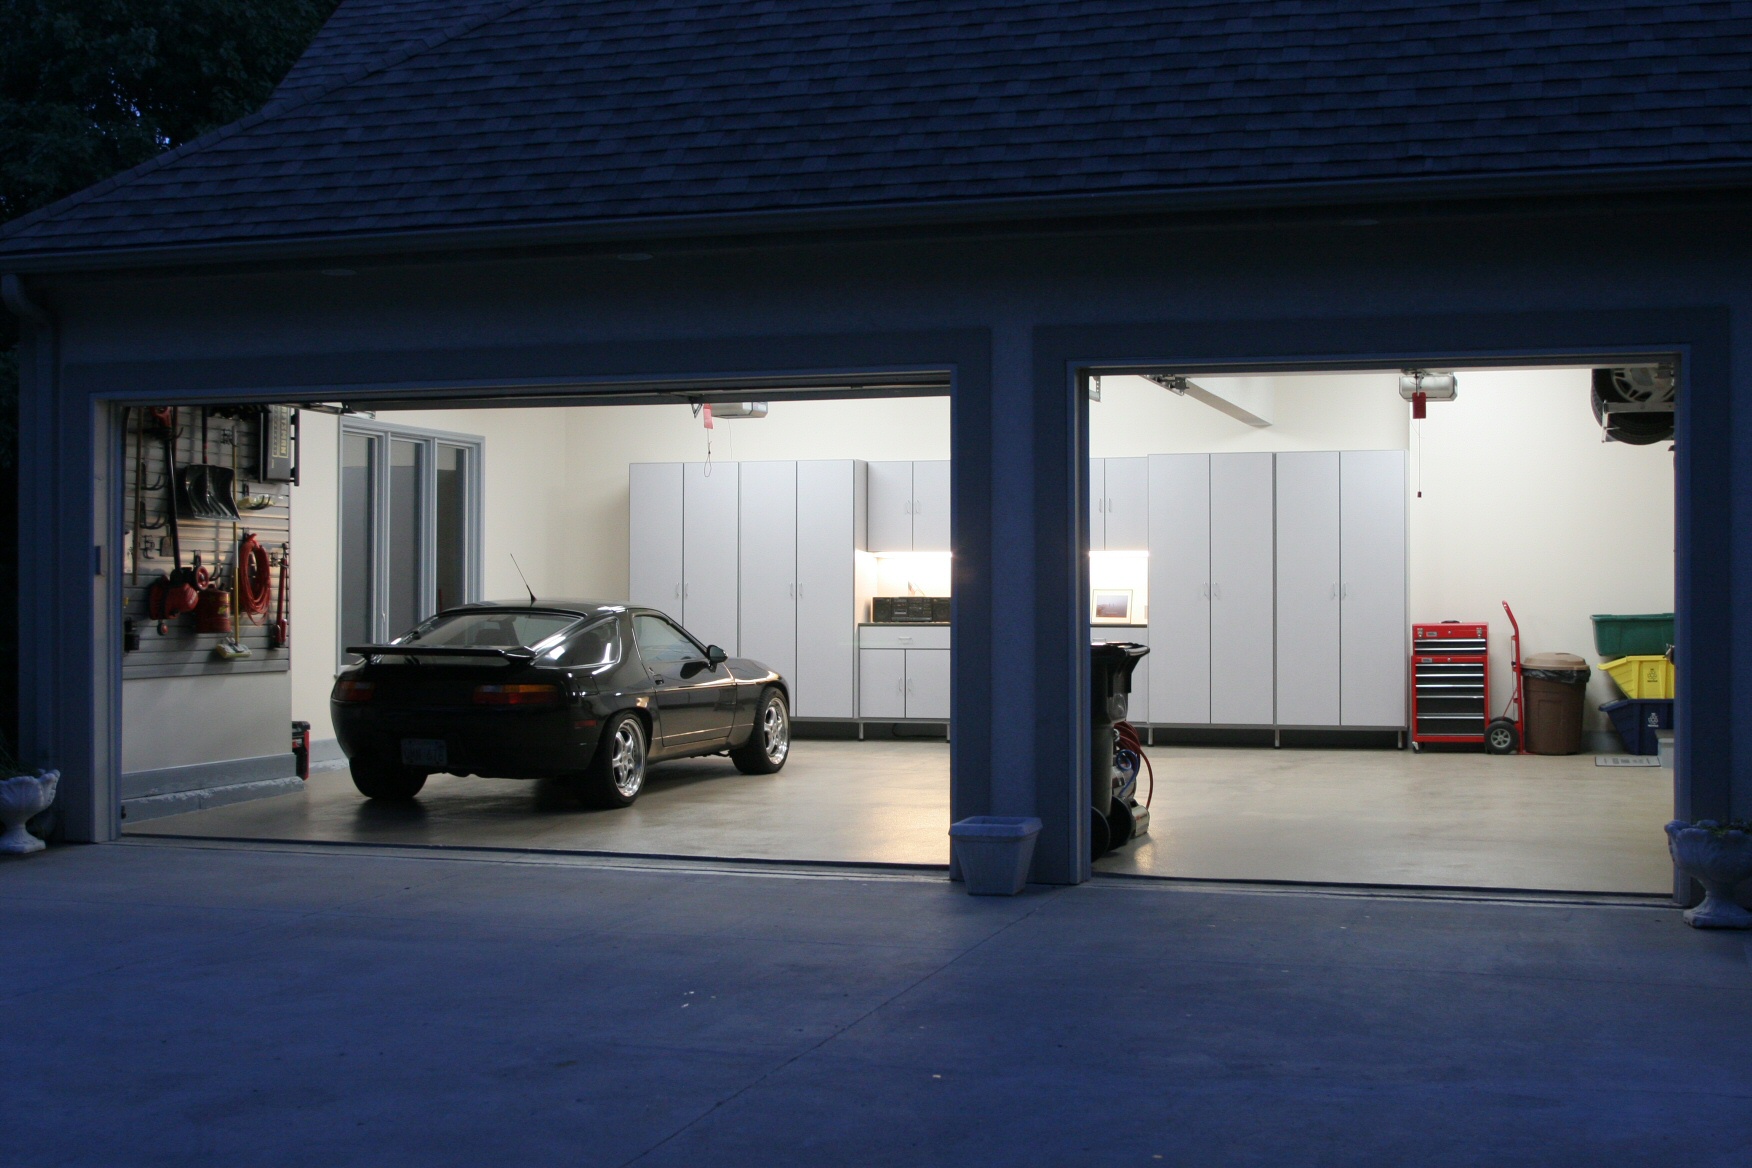
| IMG_1370: [medium | large | huge] |
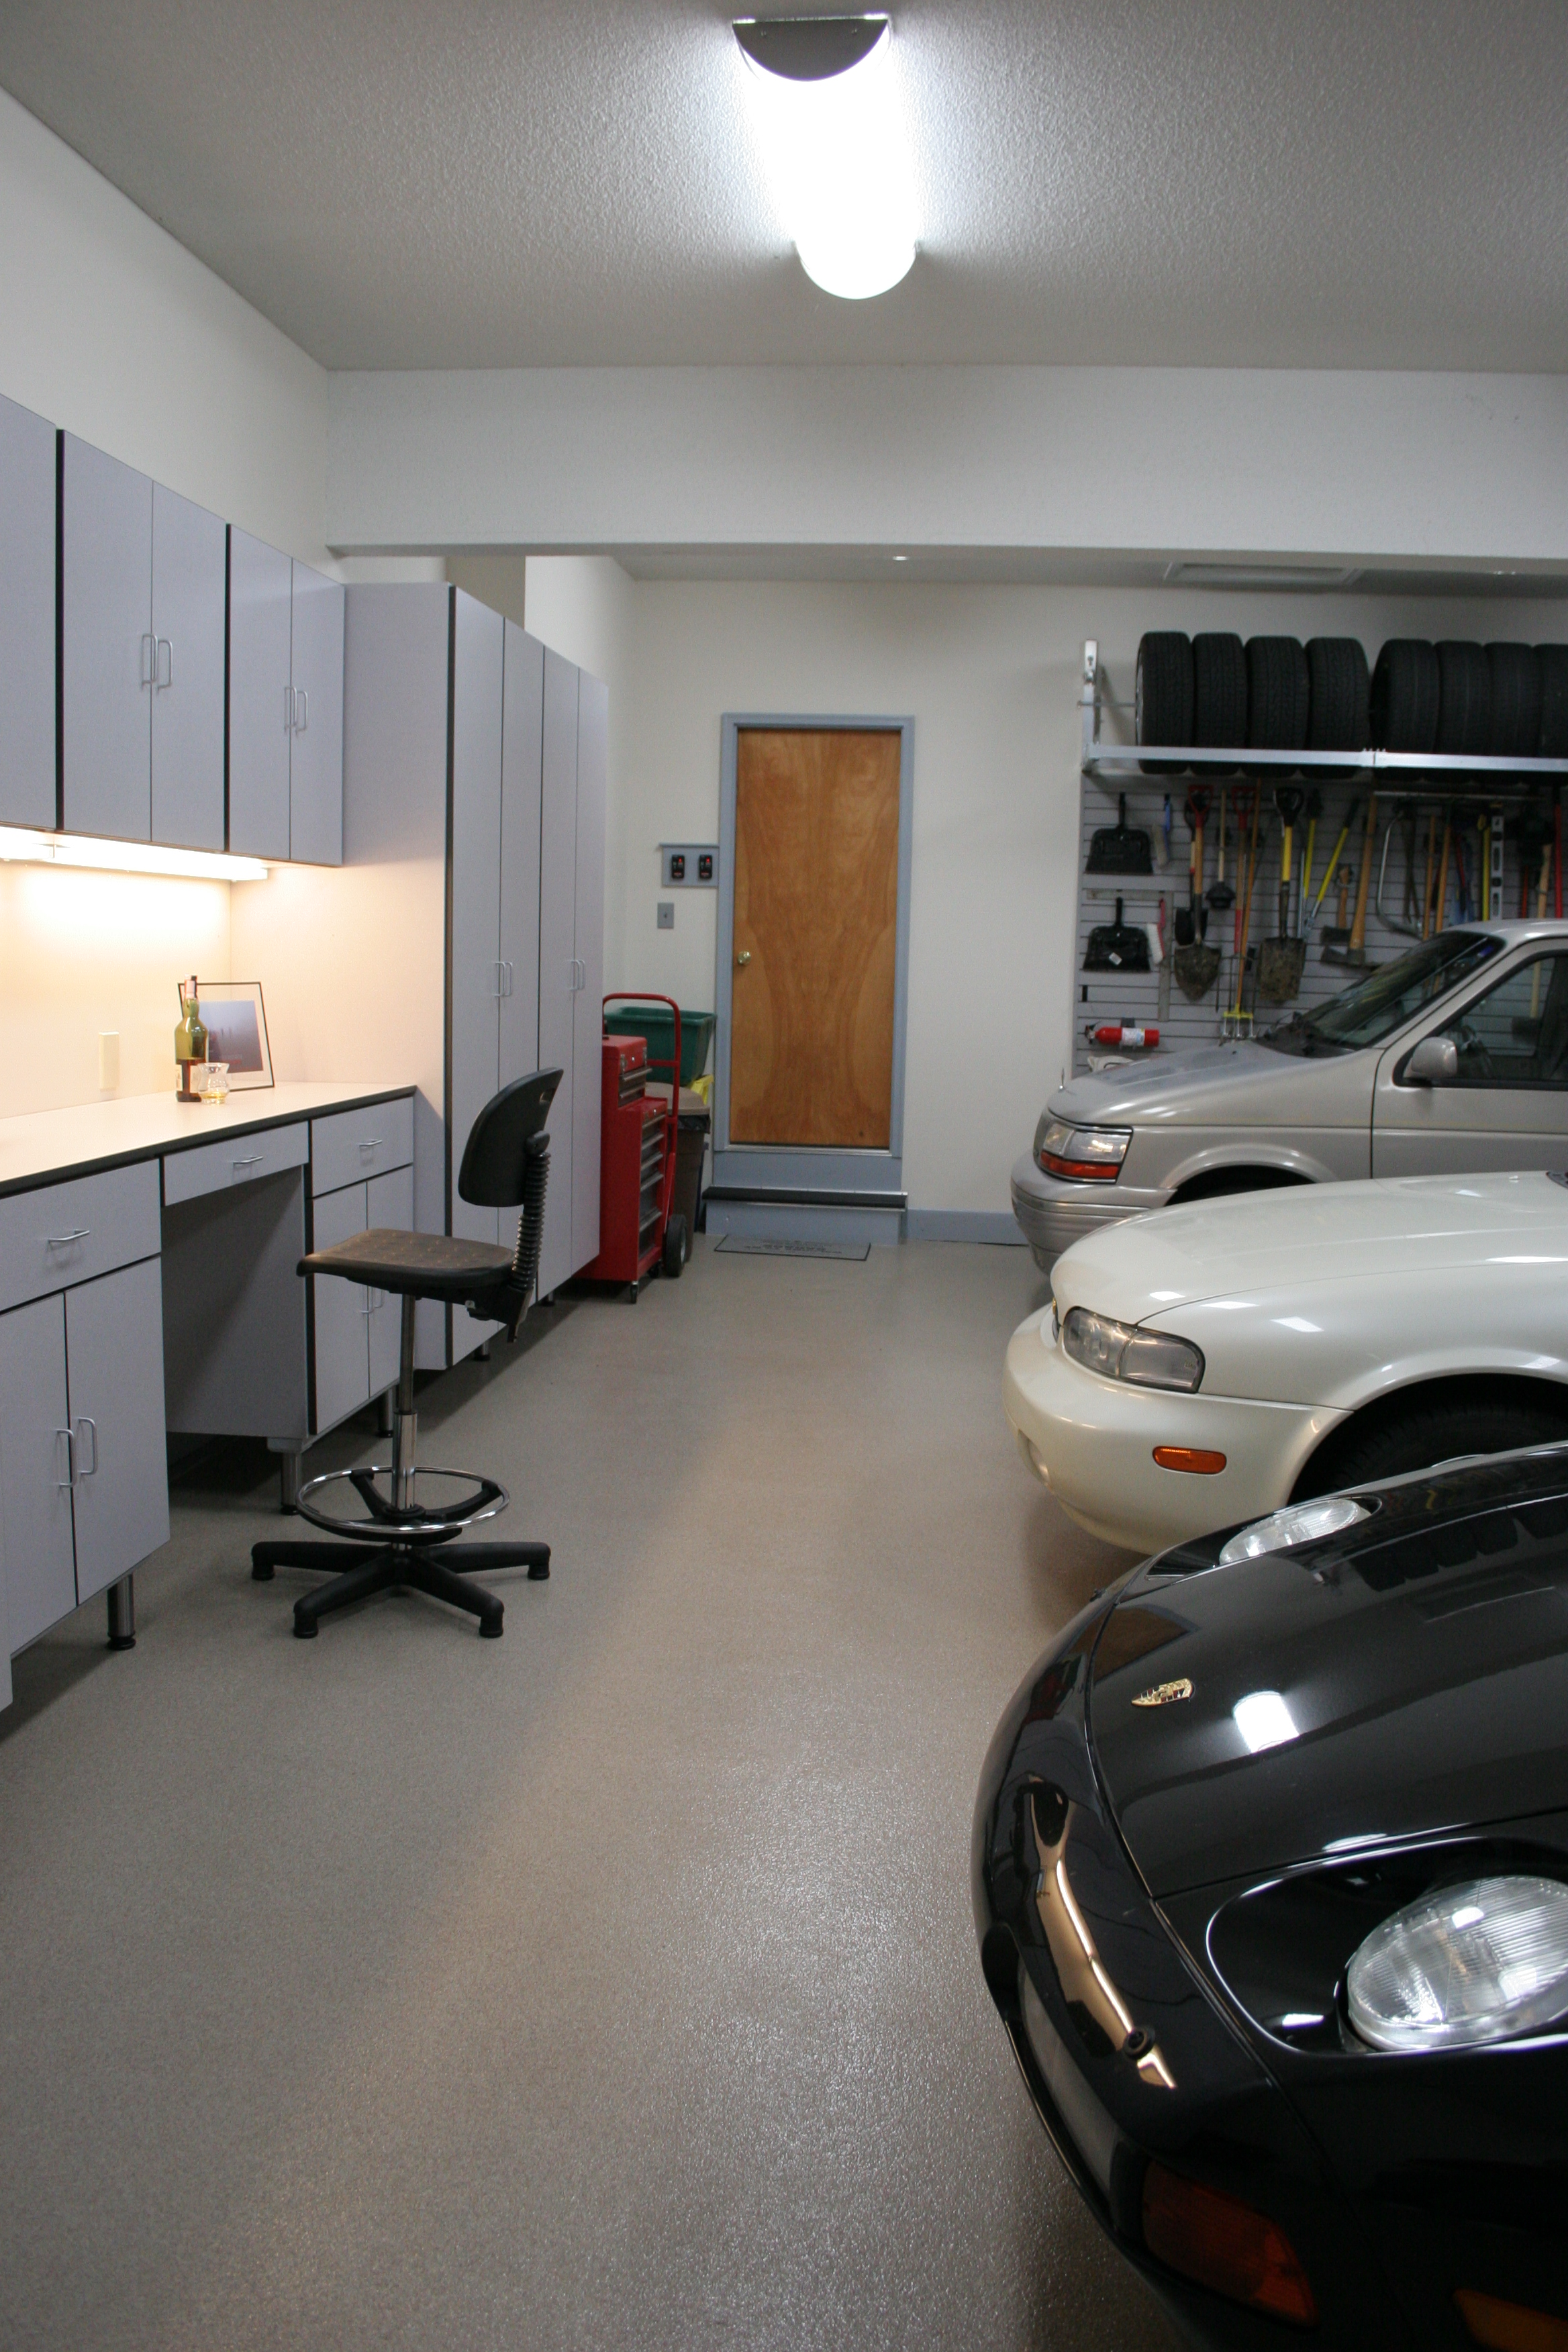
| Plenty of space to work in front of the cars. Lucky we don't have
any of those rear-engined cars! |
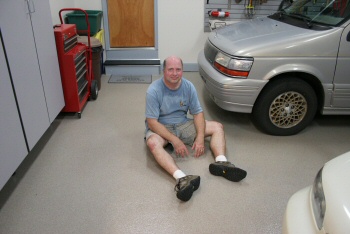 |
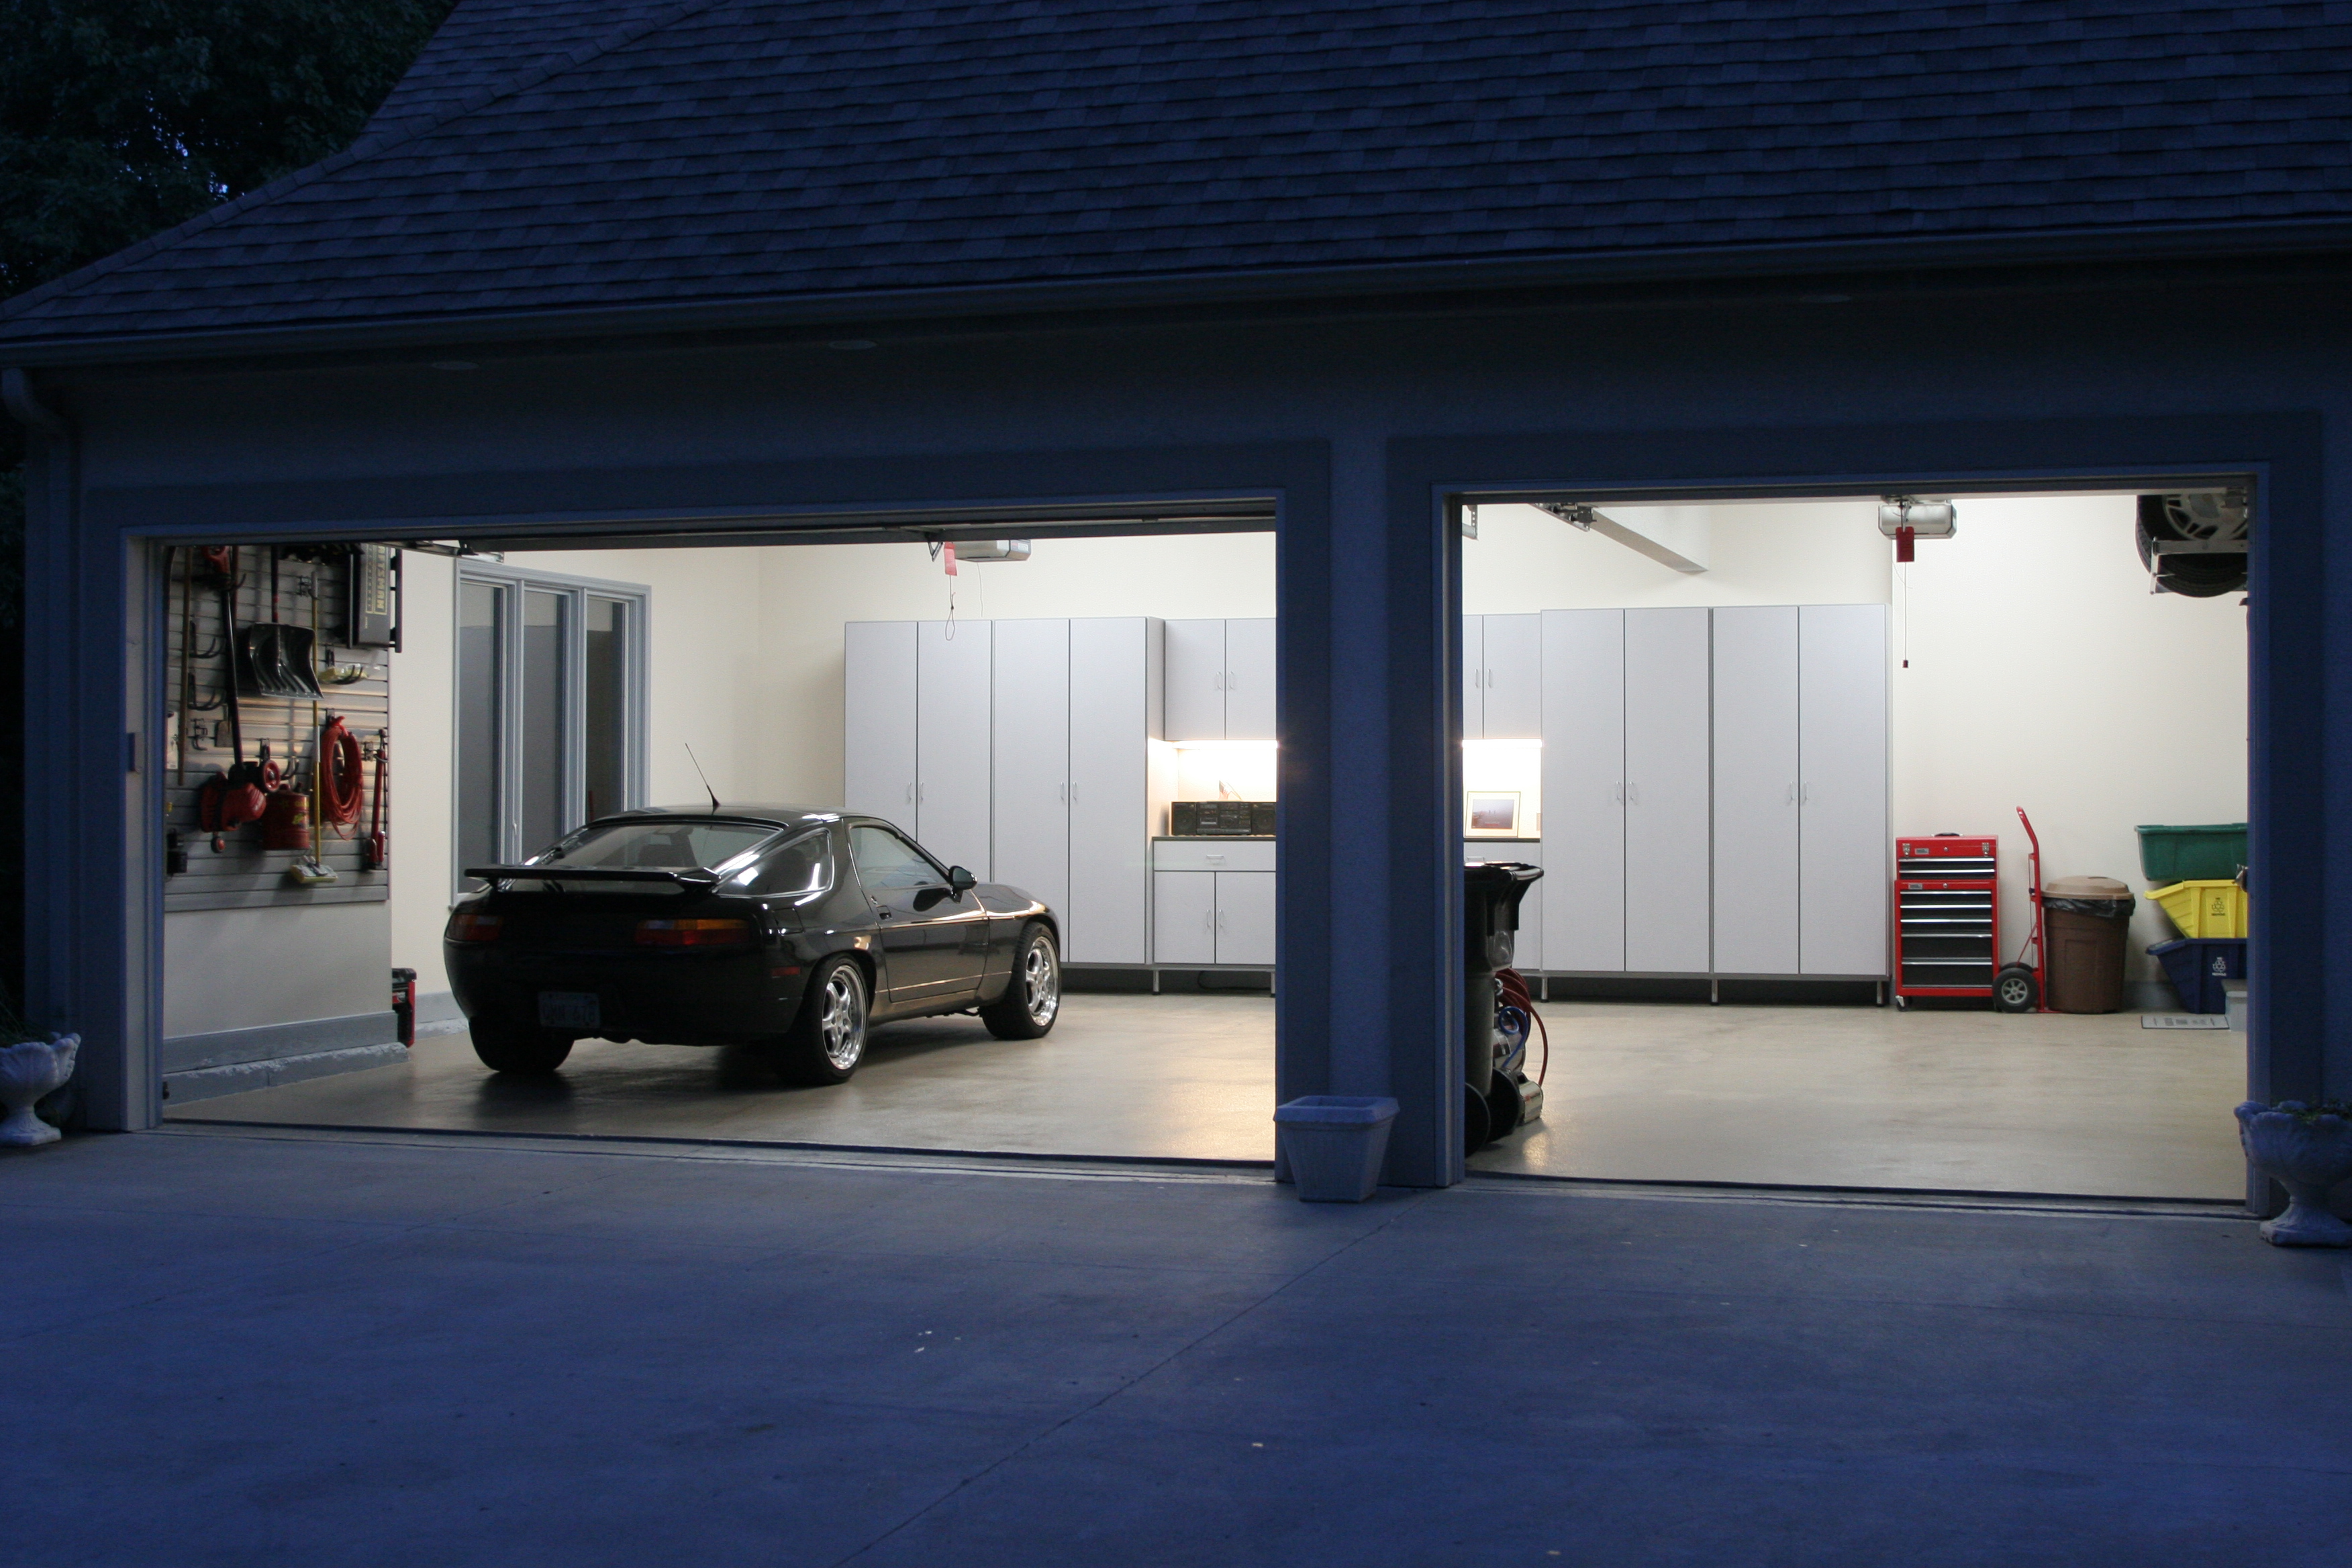
| IMG_1372: [medium | large | huge] |
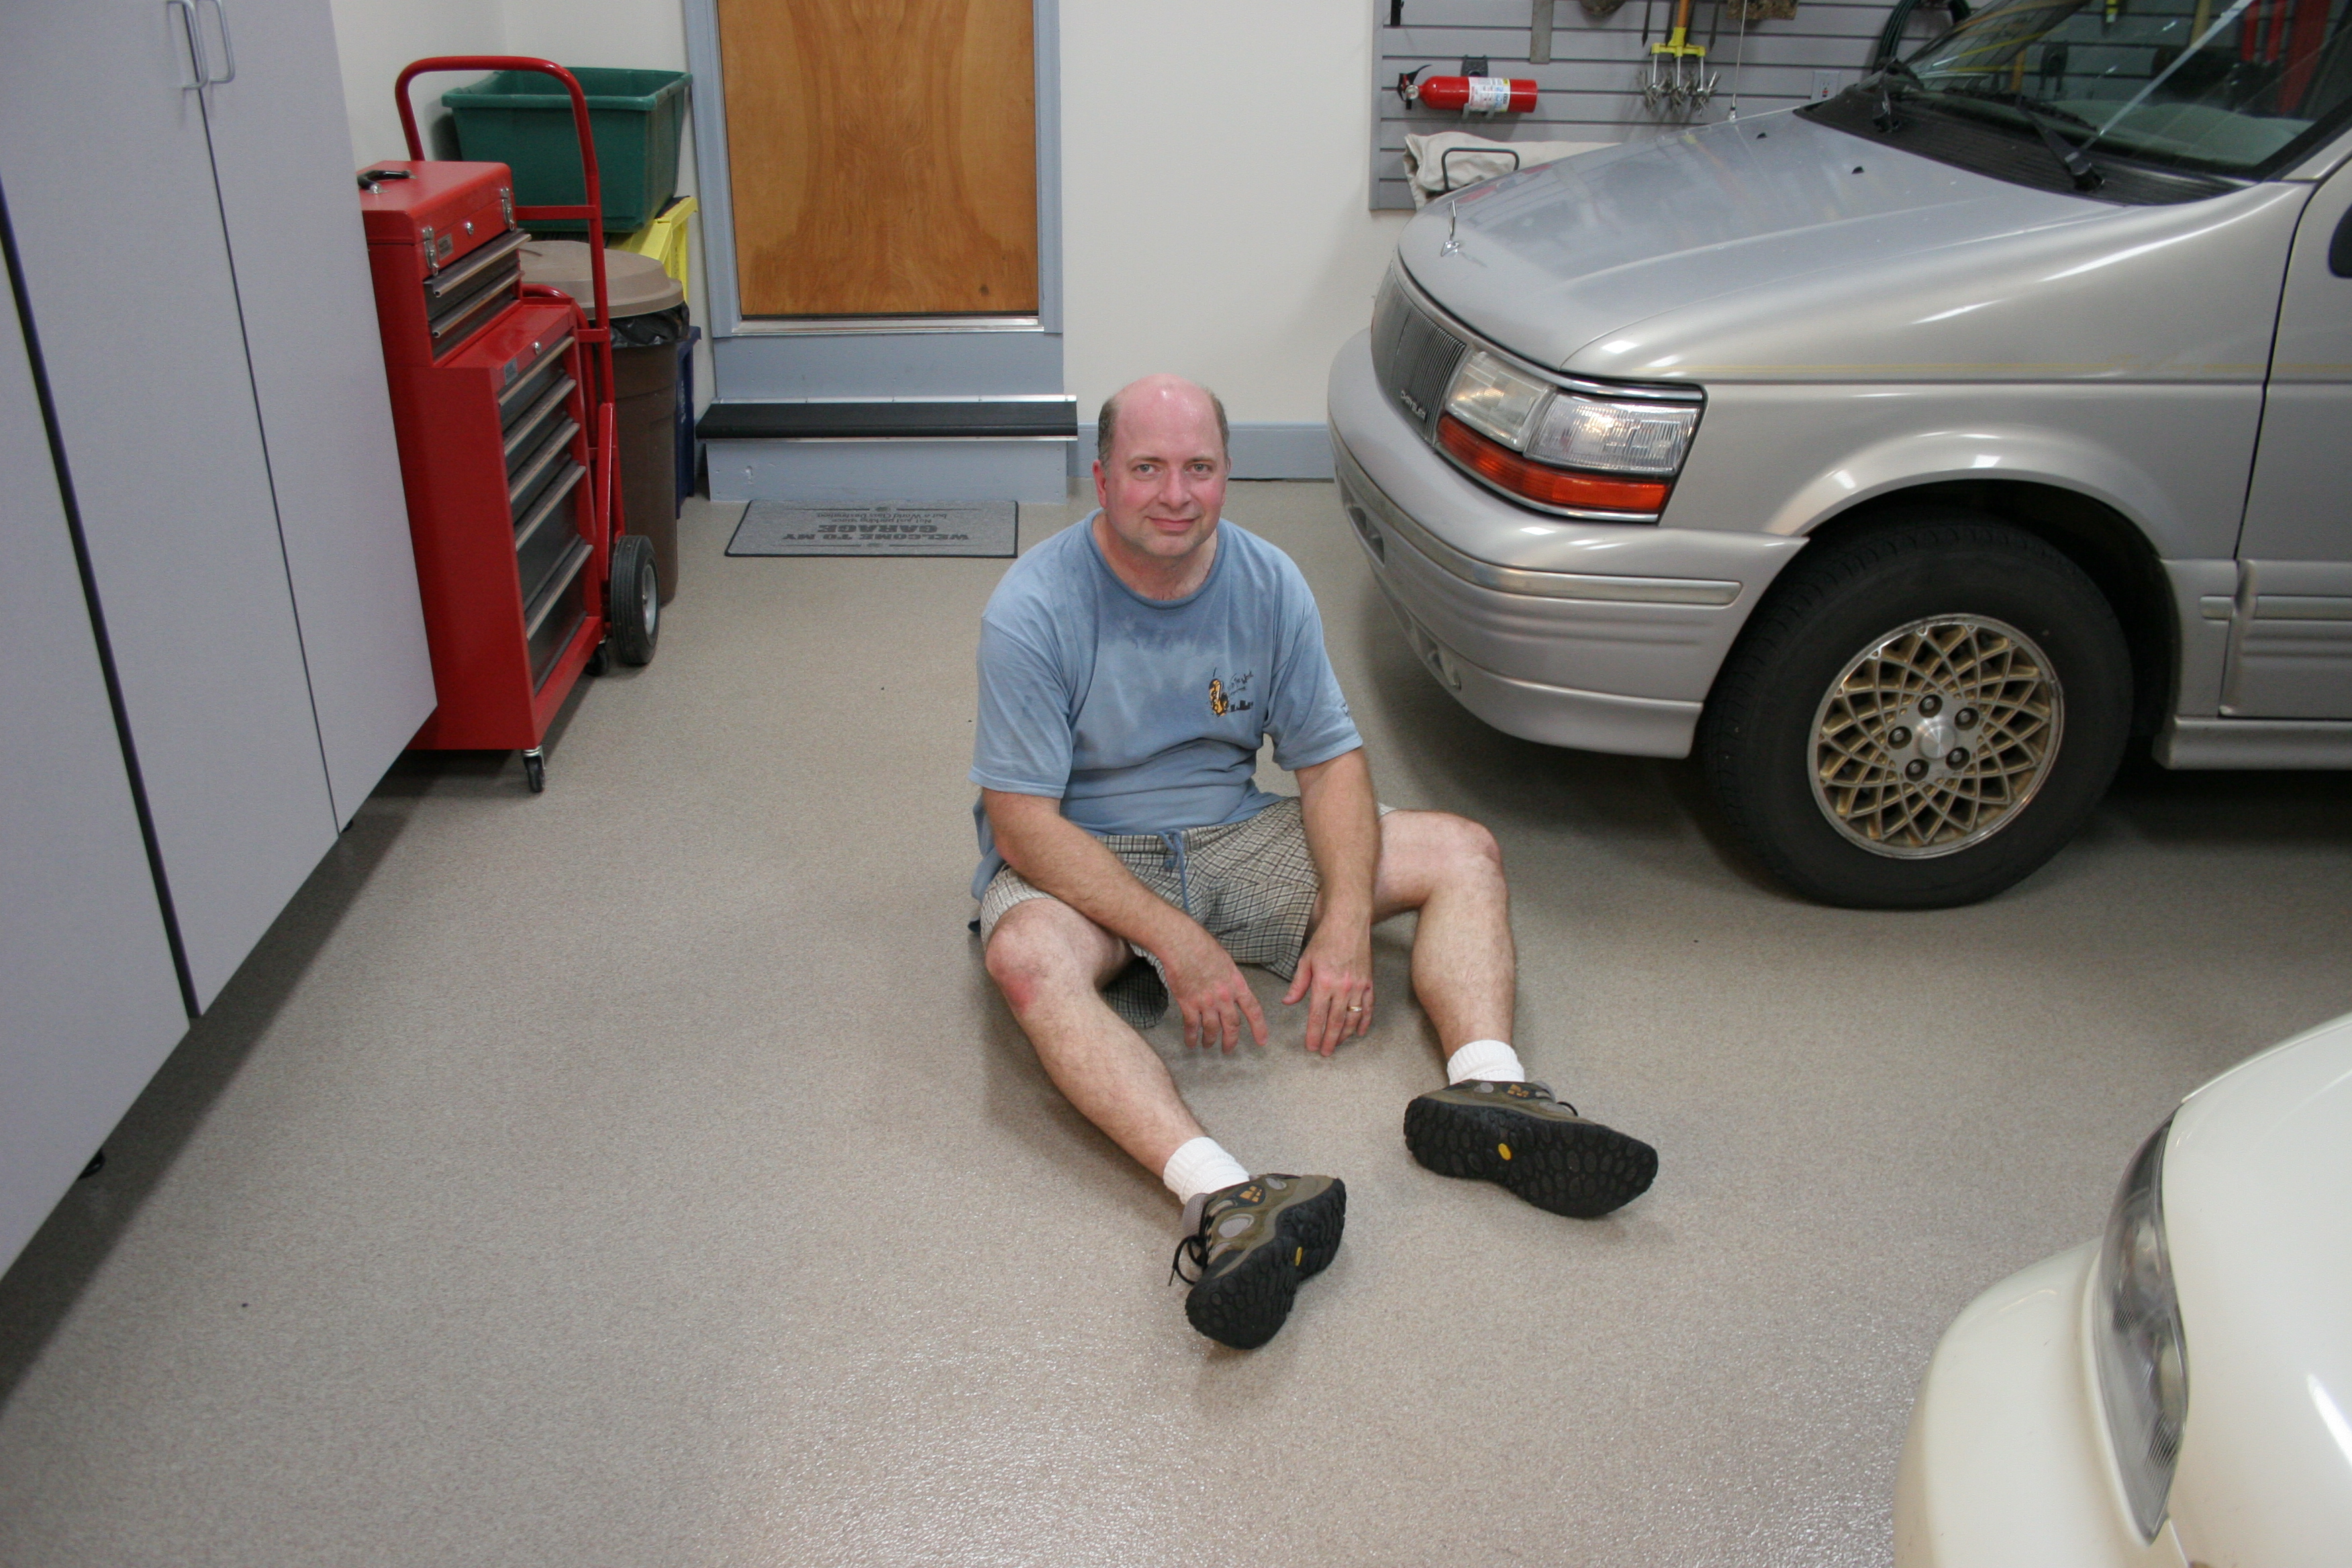
| I'm finally done with this project, and sweated out. |
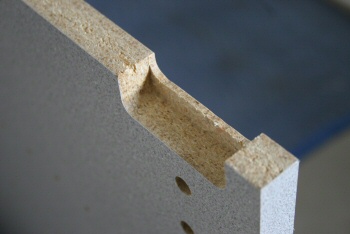
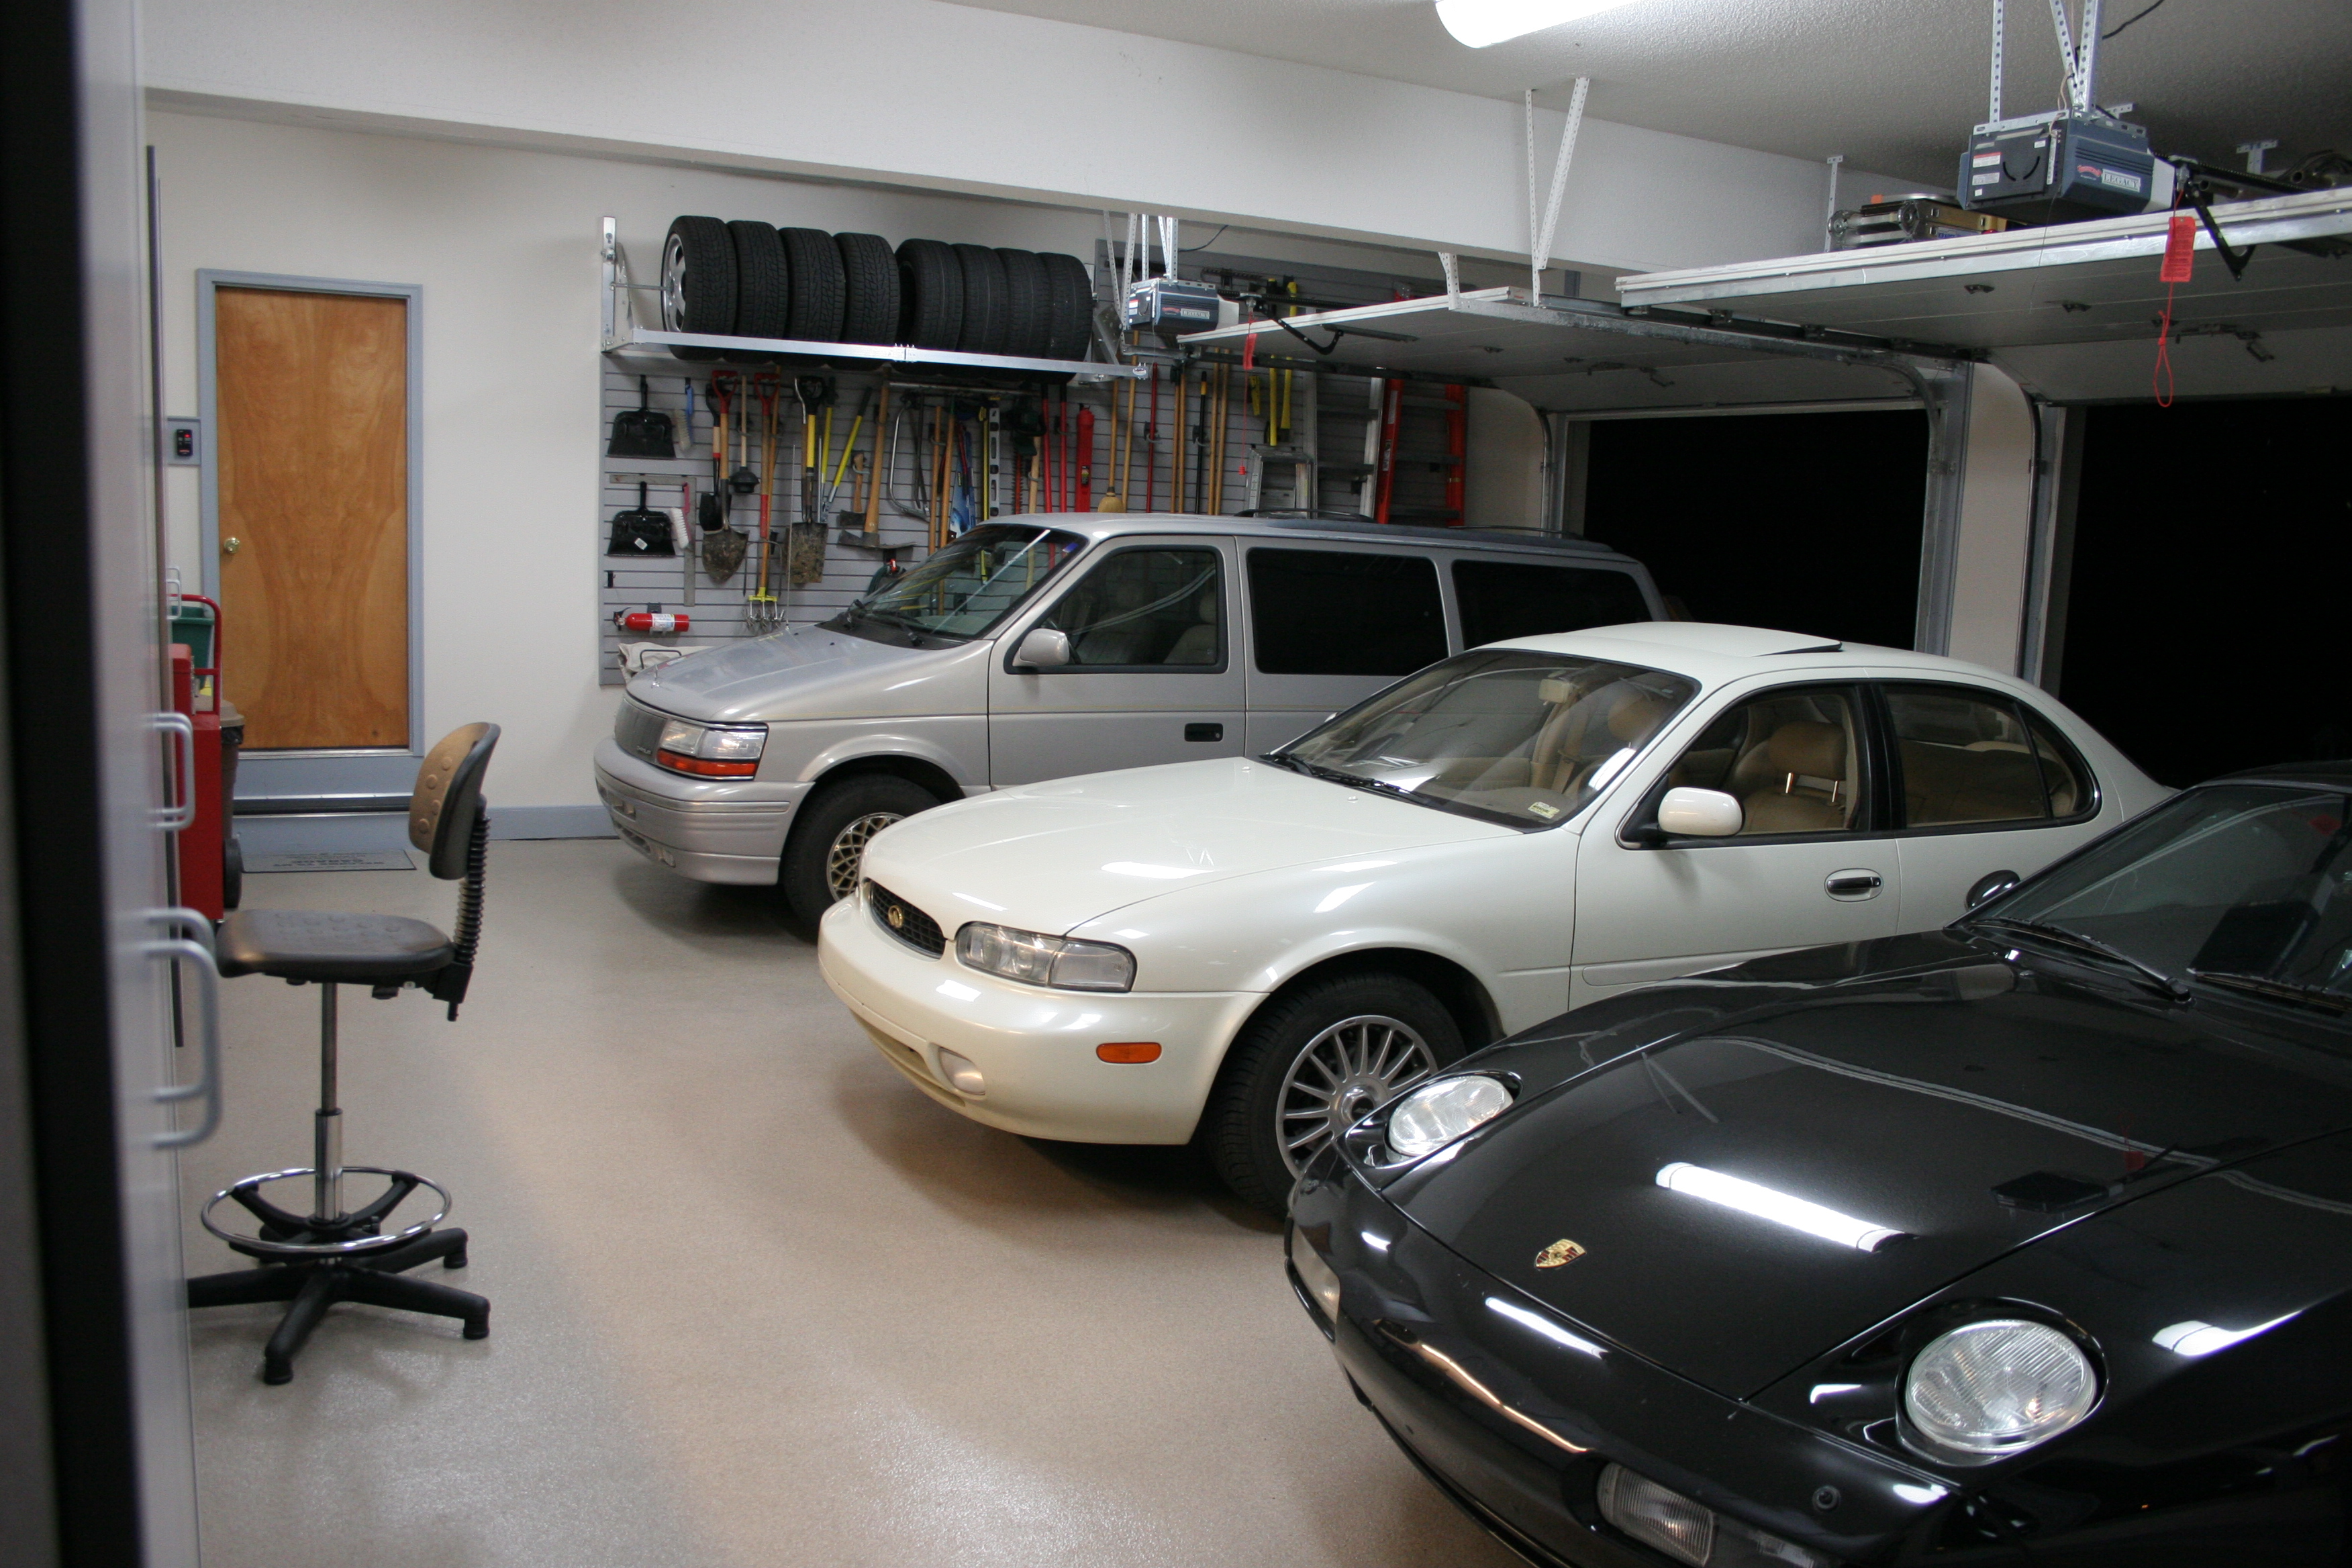
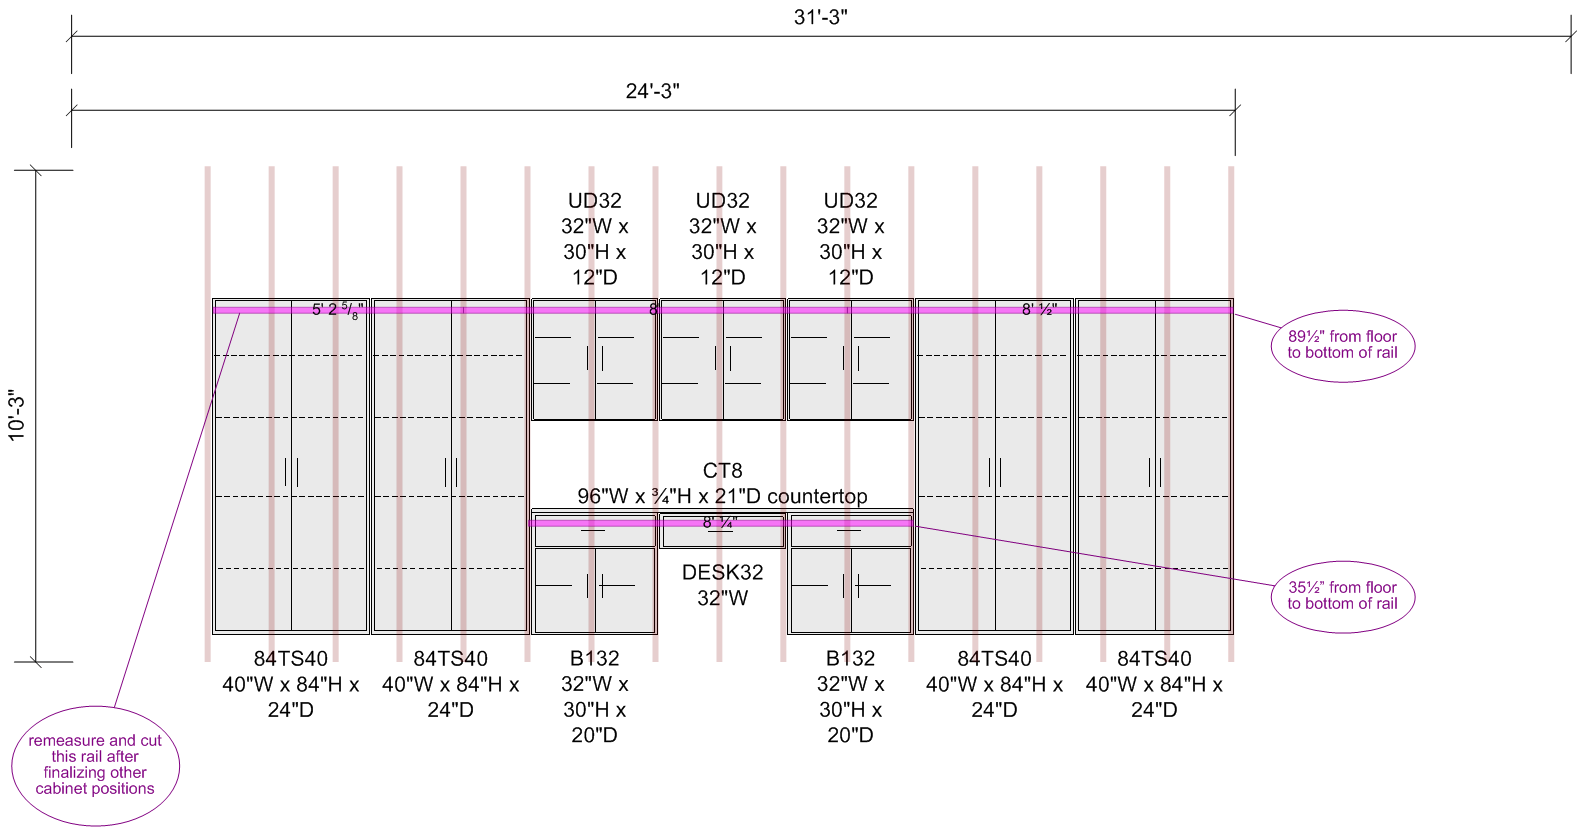
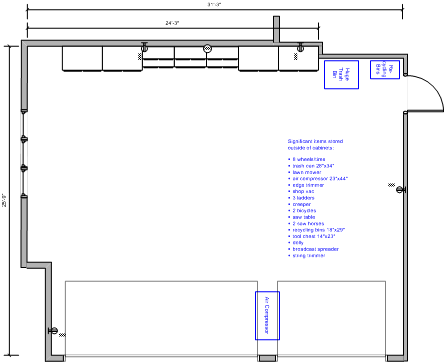
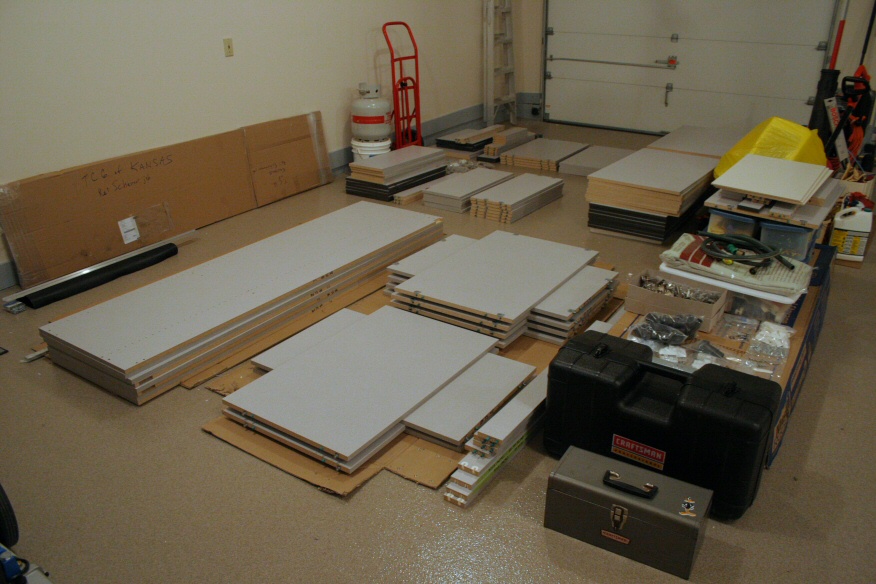
![[back wall cabinets]](small/Back%20Wall.gif) Plans
Plans
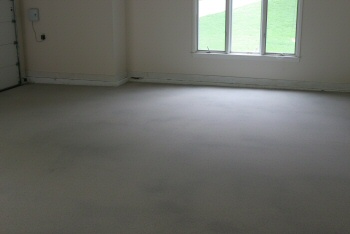
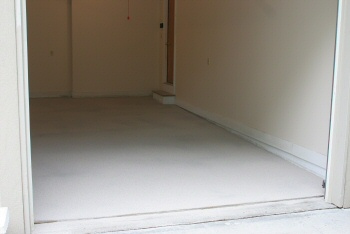
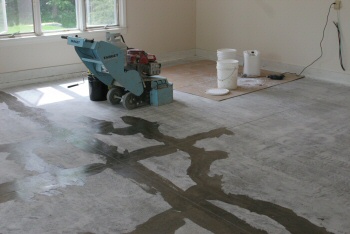
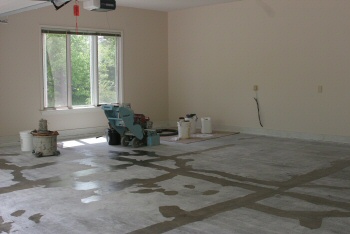
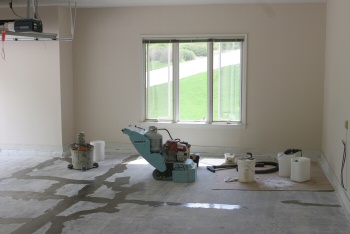
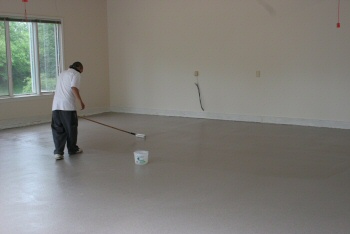
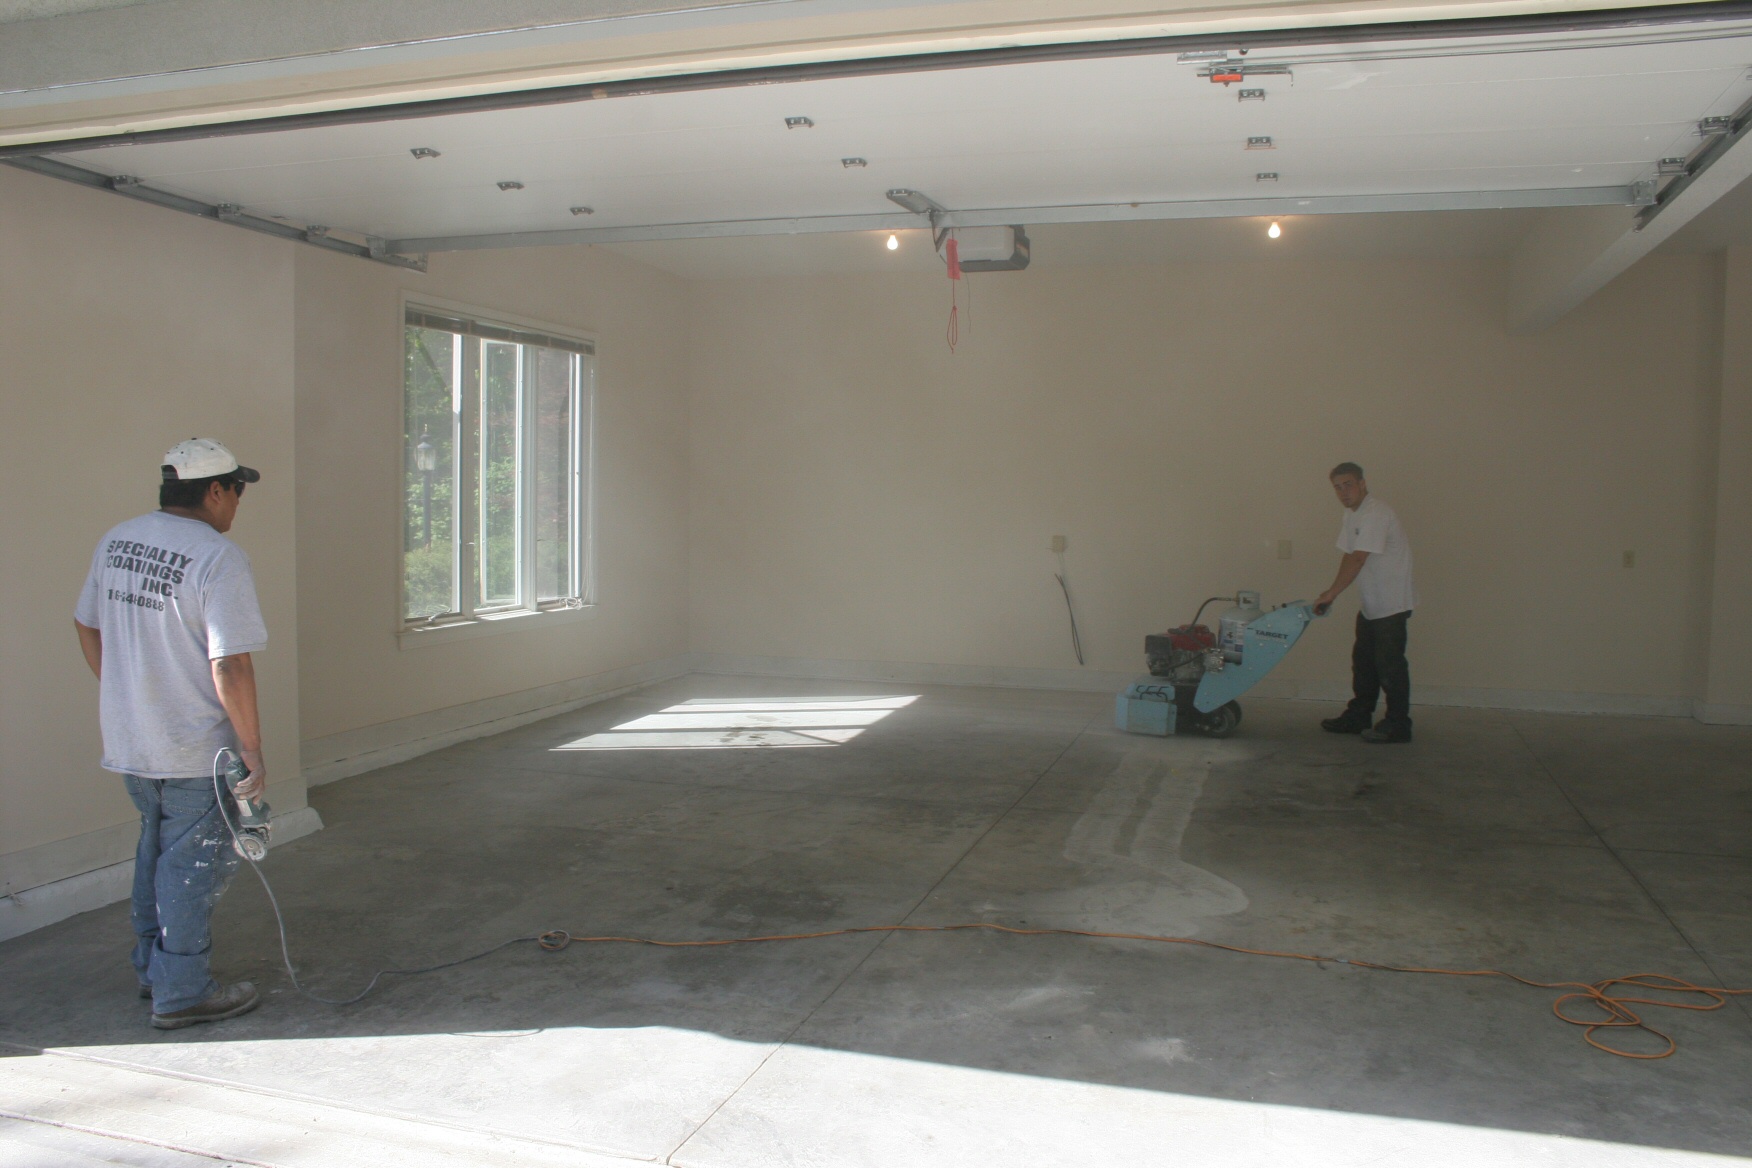
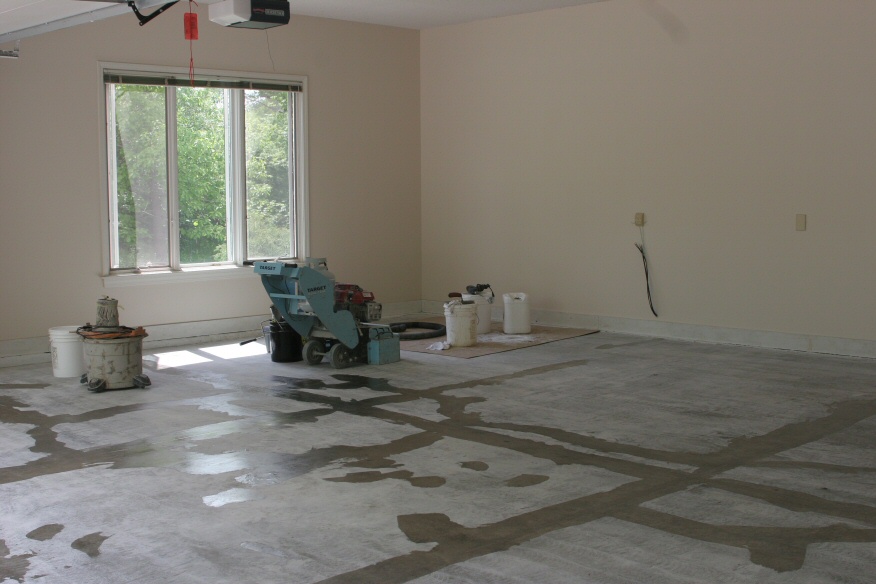
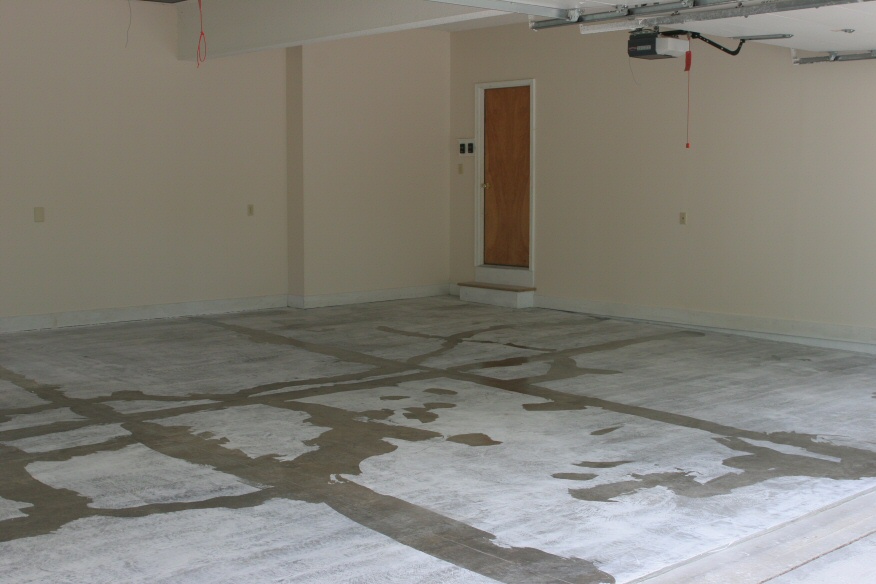
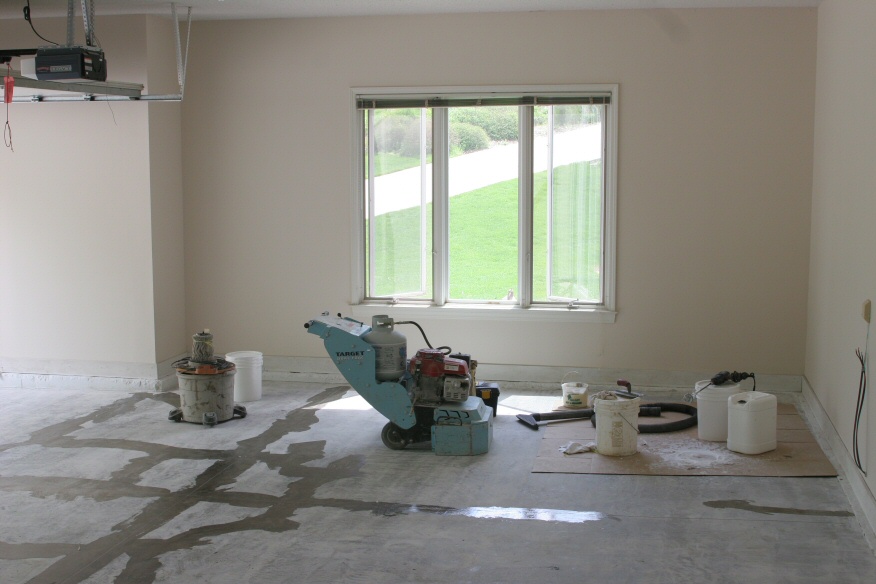
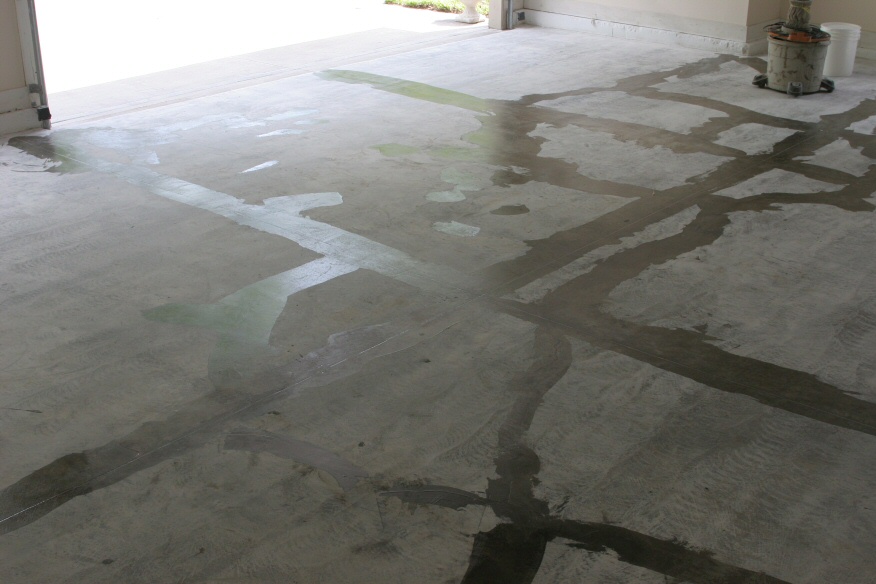
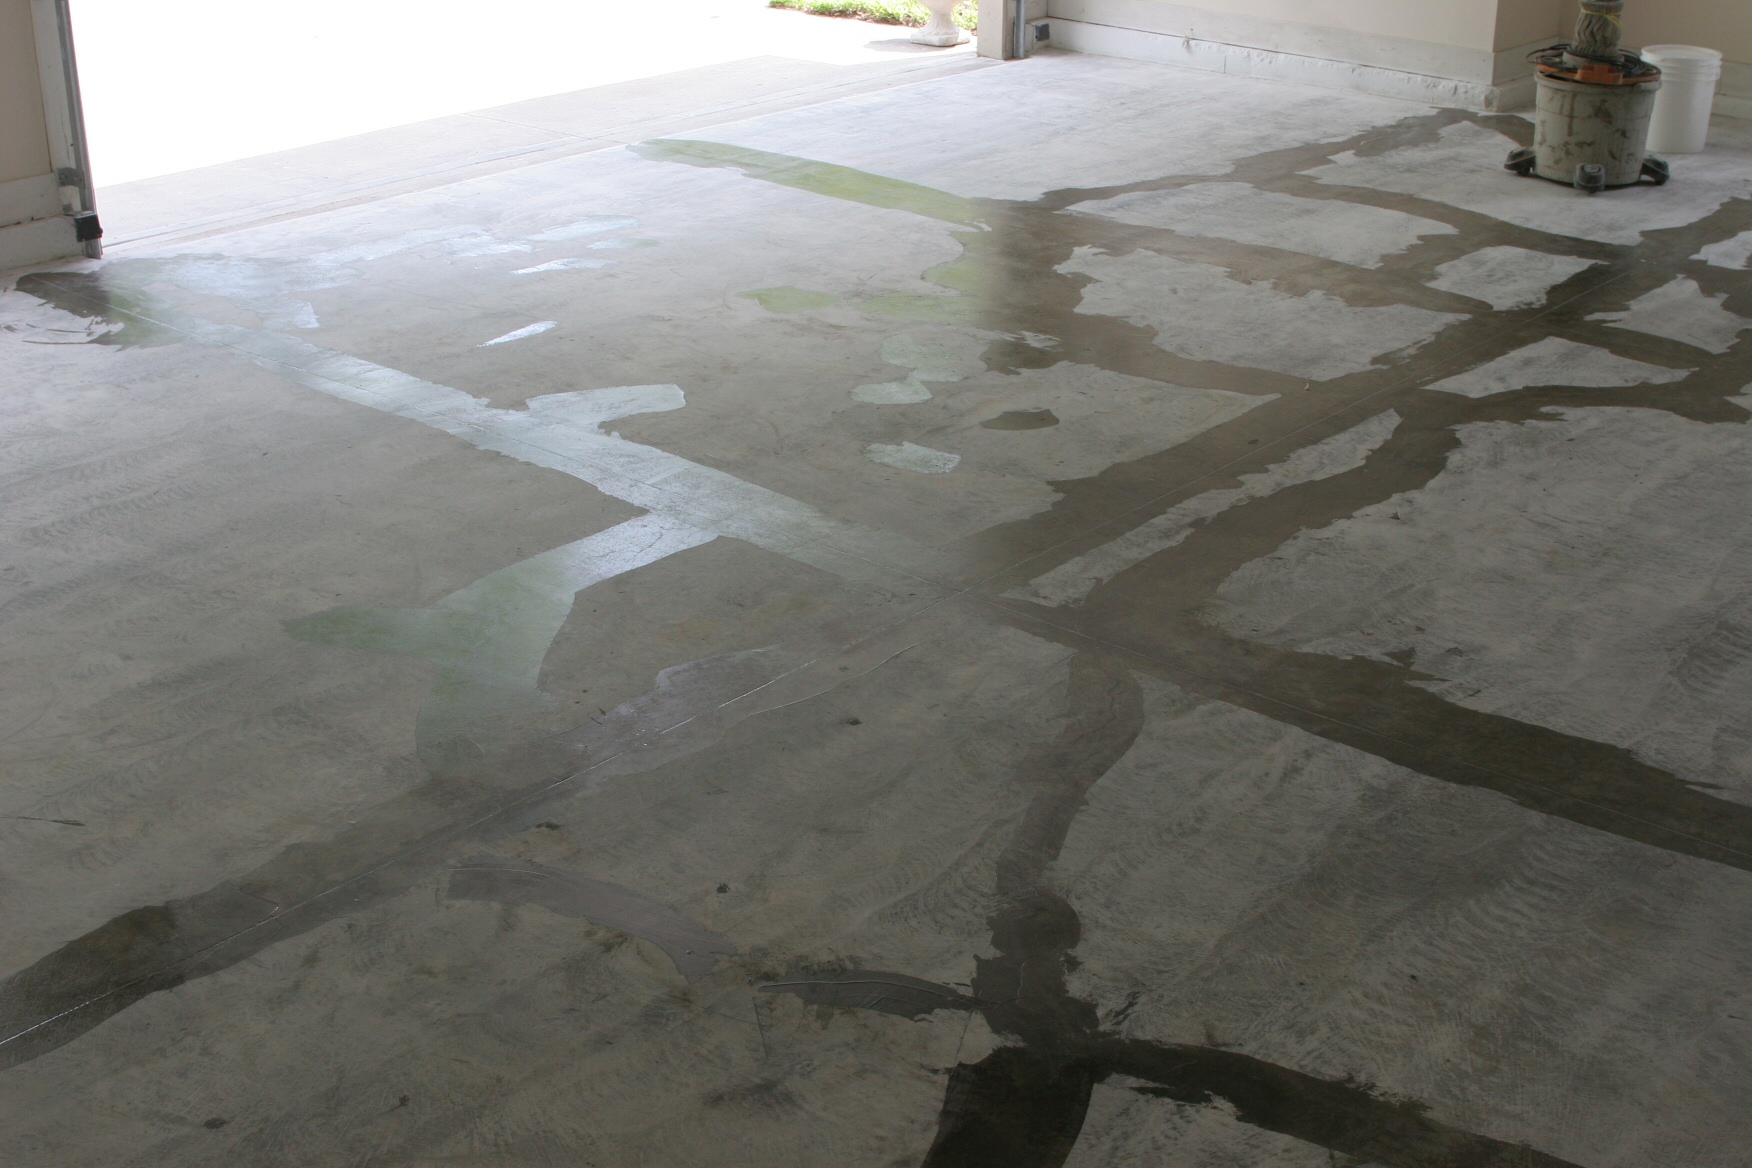
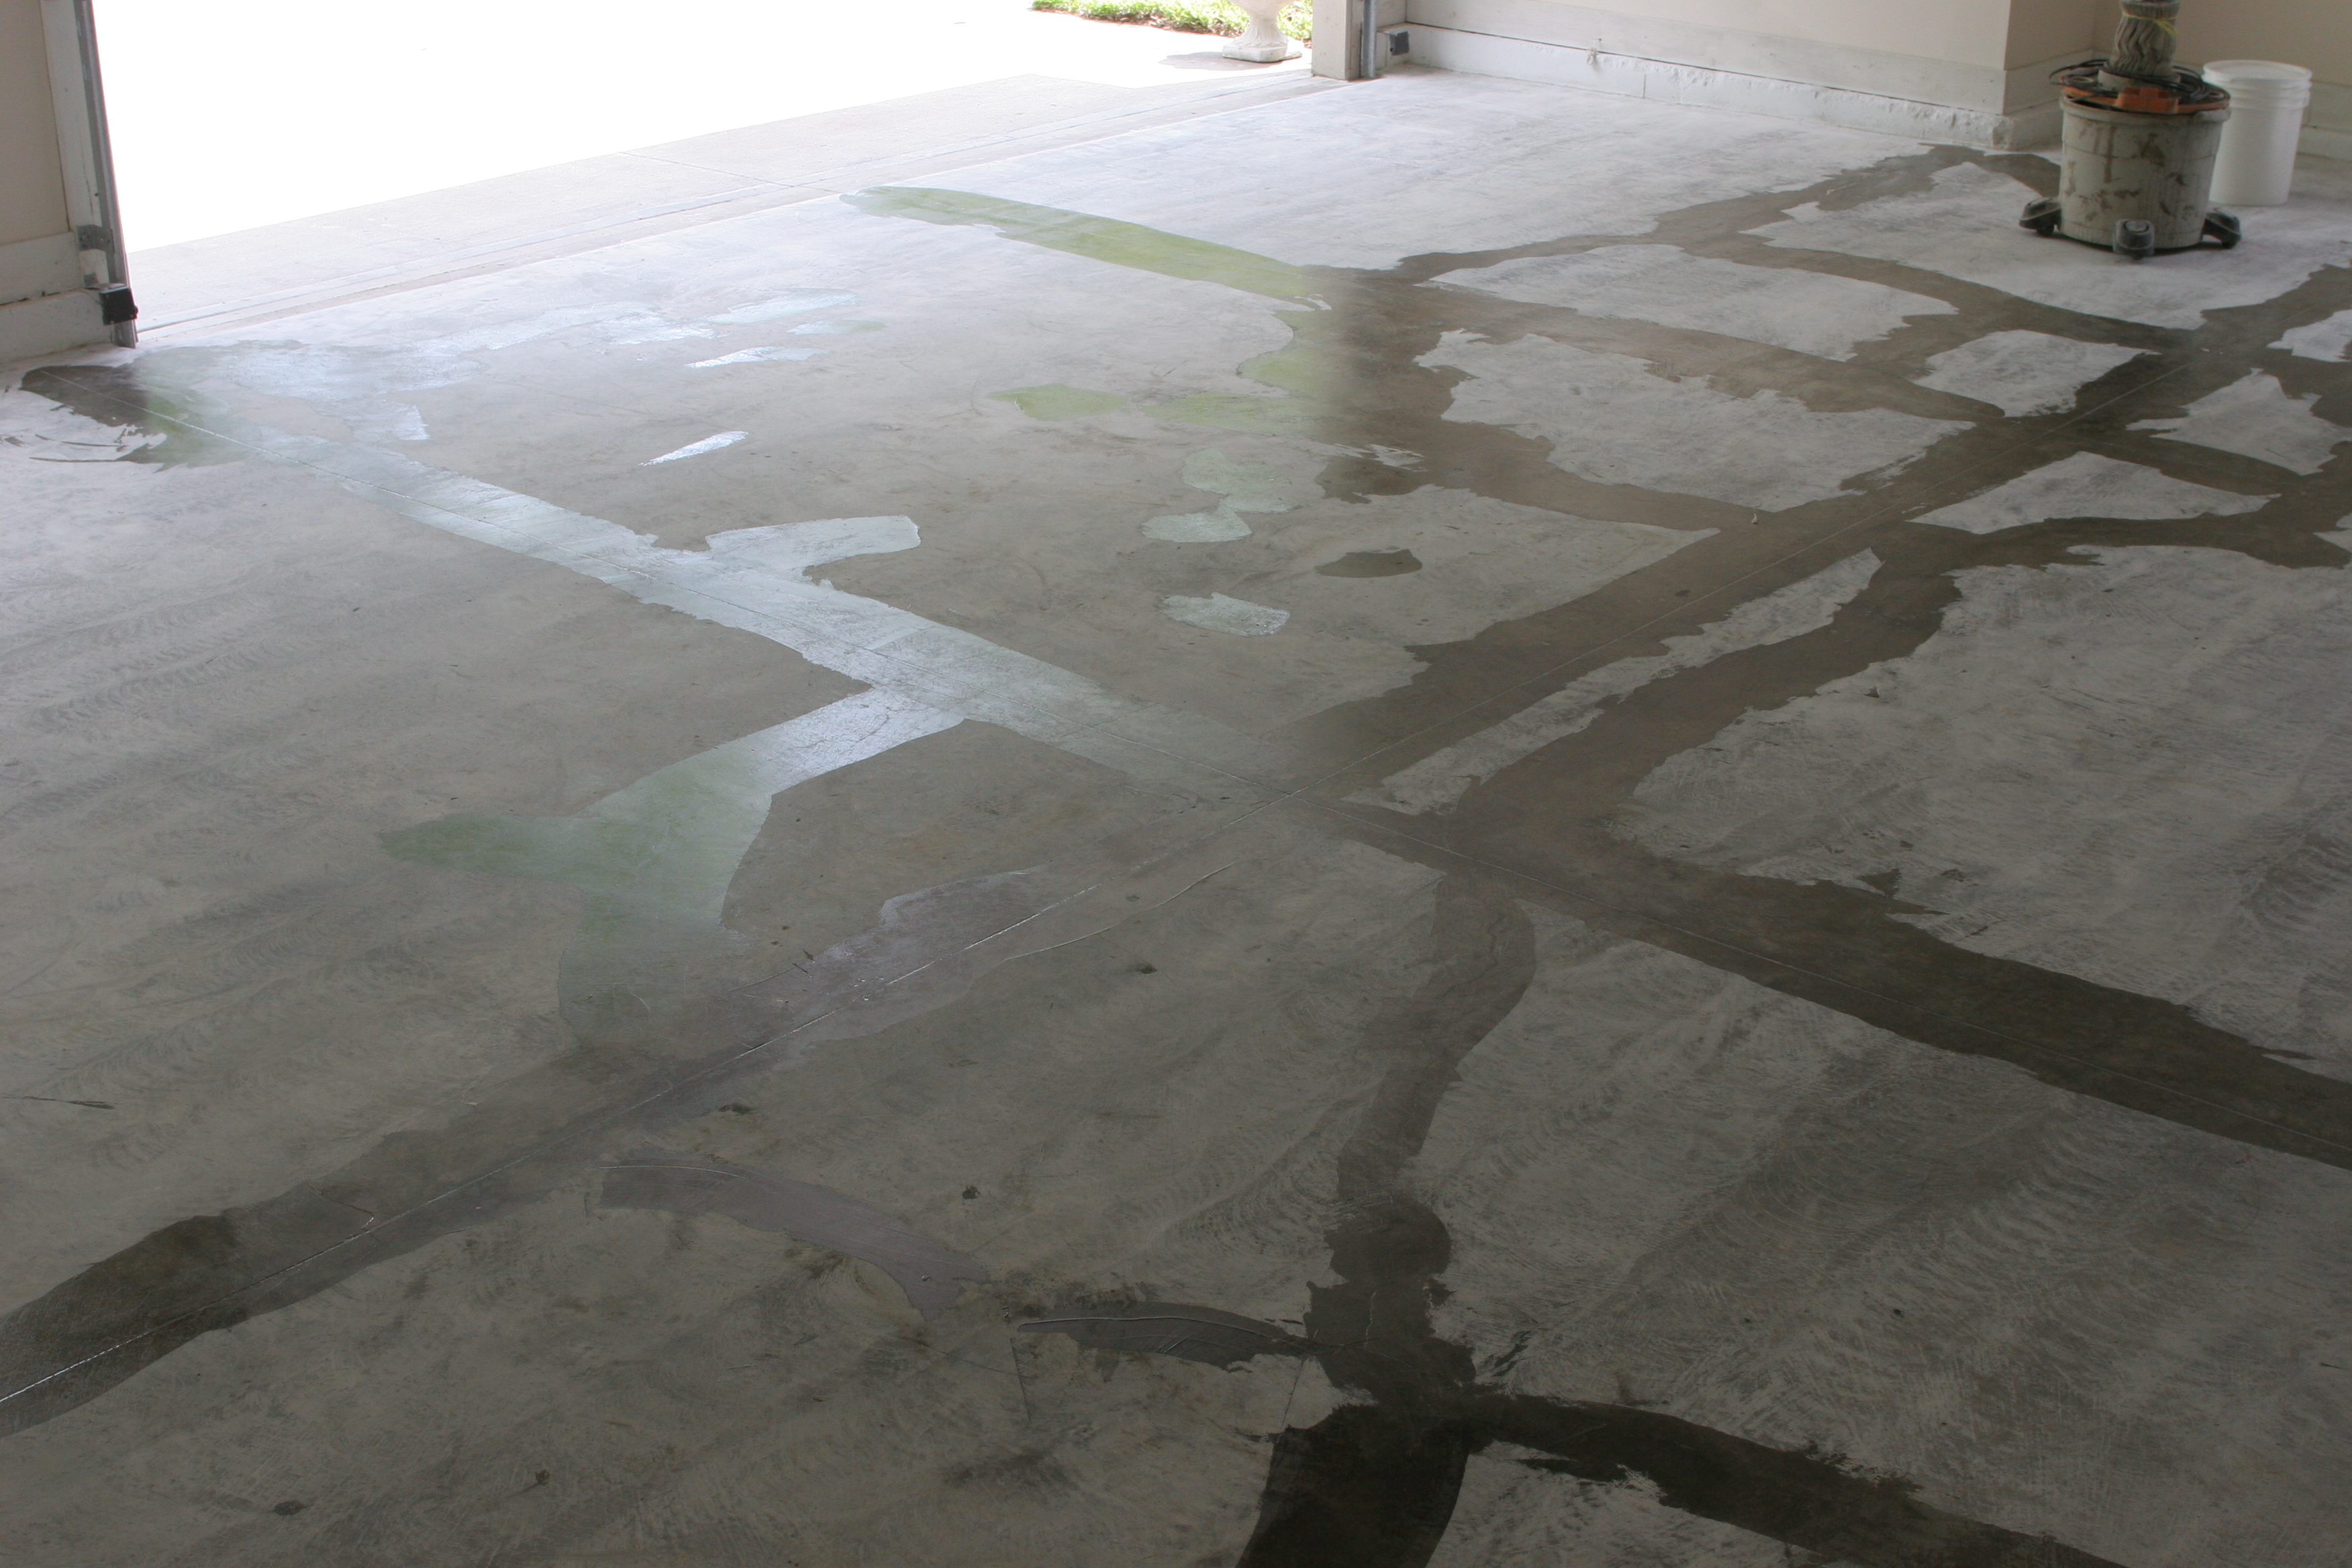
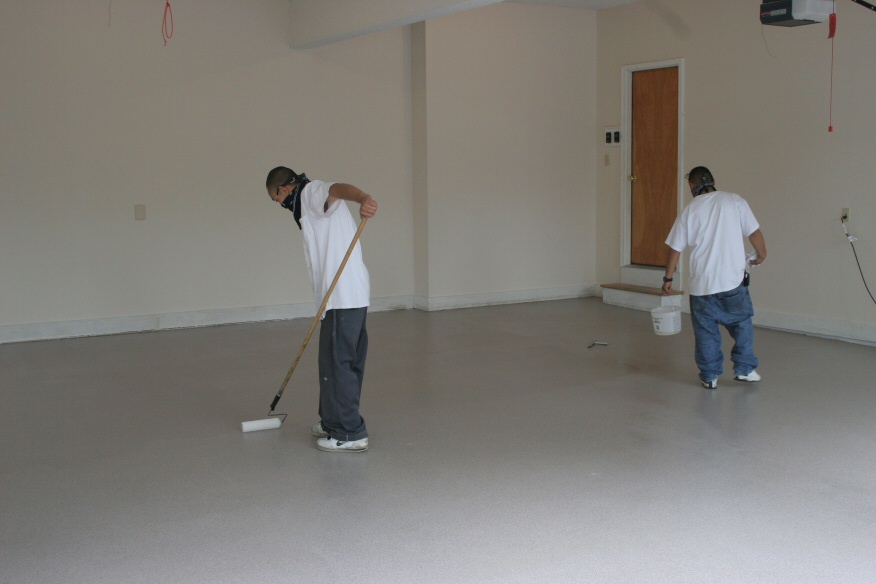
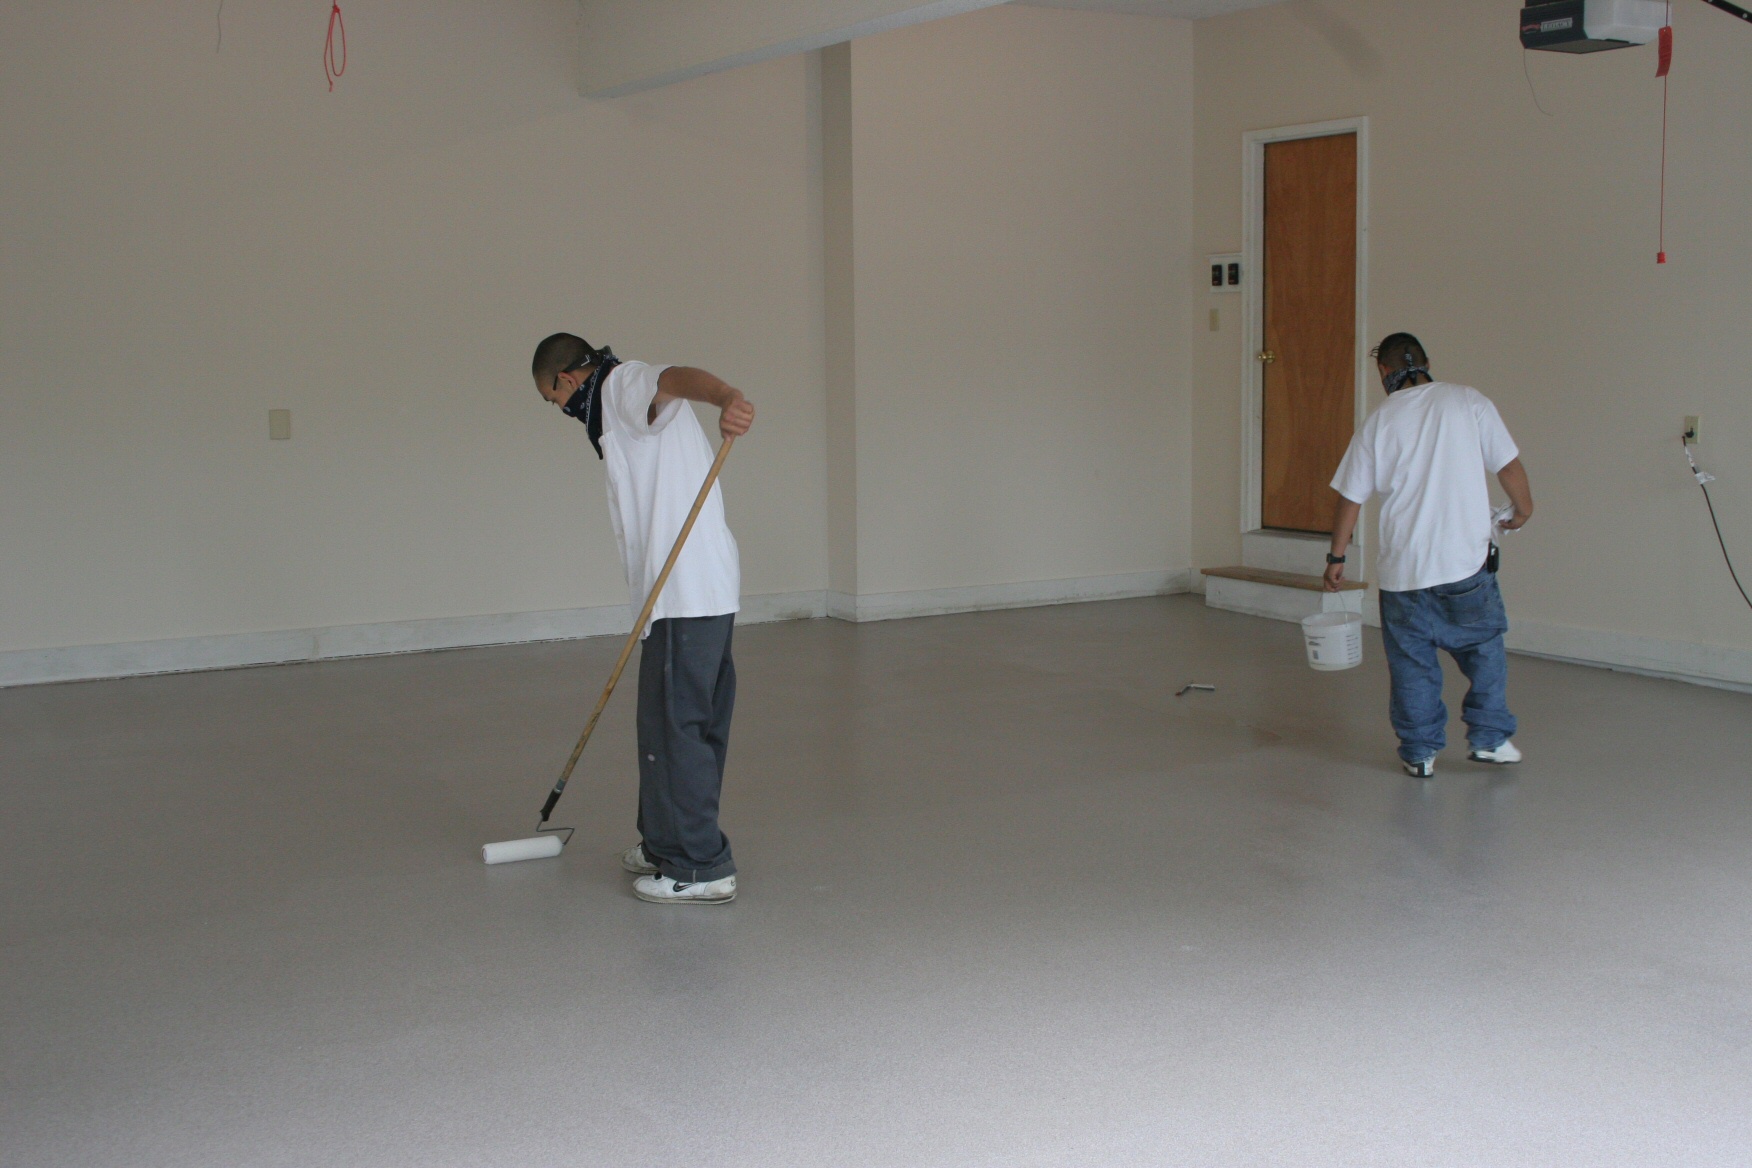
Floor
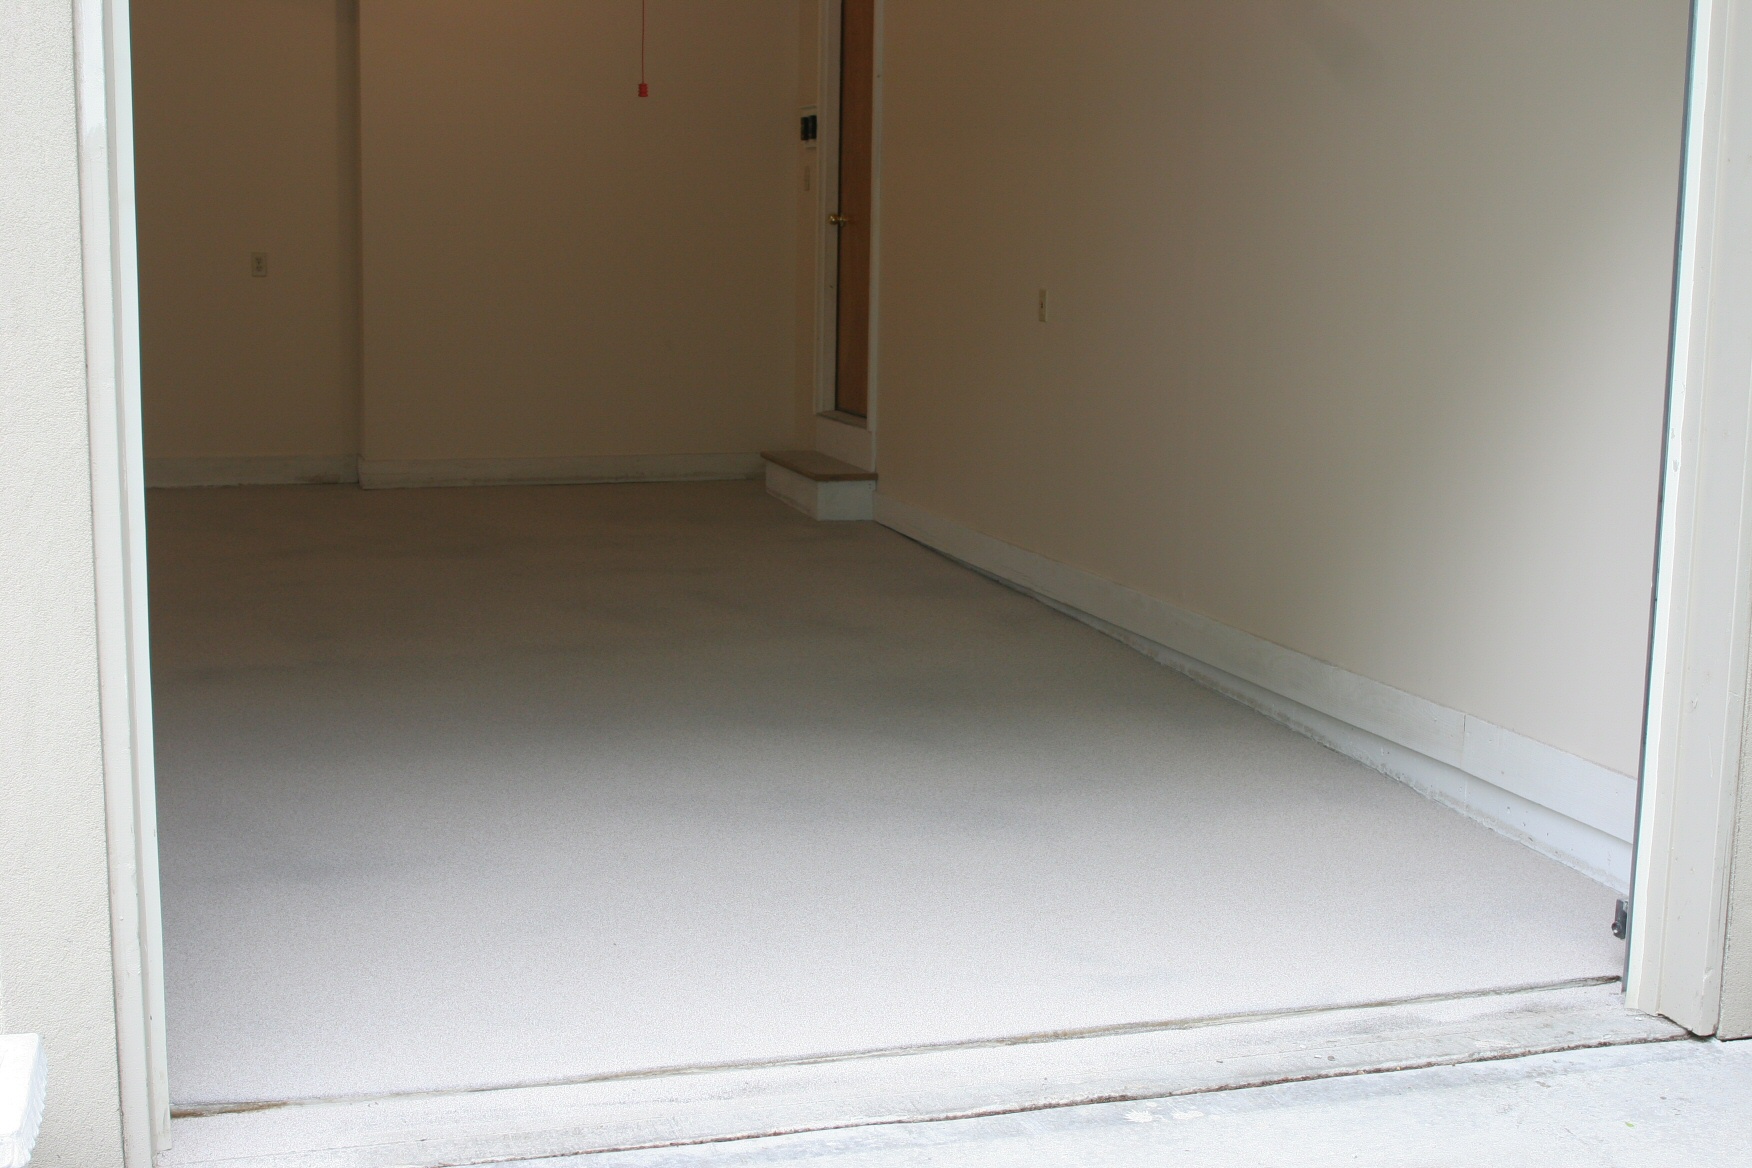
Epoxy/urethane, three layer (about 1/8 inch thick), professionally installed. Local dealer was
Complete Garage.
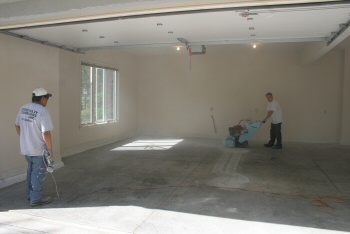 |
| IMG_0899: [medium | large | huge] |
| First, they ground down the entire floor, paying particular attention to
any uneven spots and flaws. |
 |
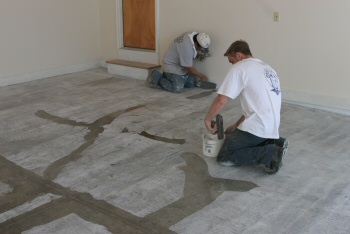
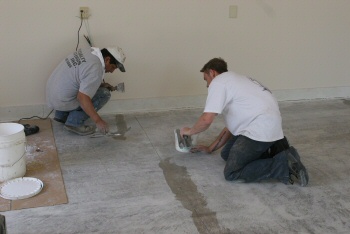
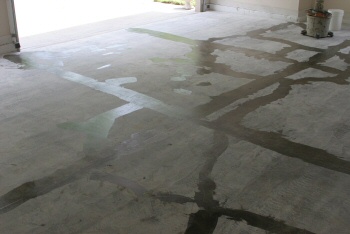
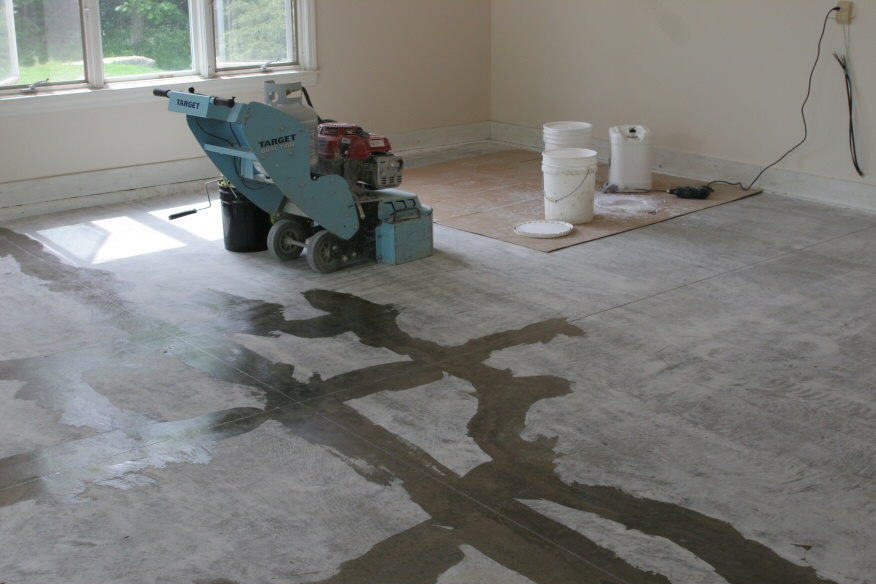
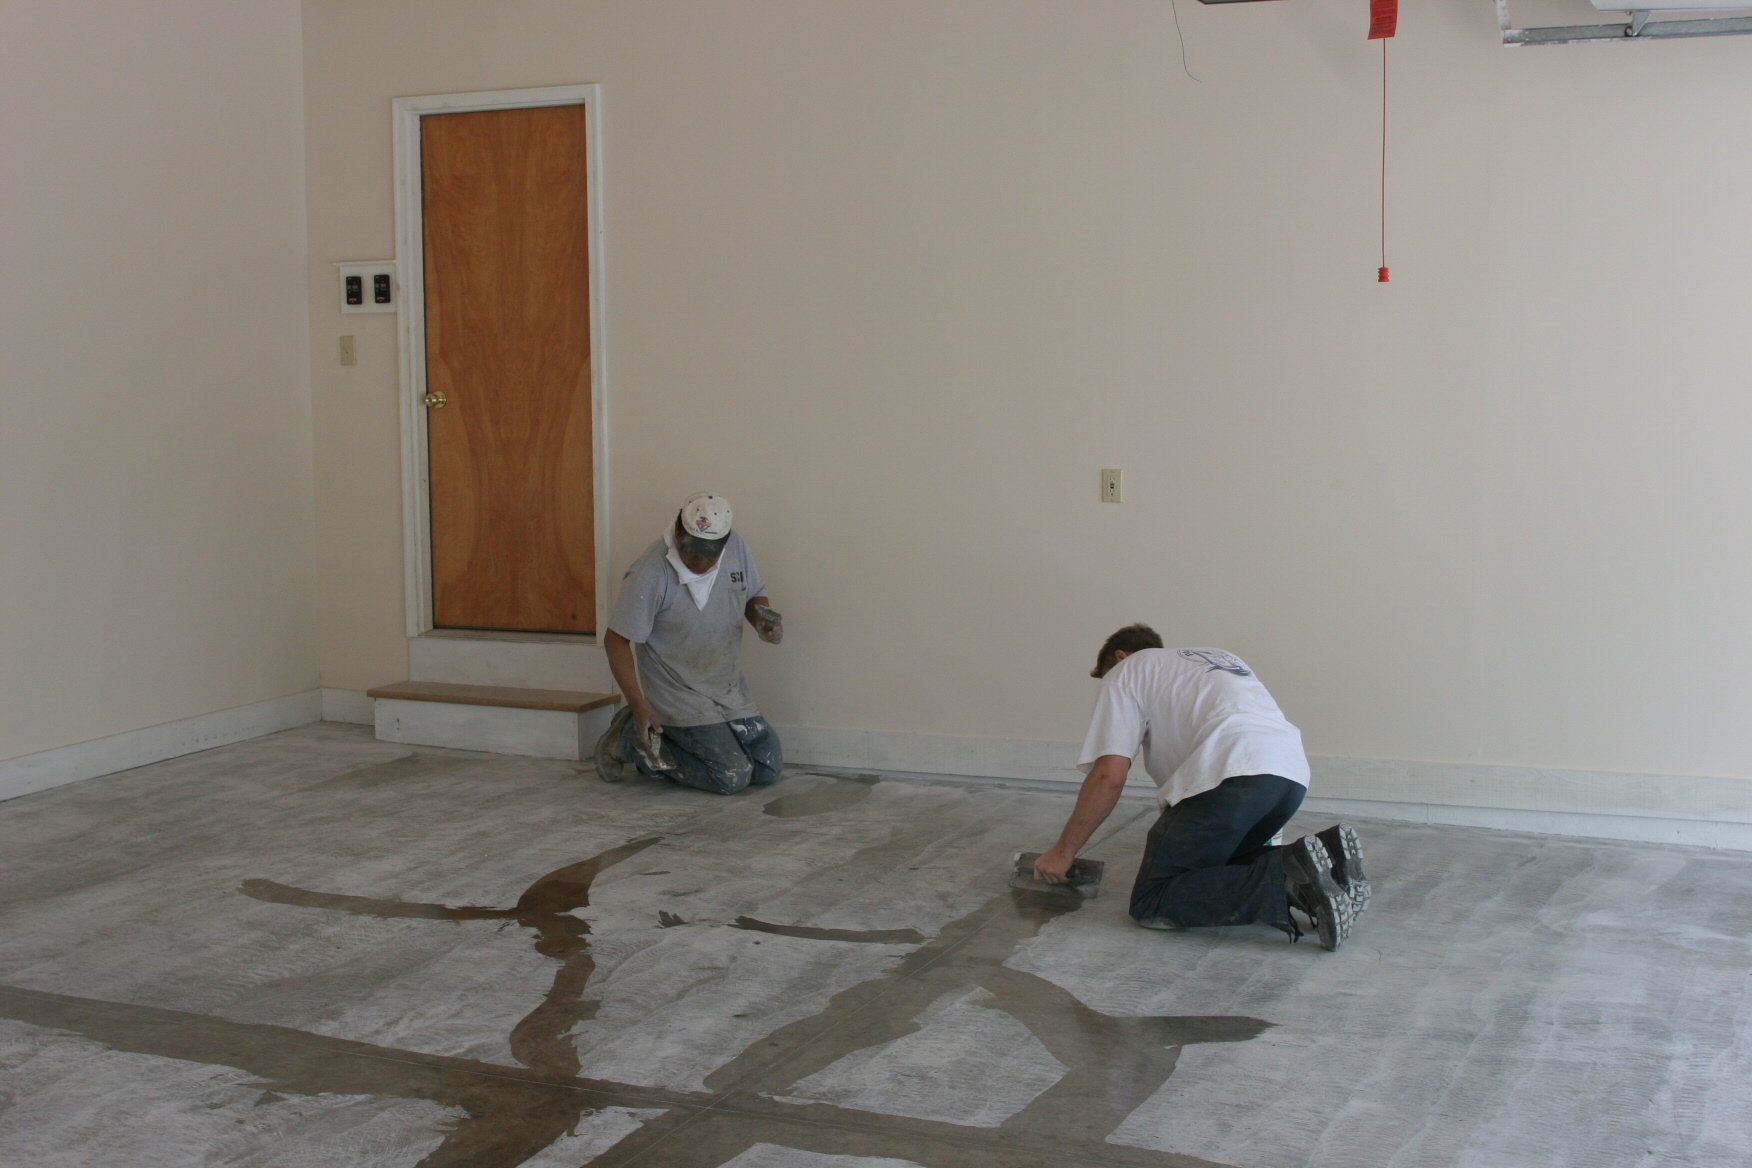
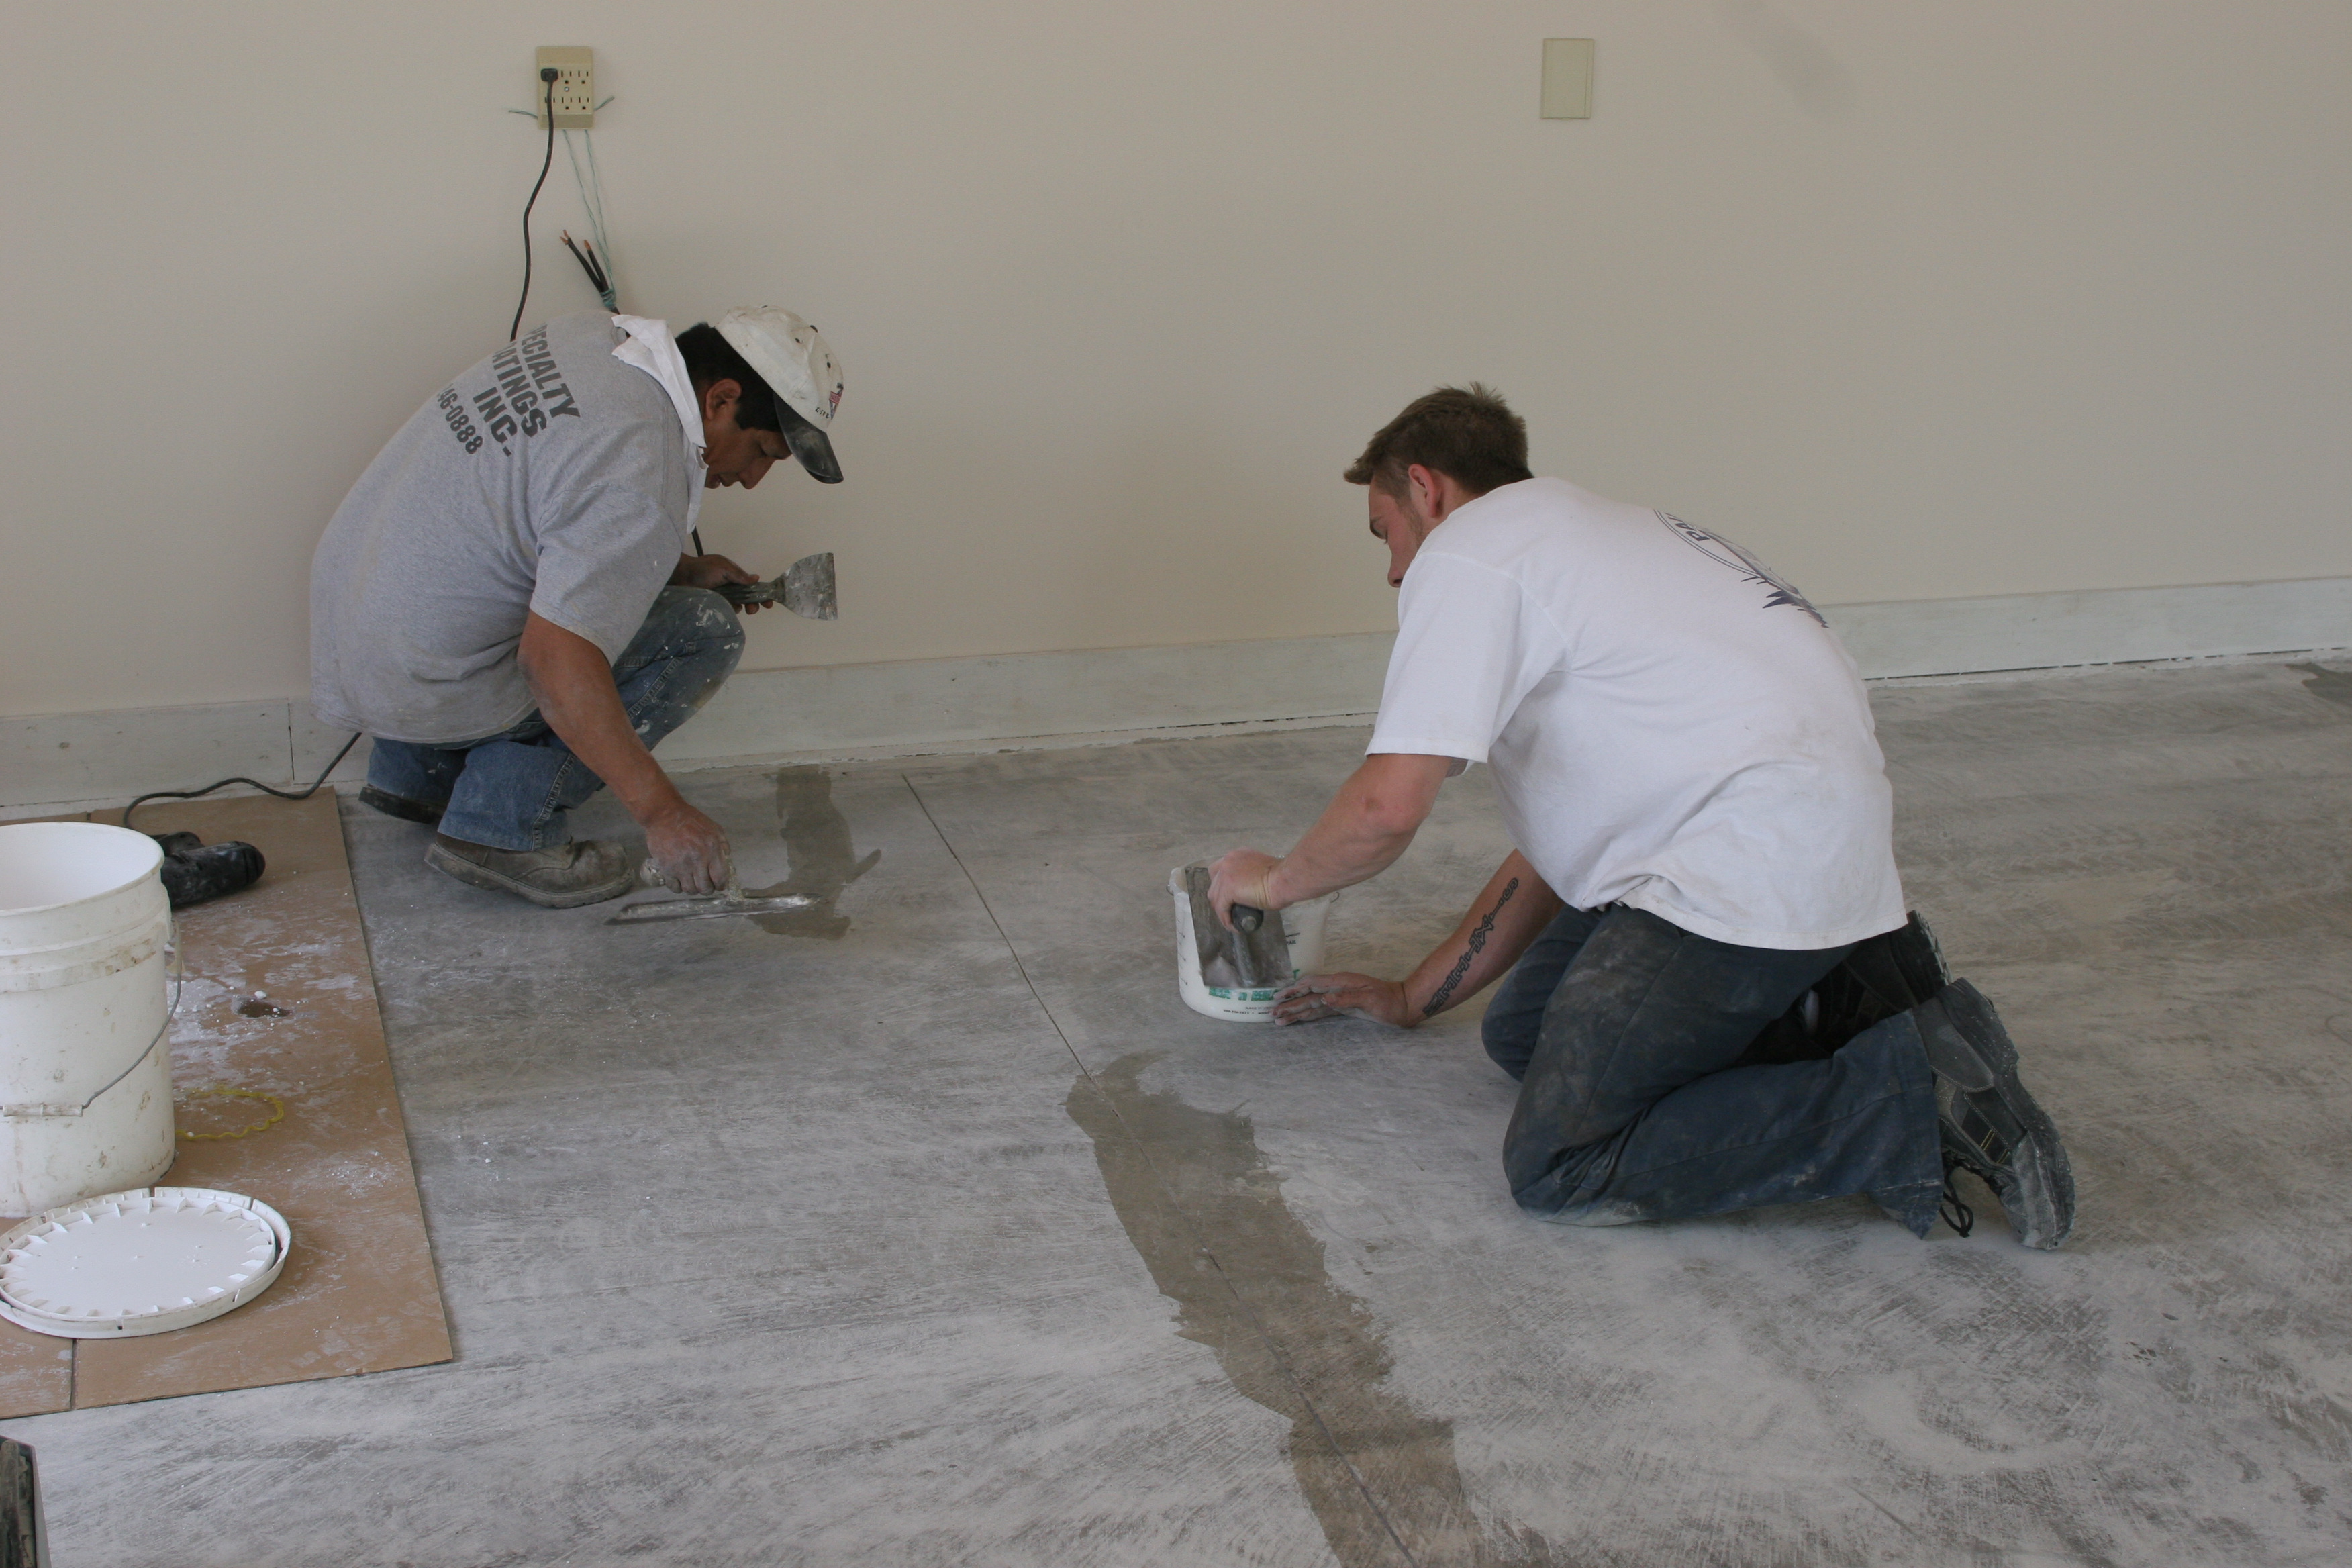
| IMG_0908: [medium | large | huge] |
| Floor was originally sawed into six partitions; all these were sealed
(along with the various cracks). |
 |
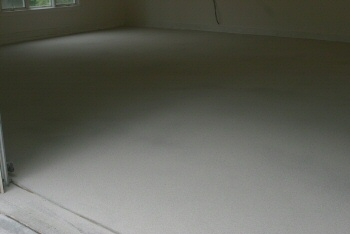
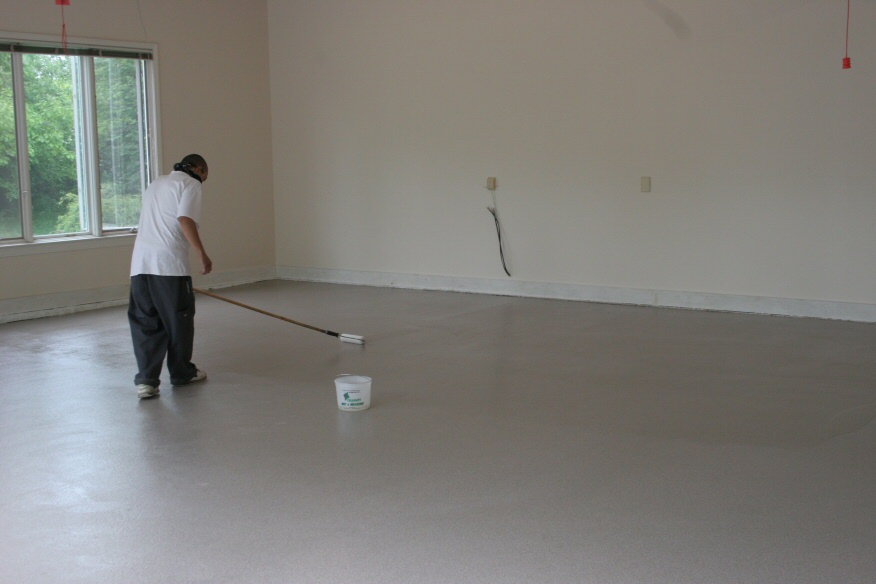
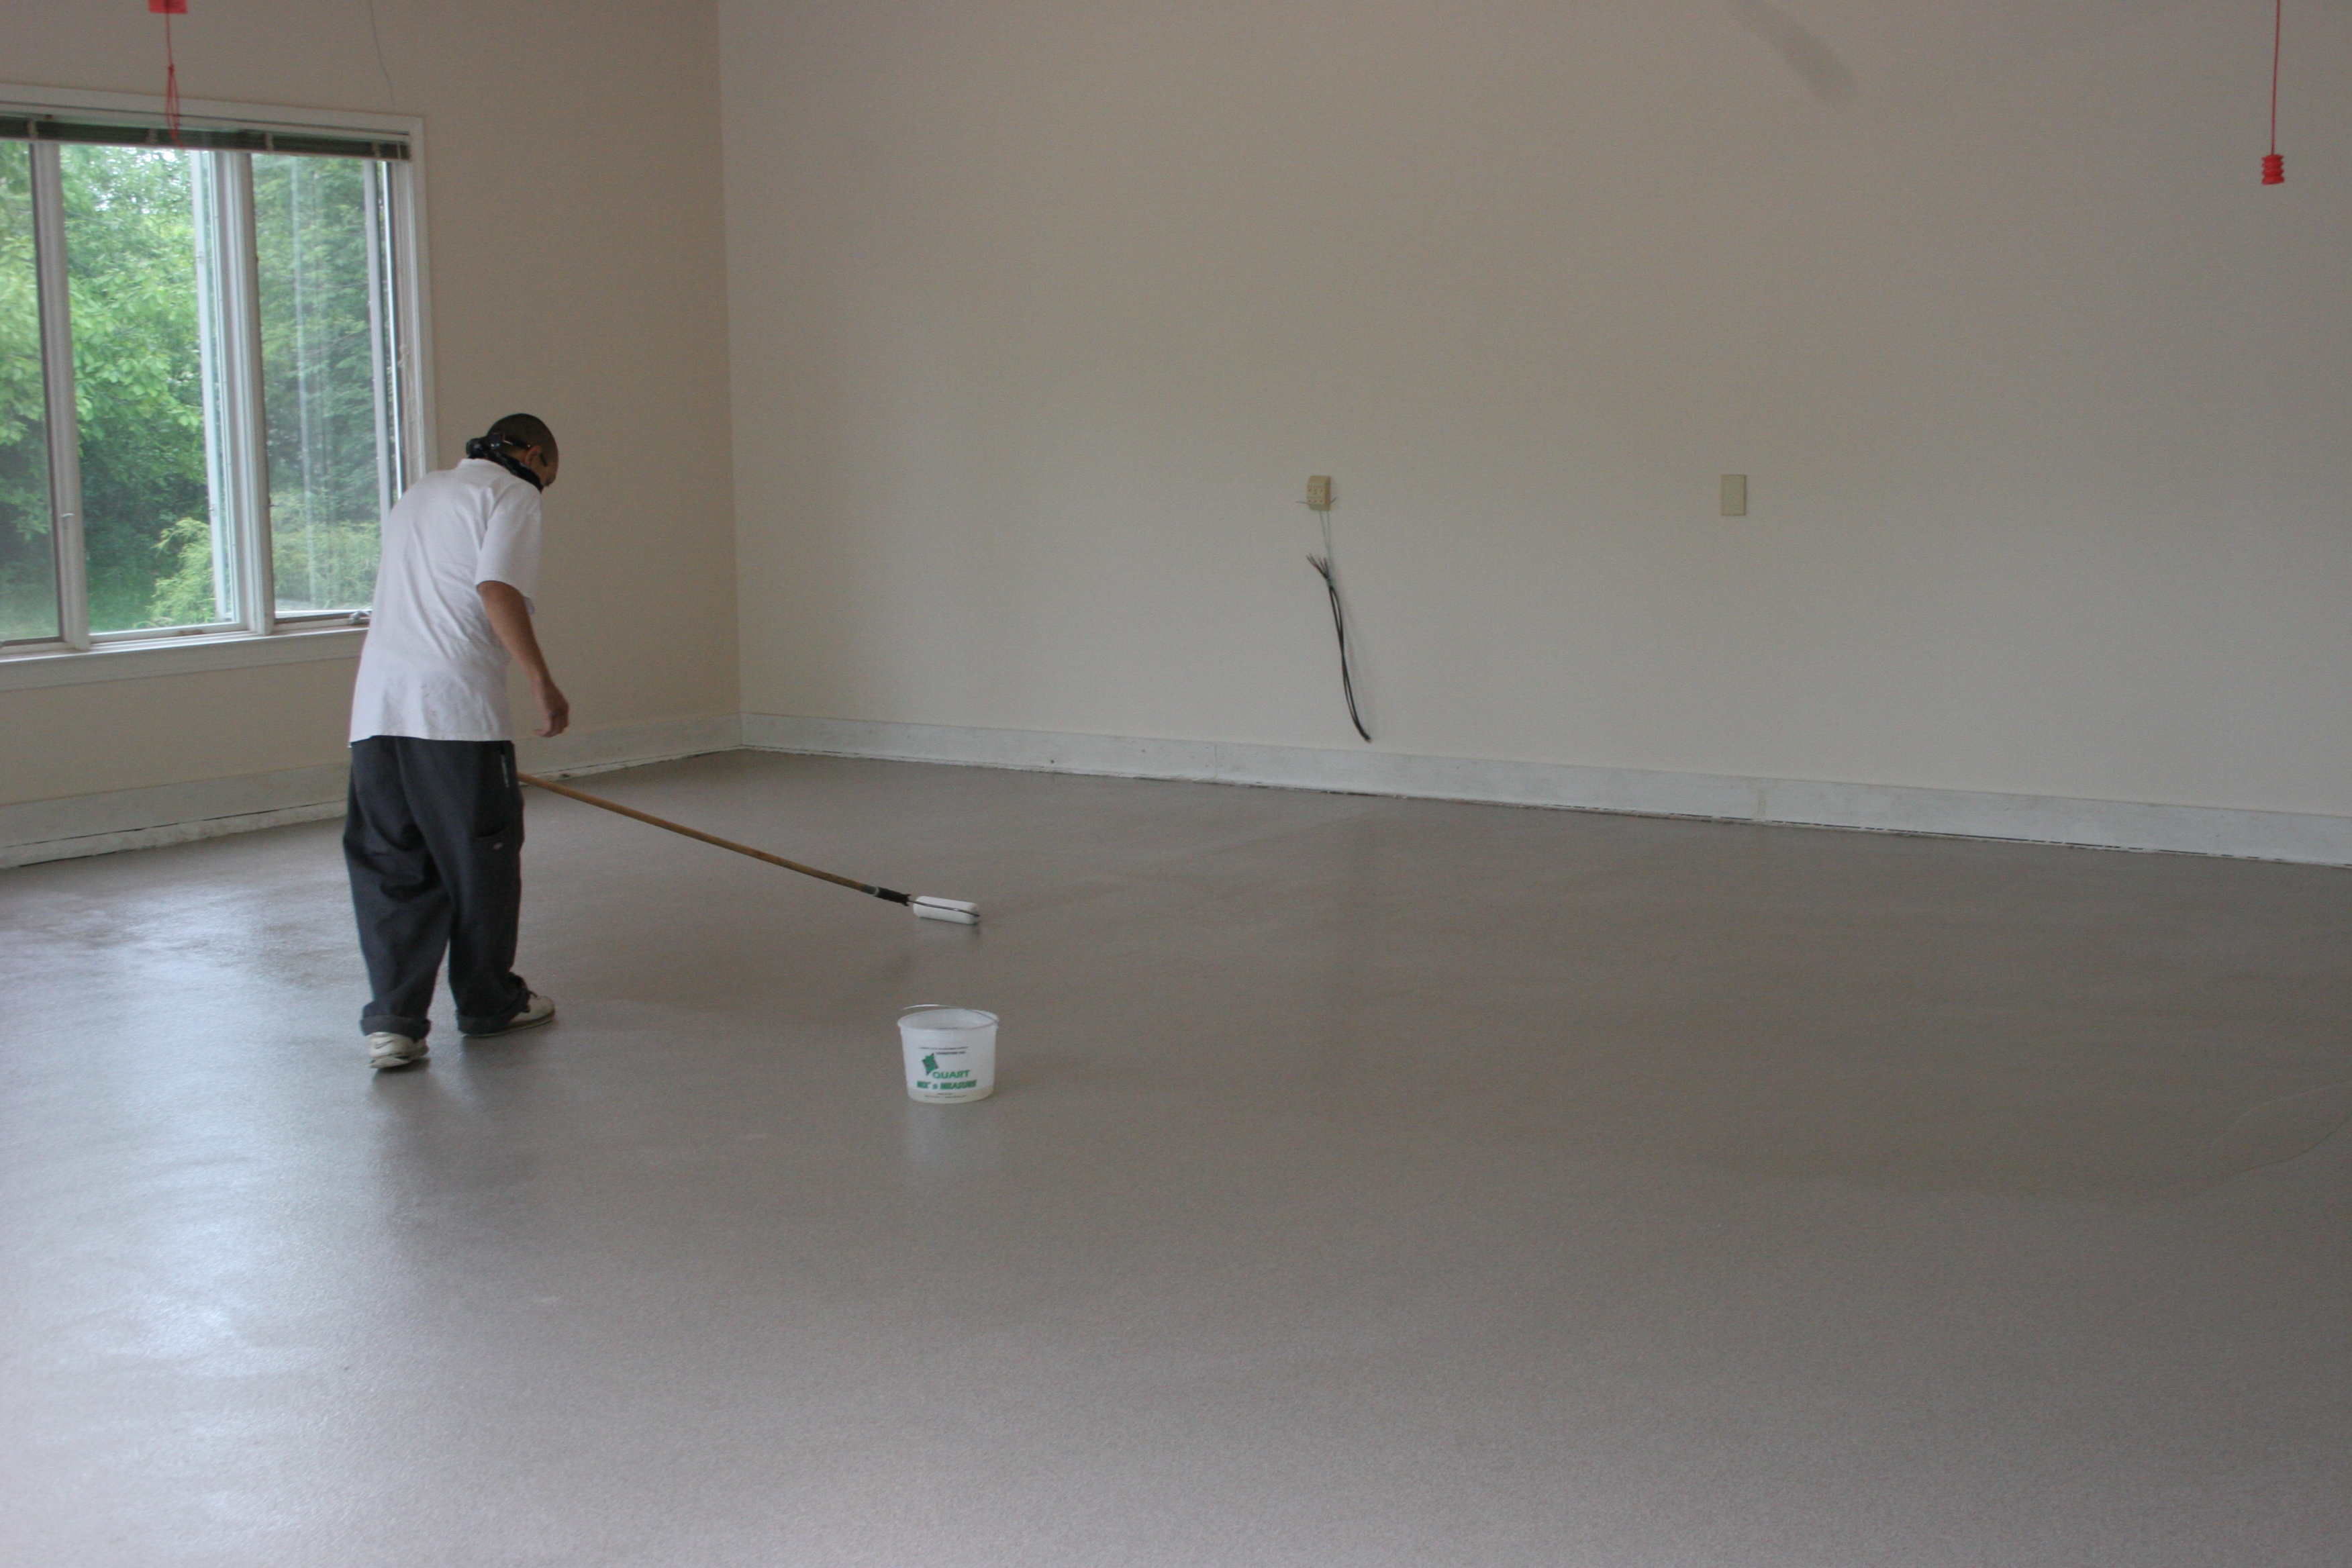
| IMG_0911: [medium | large | huge] |
| Epoxy was then spread and sand spread over it (I wasn't there to see
this, so there aren't any photos of the intermediate steps). |
 |
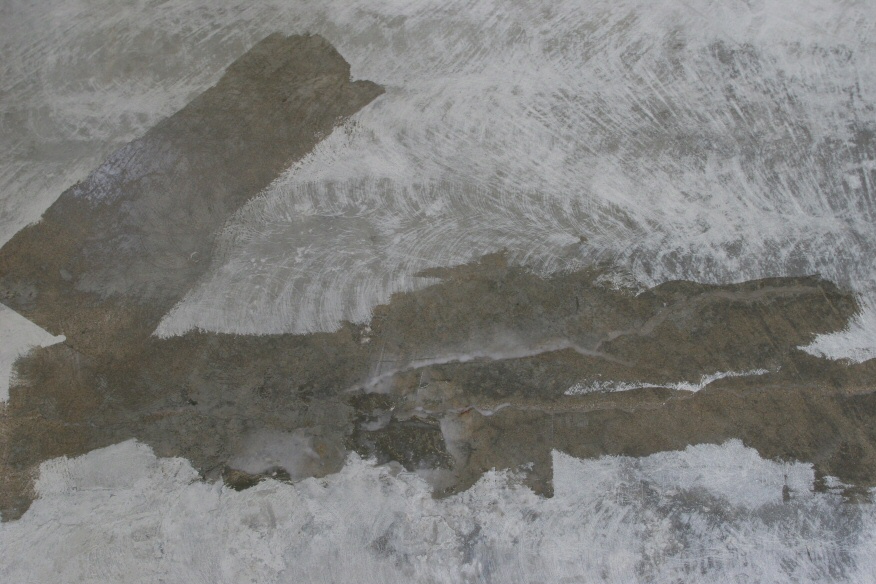
| IMG_0915: [medium | large | huge] |
| More sand is spread than will ultimately stick; the remainder is
ultimately swept off before the final sealing coat is applied. |
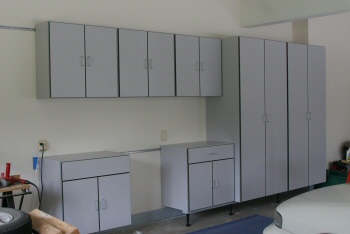
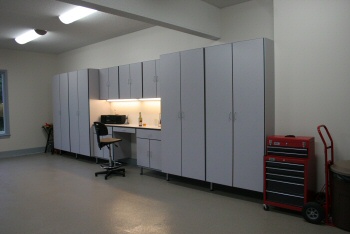
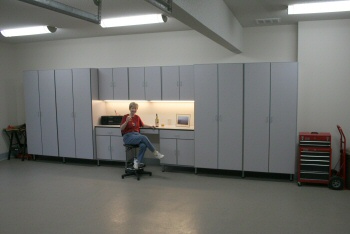
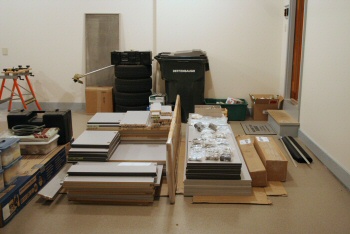
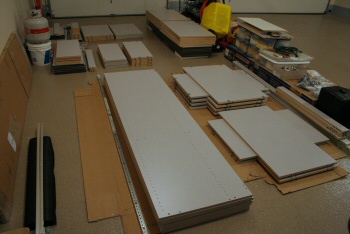
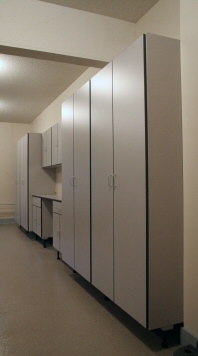
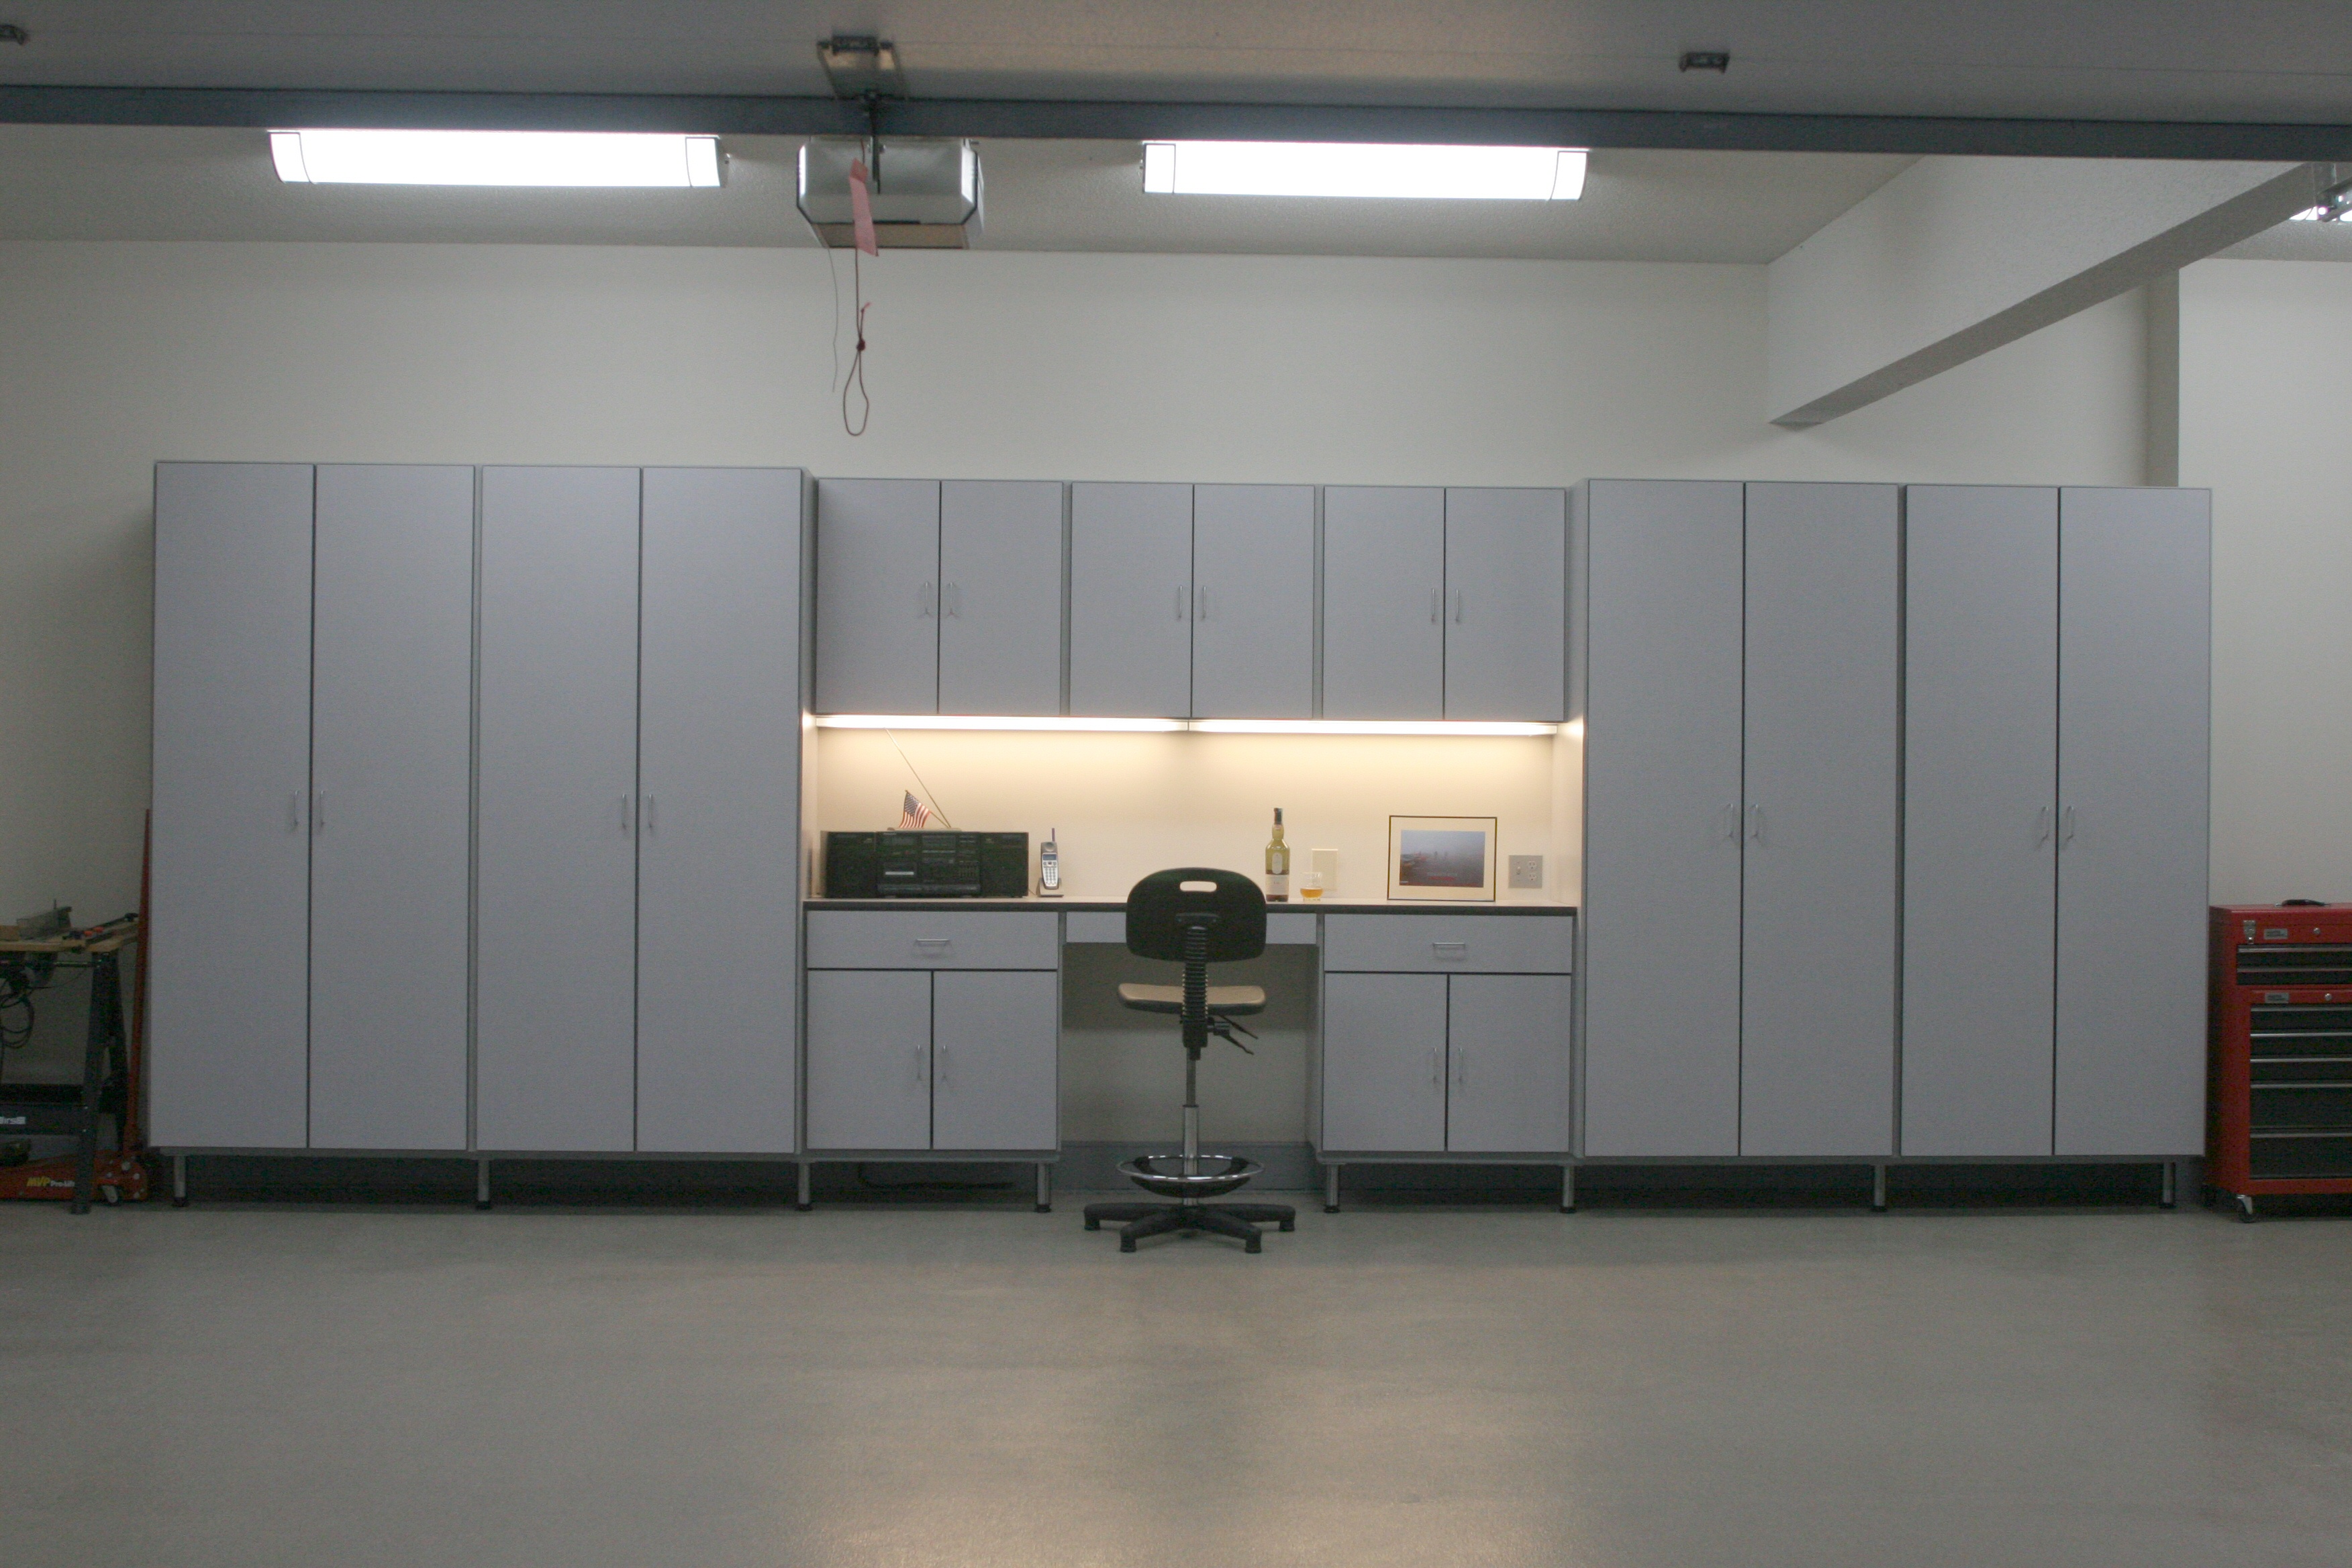
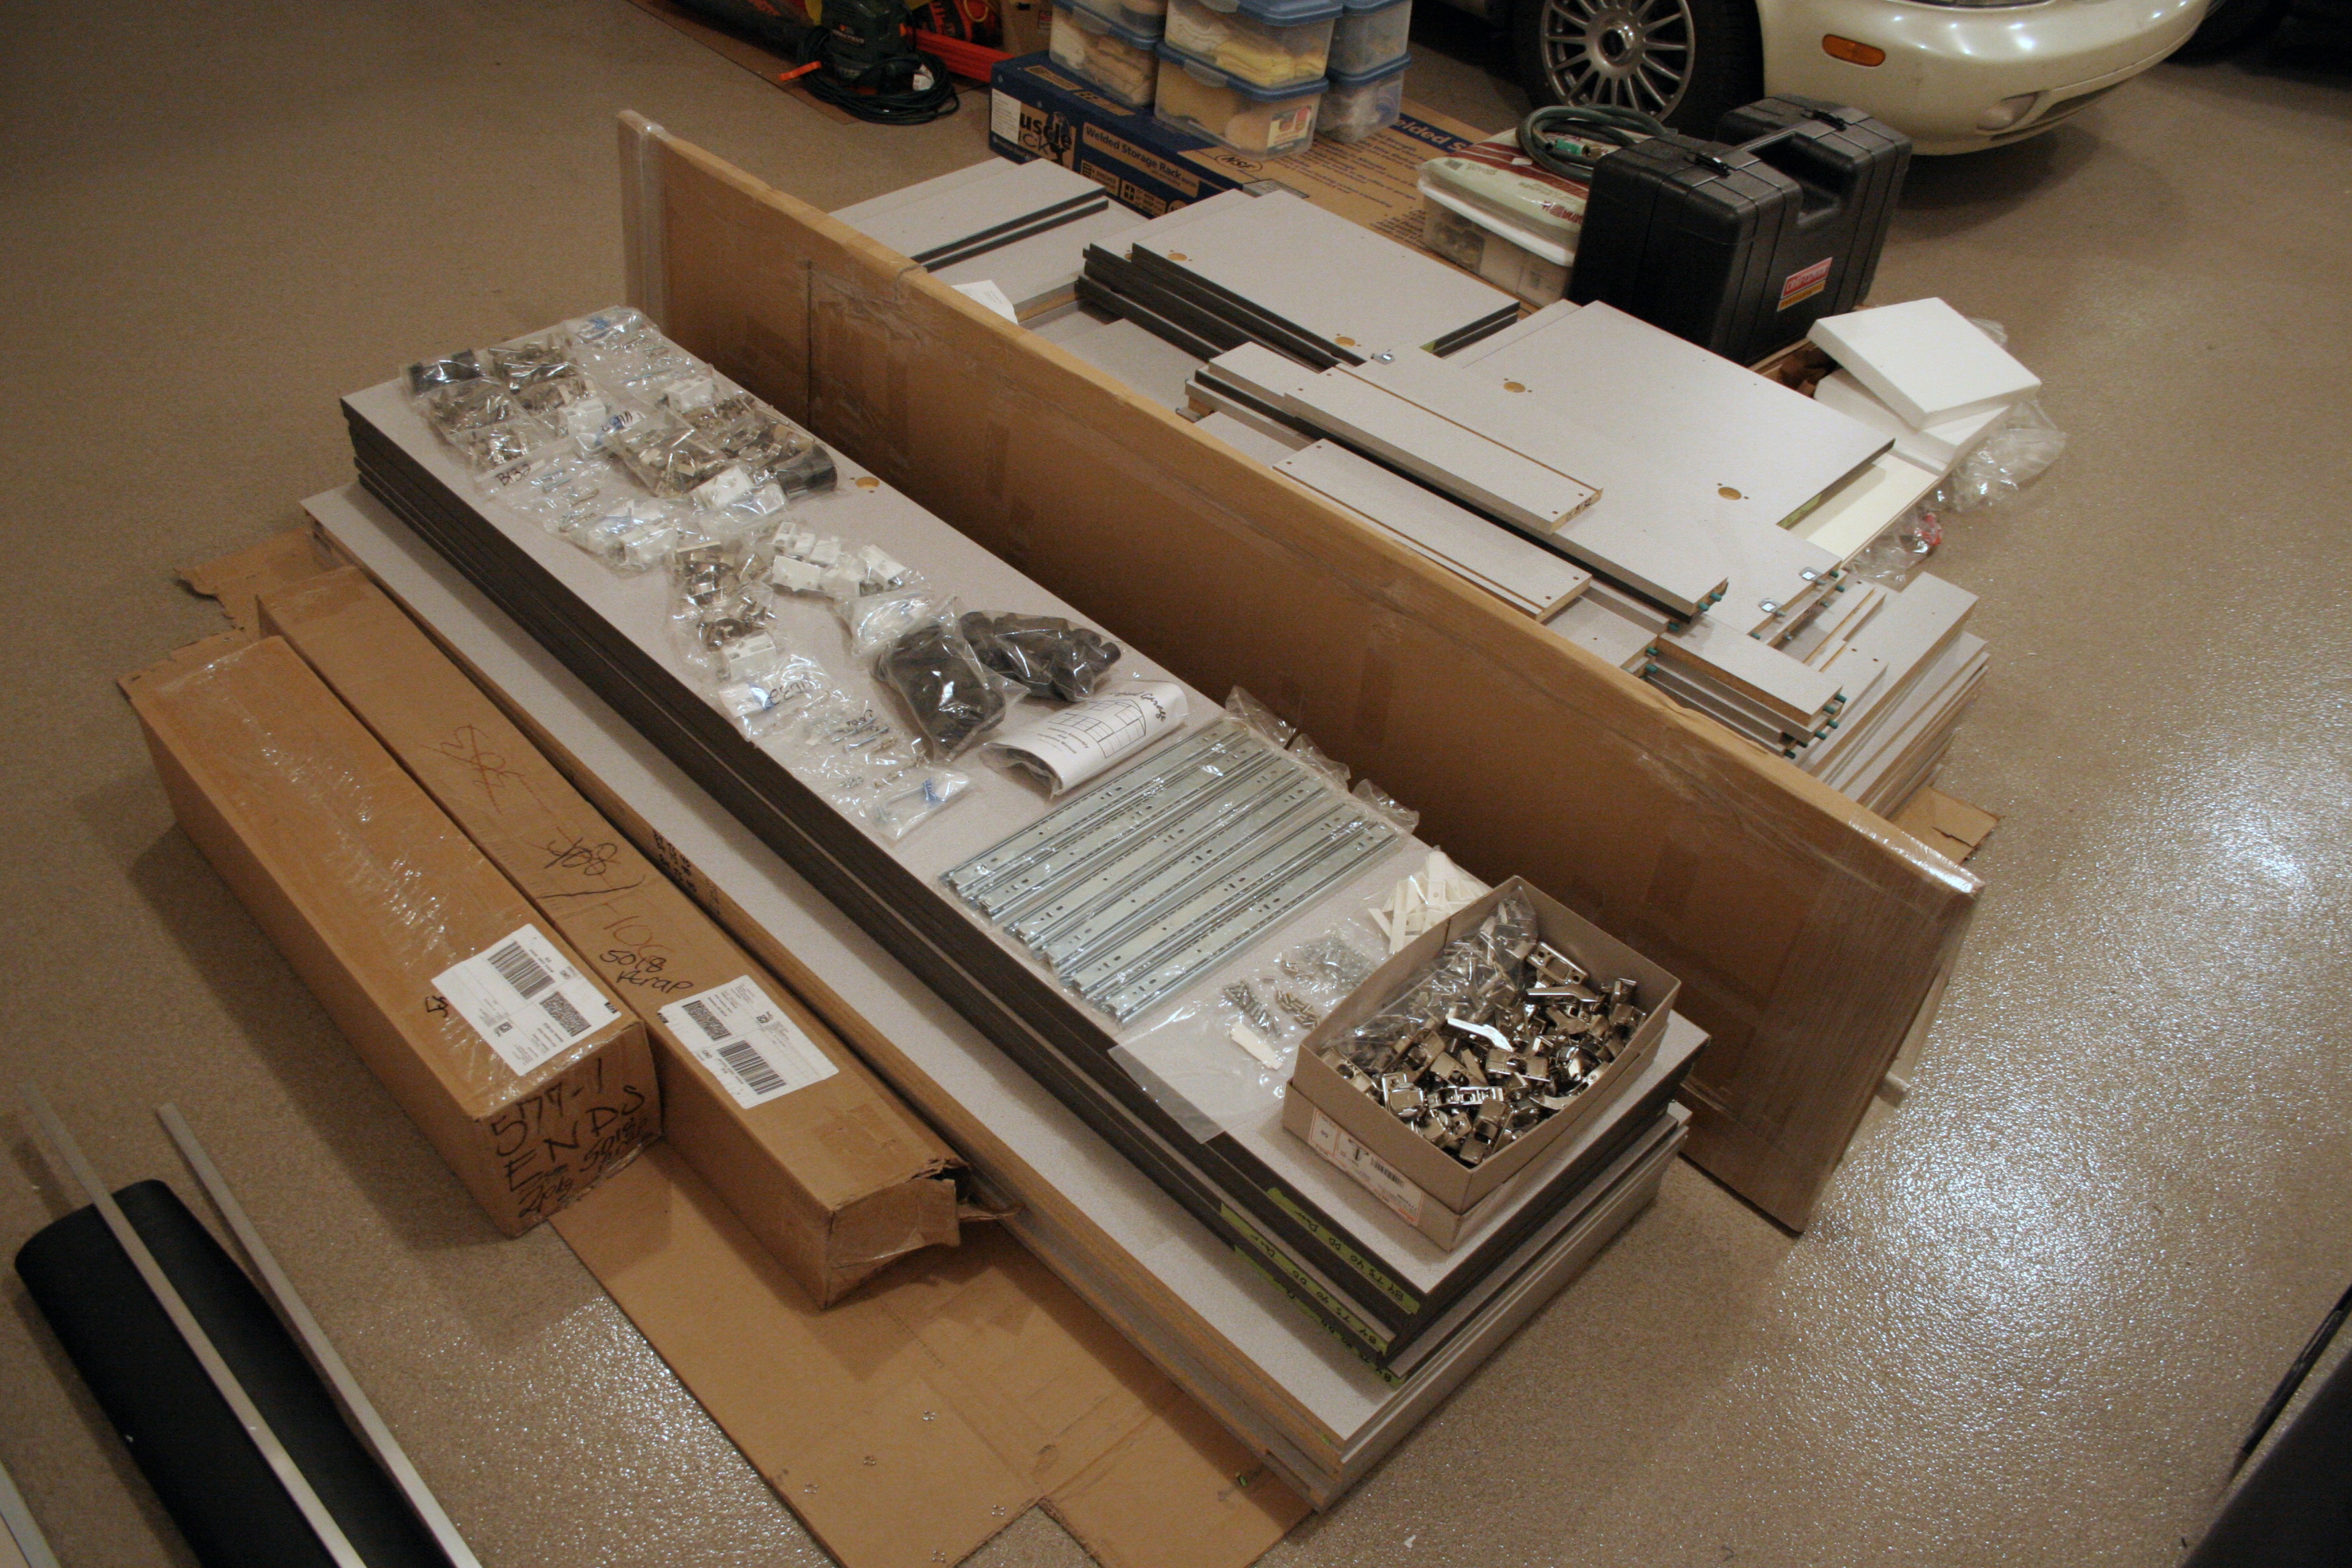
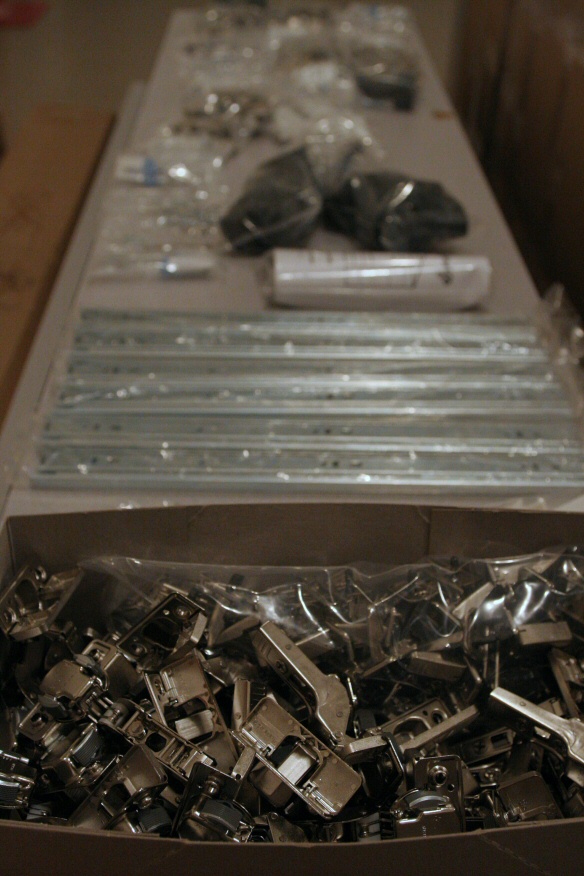
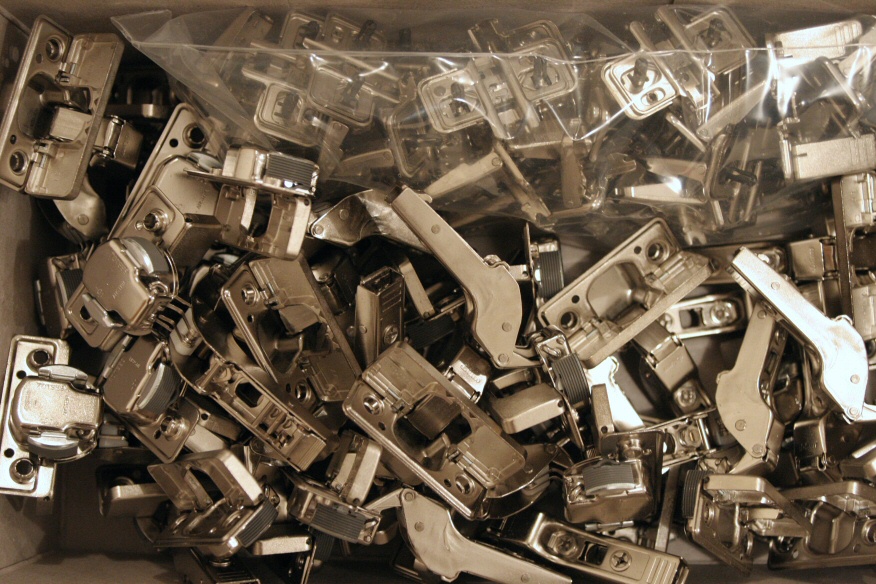
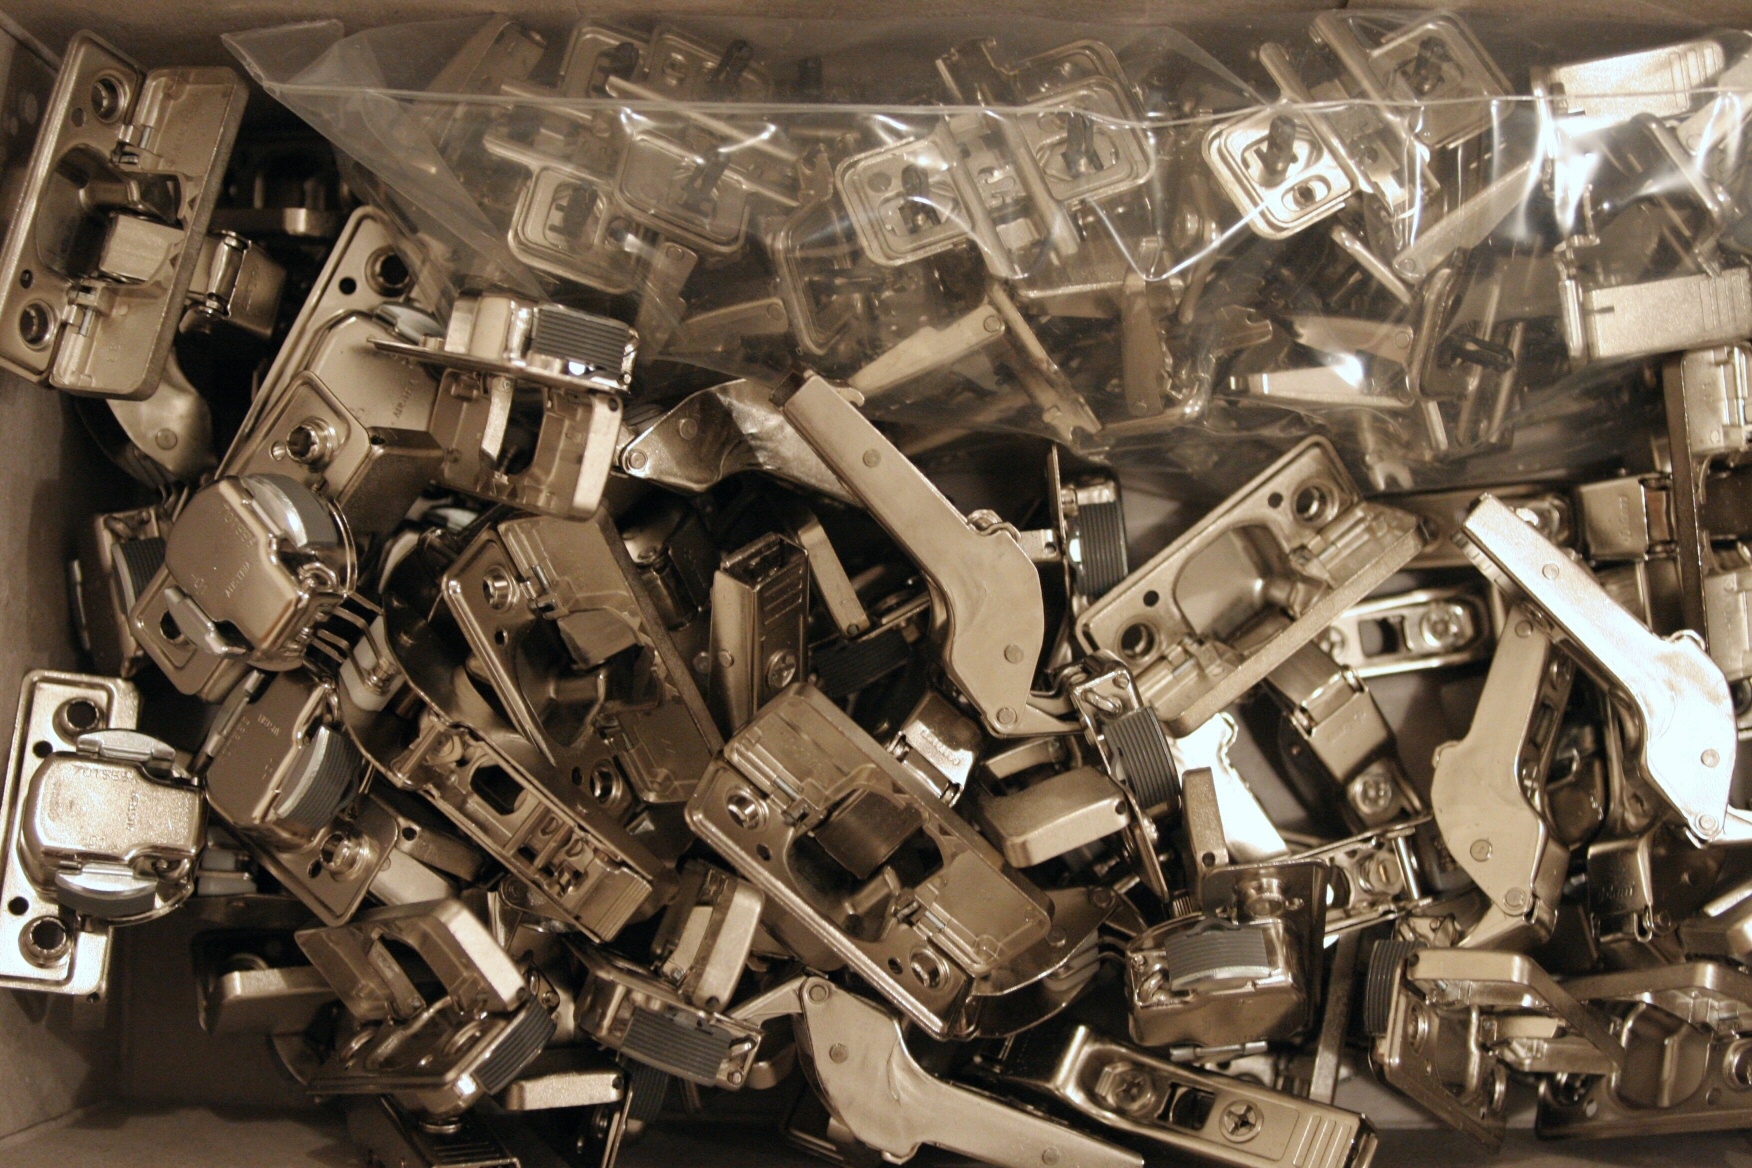
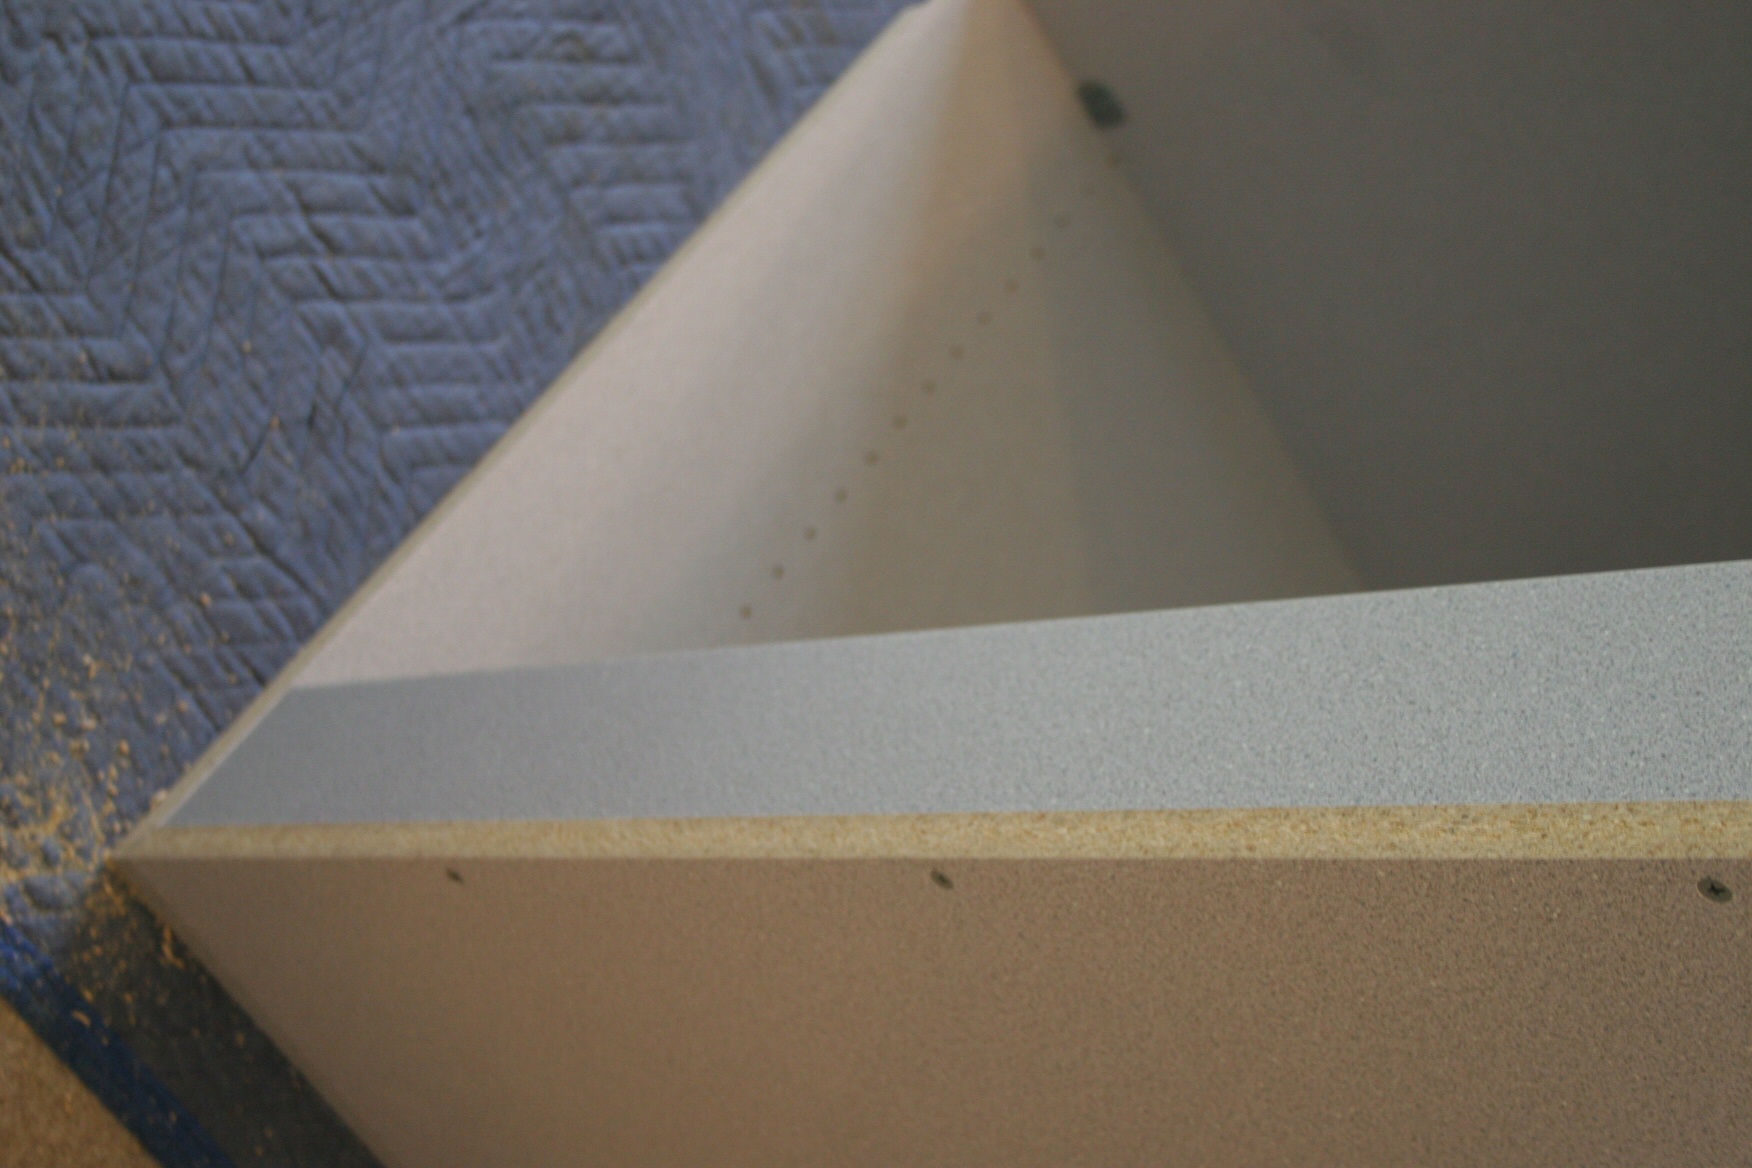
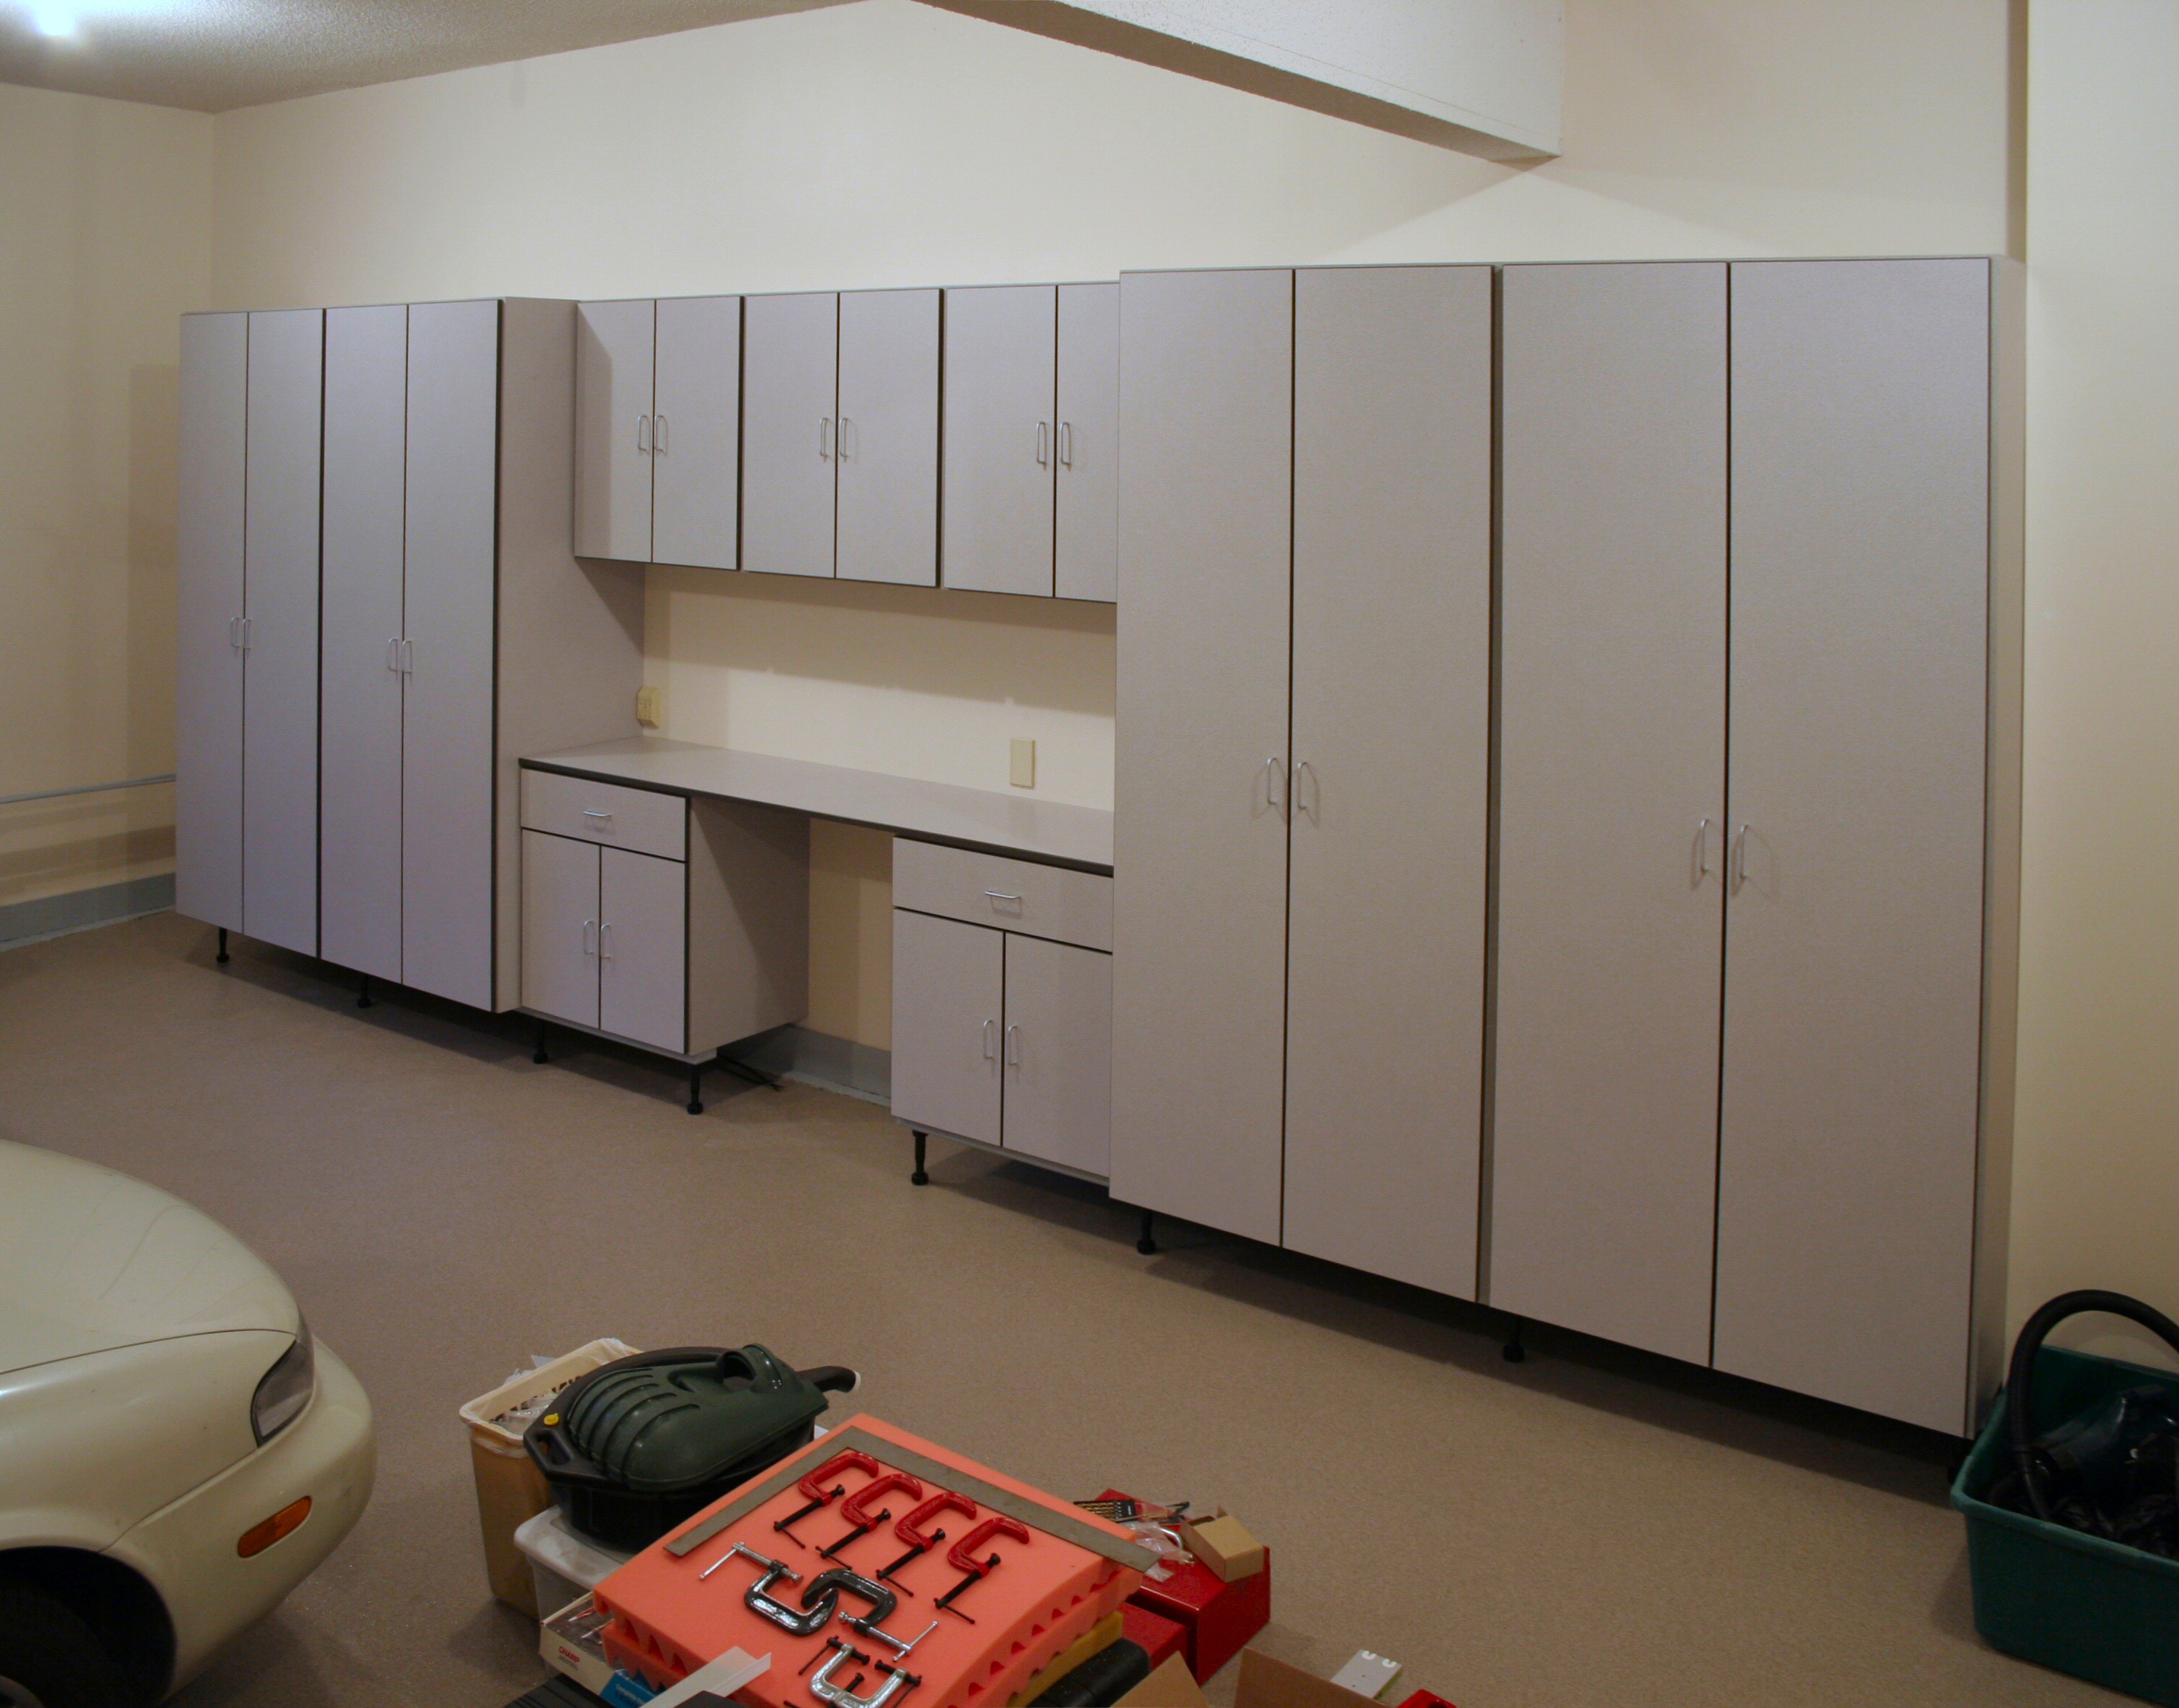
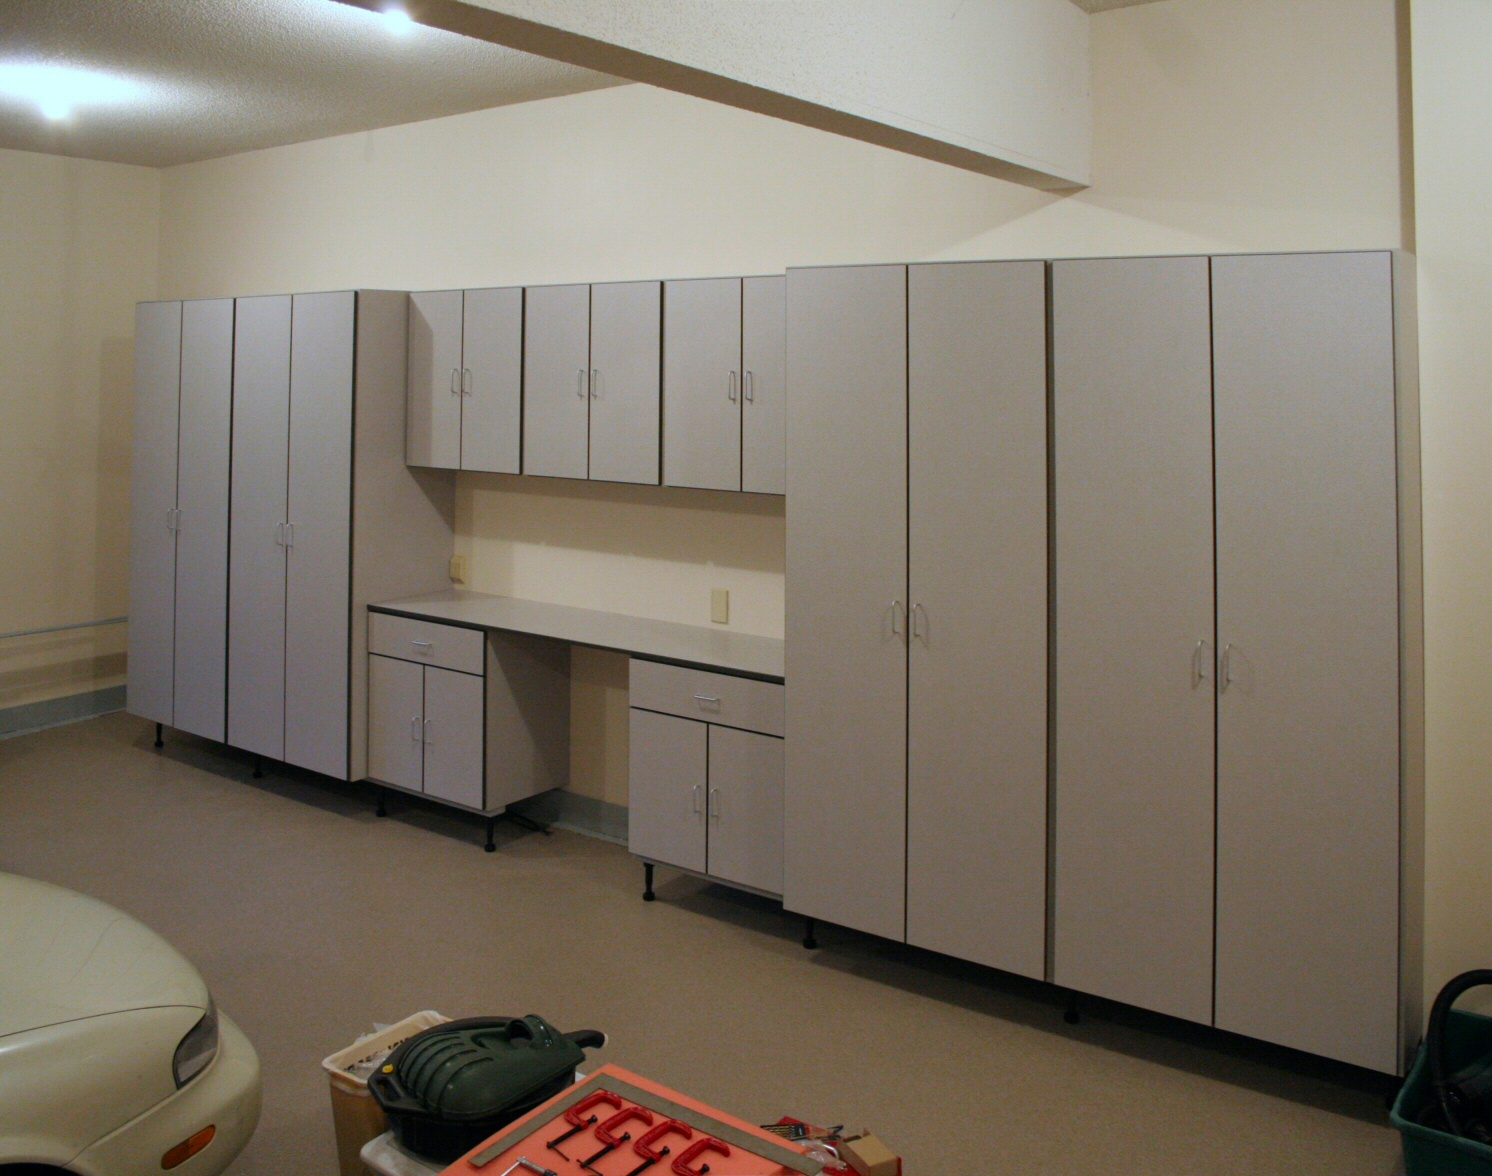
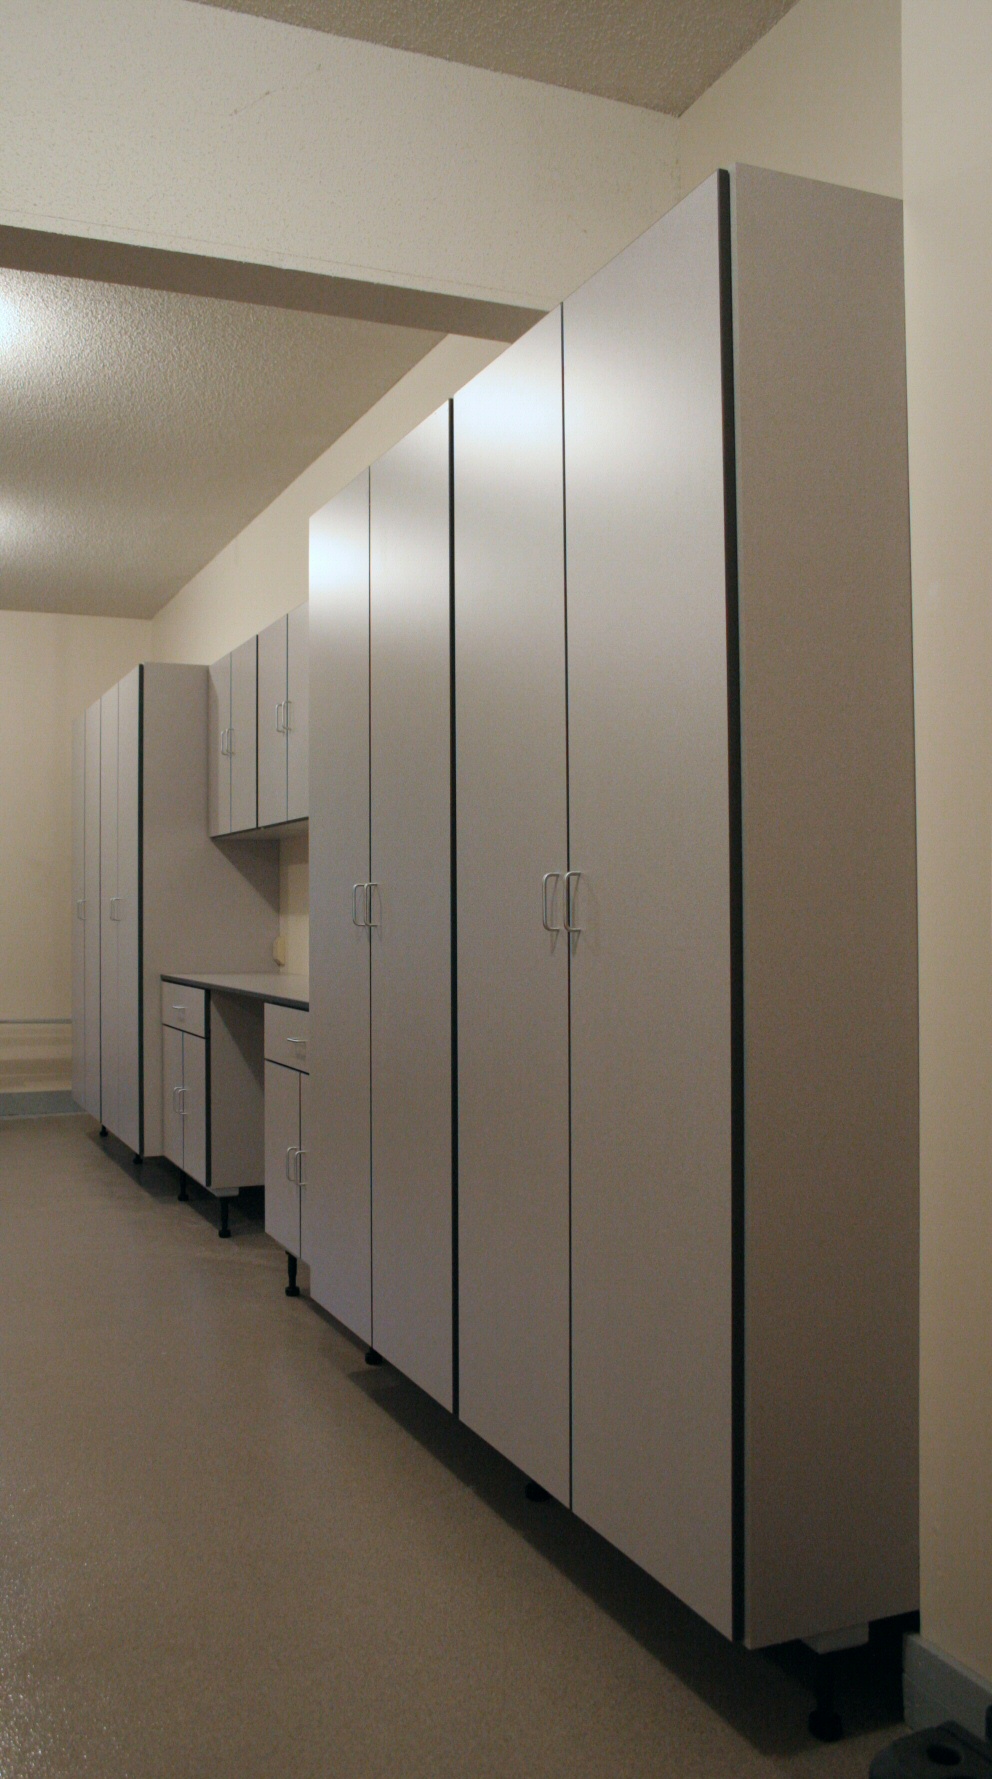
Cabinets
Cabinets are a product of Logical
Cabinetry. Local dealer was
Complete Garage.
![[progress as of Sunday evening, 25-Jun-2006]](small/IMG_1152.jpg) Status
Status
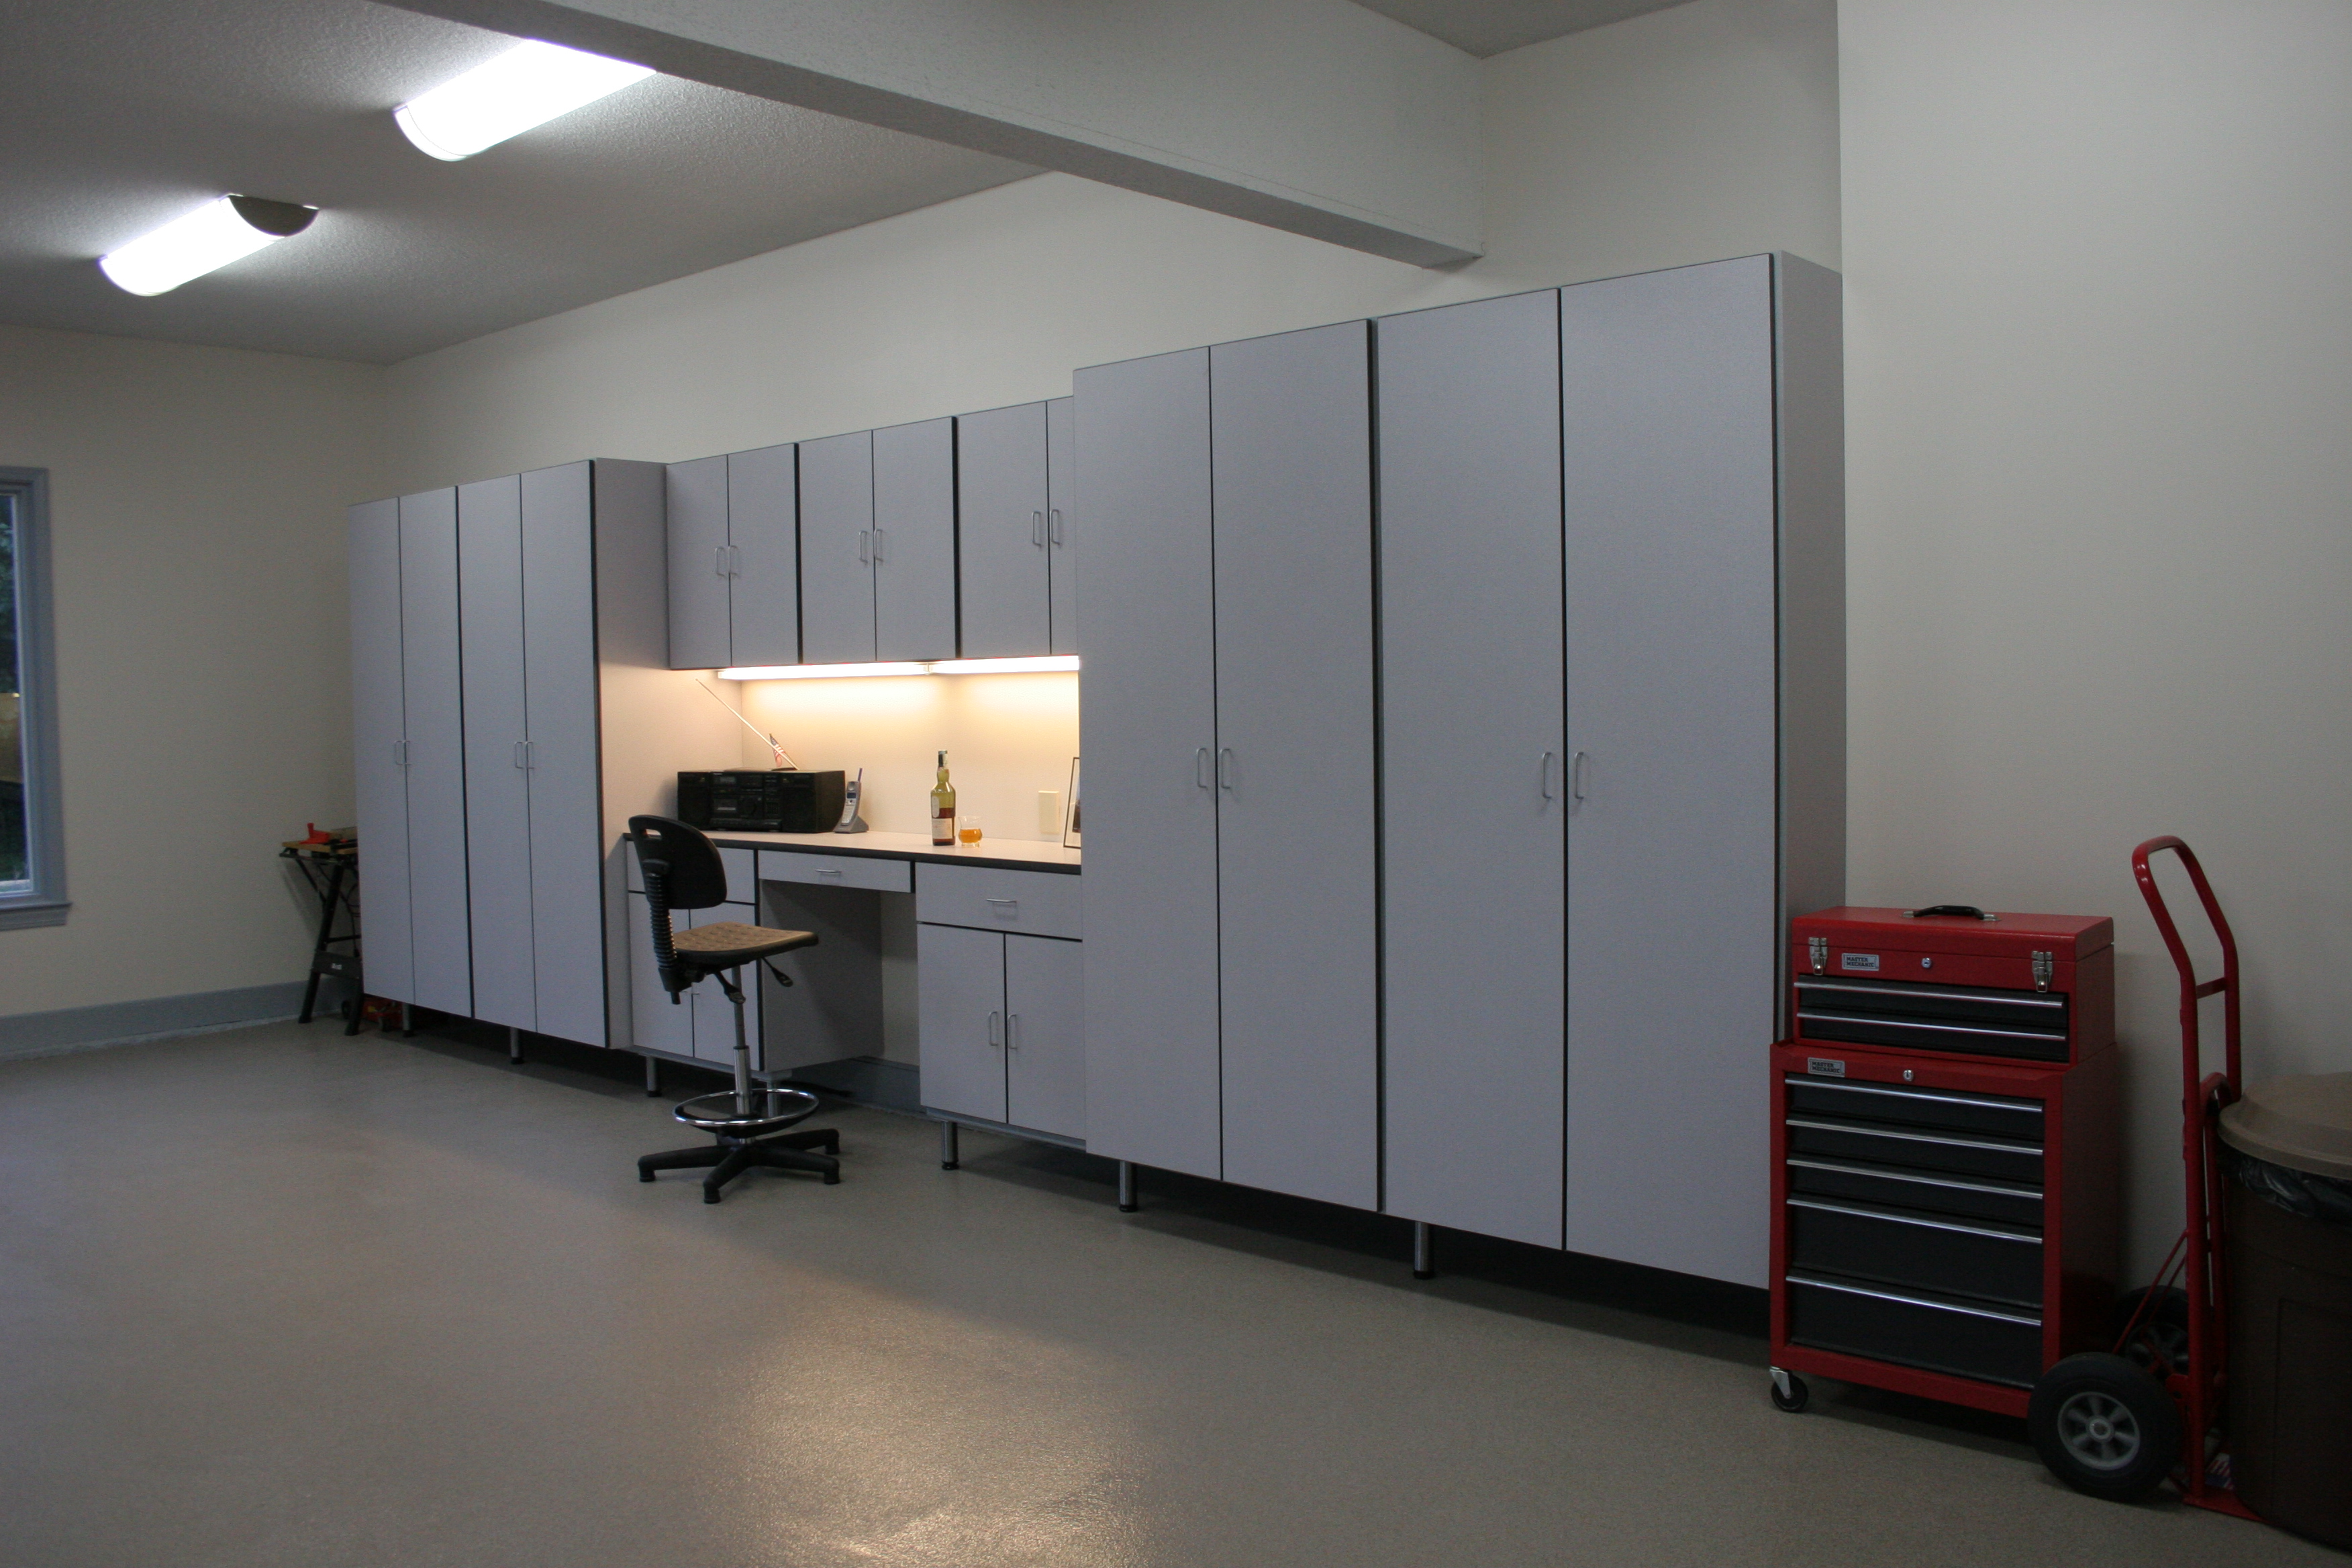
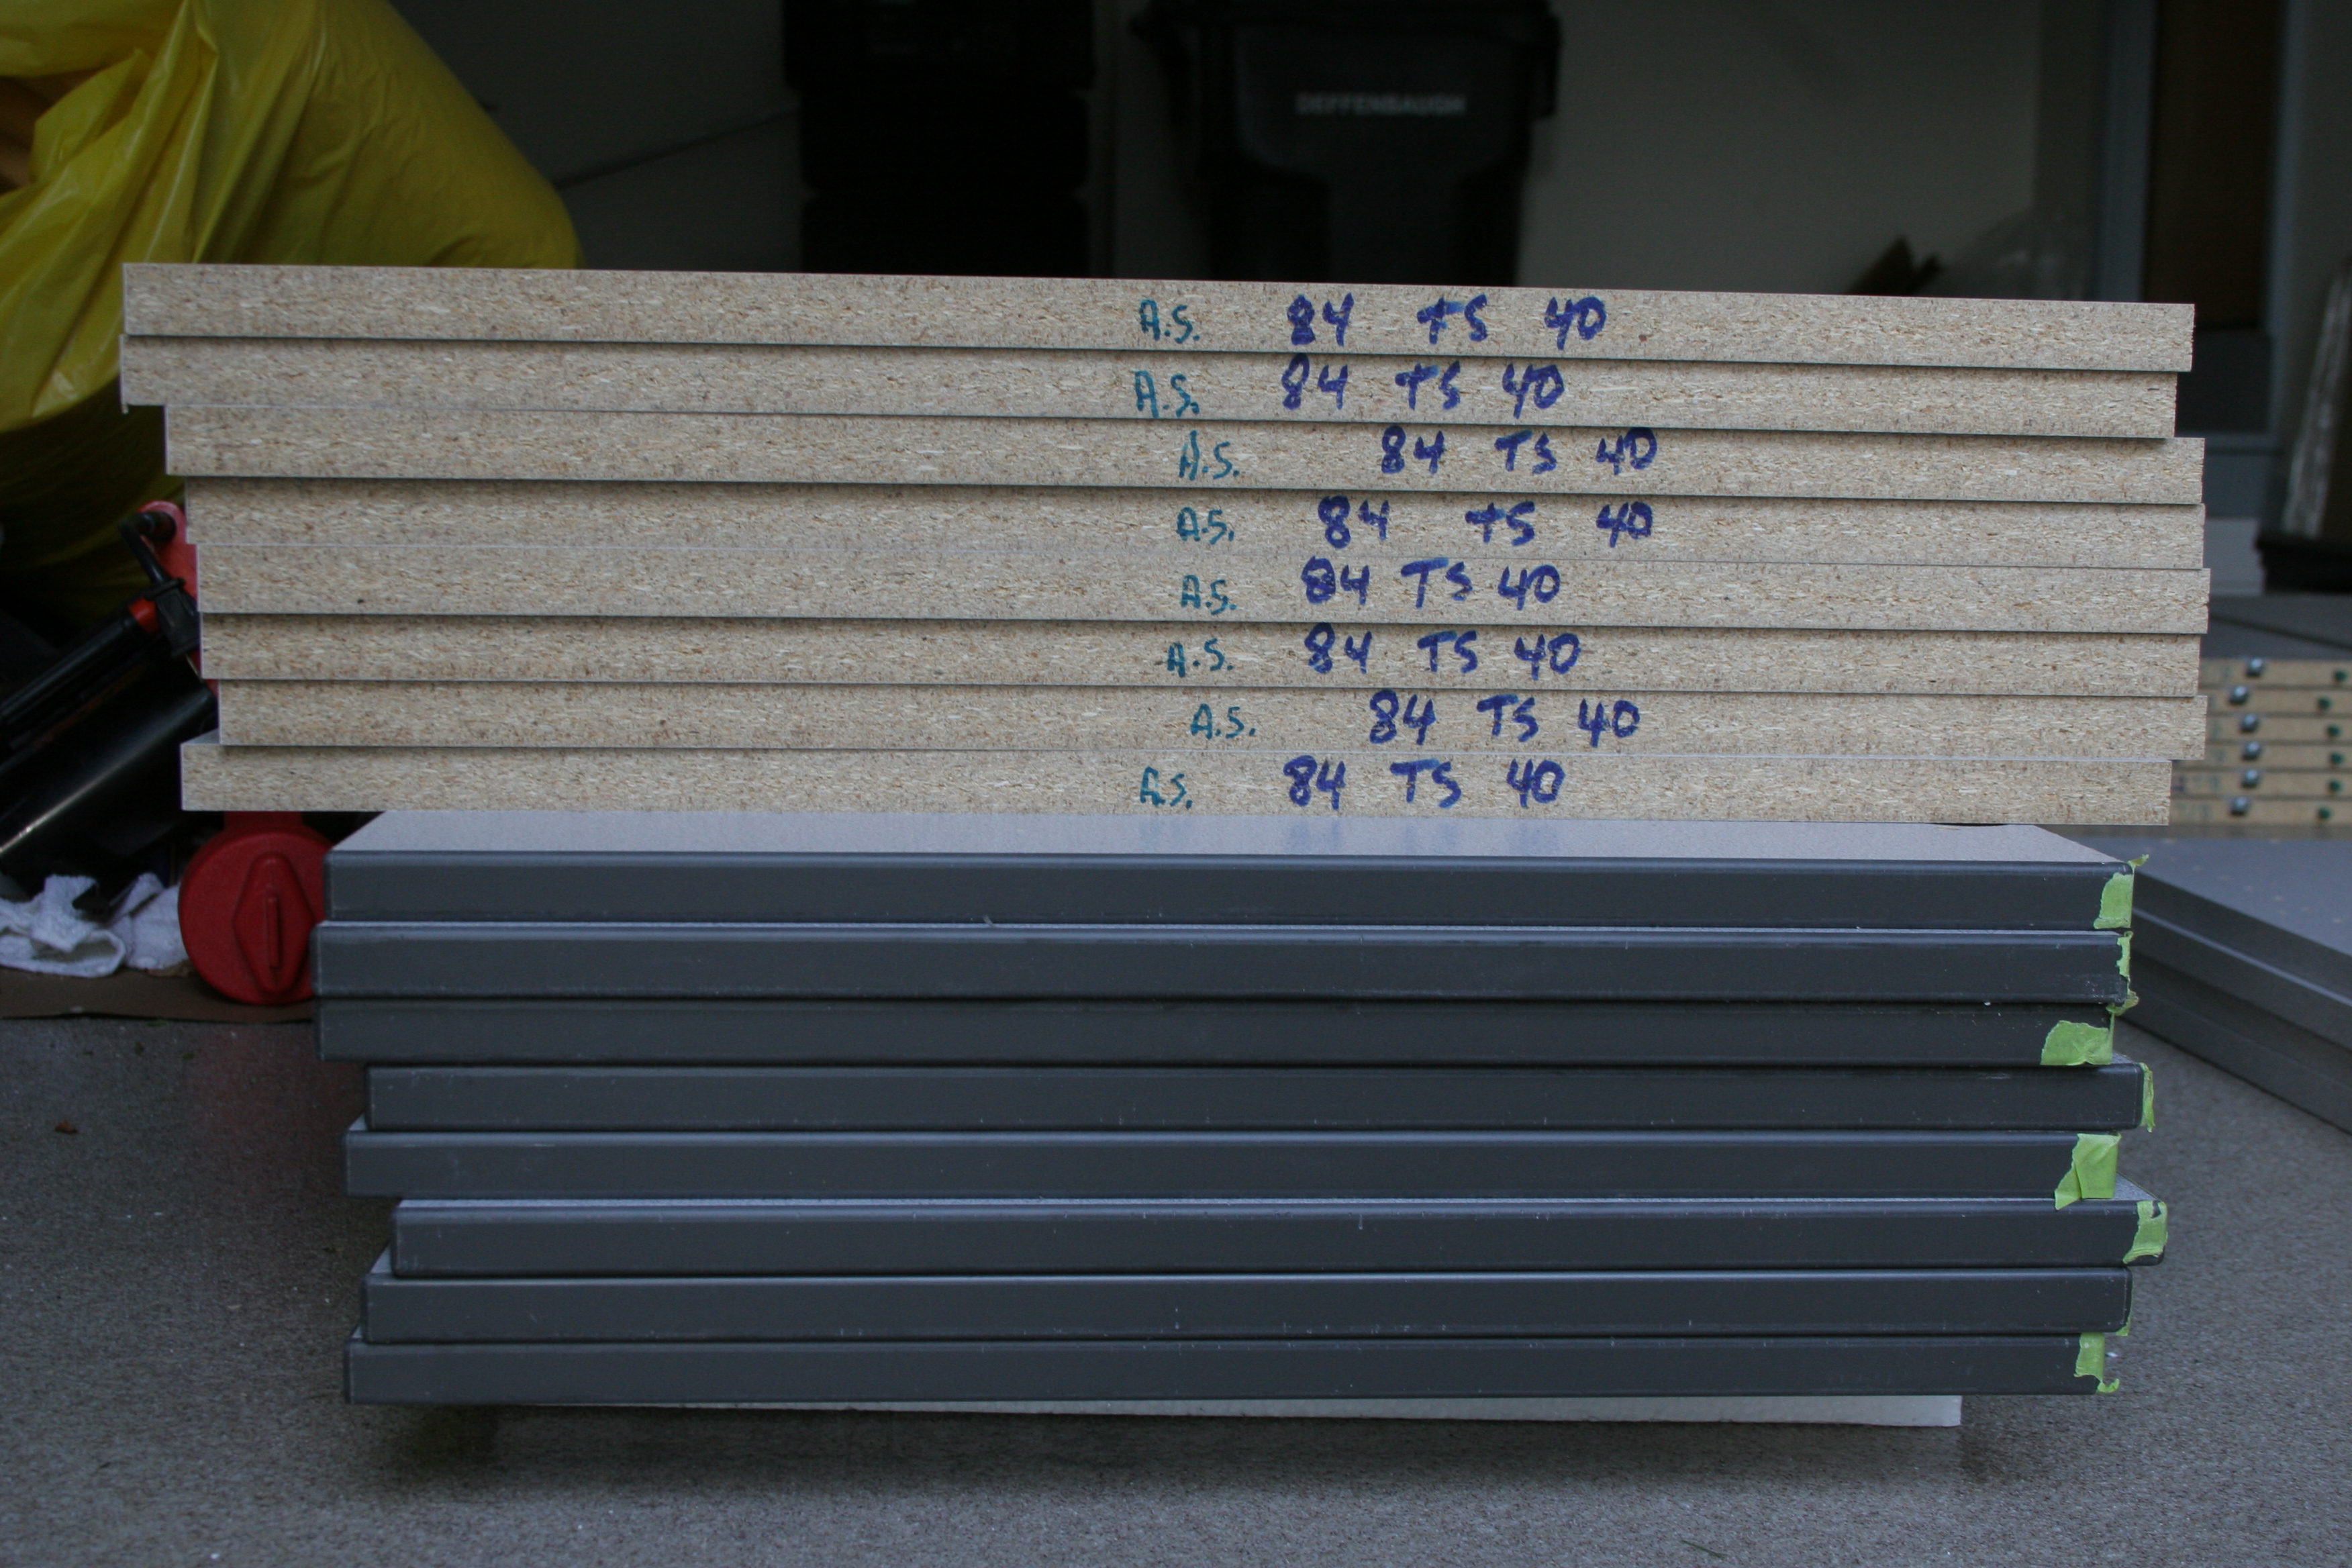
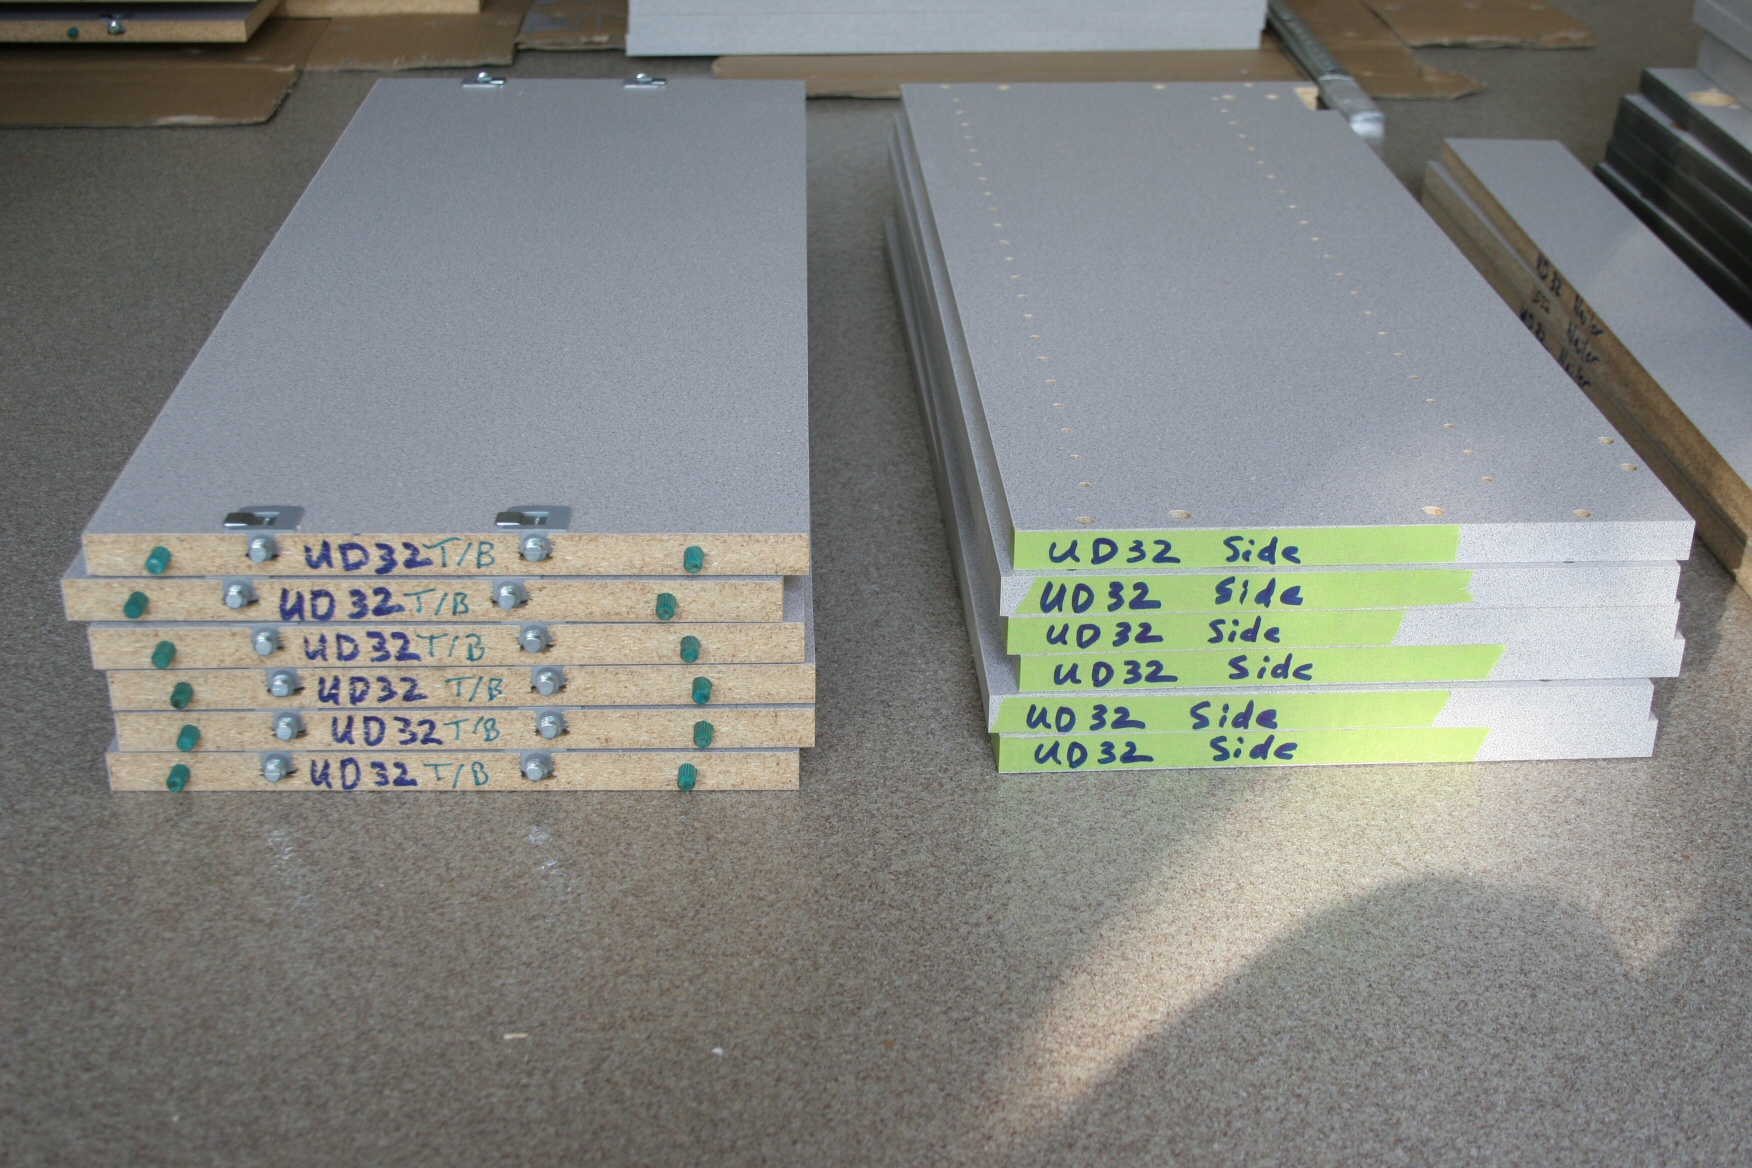
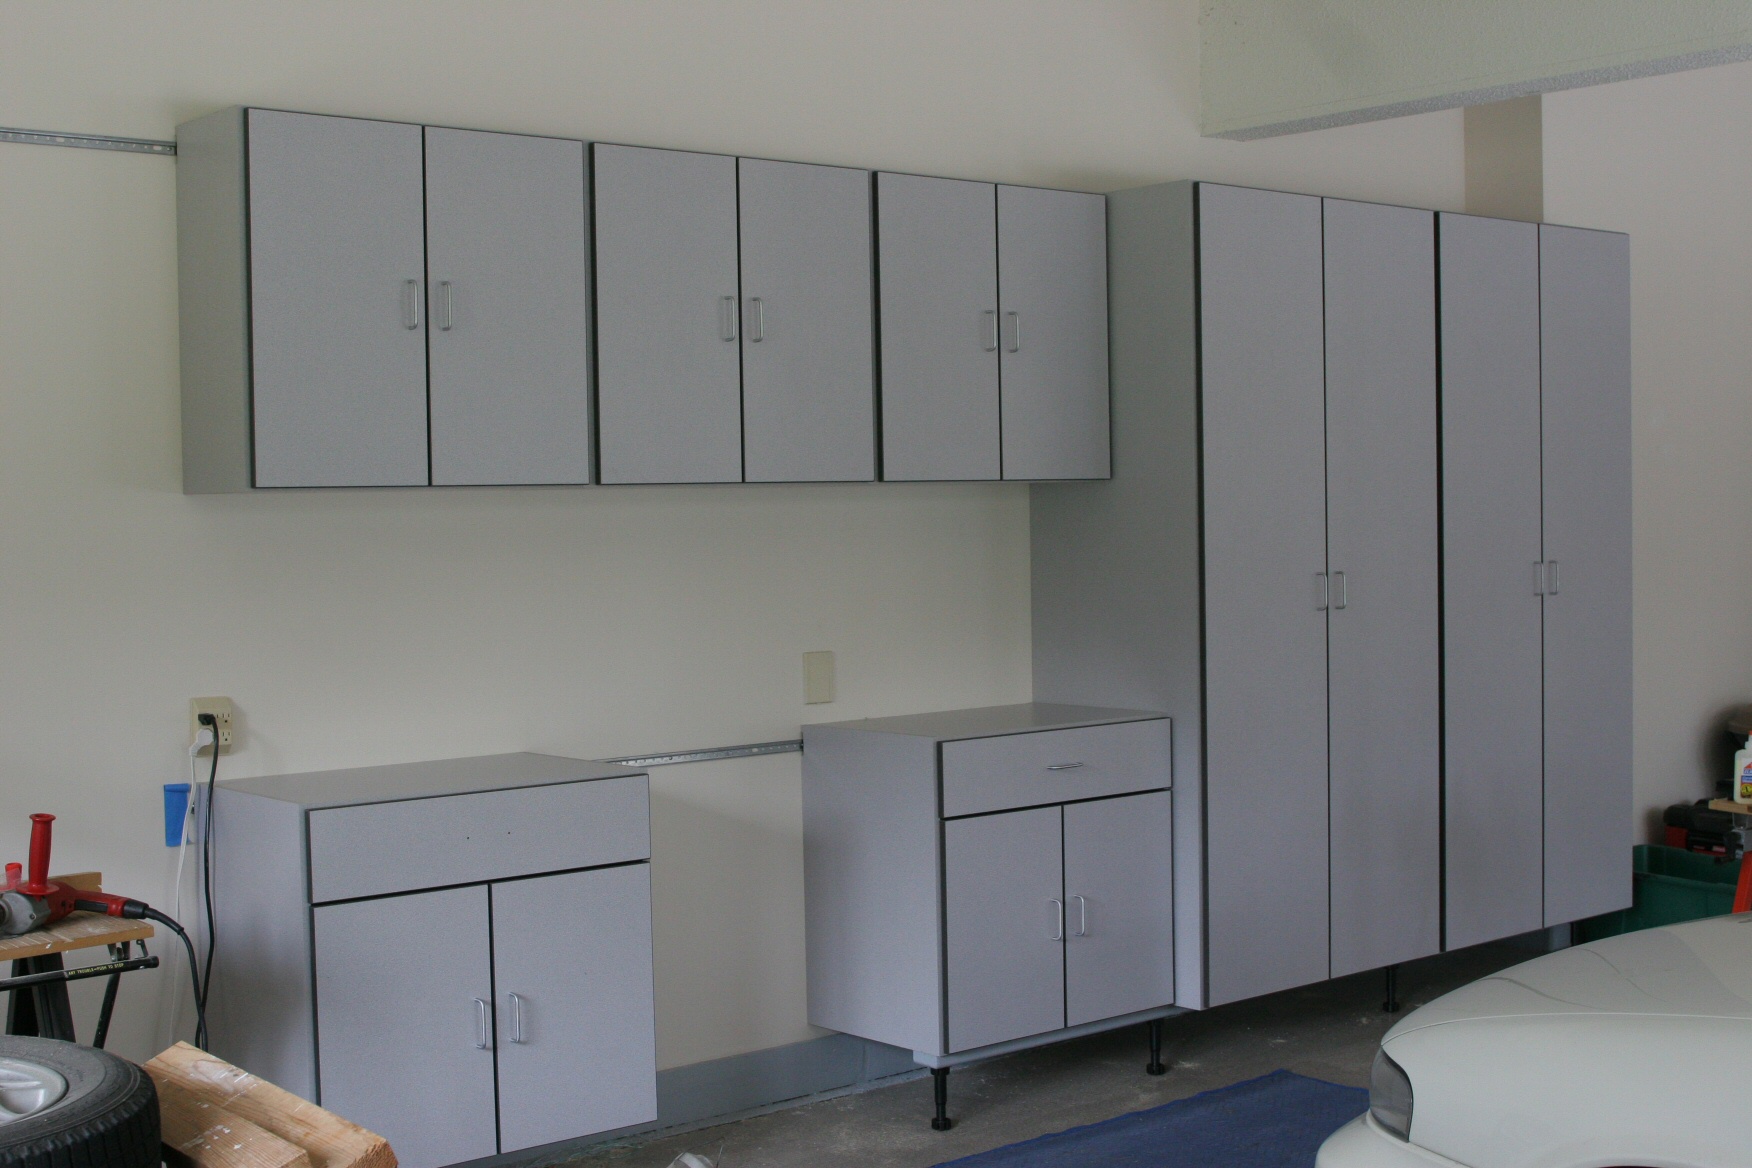
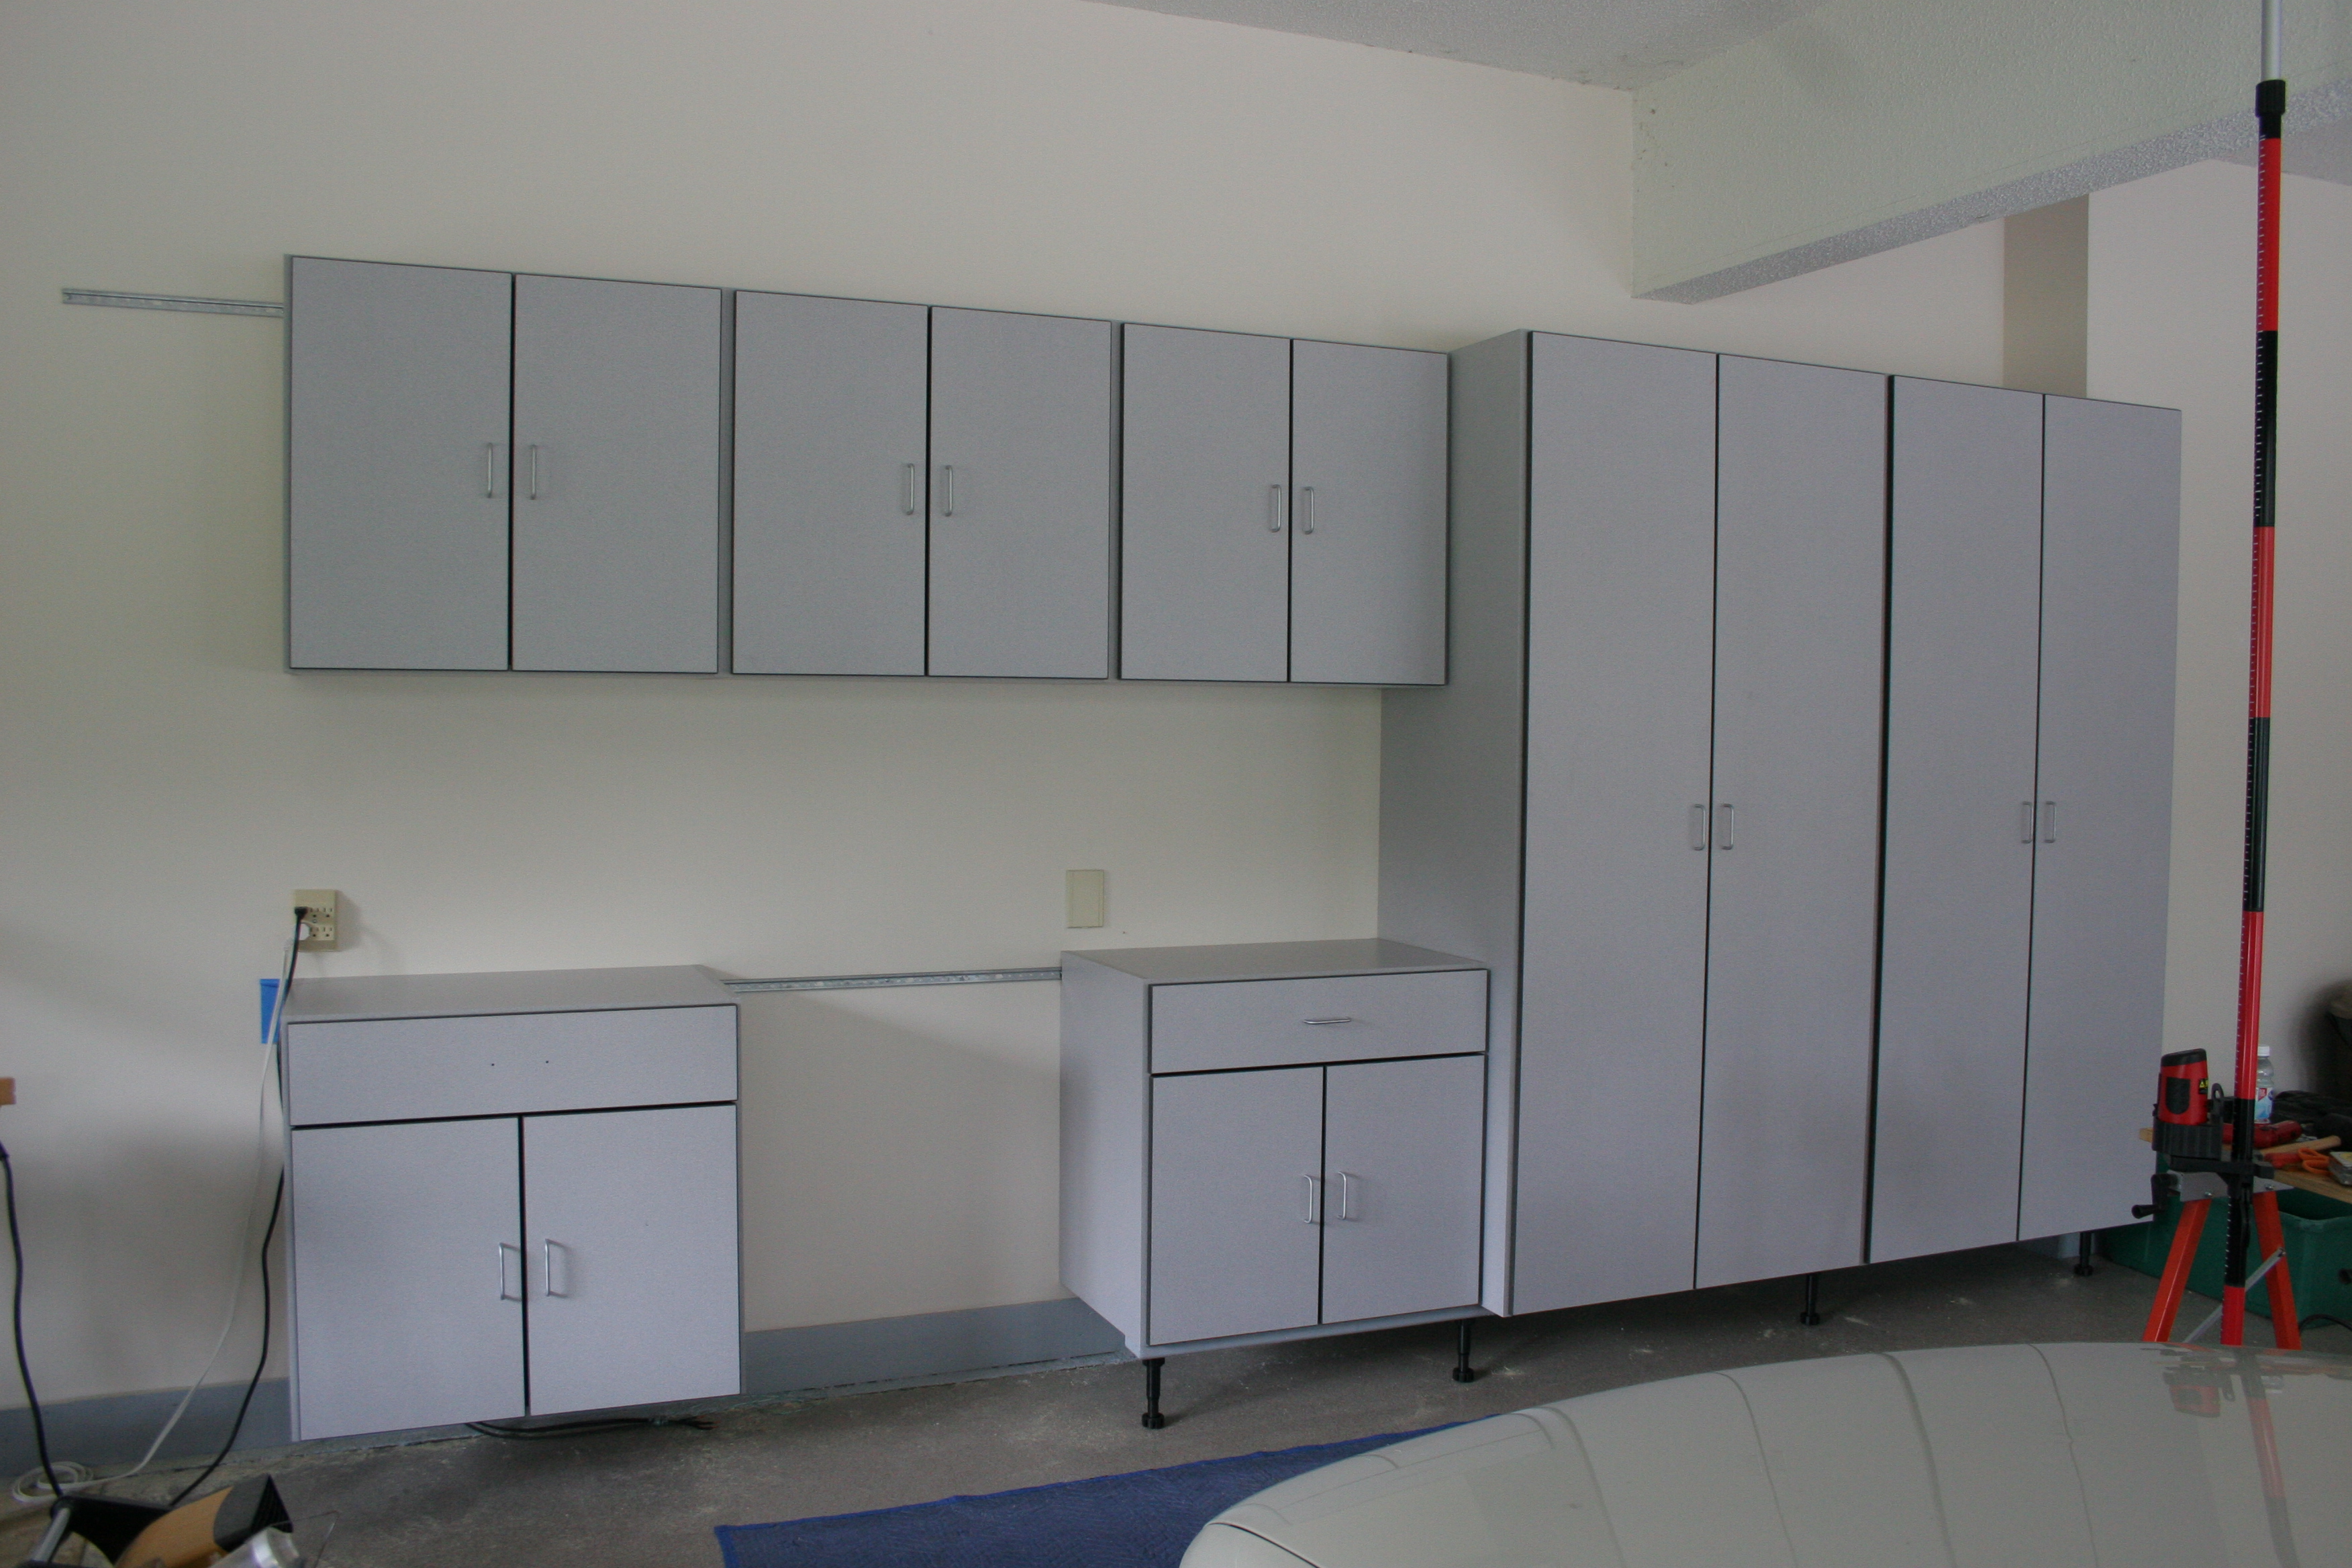
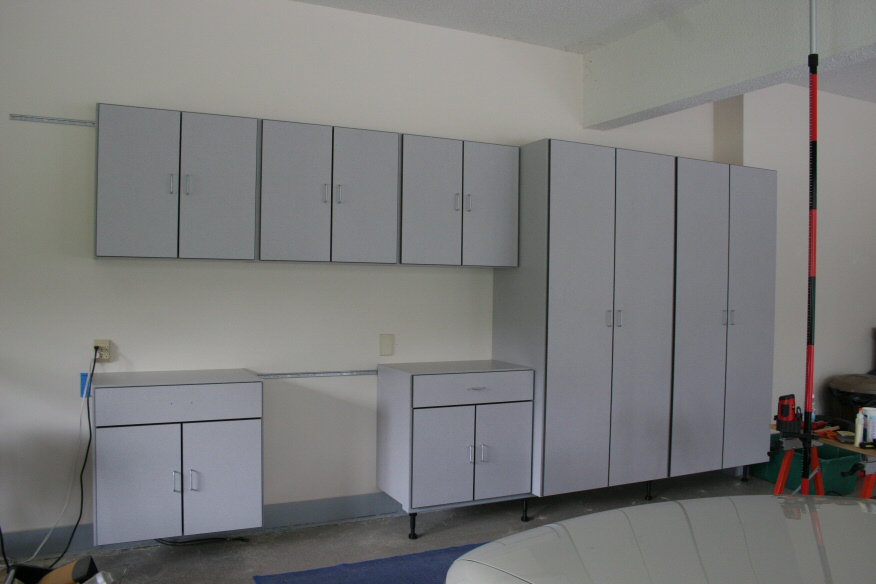
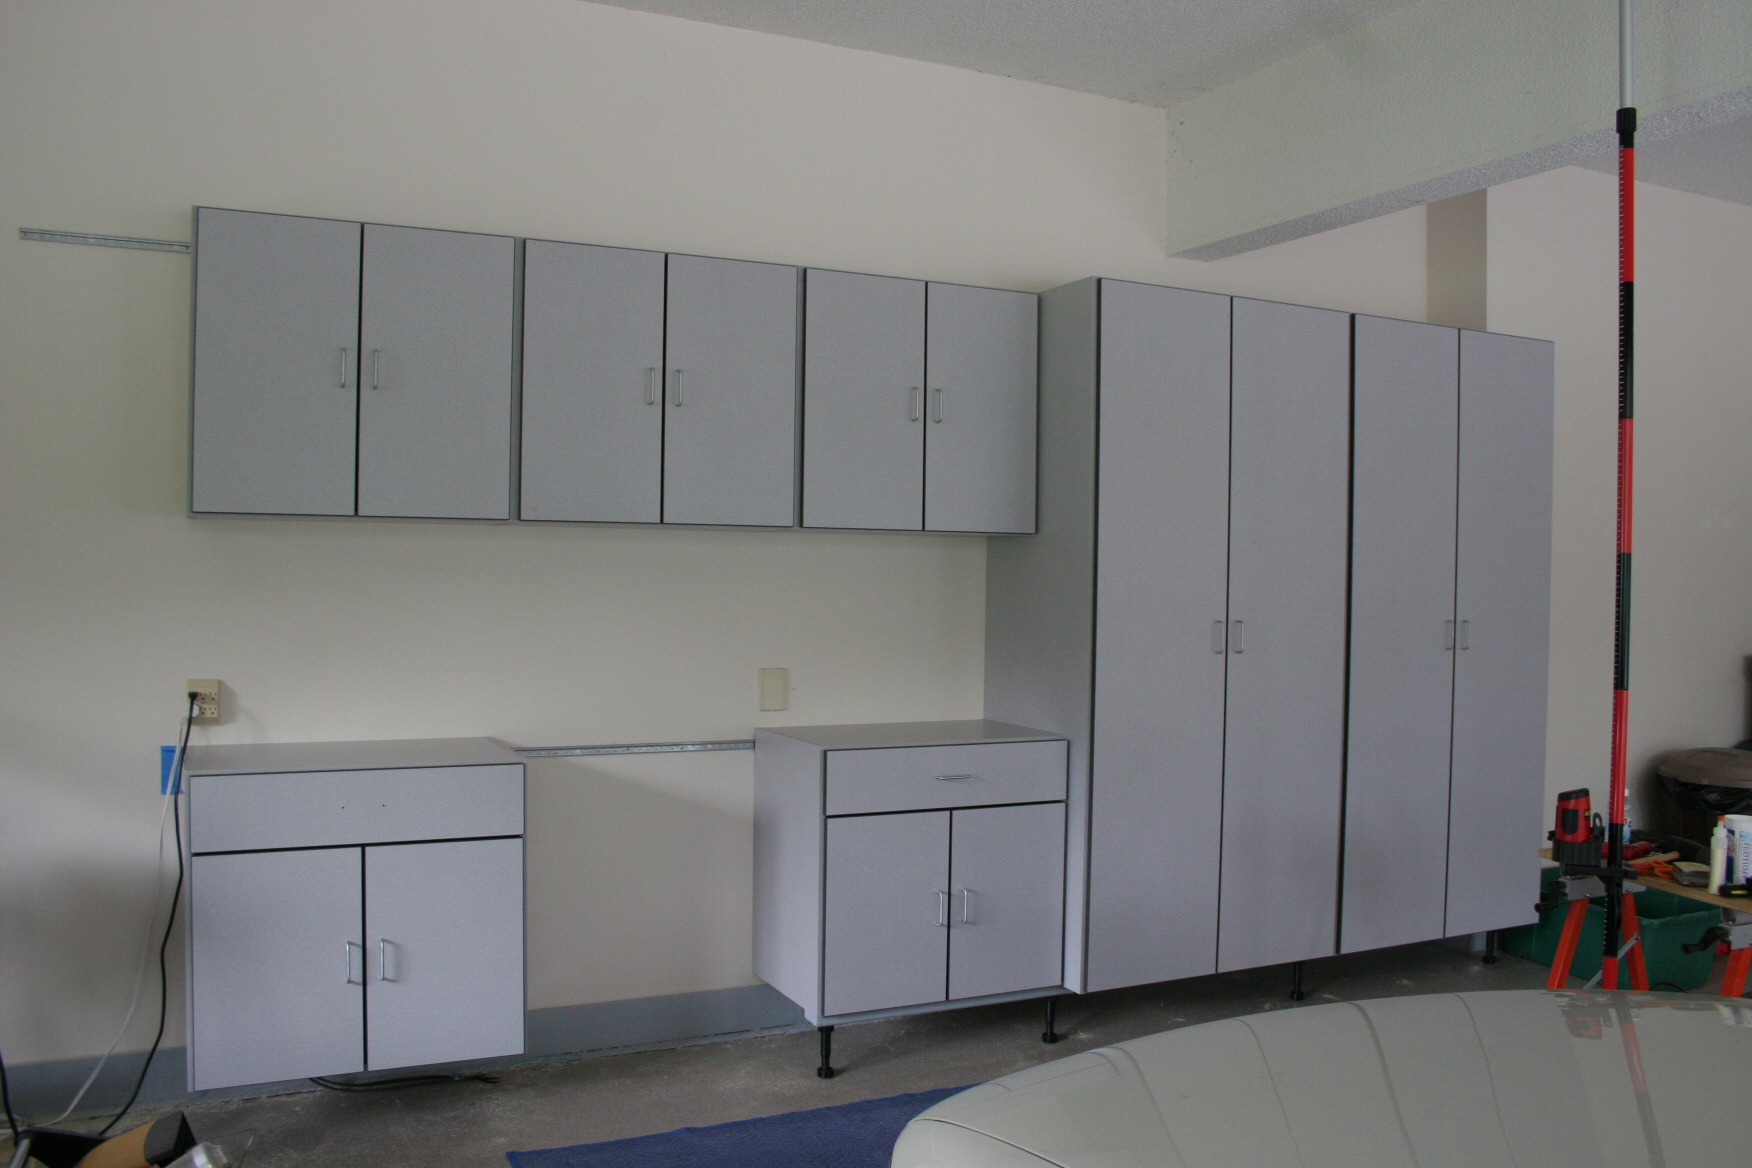
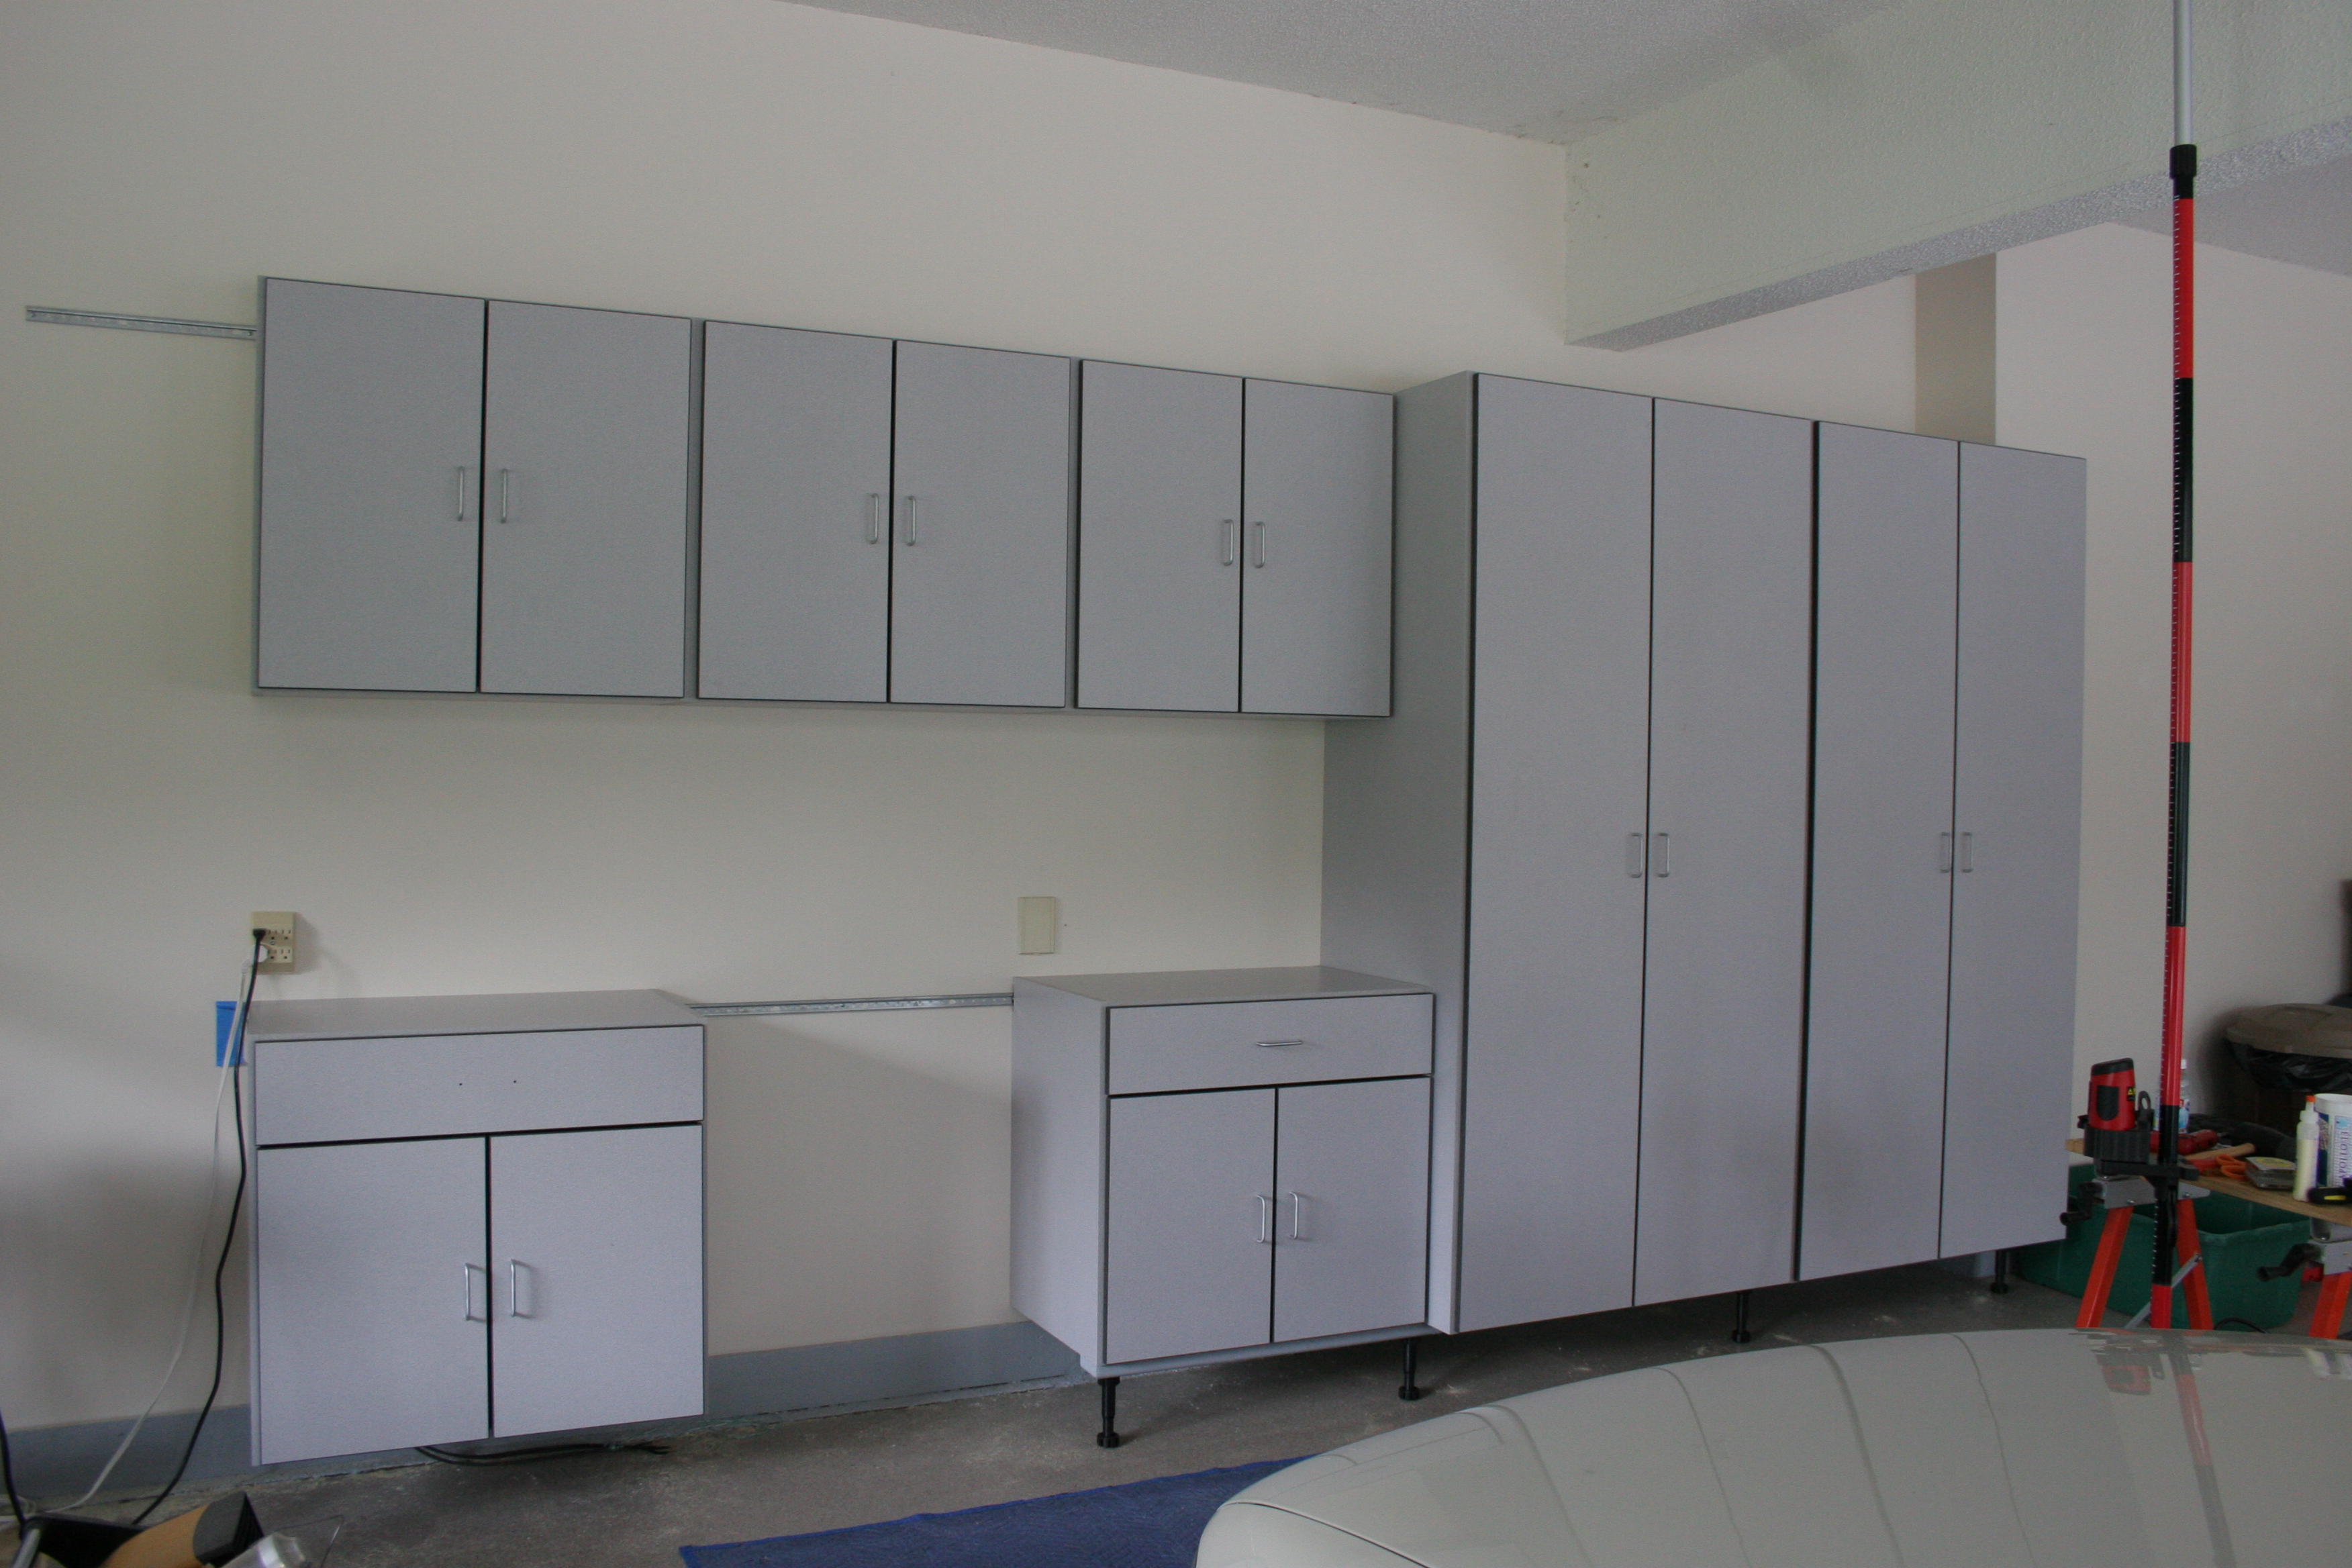
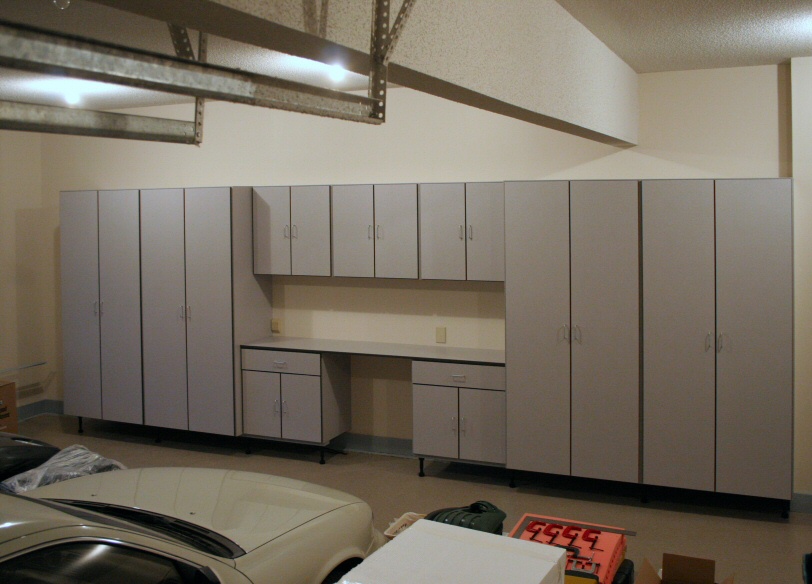
Complete. Cabinets installed:
- 84TS40: 4 of 4
- UD32: 3 of 3
- B132: 2 of 2
- DESK32
Photos
 |
| IMG_1069: [medium | large | huge] |
| It wasn't quite so intimidating after being organized. |
 |
| IMG_1070: [medium | large | huge] |
| Logical Cabinetry did a nice job of labeling everything. |
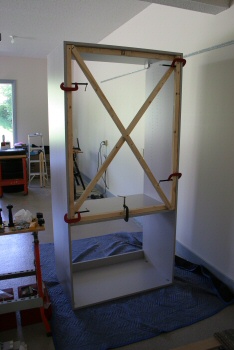 |
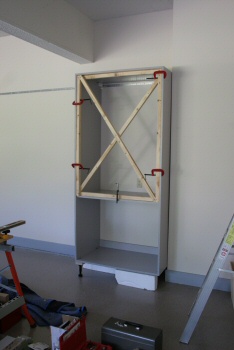
| IMG_1116: [medium | large | huge] |
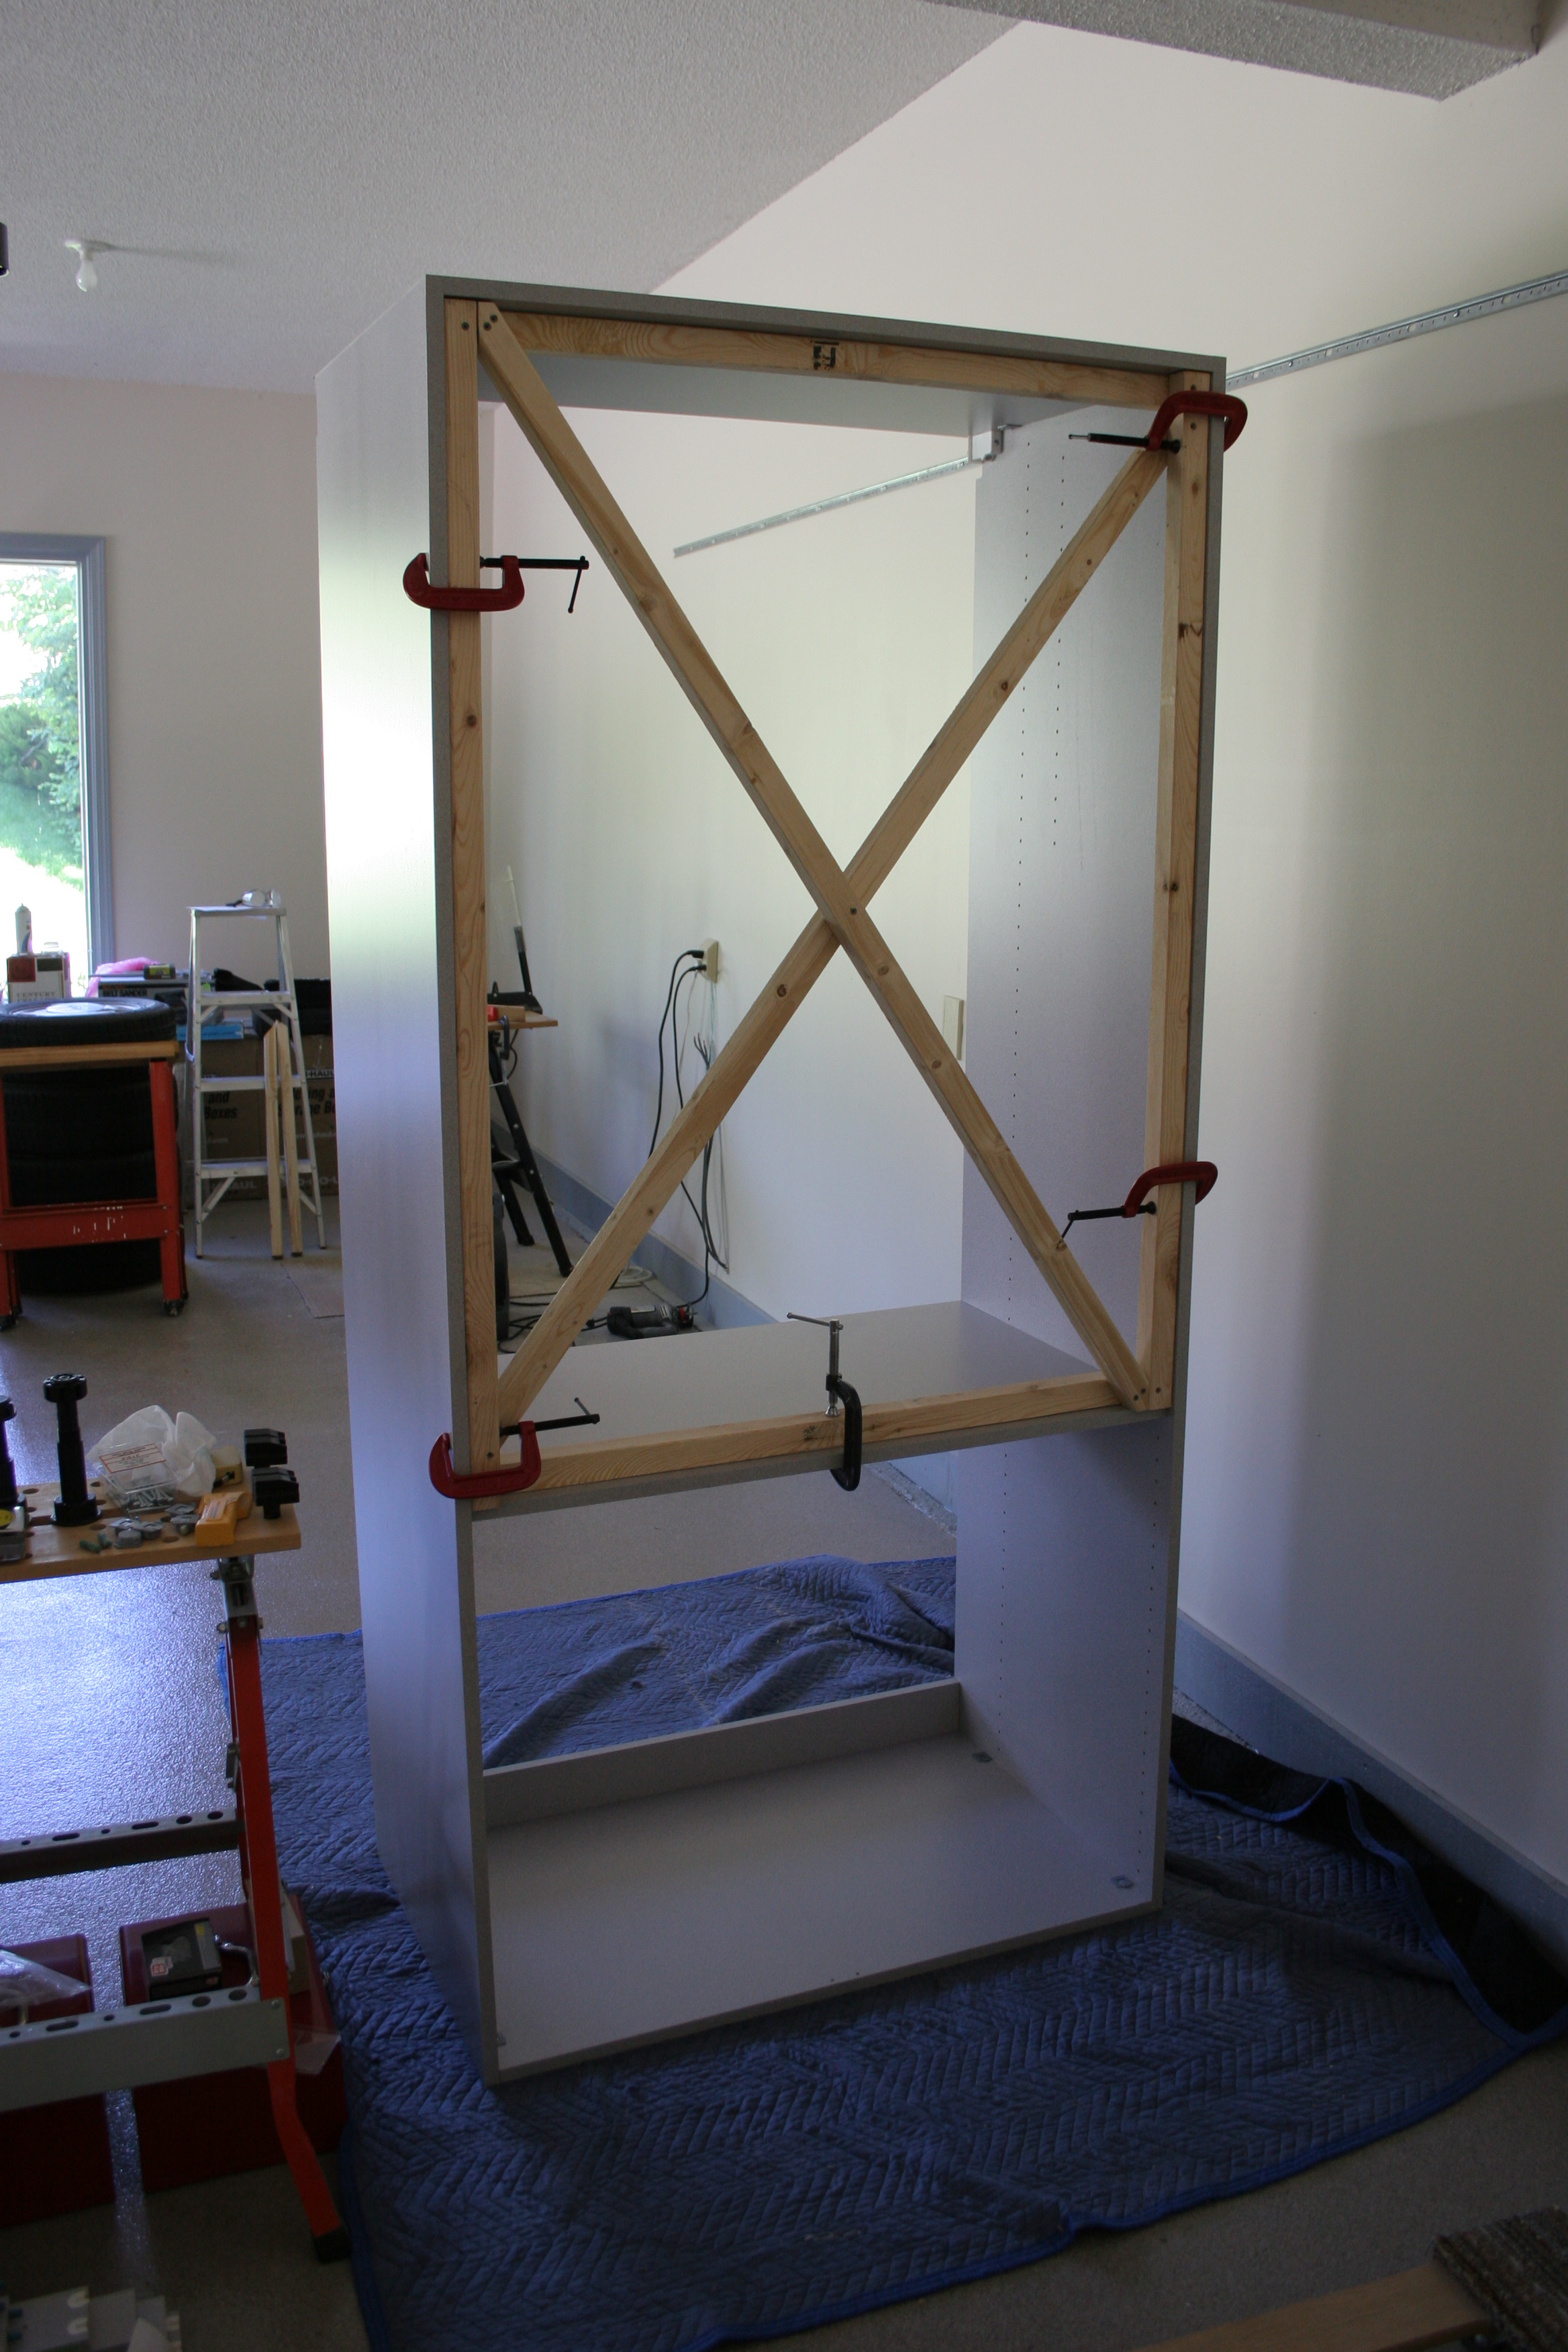
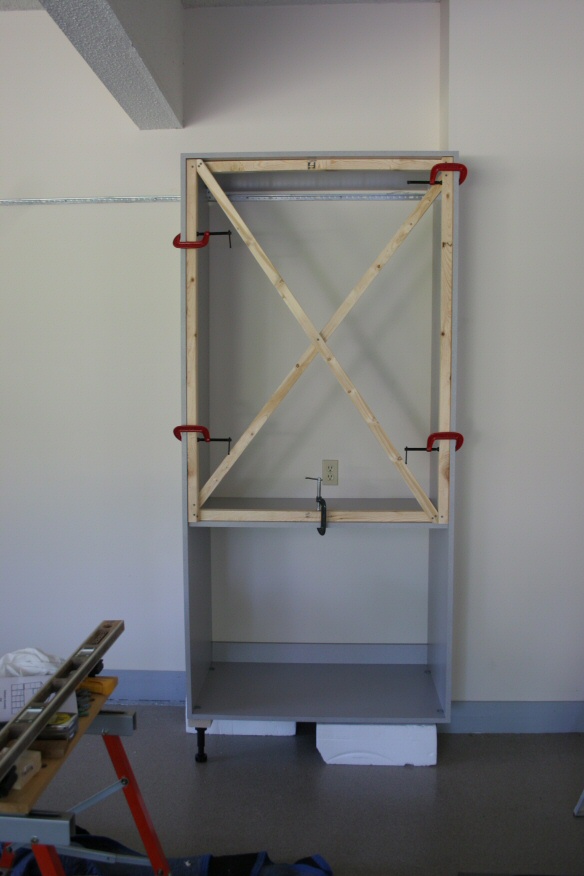
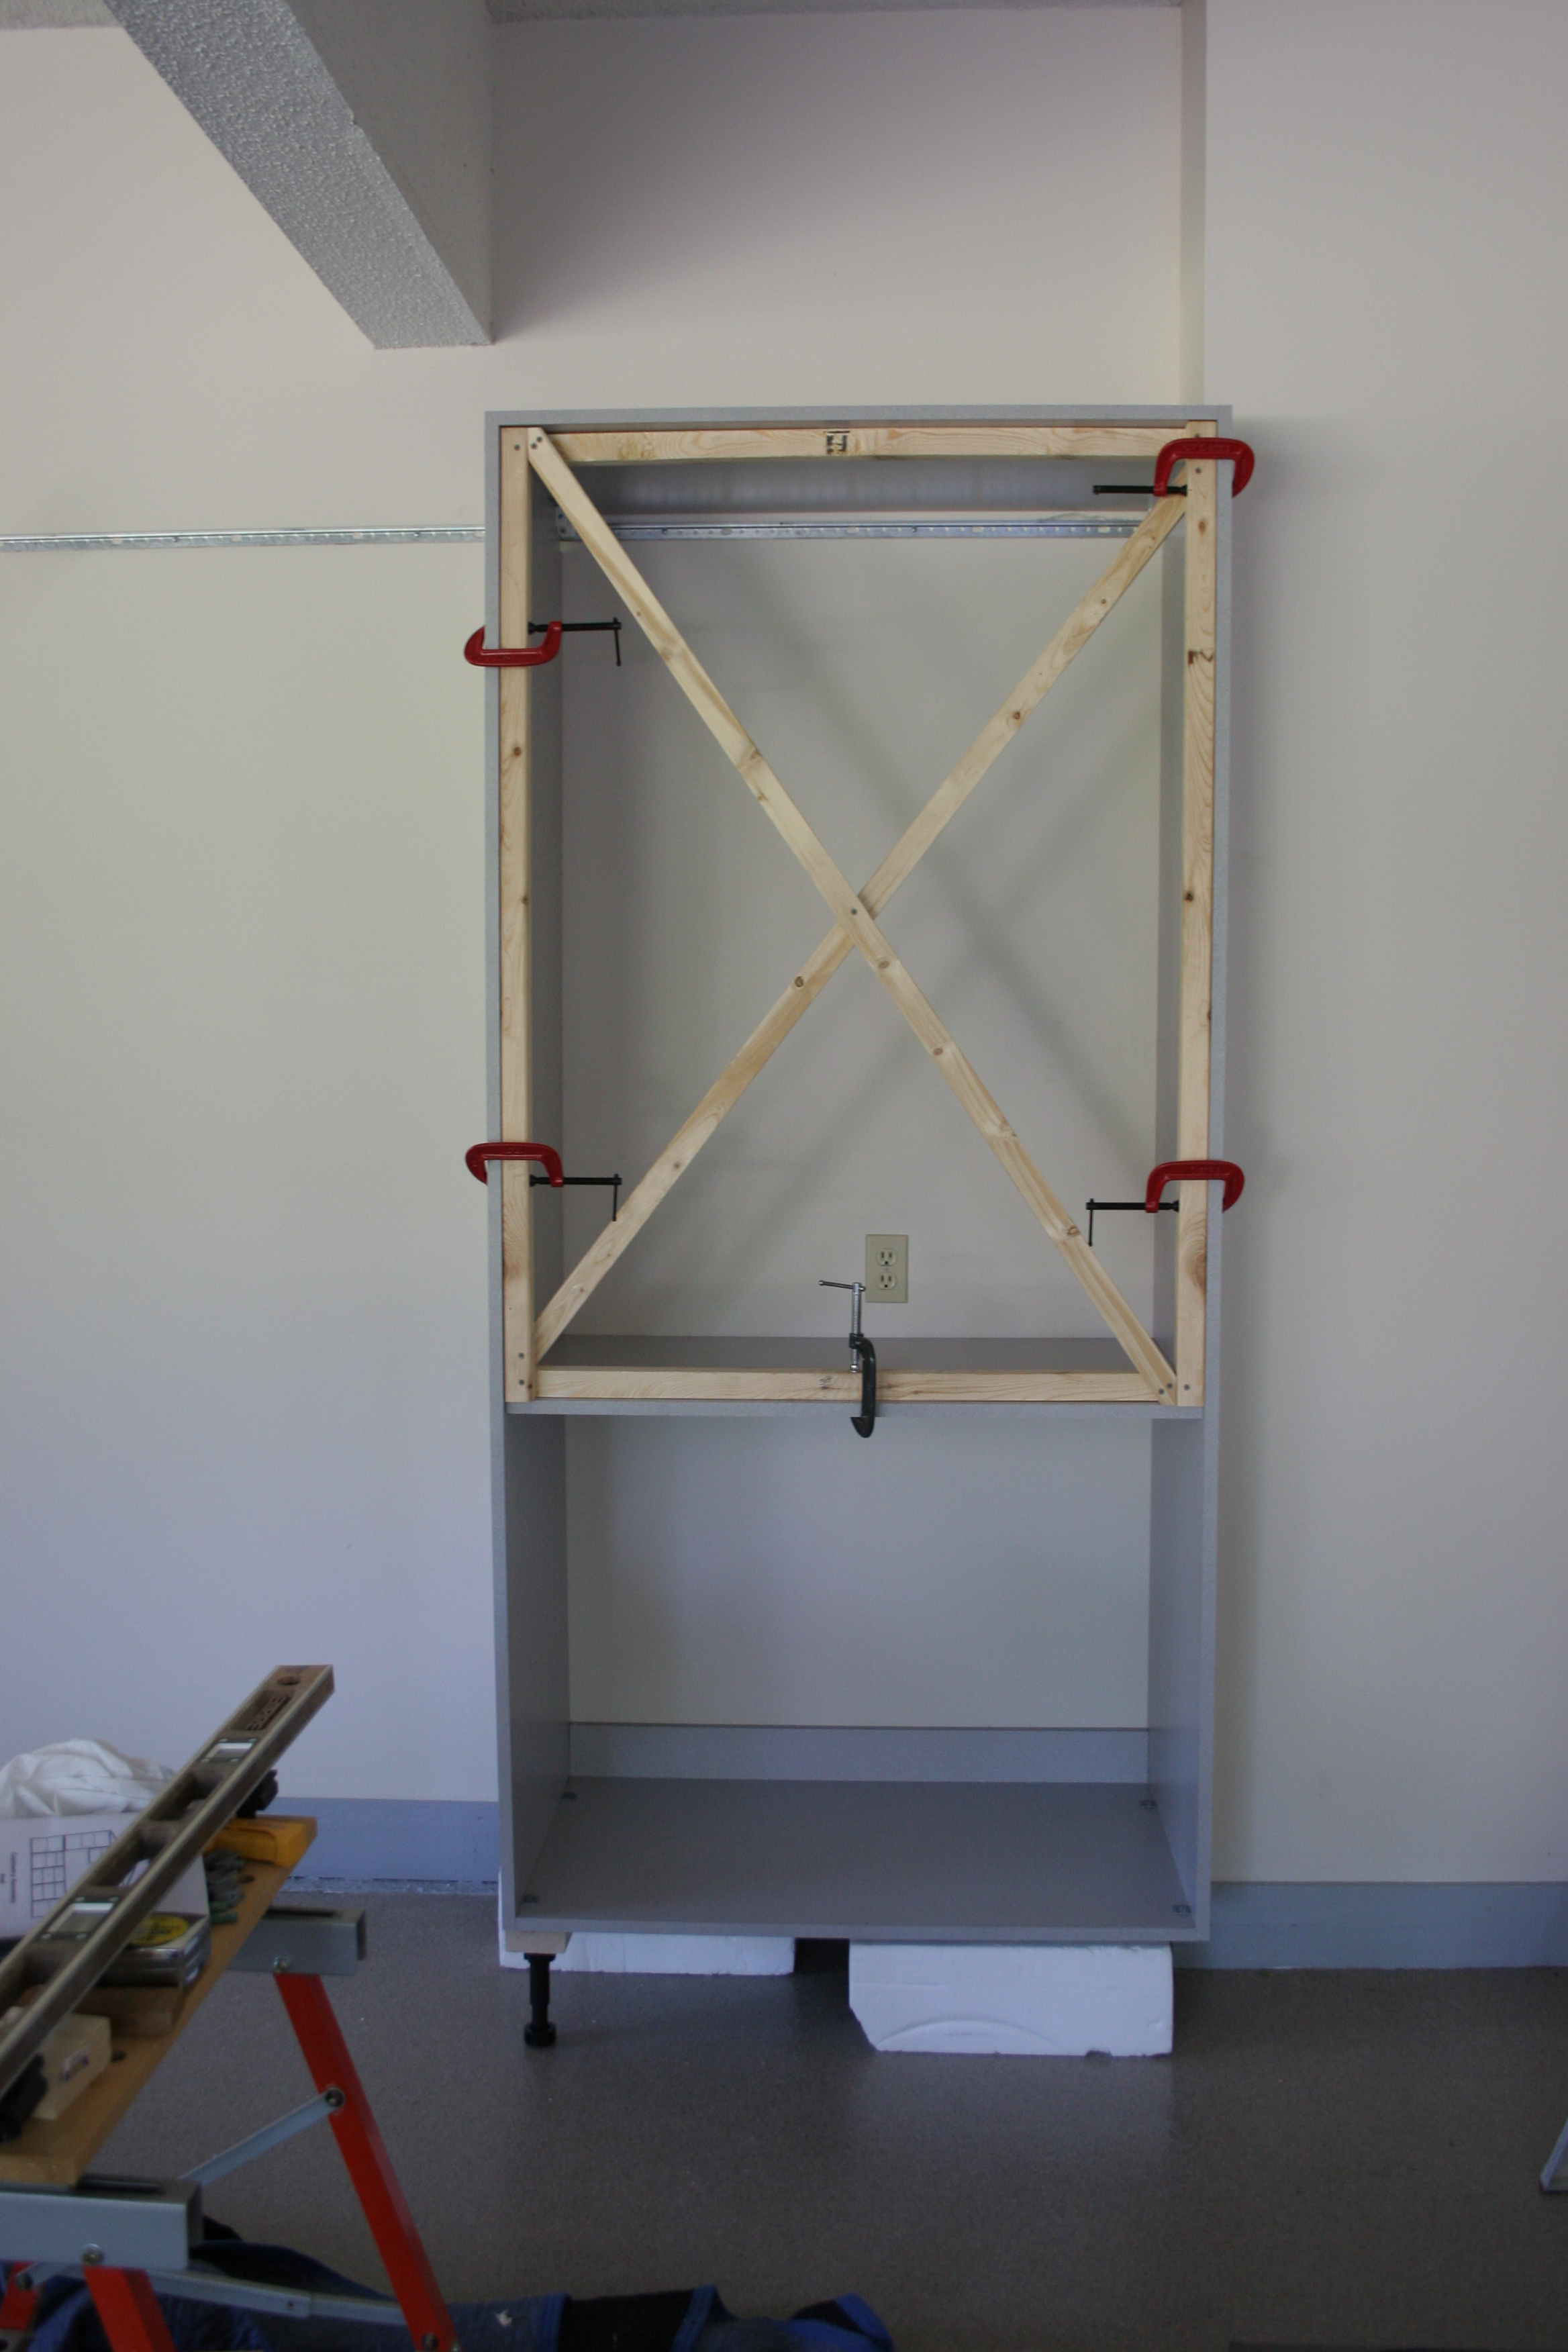
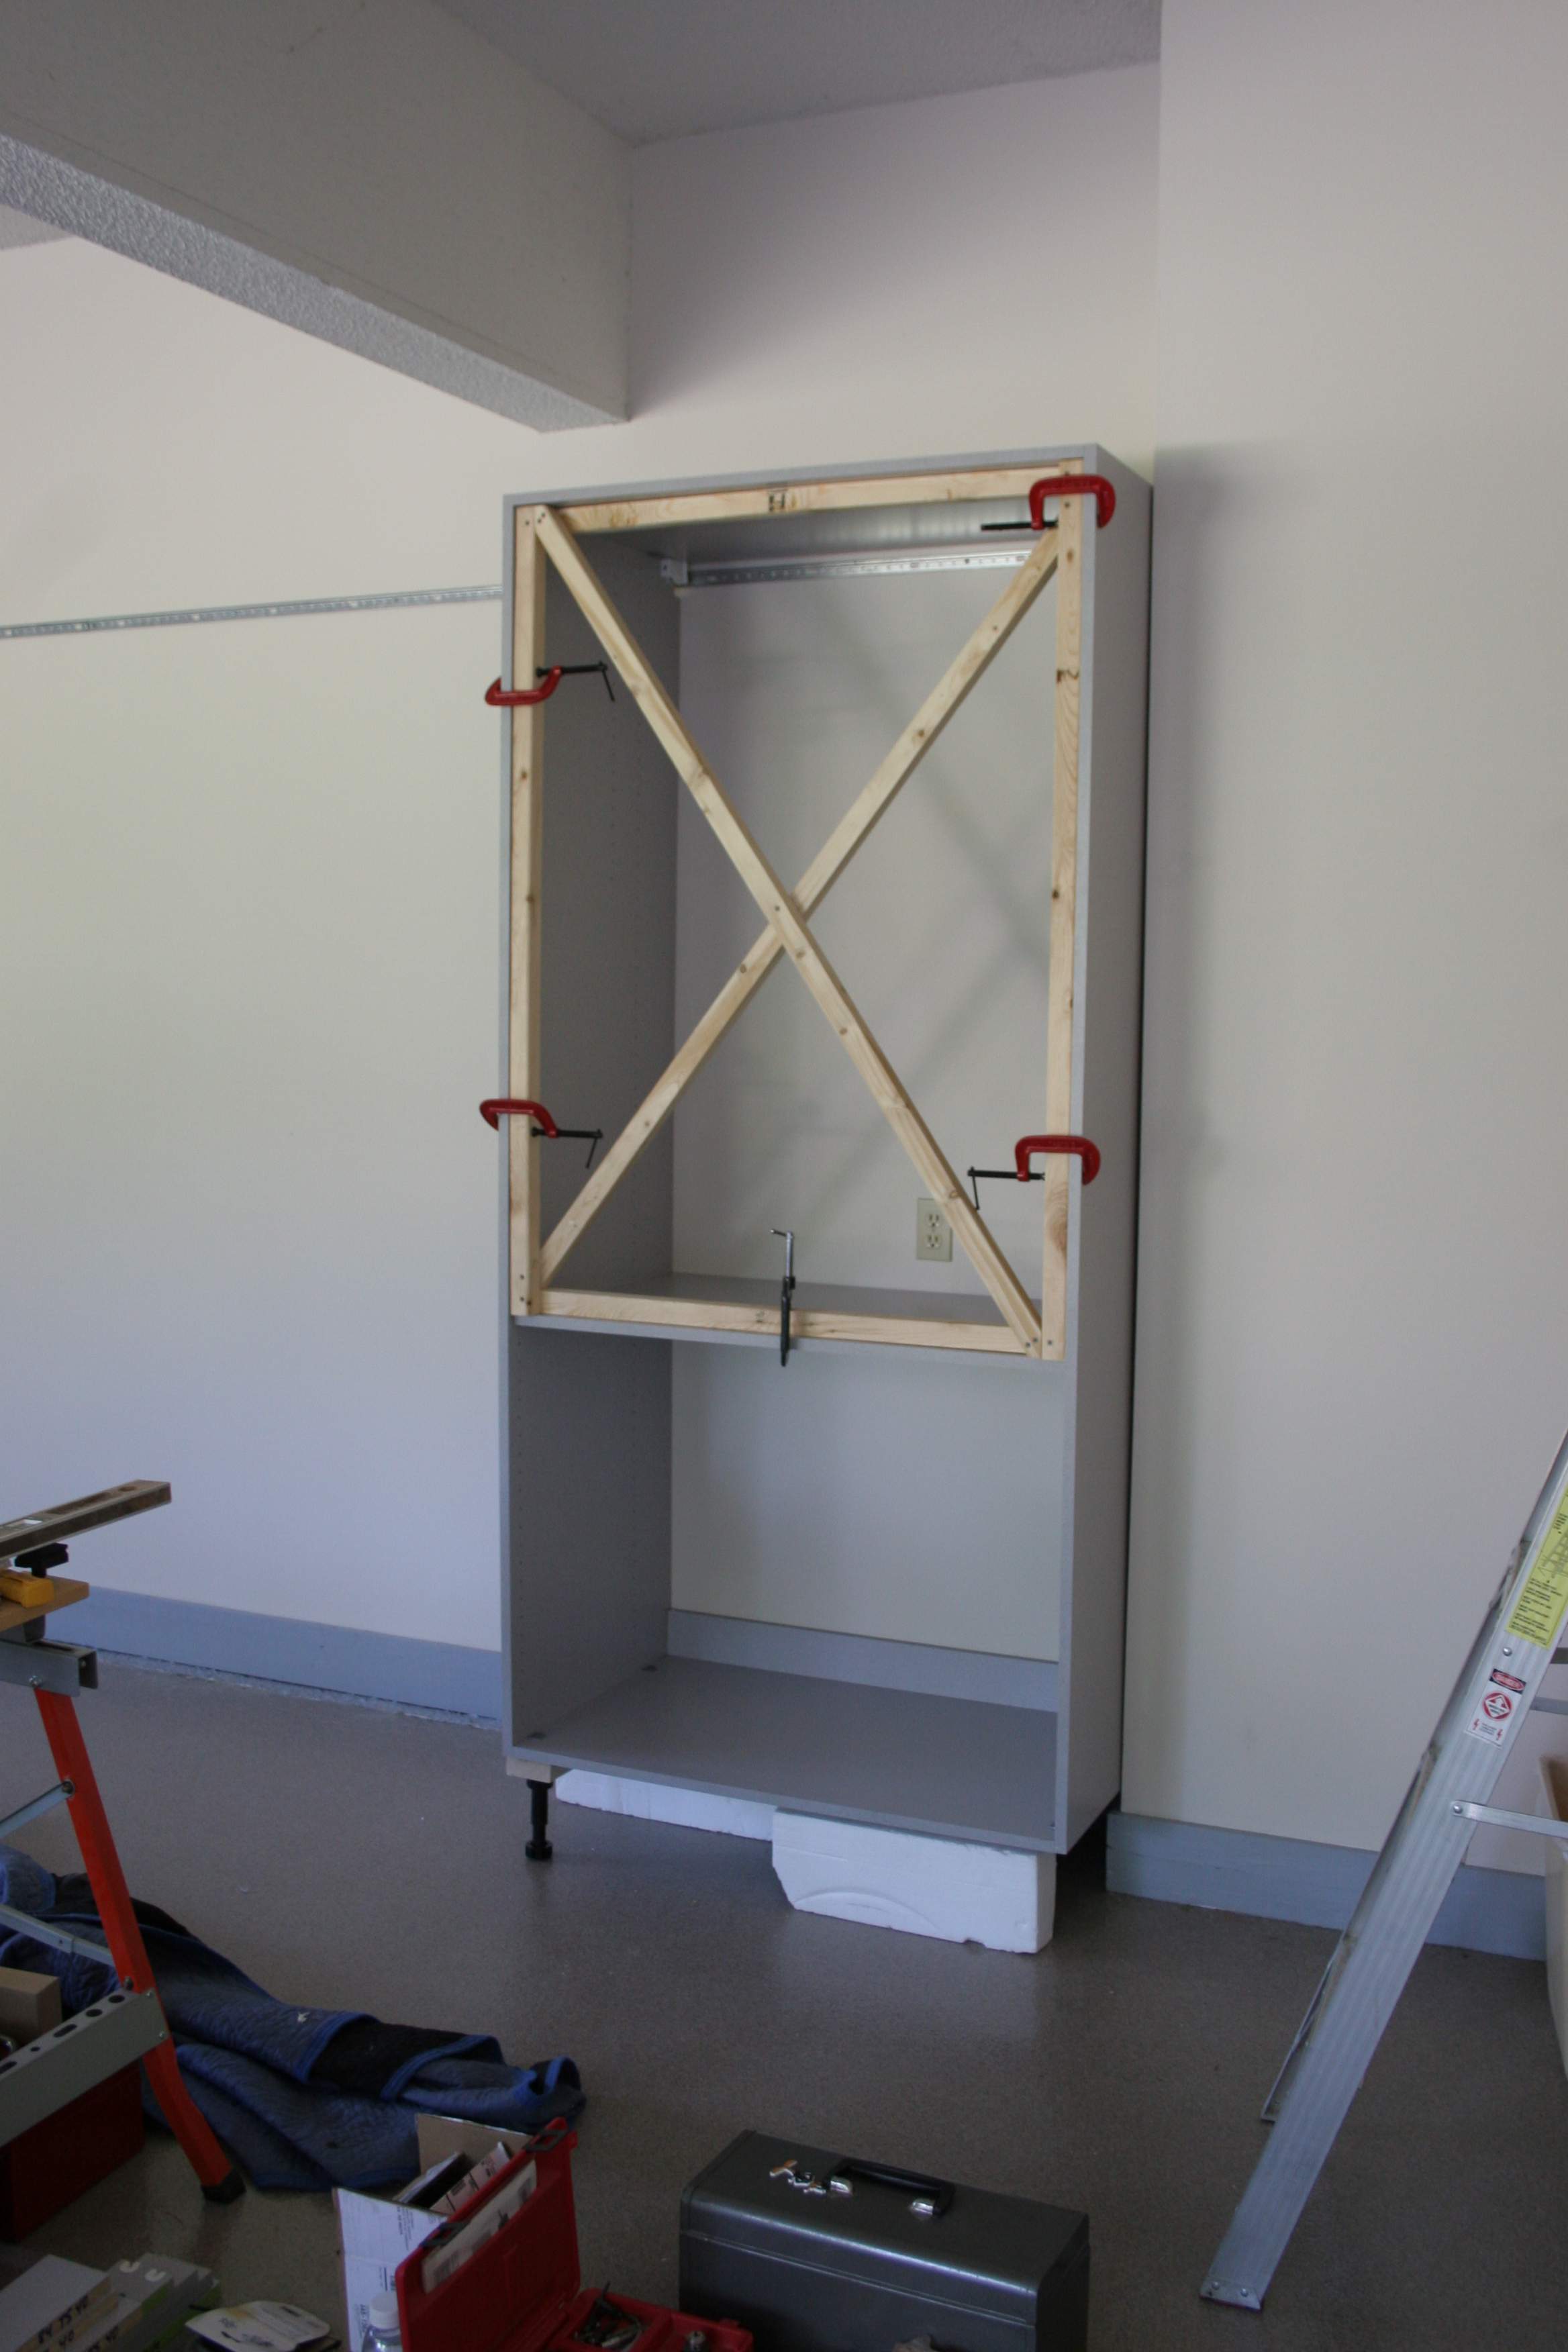
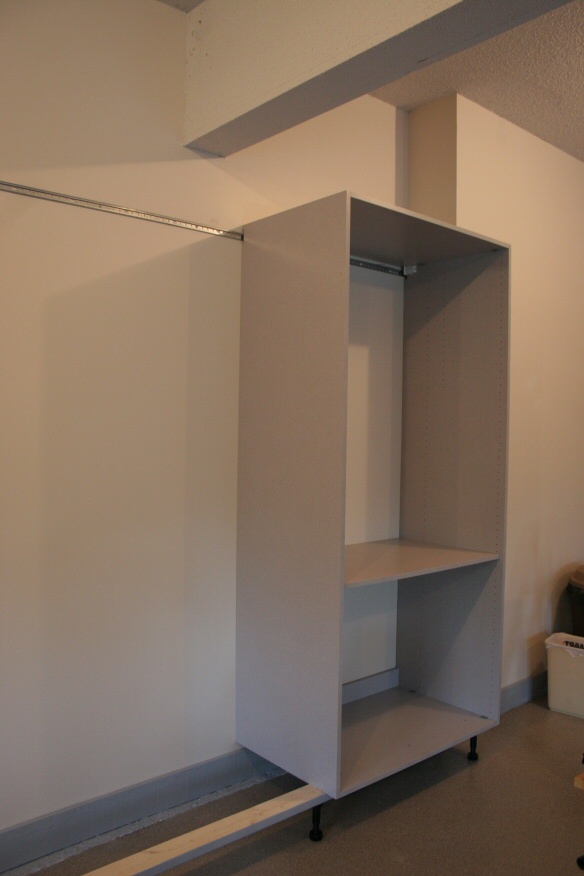
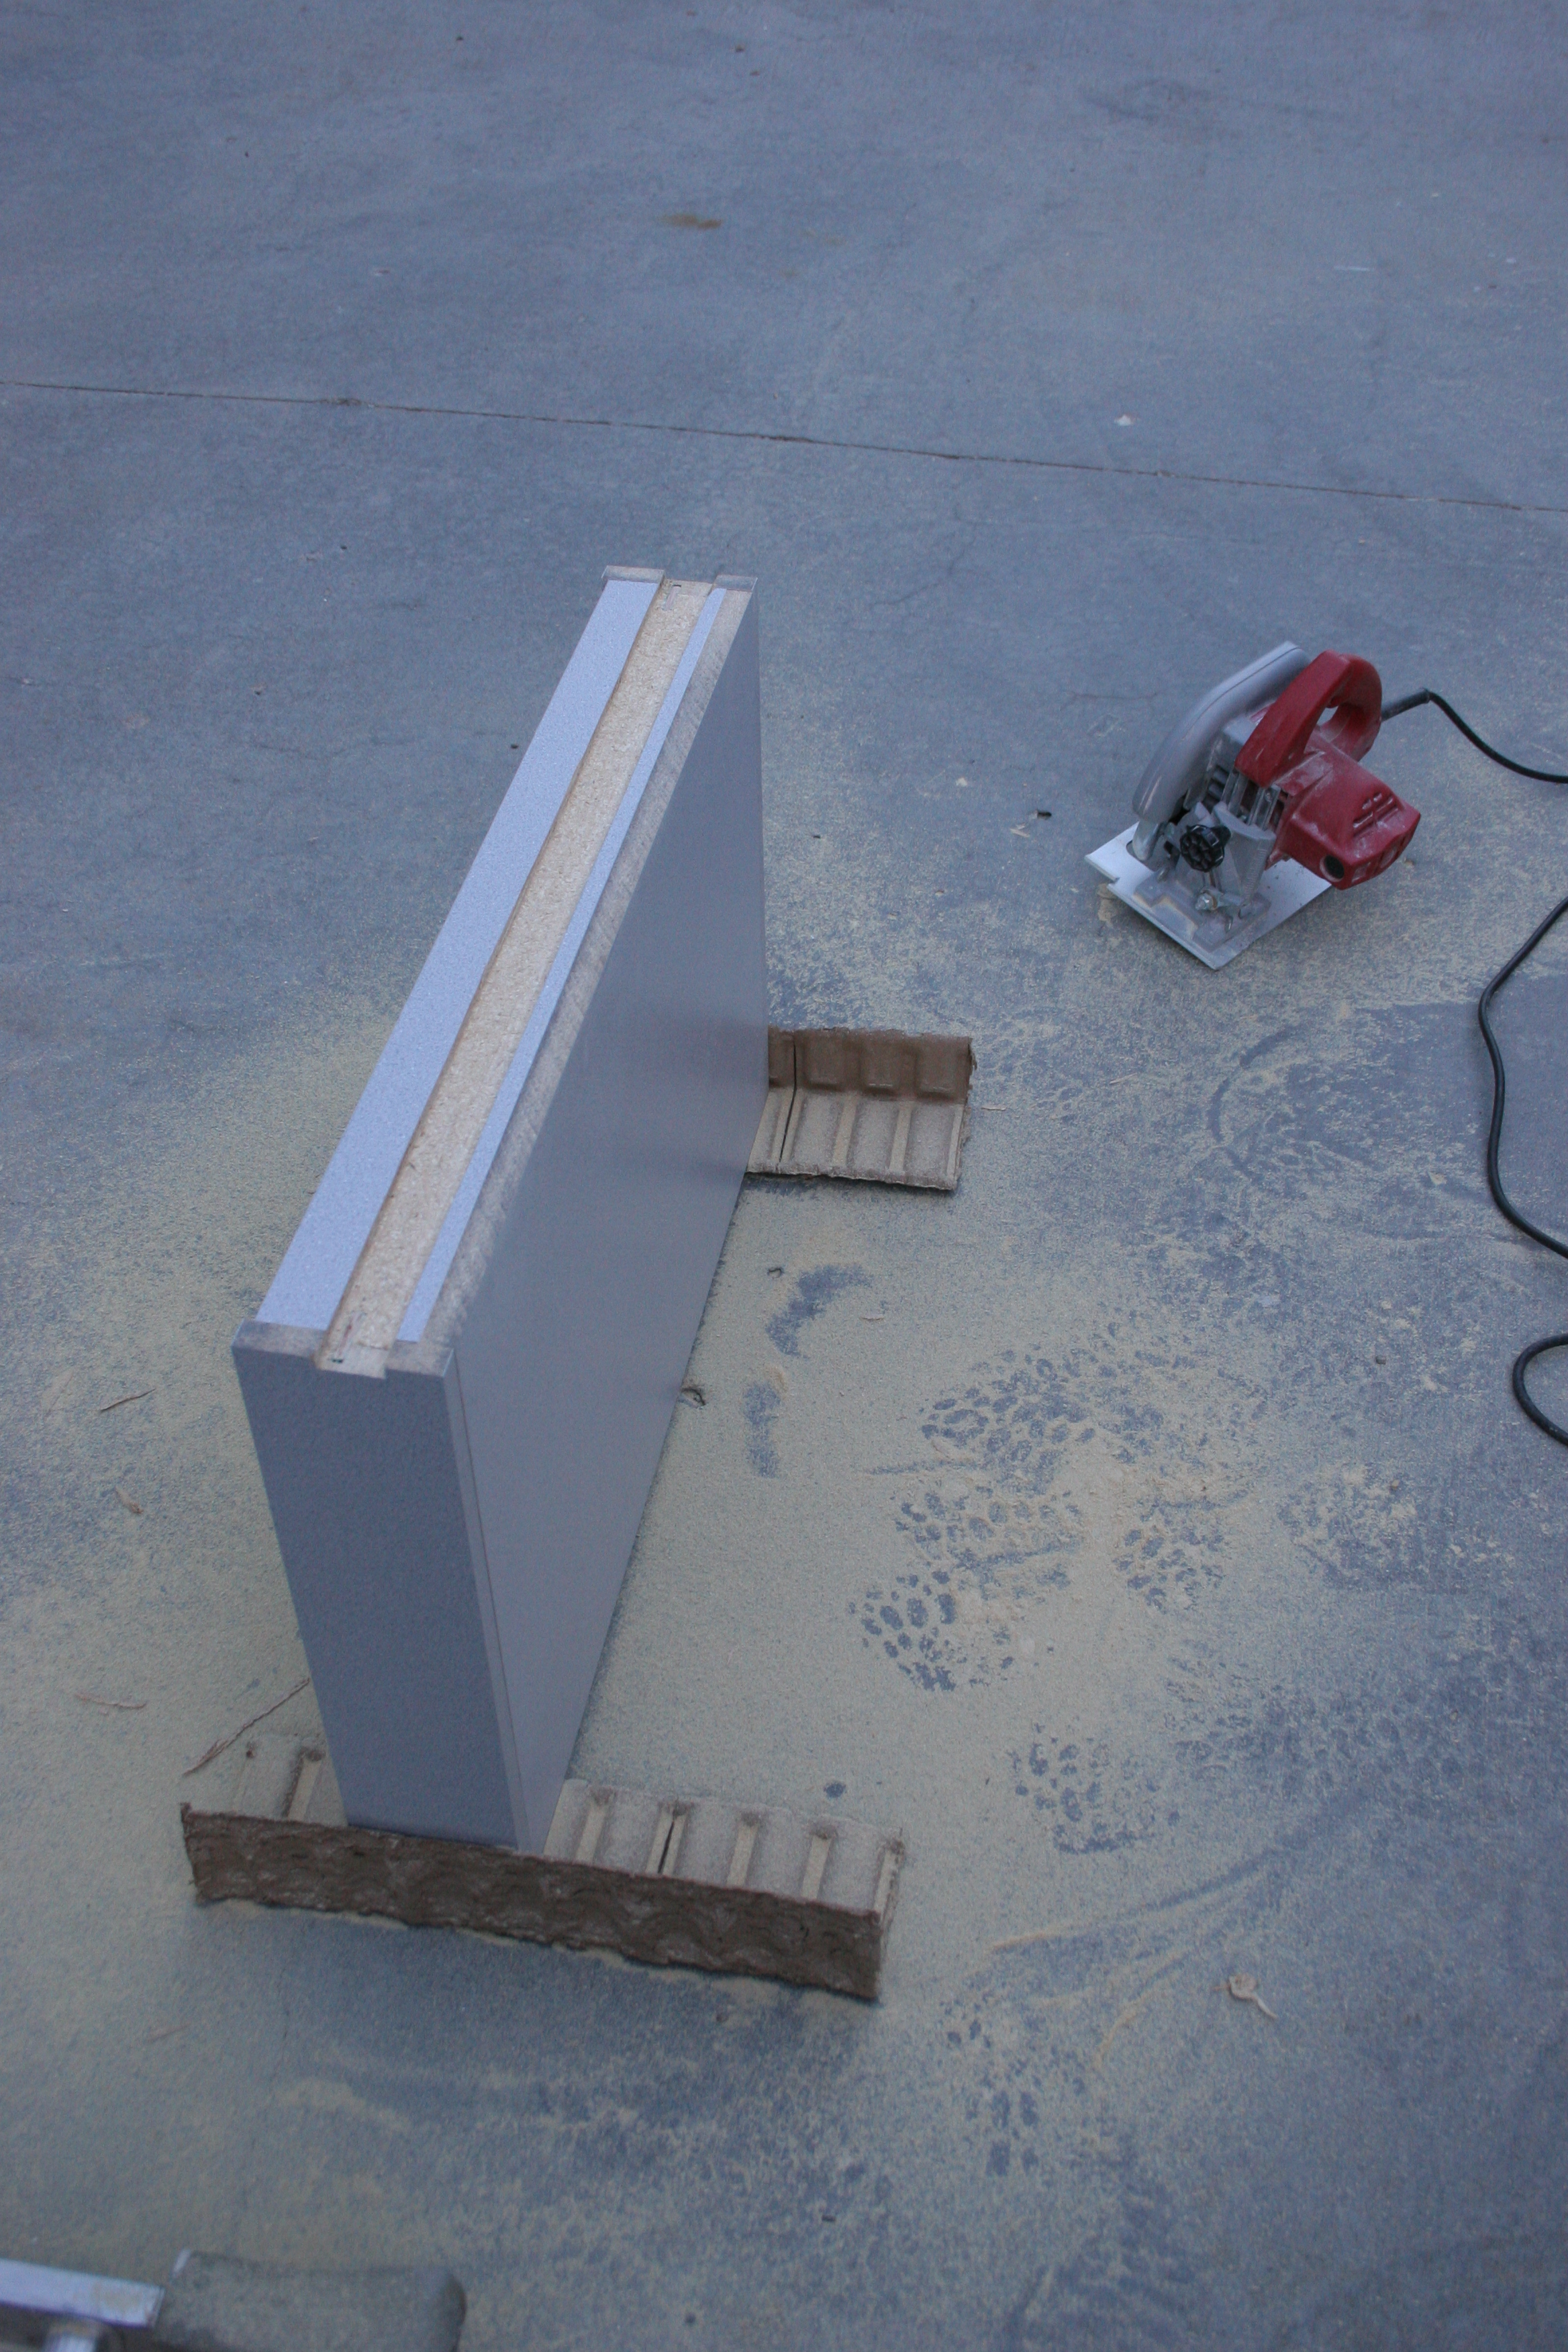
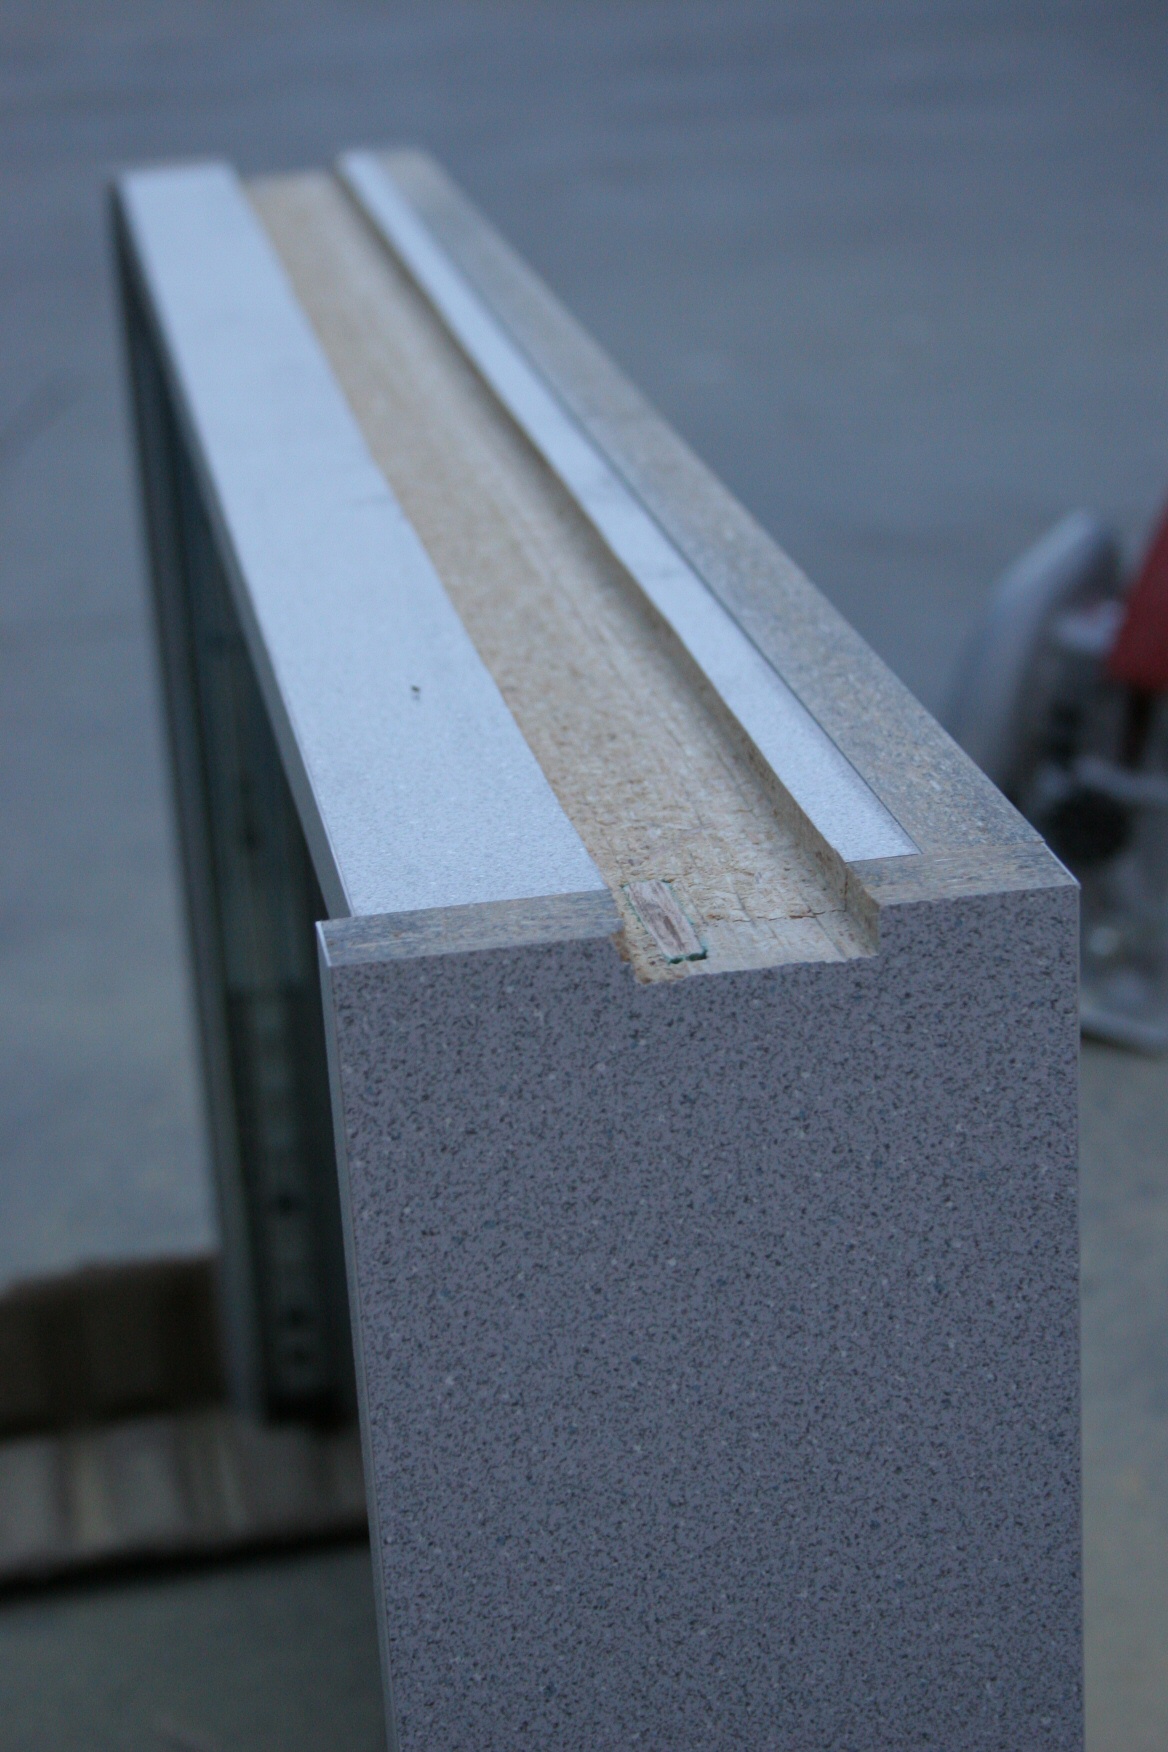
| How to cross-brace an 84TS40 so it doesn't collapse when you're hanging
it. (There's a story here... about lessons learned.) |
 |
| IMG_1117: [medium | large | huge] |
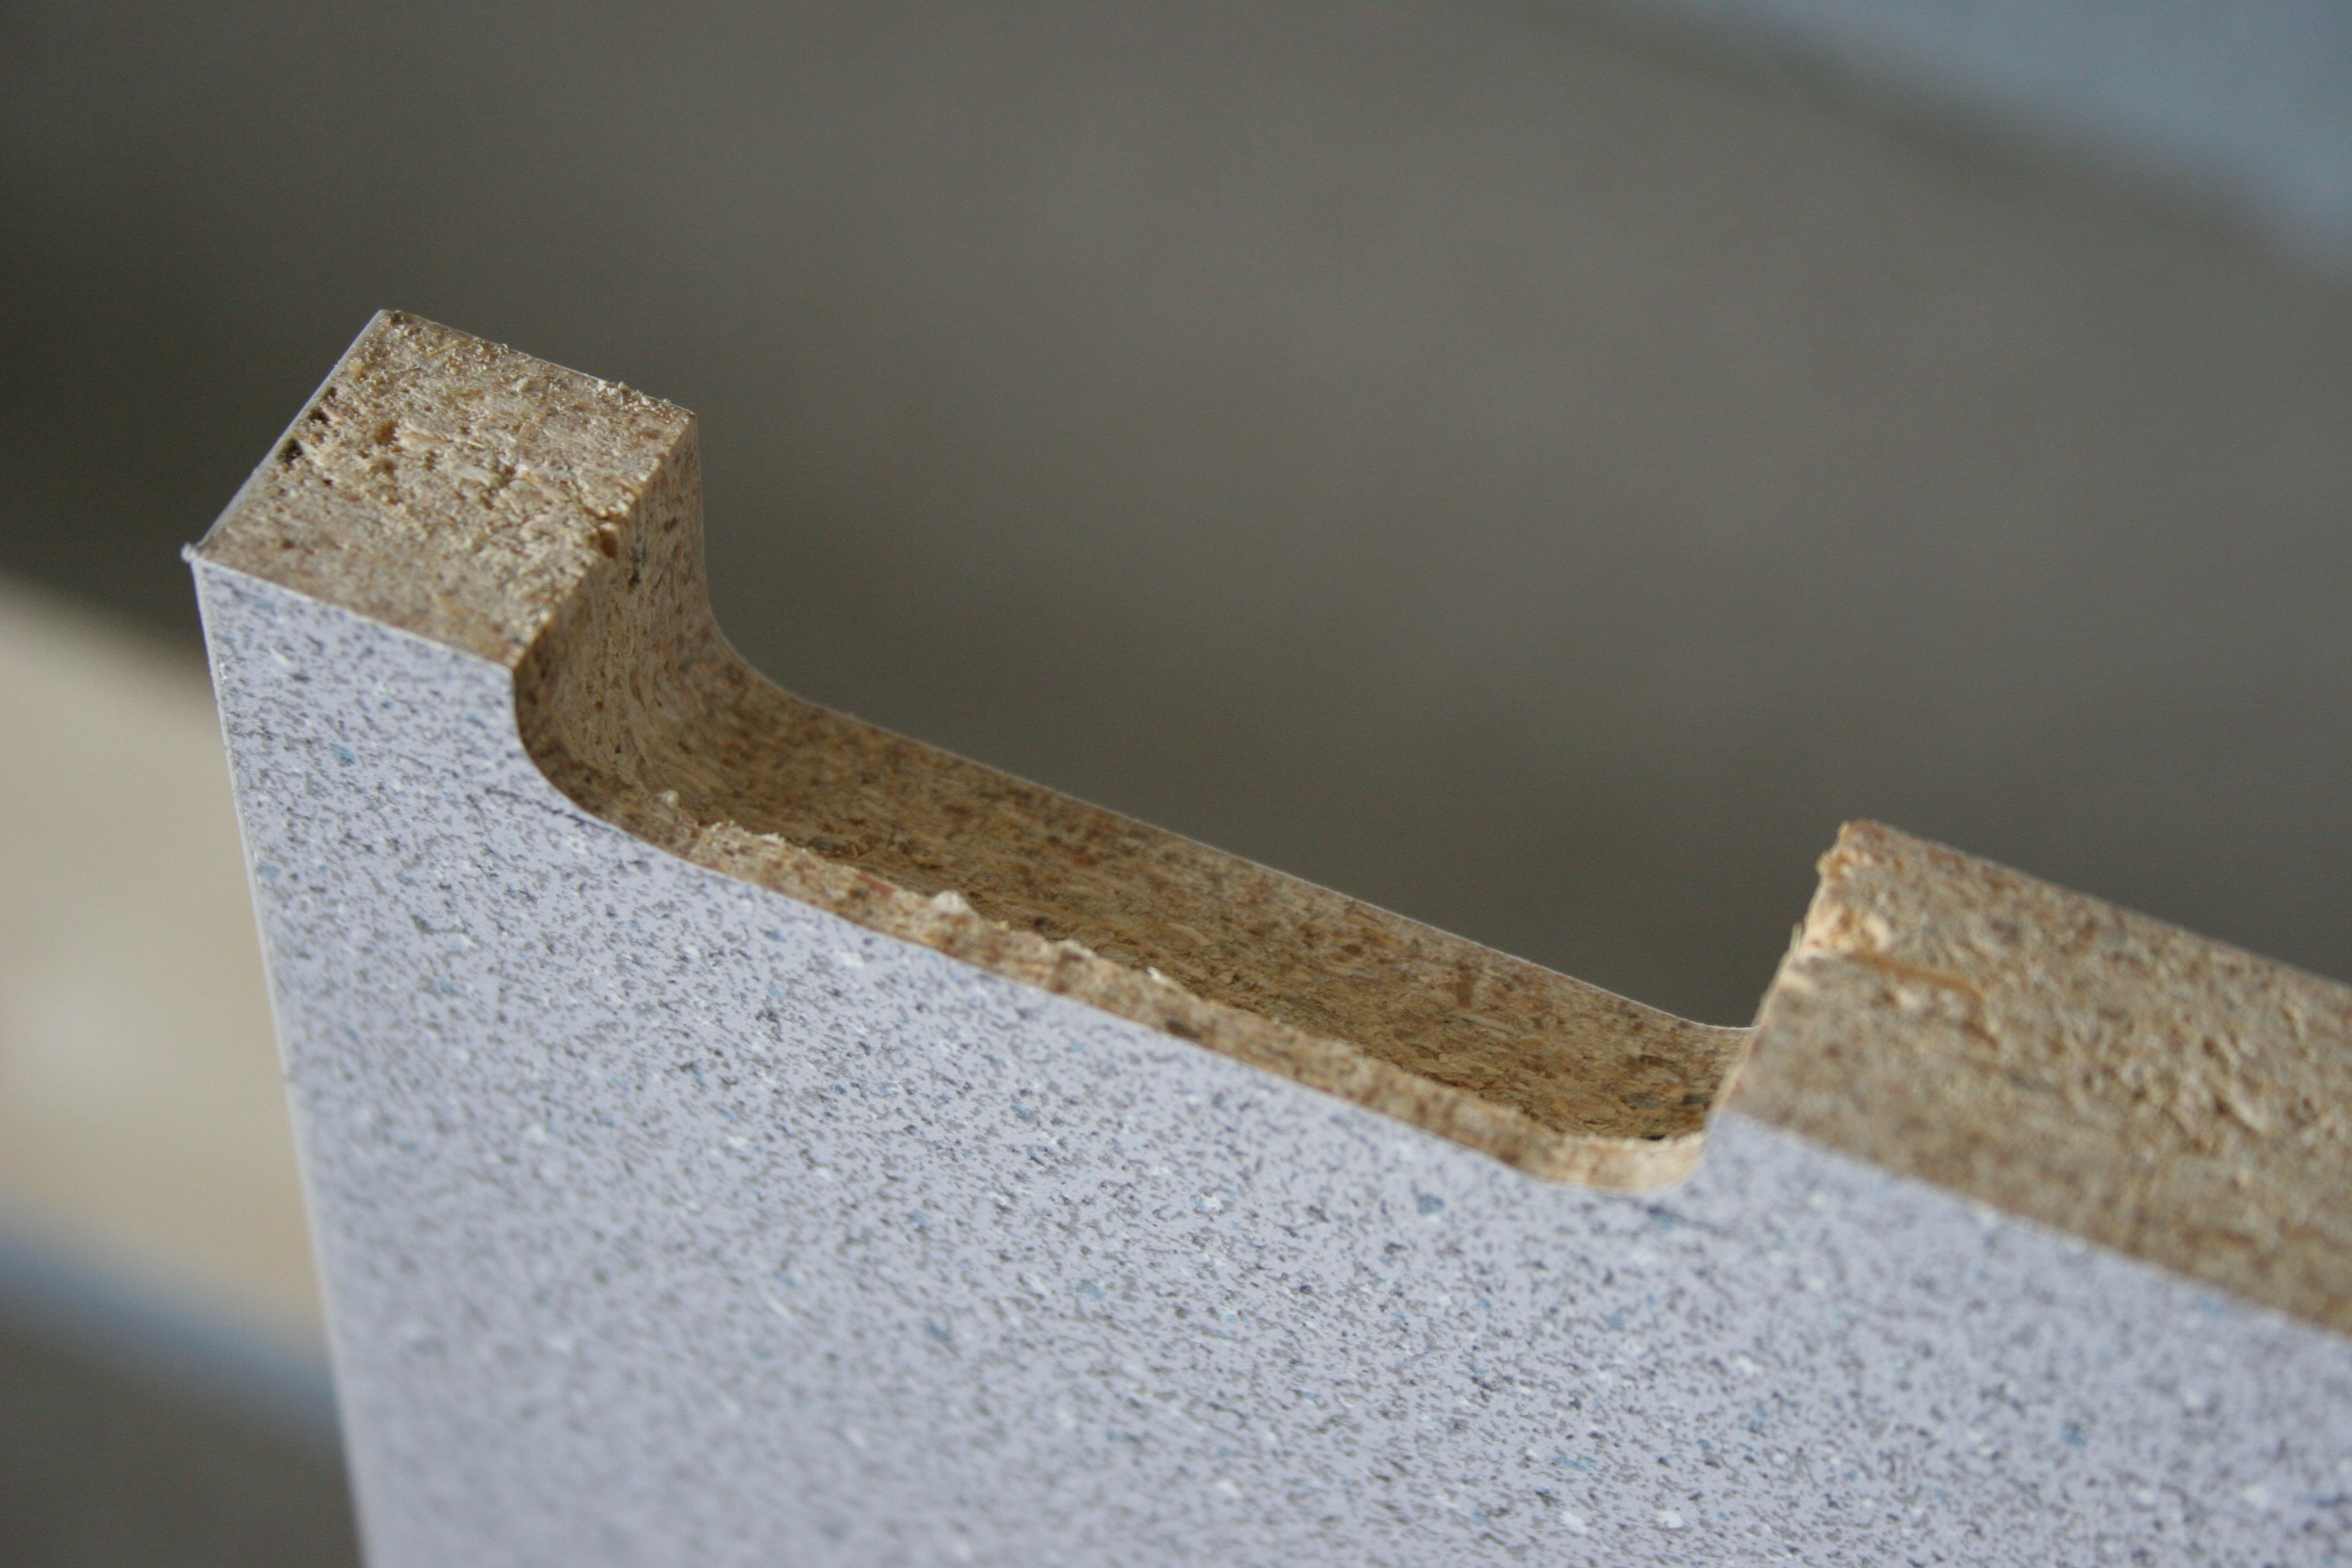
| Leave cross-bracing on until cabinet is hung and supported. Note
that another benefit of cross-bracing is that it makes the horizontal
partition shelf a strong lift point when you're hanging the cabinet. |
 |
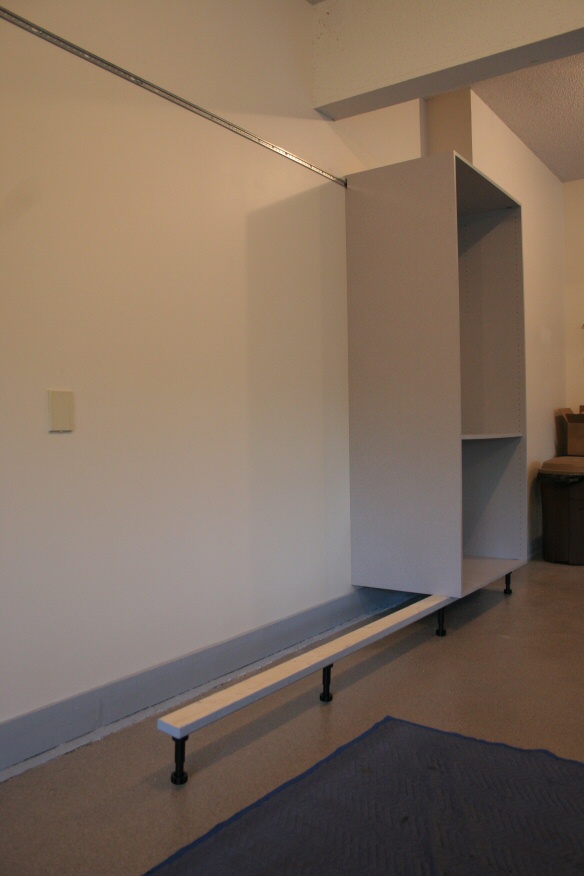
| IMG_1119: [medium | large | huge] |
| Assembly of improved leg support for a run of two 84TS40 cabinets and
one B132 cabinet. It's a painted 2x4. Legs are positioned such
that they're either directly under or very near to vertical members of the
cabinets. |
 |
| IMG_1120: [medium | large | huge] |
| Used four screws from the front rather than a single bolt from the back
(which would have required either going through the cabinet, too (rather
hard to get aligned) or countersinking. This was the easy way out. |
 |
| IMG_1261: [medium | large | huge] |
| OK, the truth of the matter is that I later replaced the all-plastic legs
(partially) shown in the previous two photos (and in many of the other
early photos) with these nicer, stronger mostly-metal legs. |
 |
| IMG_1121: [medium | large | huge] |
| Placed the improved leg support after hanging the first cabinet; this
also made subsequent cabinets easier to install. |
 |
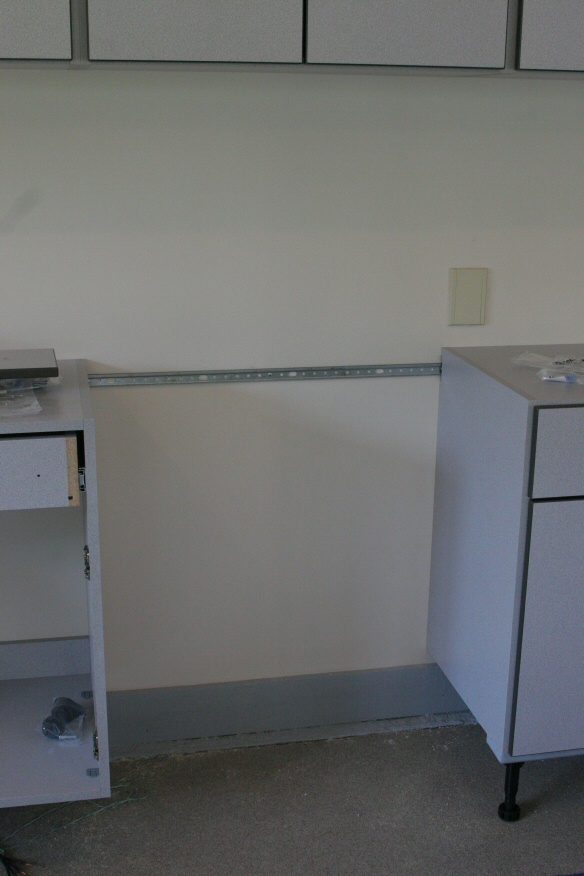
| IMG_1137: [medium | large | huge] |
| Hanging rail, installed behind both B132 base cabinets and behind
DESK32. This will complicate the installation of the DESK32 (will
need to make a channel in the DESK32's nailer and the back of the left and
right sides). But I'd rather not cut the rail here, for strength
reasons. |
 |
| IMG_1232: [medium | large | huge] |
| Used a circular saw to cut a channel on the back of the DESK32 so it
could be mounted without removing the mounting rail behind it. (This
drawer was actually the last item installed in this row of cabinets,
because there was a manufacturing defect in the first one I got, so I had
to wait for a replacement. That's why it doesn't show up in the
photos as being installed until later). |
 |
| IMG_1235: [medium | large | huge] |
| Better view of the channel. Looks like I got half a dowel, too,
but it shouldn't matter; not much stress here. |
 |
| IMG_1138: [medium | large | huge] |
| Progress as of about noon on Saturday, 24-Jun-2006. |
 |
| IMG_1139: [medium | large | huge] |
| Progress as of about noon on Saturday, 24-Jun-2006. |
 |
| IMG_1140: [medium | large | huge] |
| Progress as of about noon on Saturday, 24-Jun-2006. |
 |
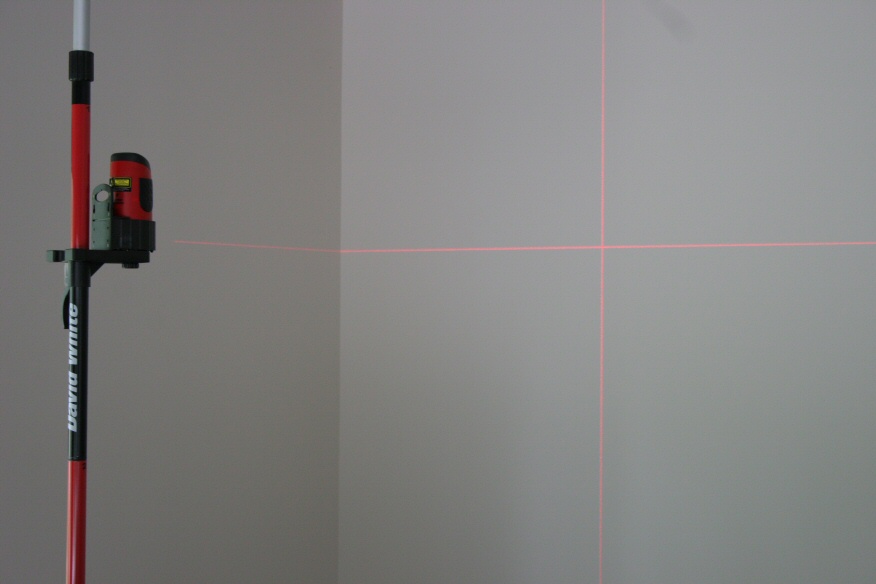
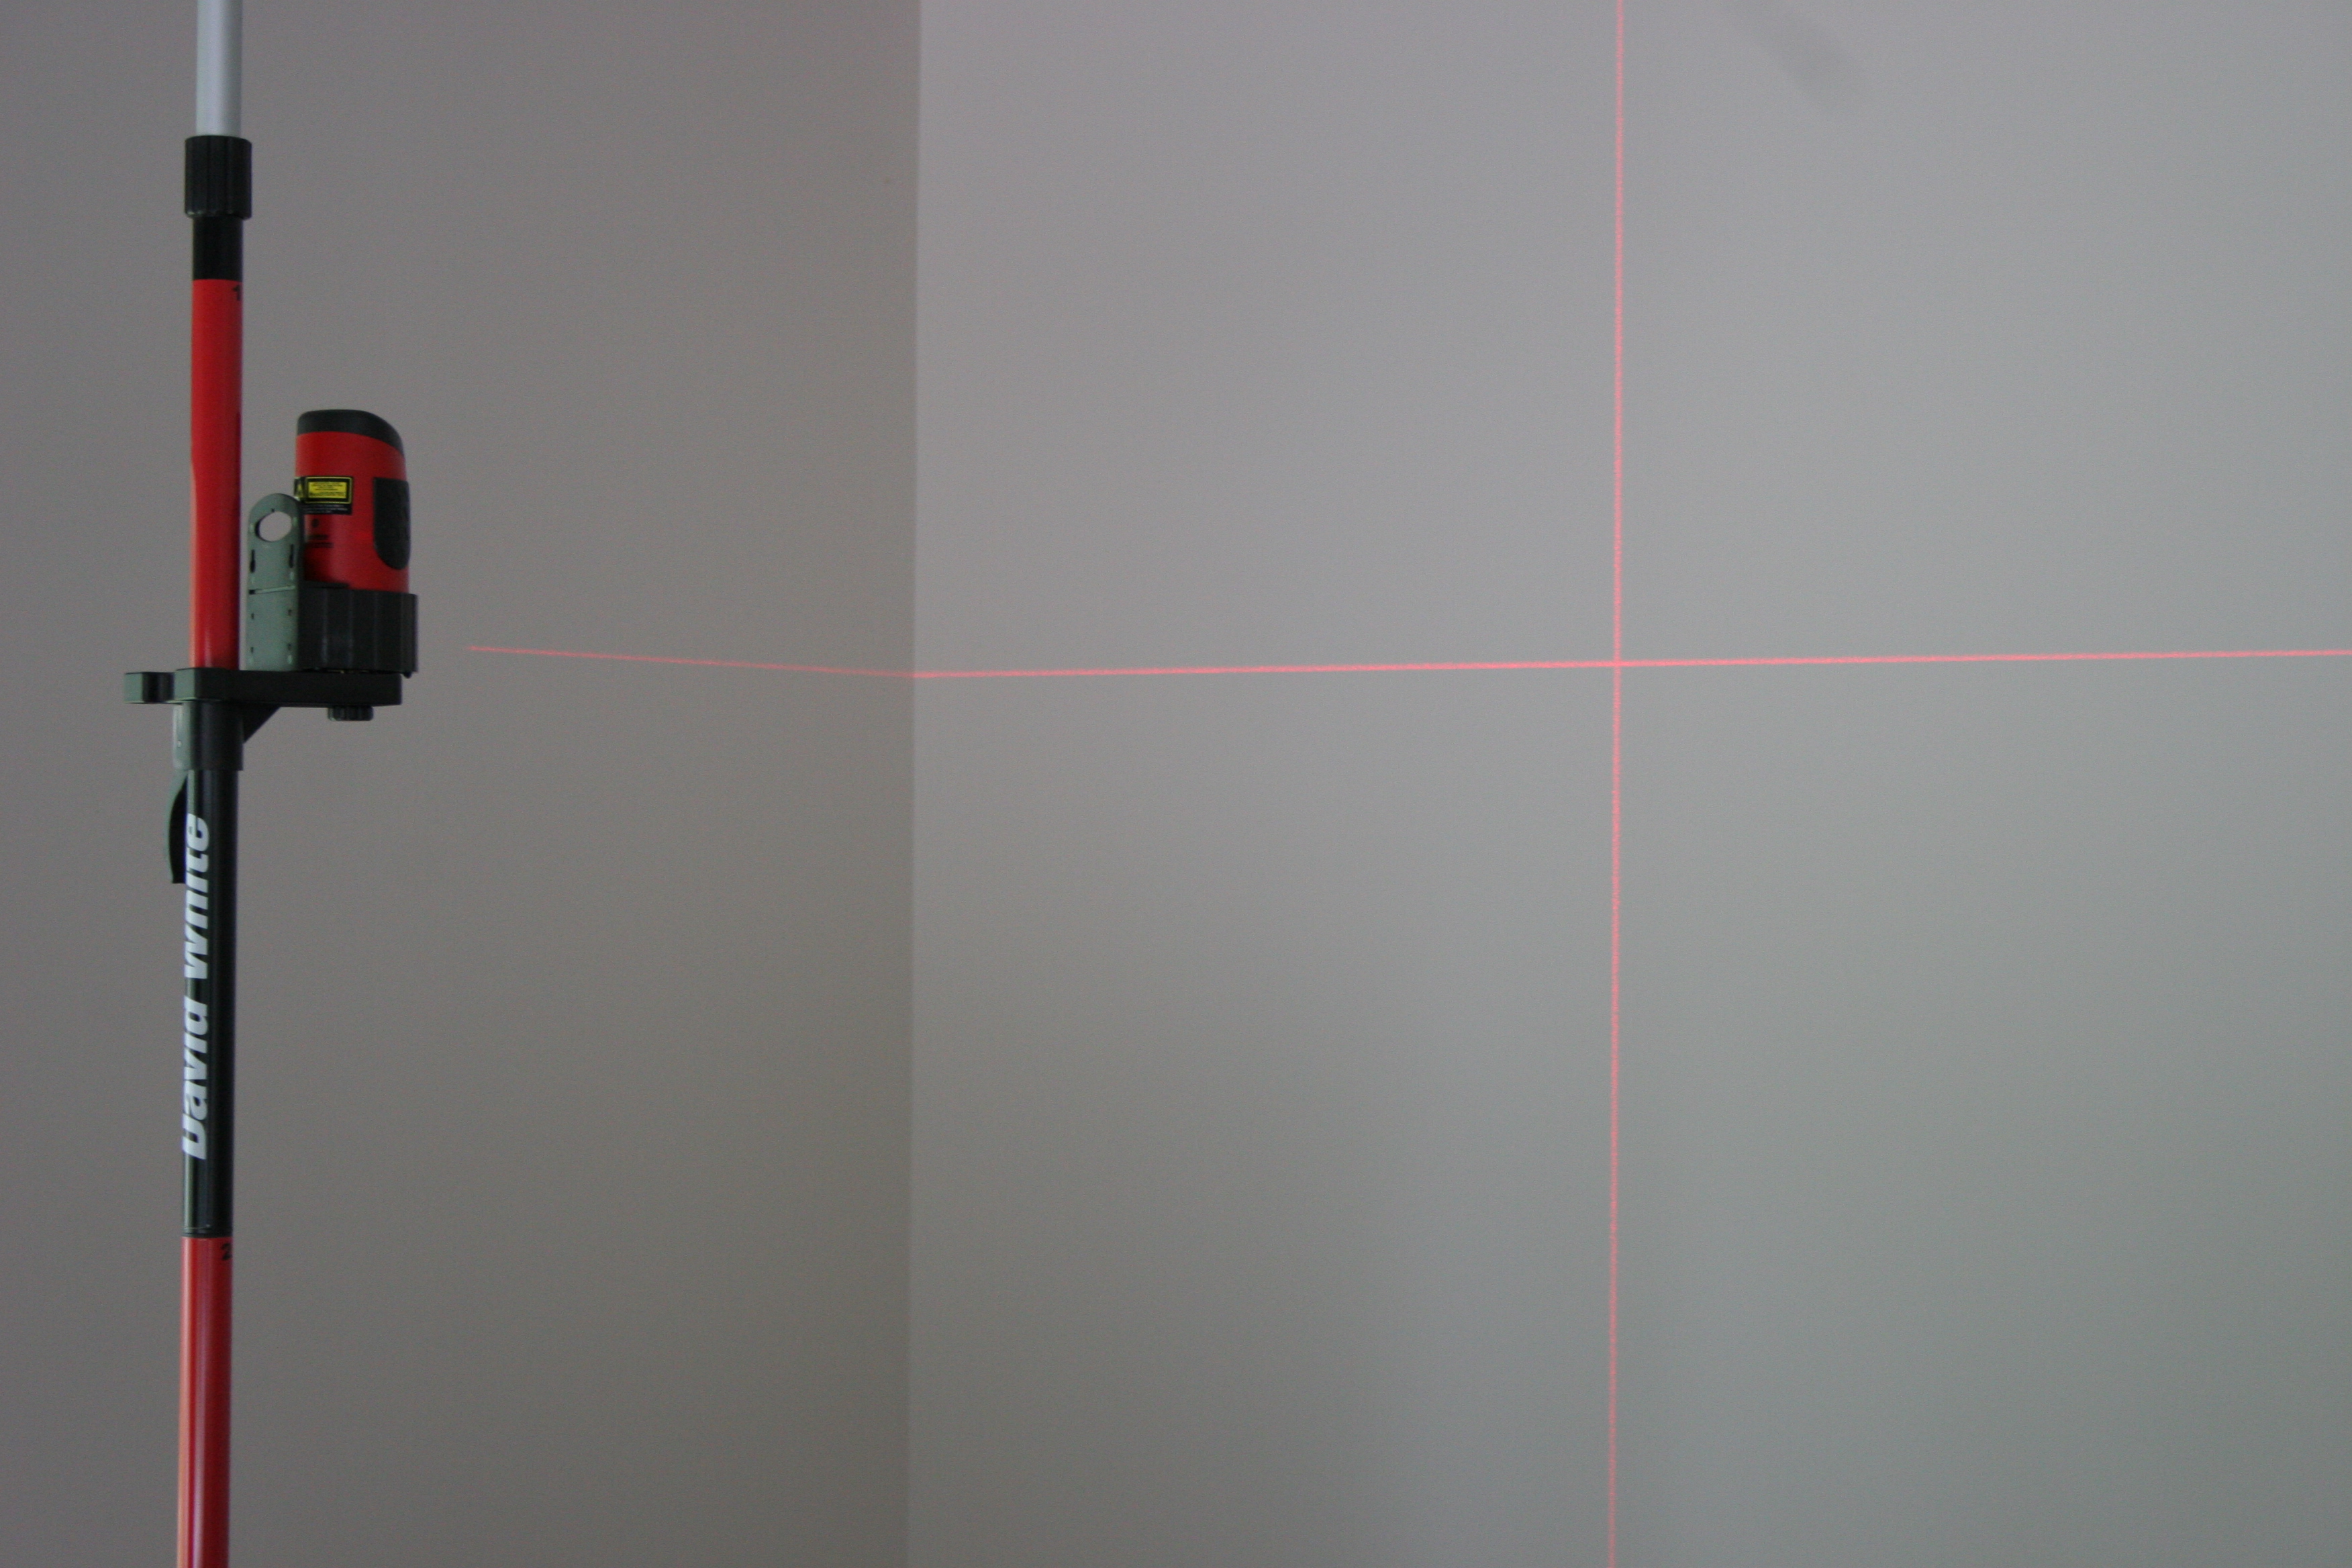
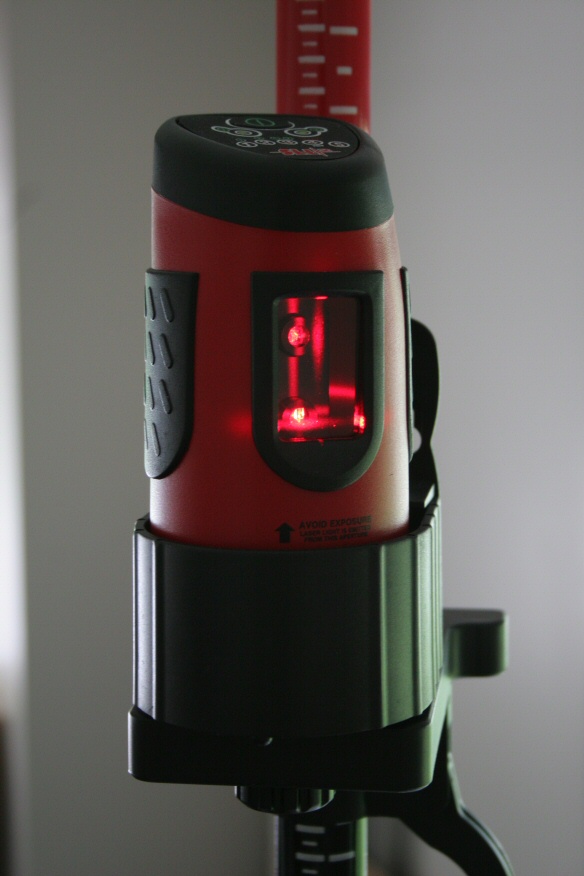
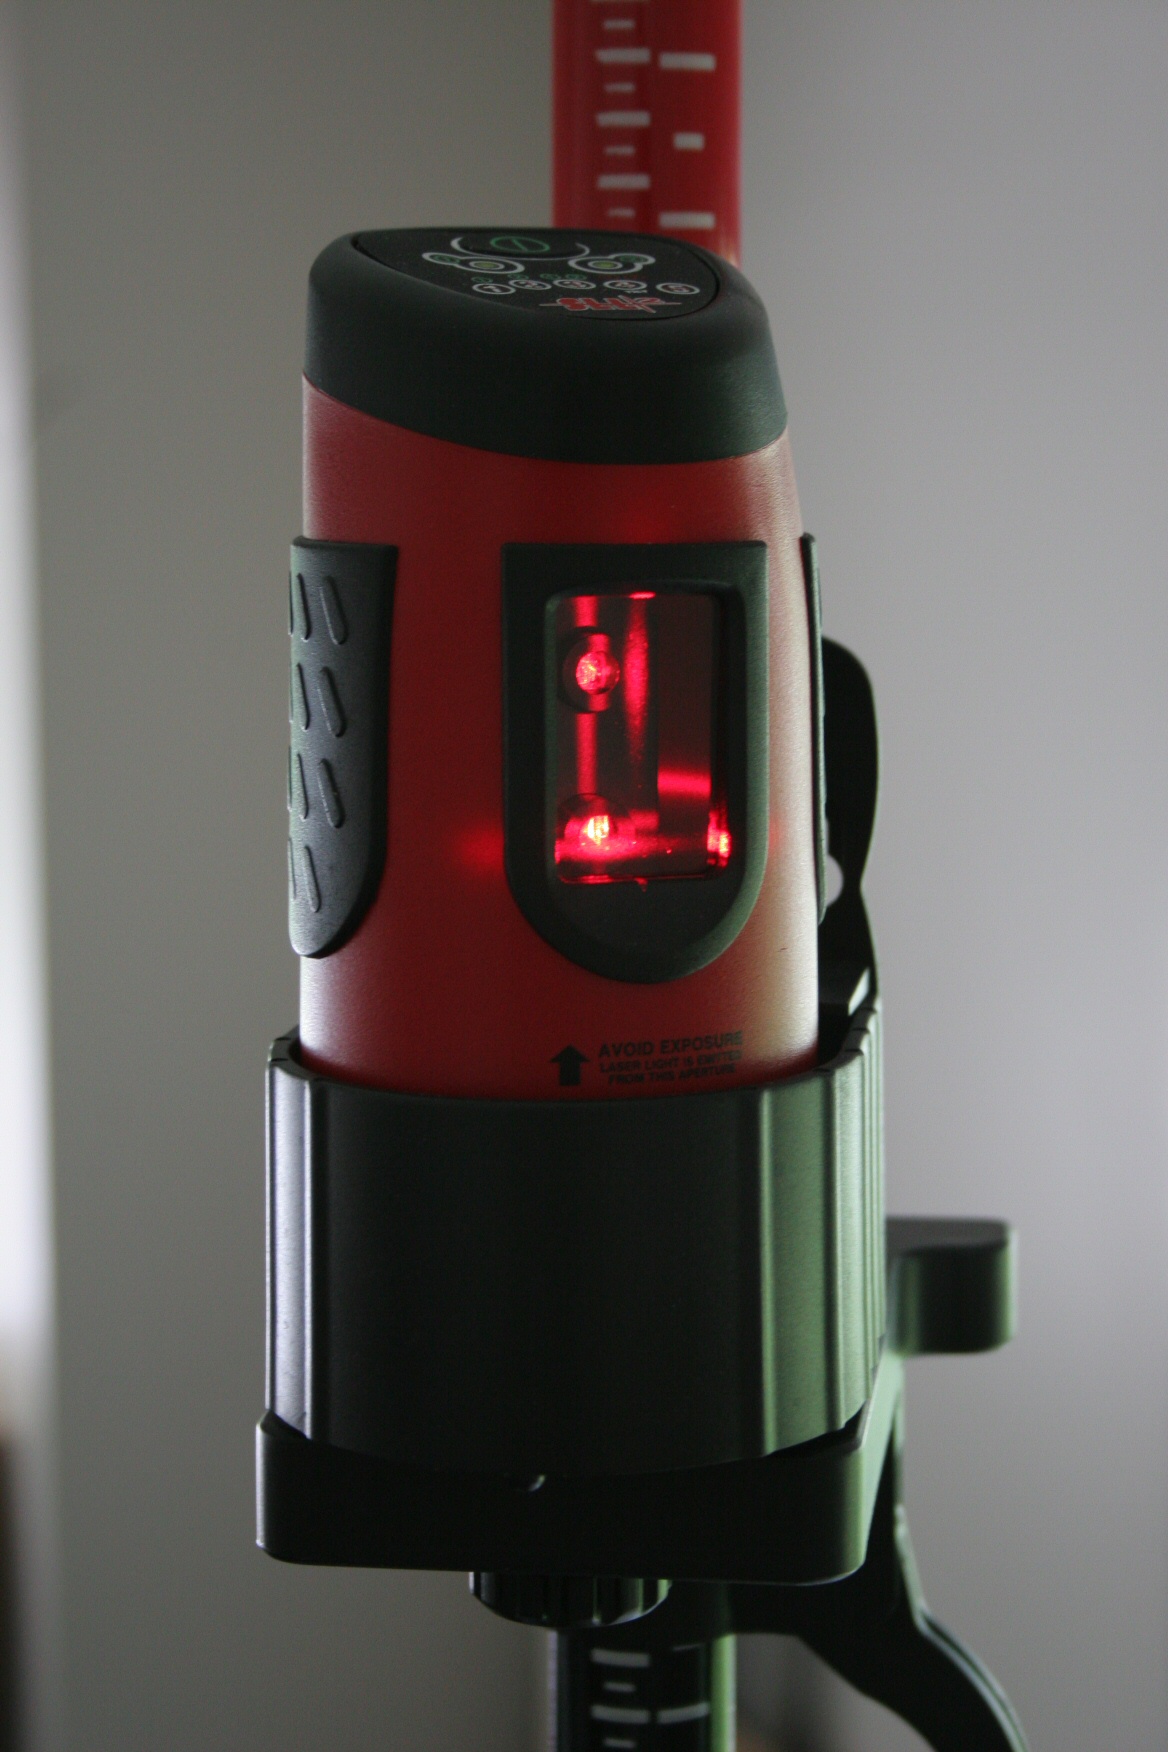
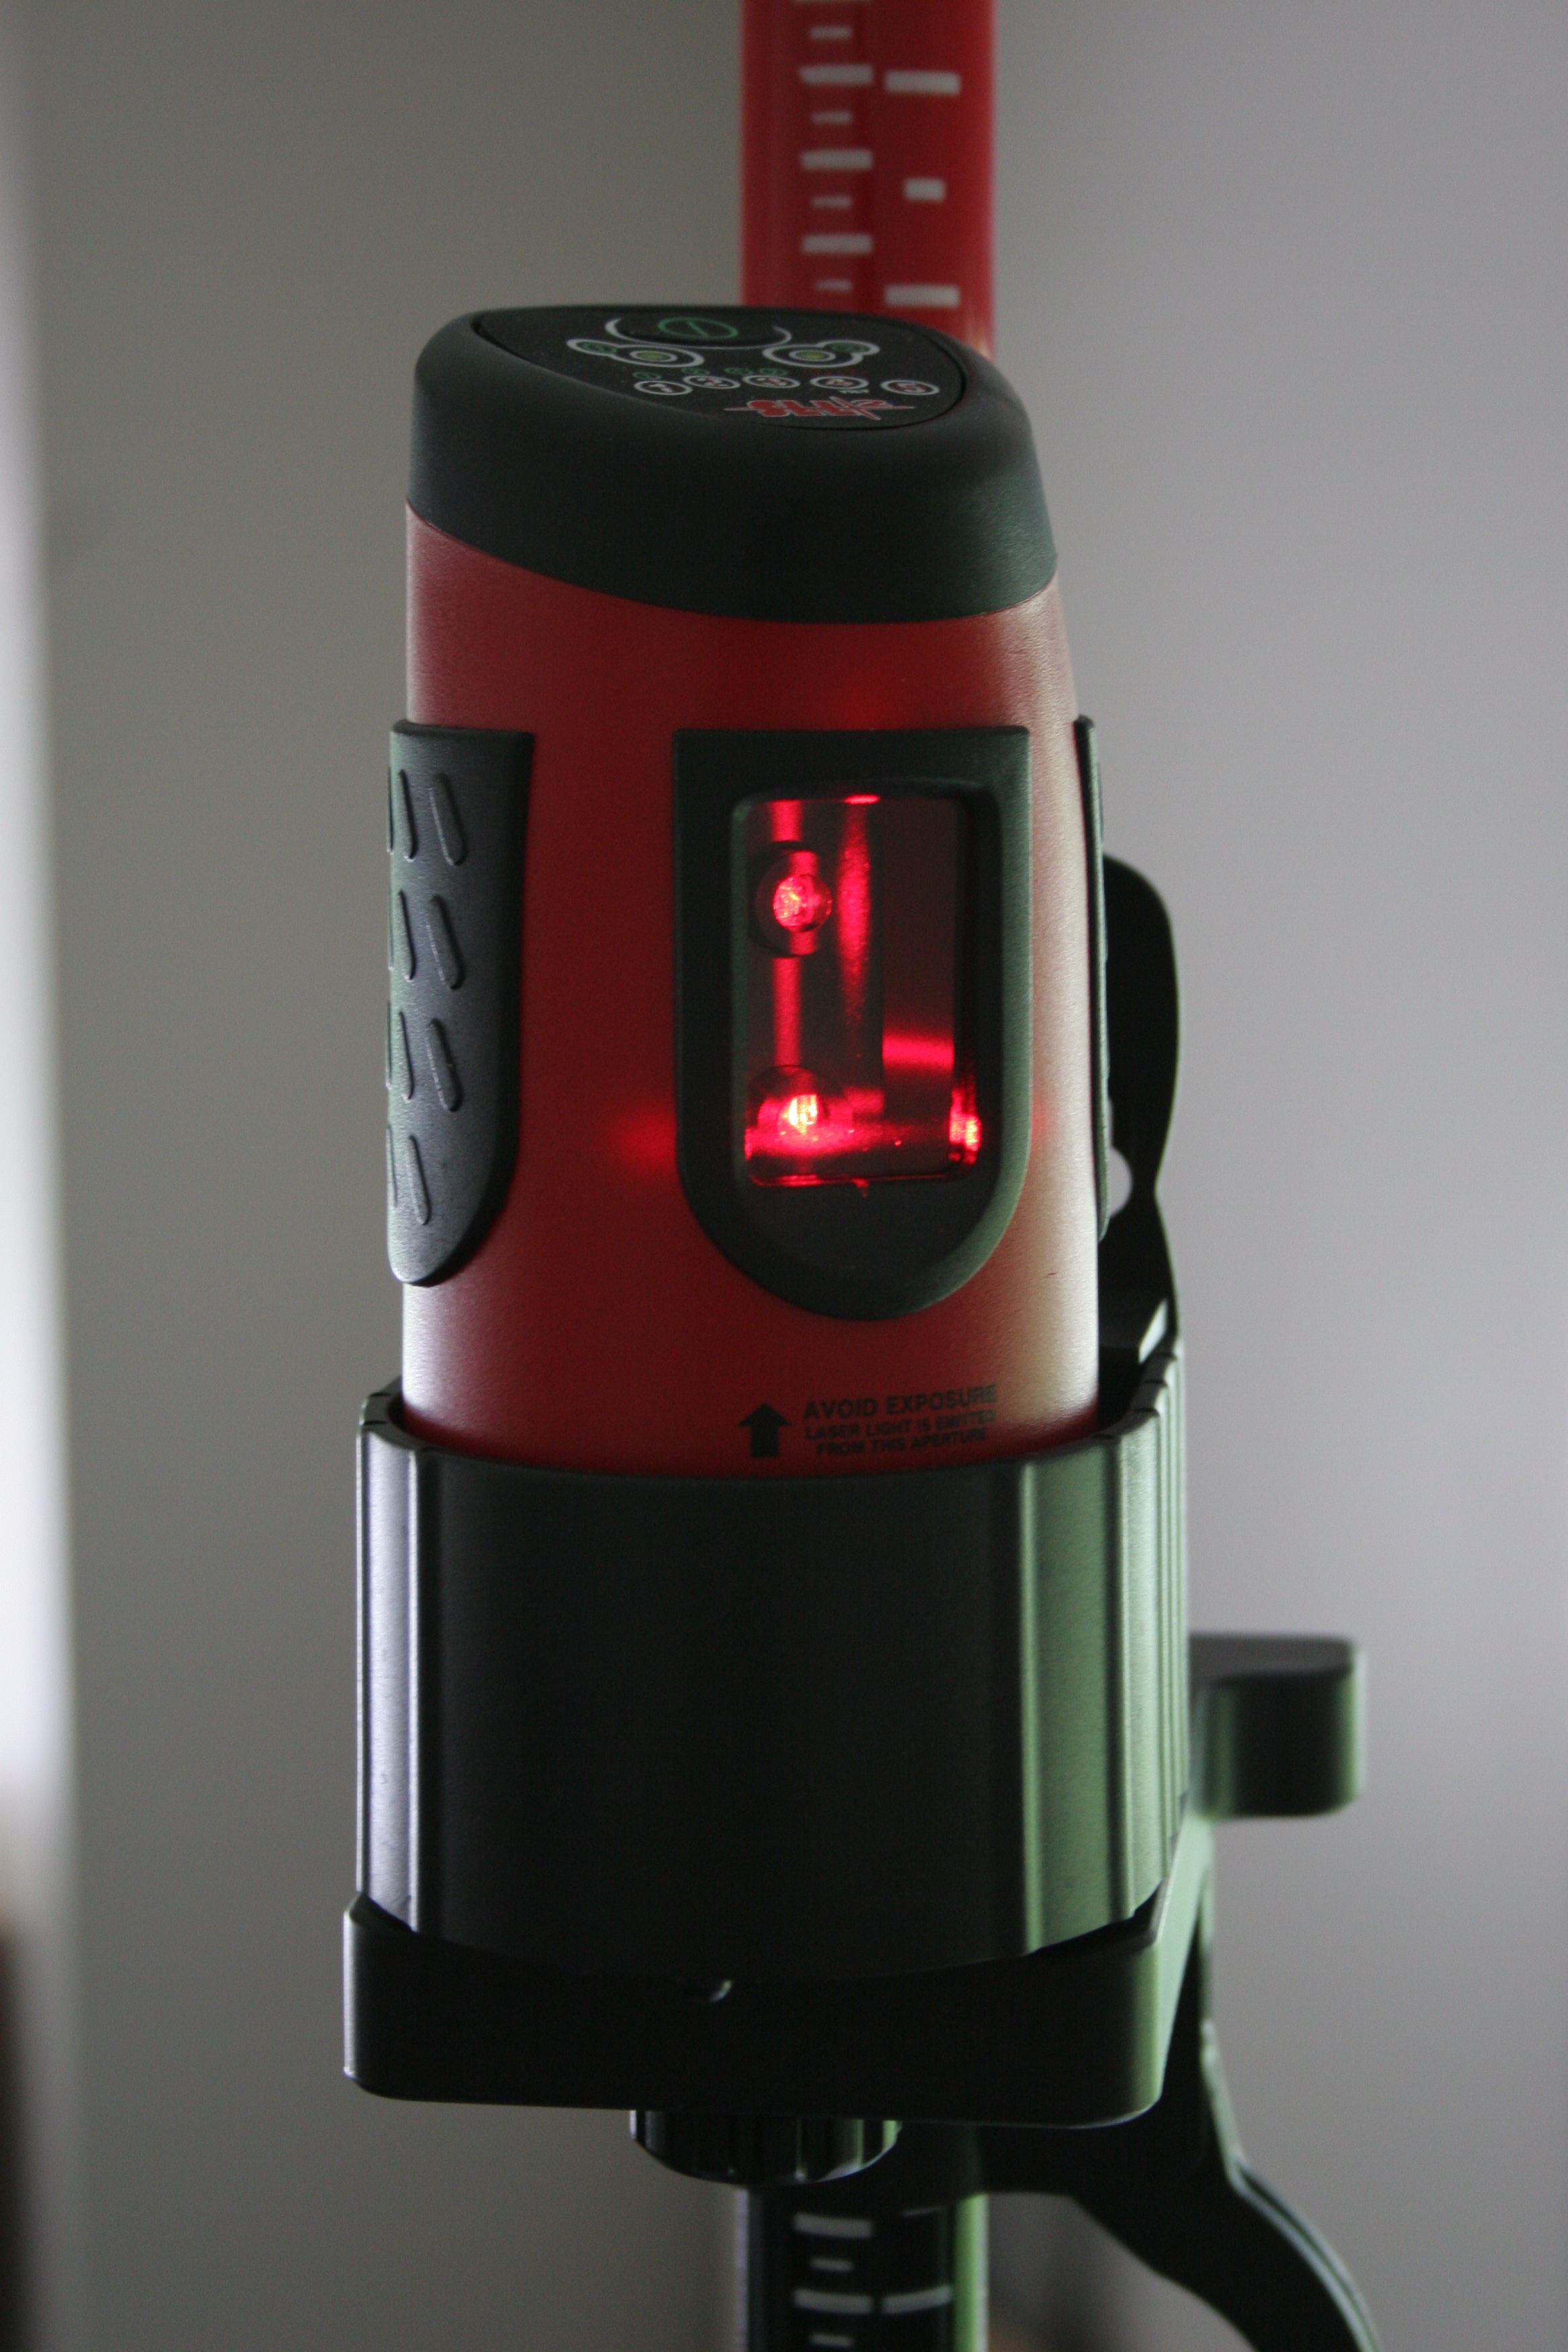
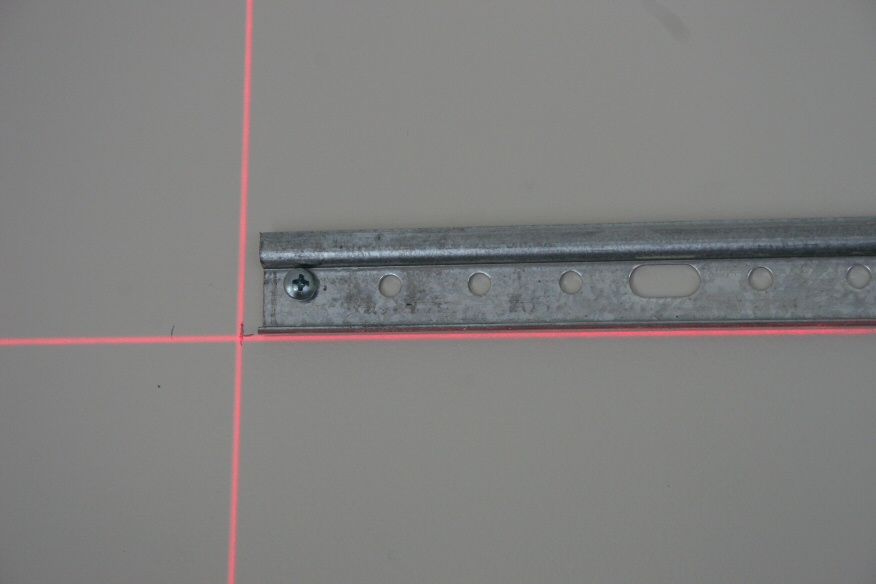
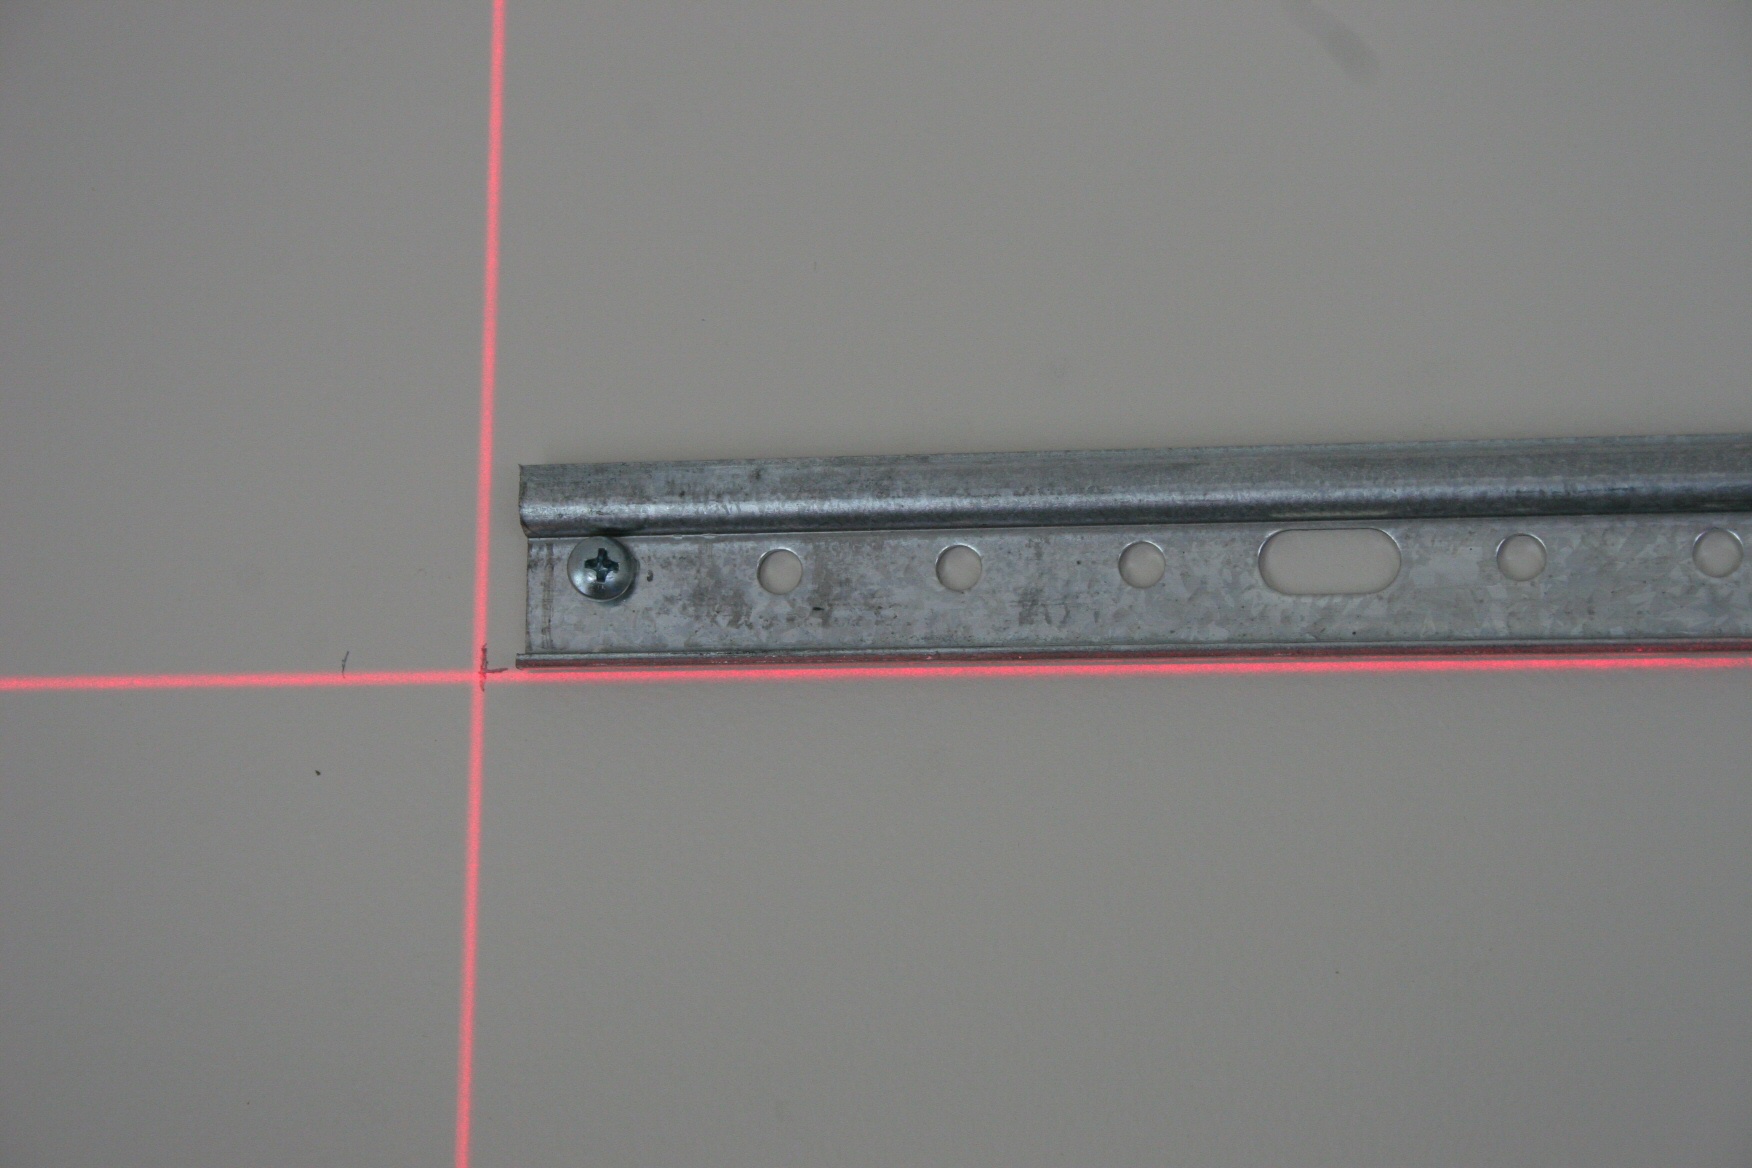
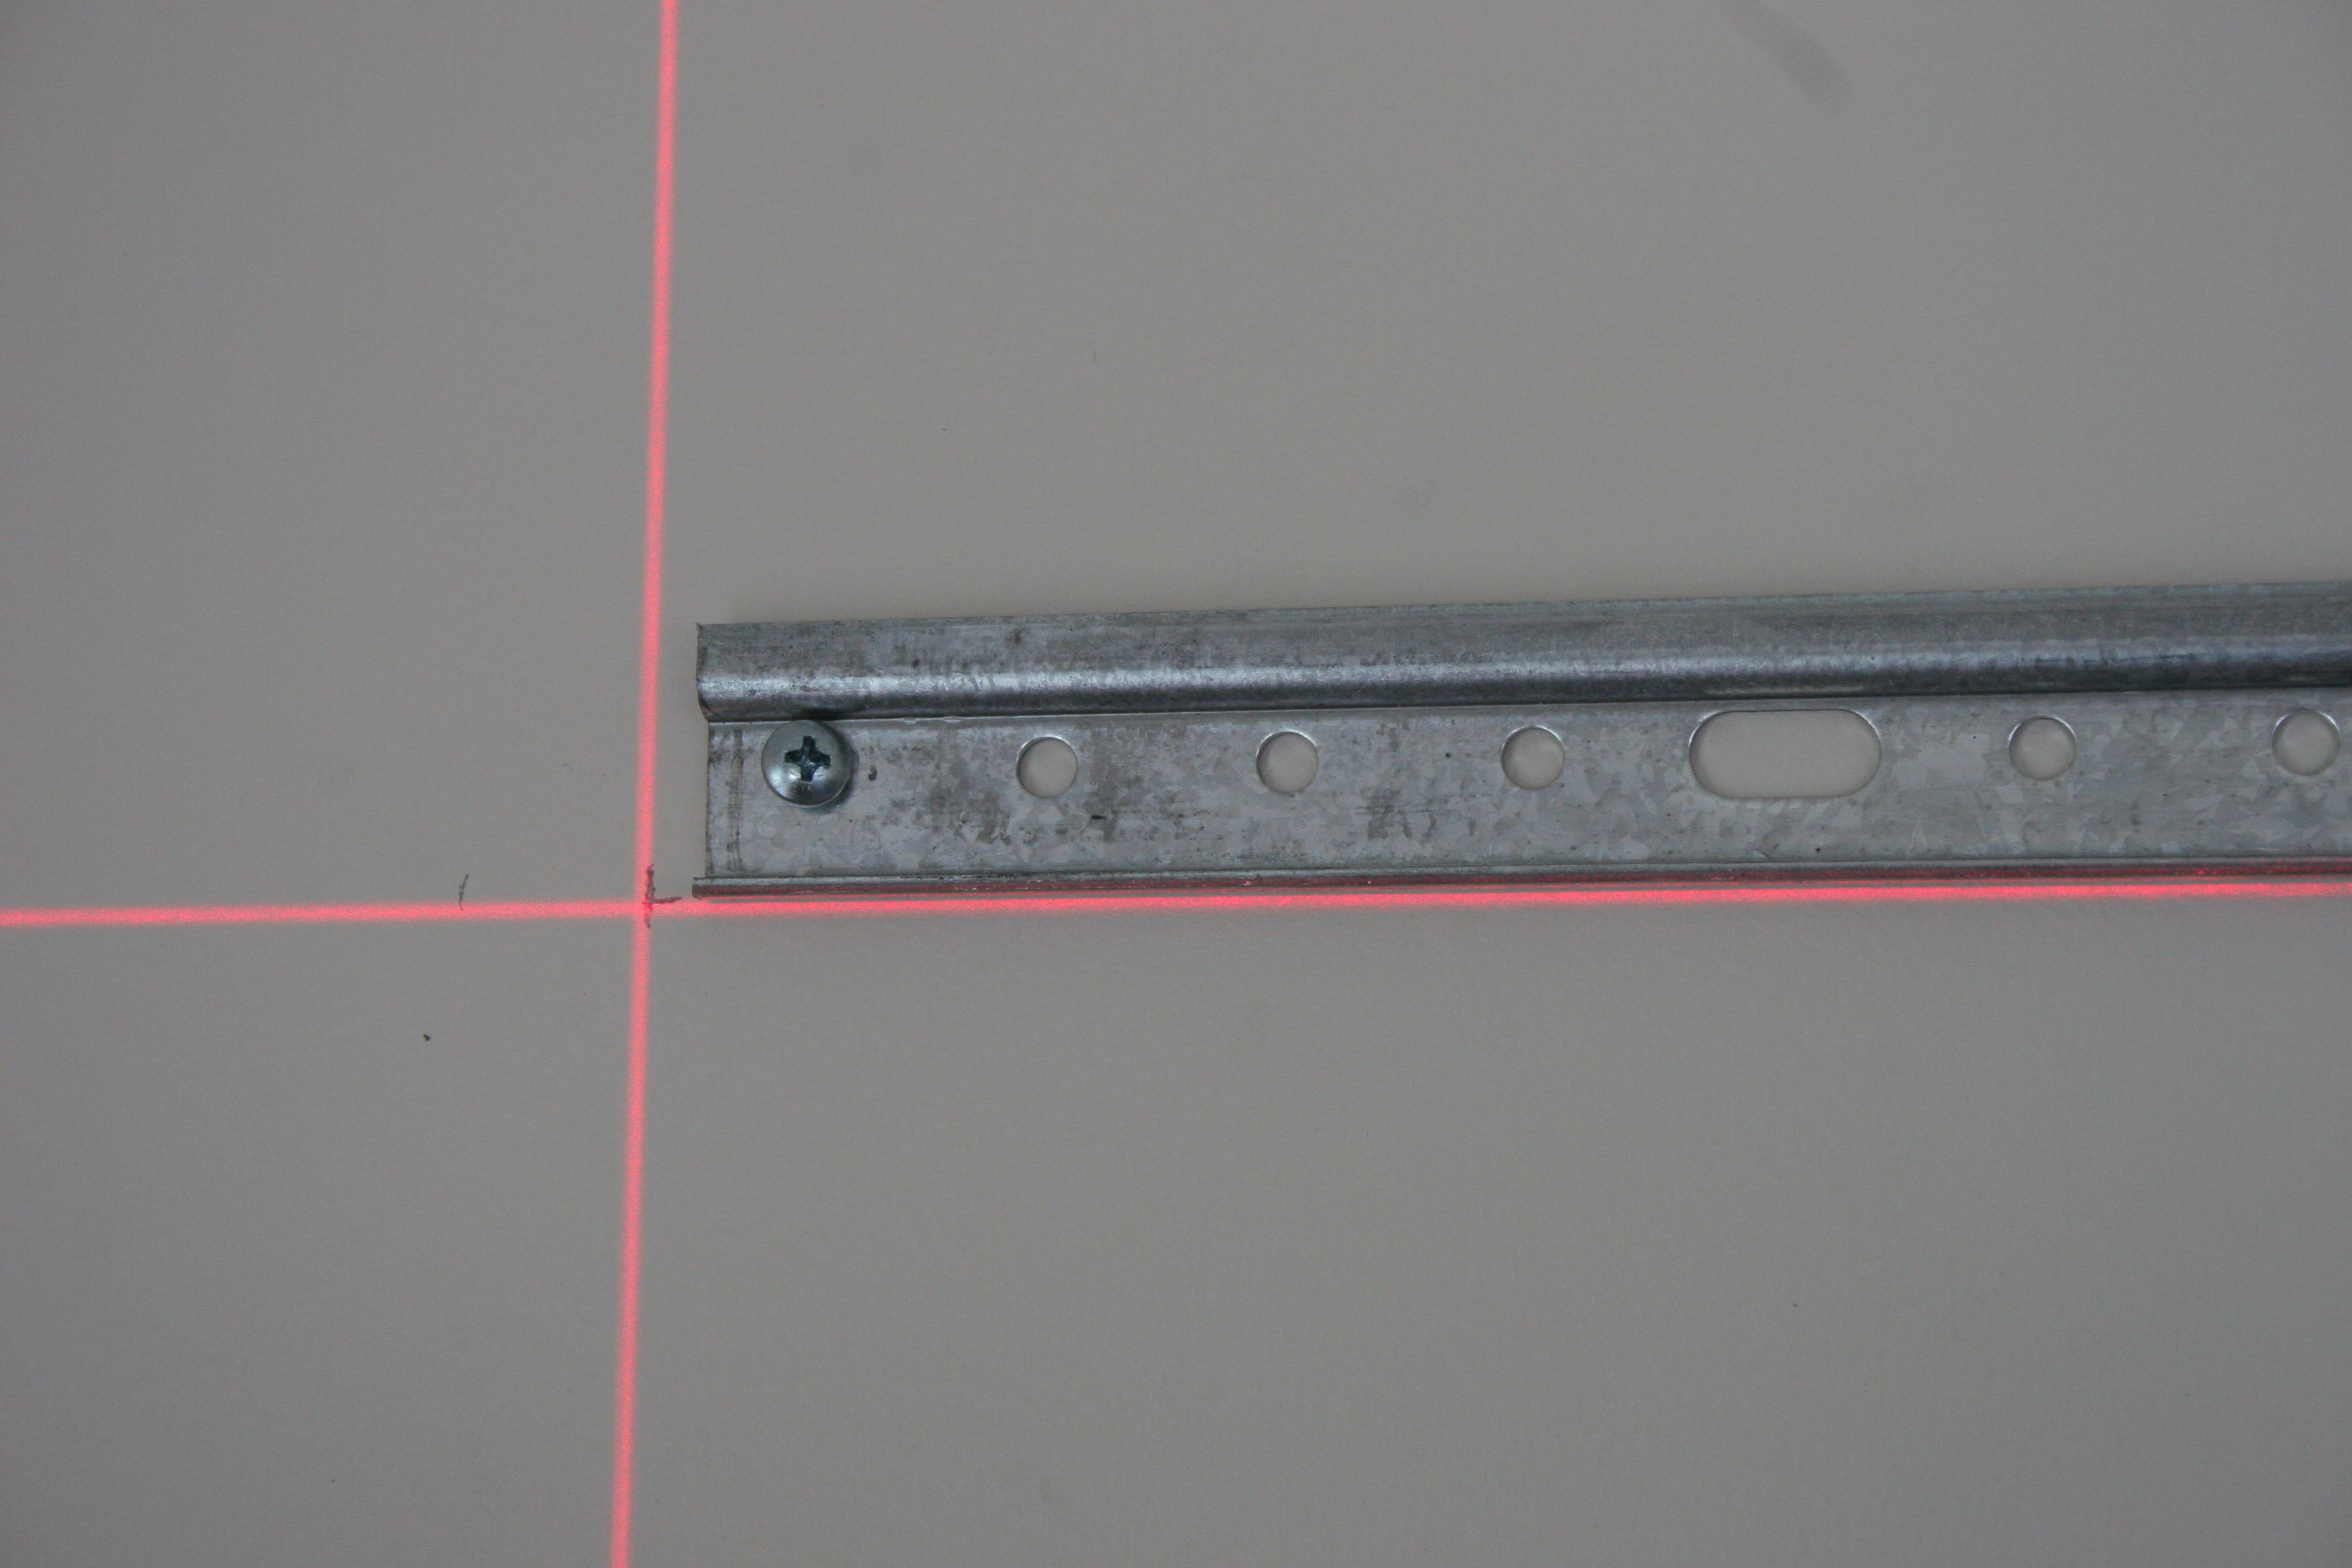
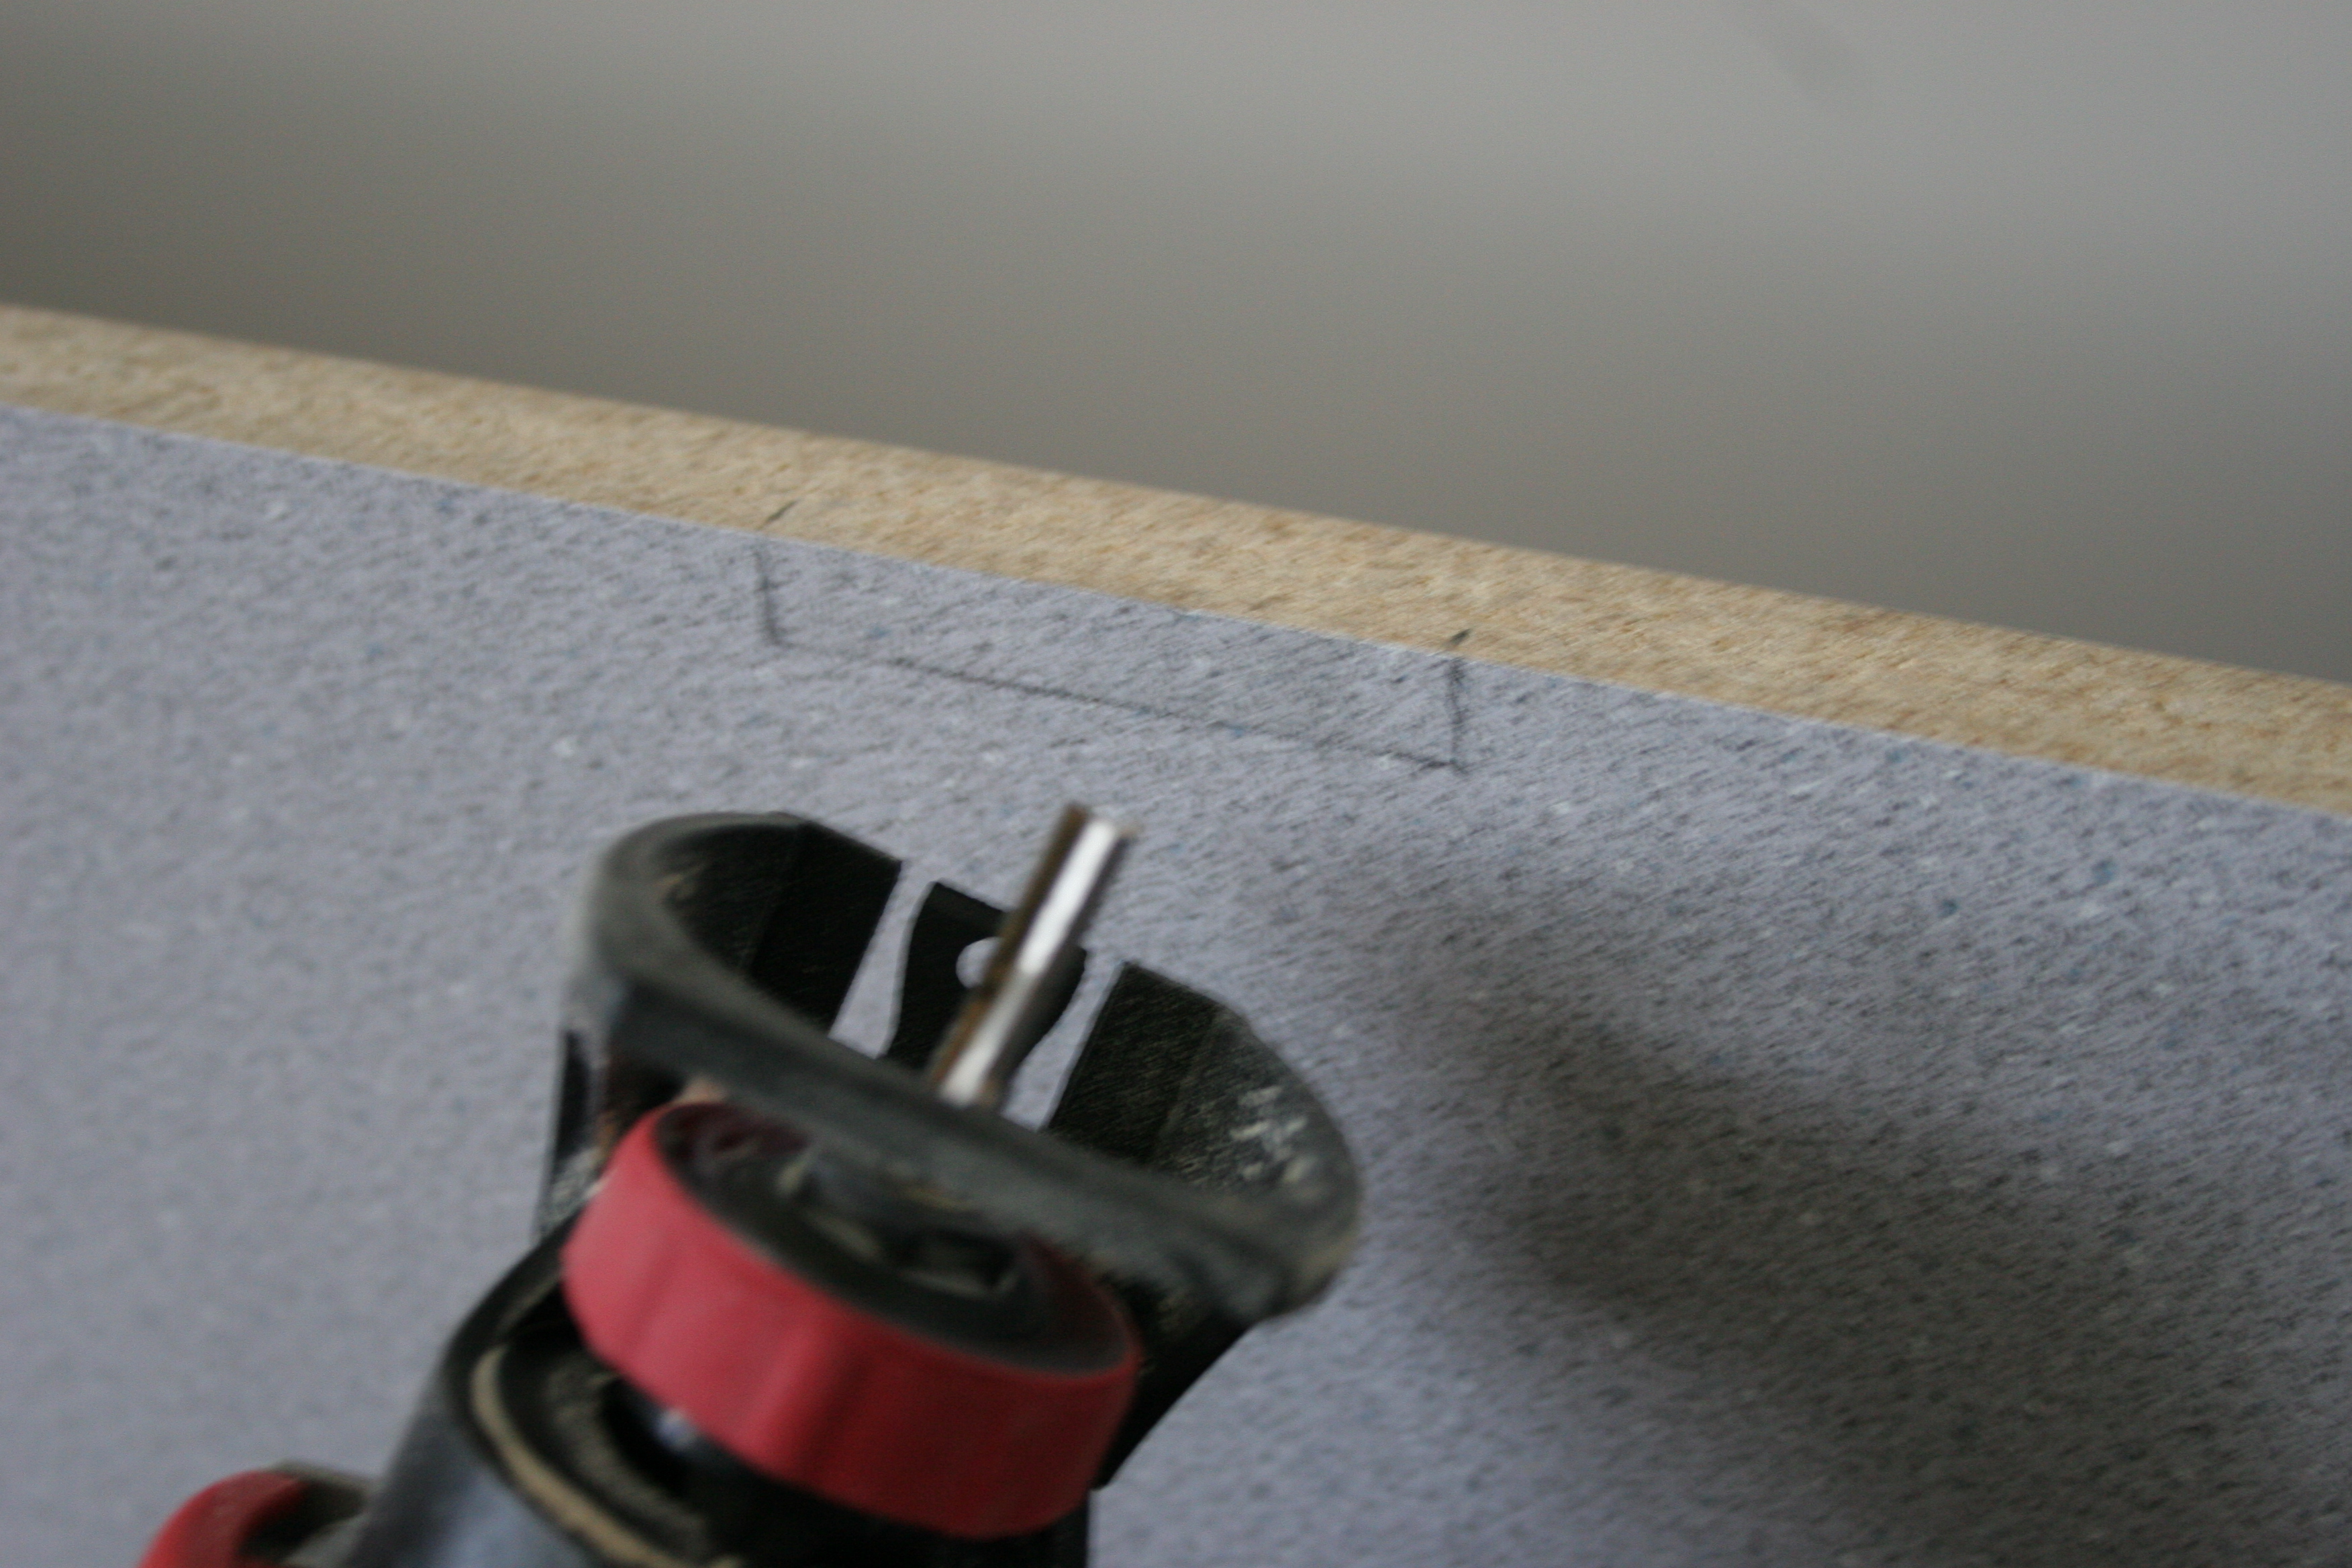
| IMG_1141: [medium | large | huge] |
| Time to show some of the tools that came in handy. First, a laser
level. |
 |
| IMG_1142: [medium | large | huge] |
| Great for marking the lower left corner of the hanging rail. |
 |
| IMG_1143: [medium | large | huge] |
| This one happens to be a David White 48-SLL2. |
 |
| IMG_1144: [medium | large | huge] |
| Actually had to leave a little gap there, as this was the left end of
the rail; this is one place where the cabinet rail pass-through was not
trimmed out. |
 |
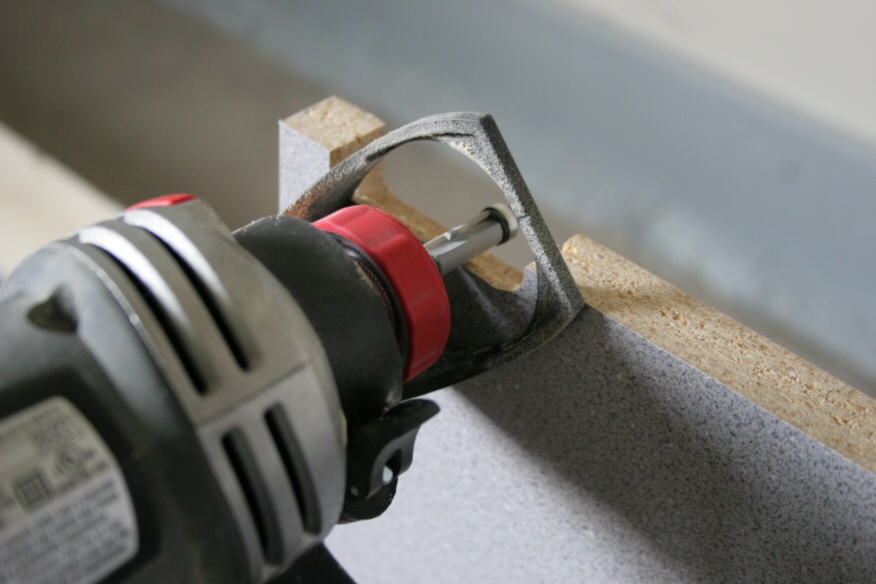
| IMG_1145: [medium | large | huge] |
| Another tool that came in very handy was the Bosch RotoZip RZ20.
Great for trimming away the laminate where the hanging rail had to pass
through. Used a bit designed for laminate countertops. |
 |
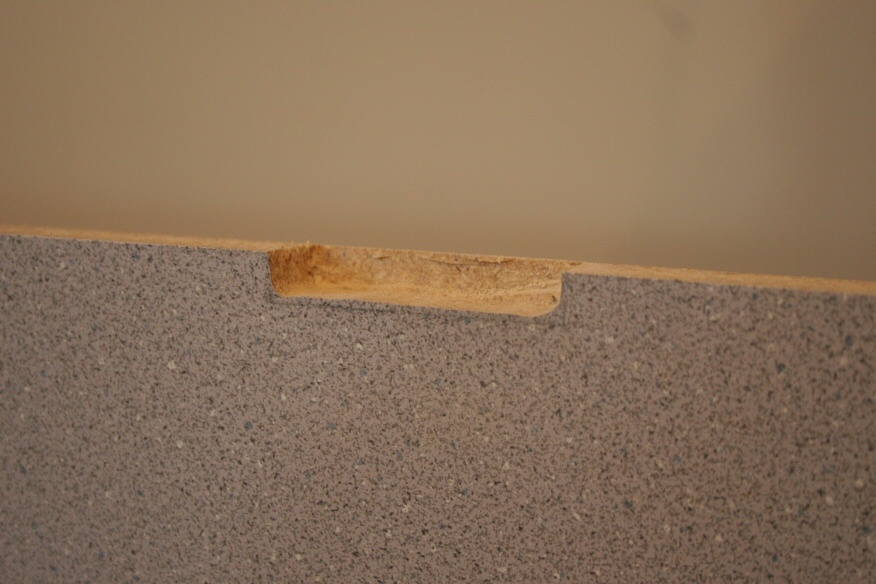
| IMG_1148: [medium | large | huge] |
| In one place, I had to trim off a little of the side of a tall cabinet
where the hanging rail for the base cabinets extended past about half the
width of the tall cabinet side (because of unfortunate stud
spacing). Another router bit for the RZ20 did the job just fine. |
 |
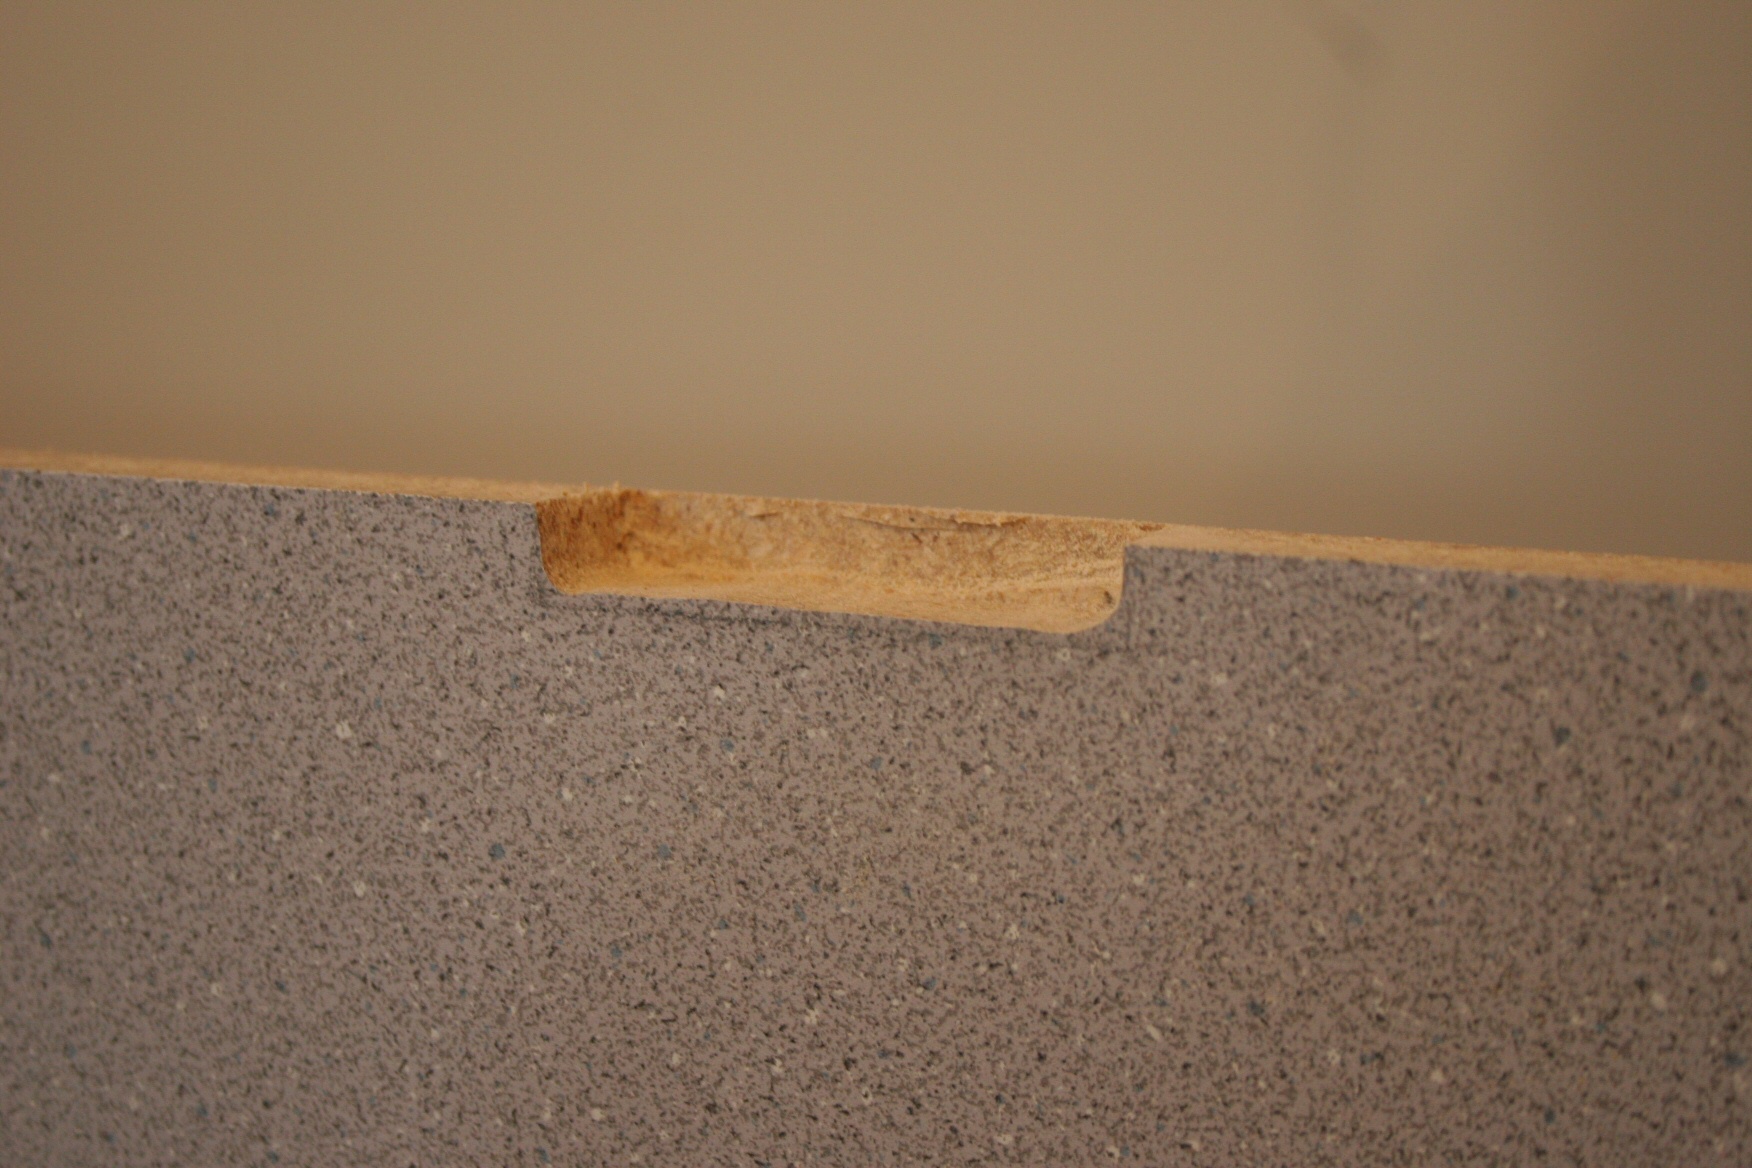
| IMG_1149: [medium | large | huge] |
| The custom trim work completed, about two minutes later. |
 |
| IMG_1150: [medium | large | huge] |
| Something else I decided to do: adding screws on the nailer
boards. This should provide a little extra support on the bottom
shelf (the bottom part of each cabinet box). |
|
| IMG_1152: [medium | large | huge] |
| Cabinets (except for the center drawer) all installed, 25-Jun-2006. |
 |
| IMG_1153: [medium | large | huge] |
| Cabinets (except for the center drawer) all installed, 25-Jun-2006 (an
ever-so-slightly different view). |
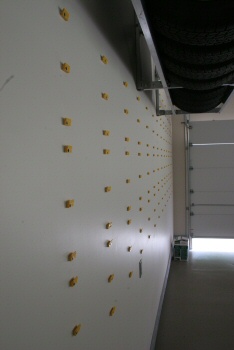
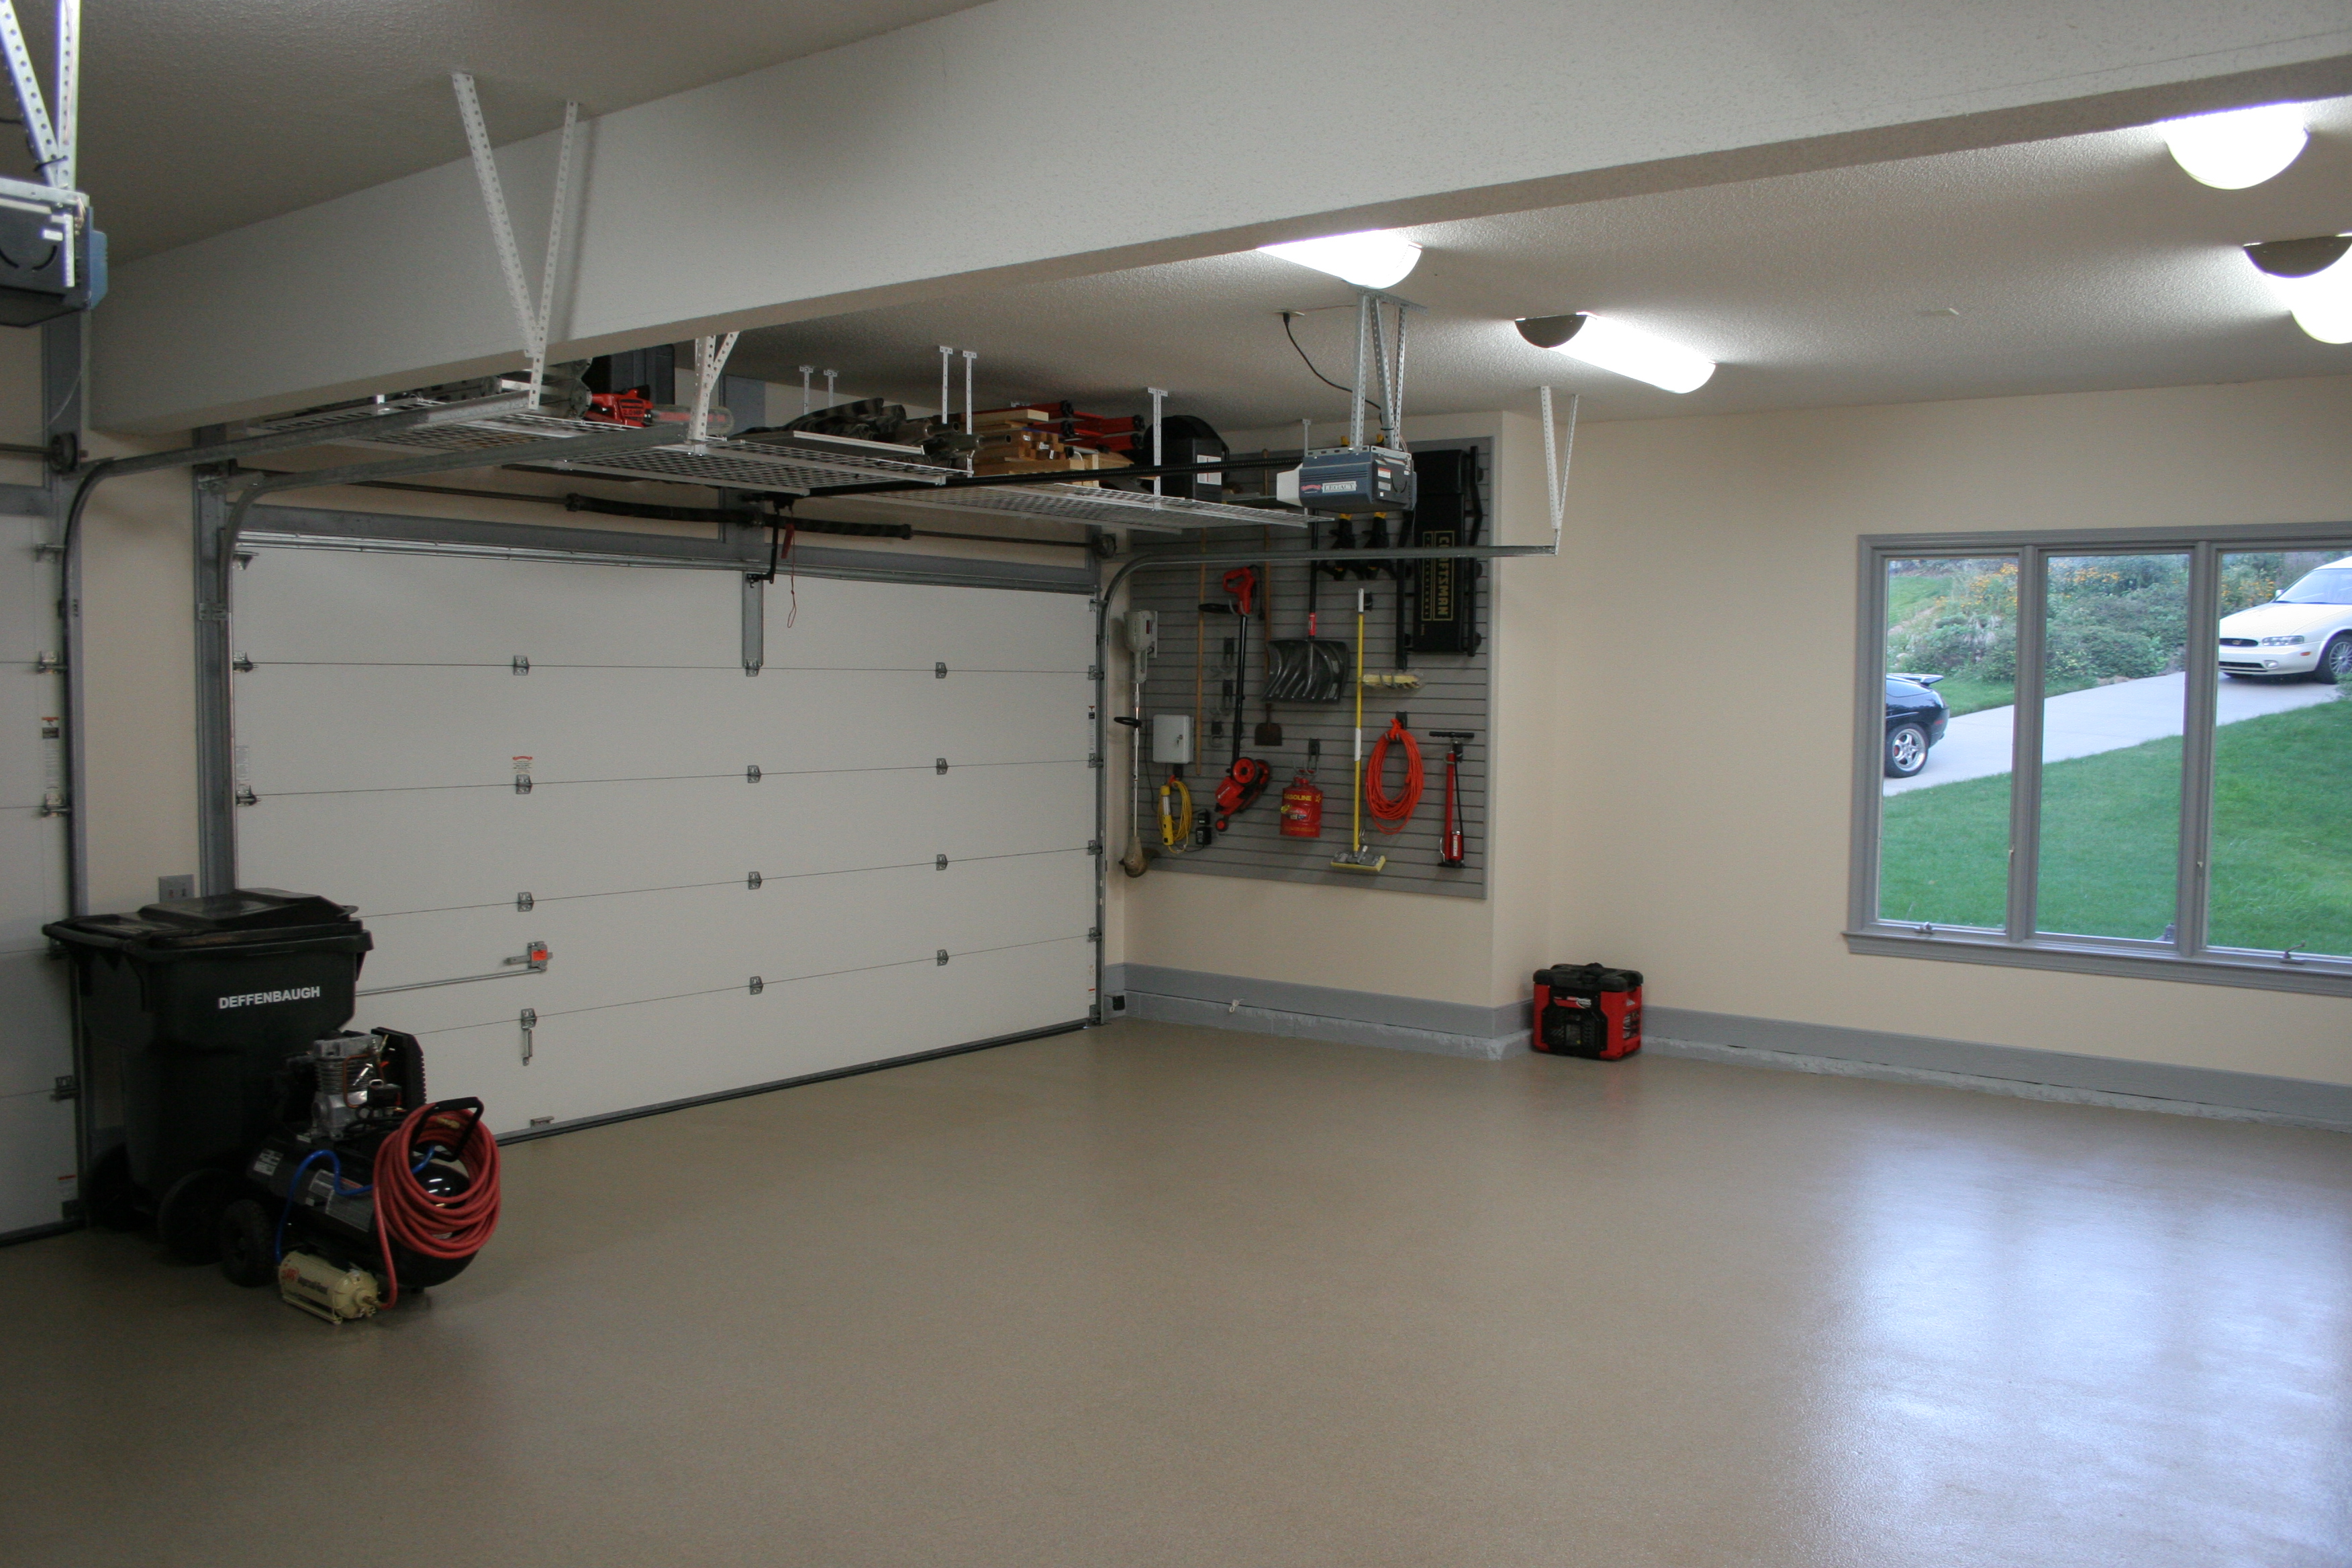
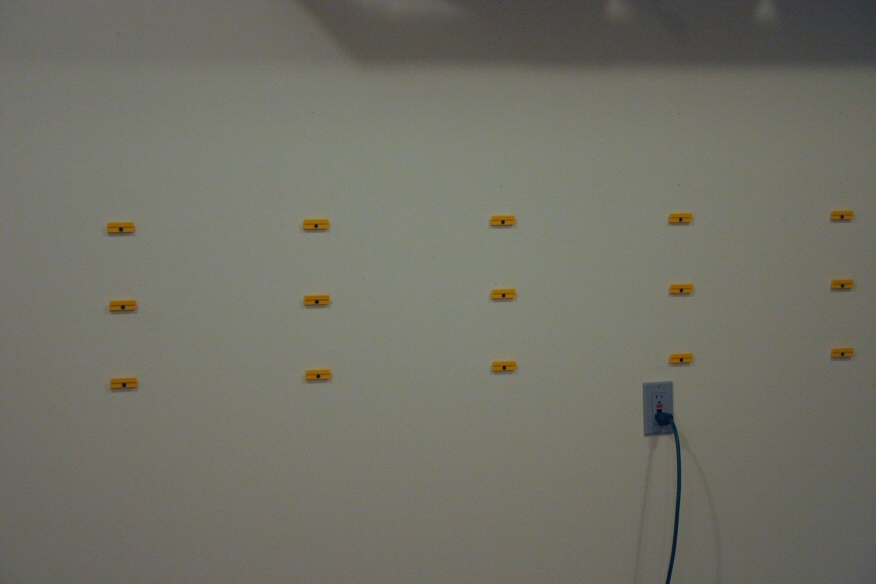
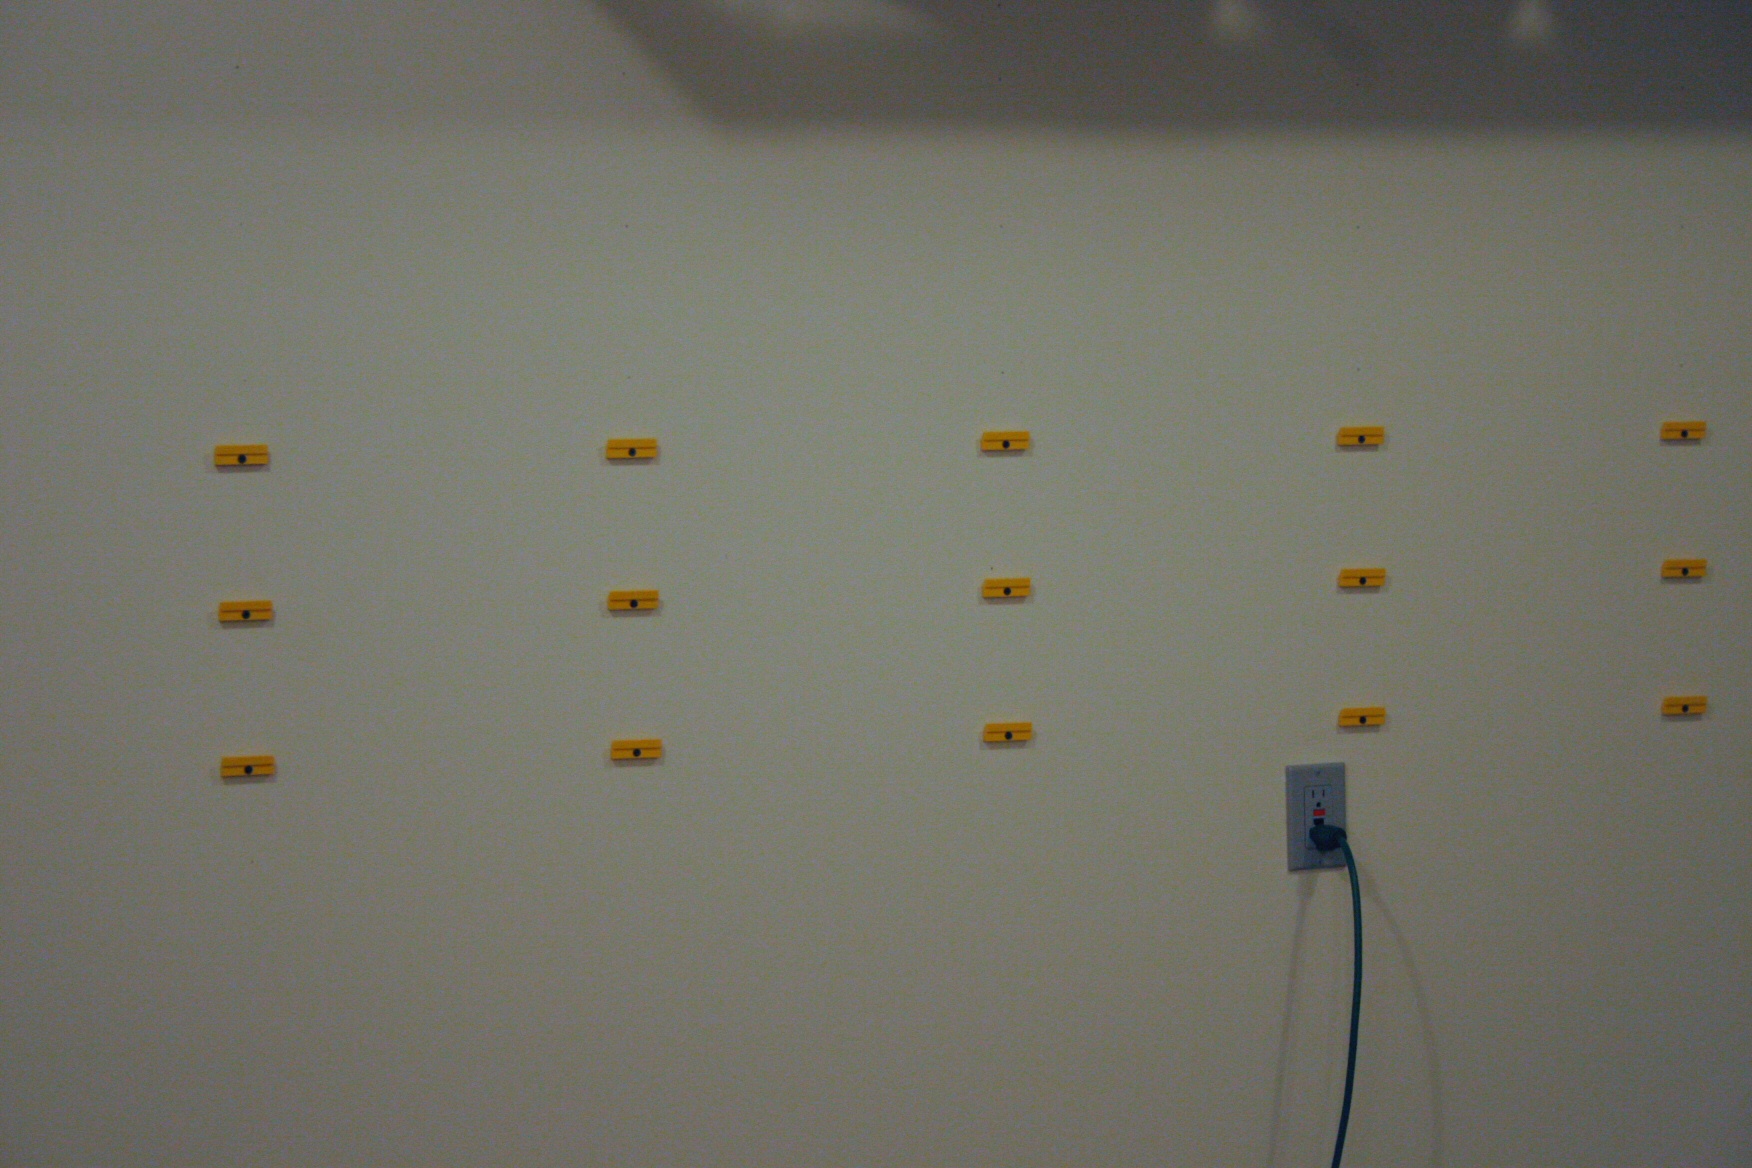
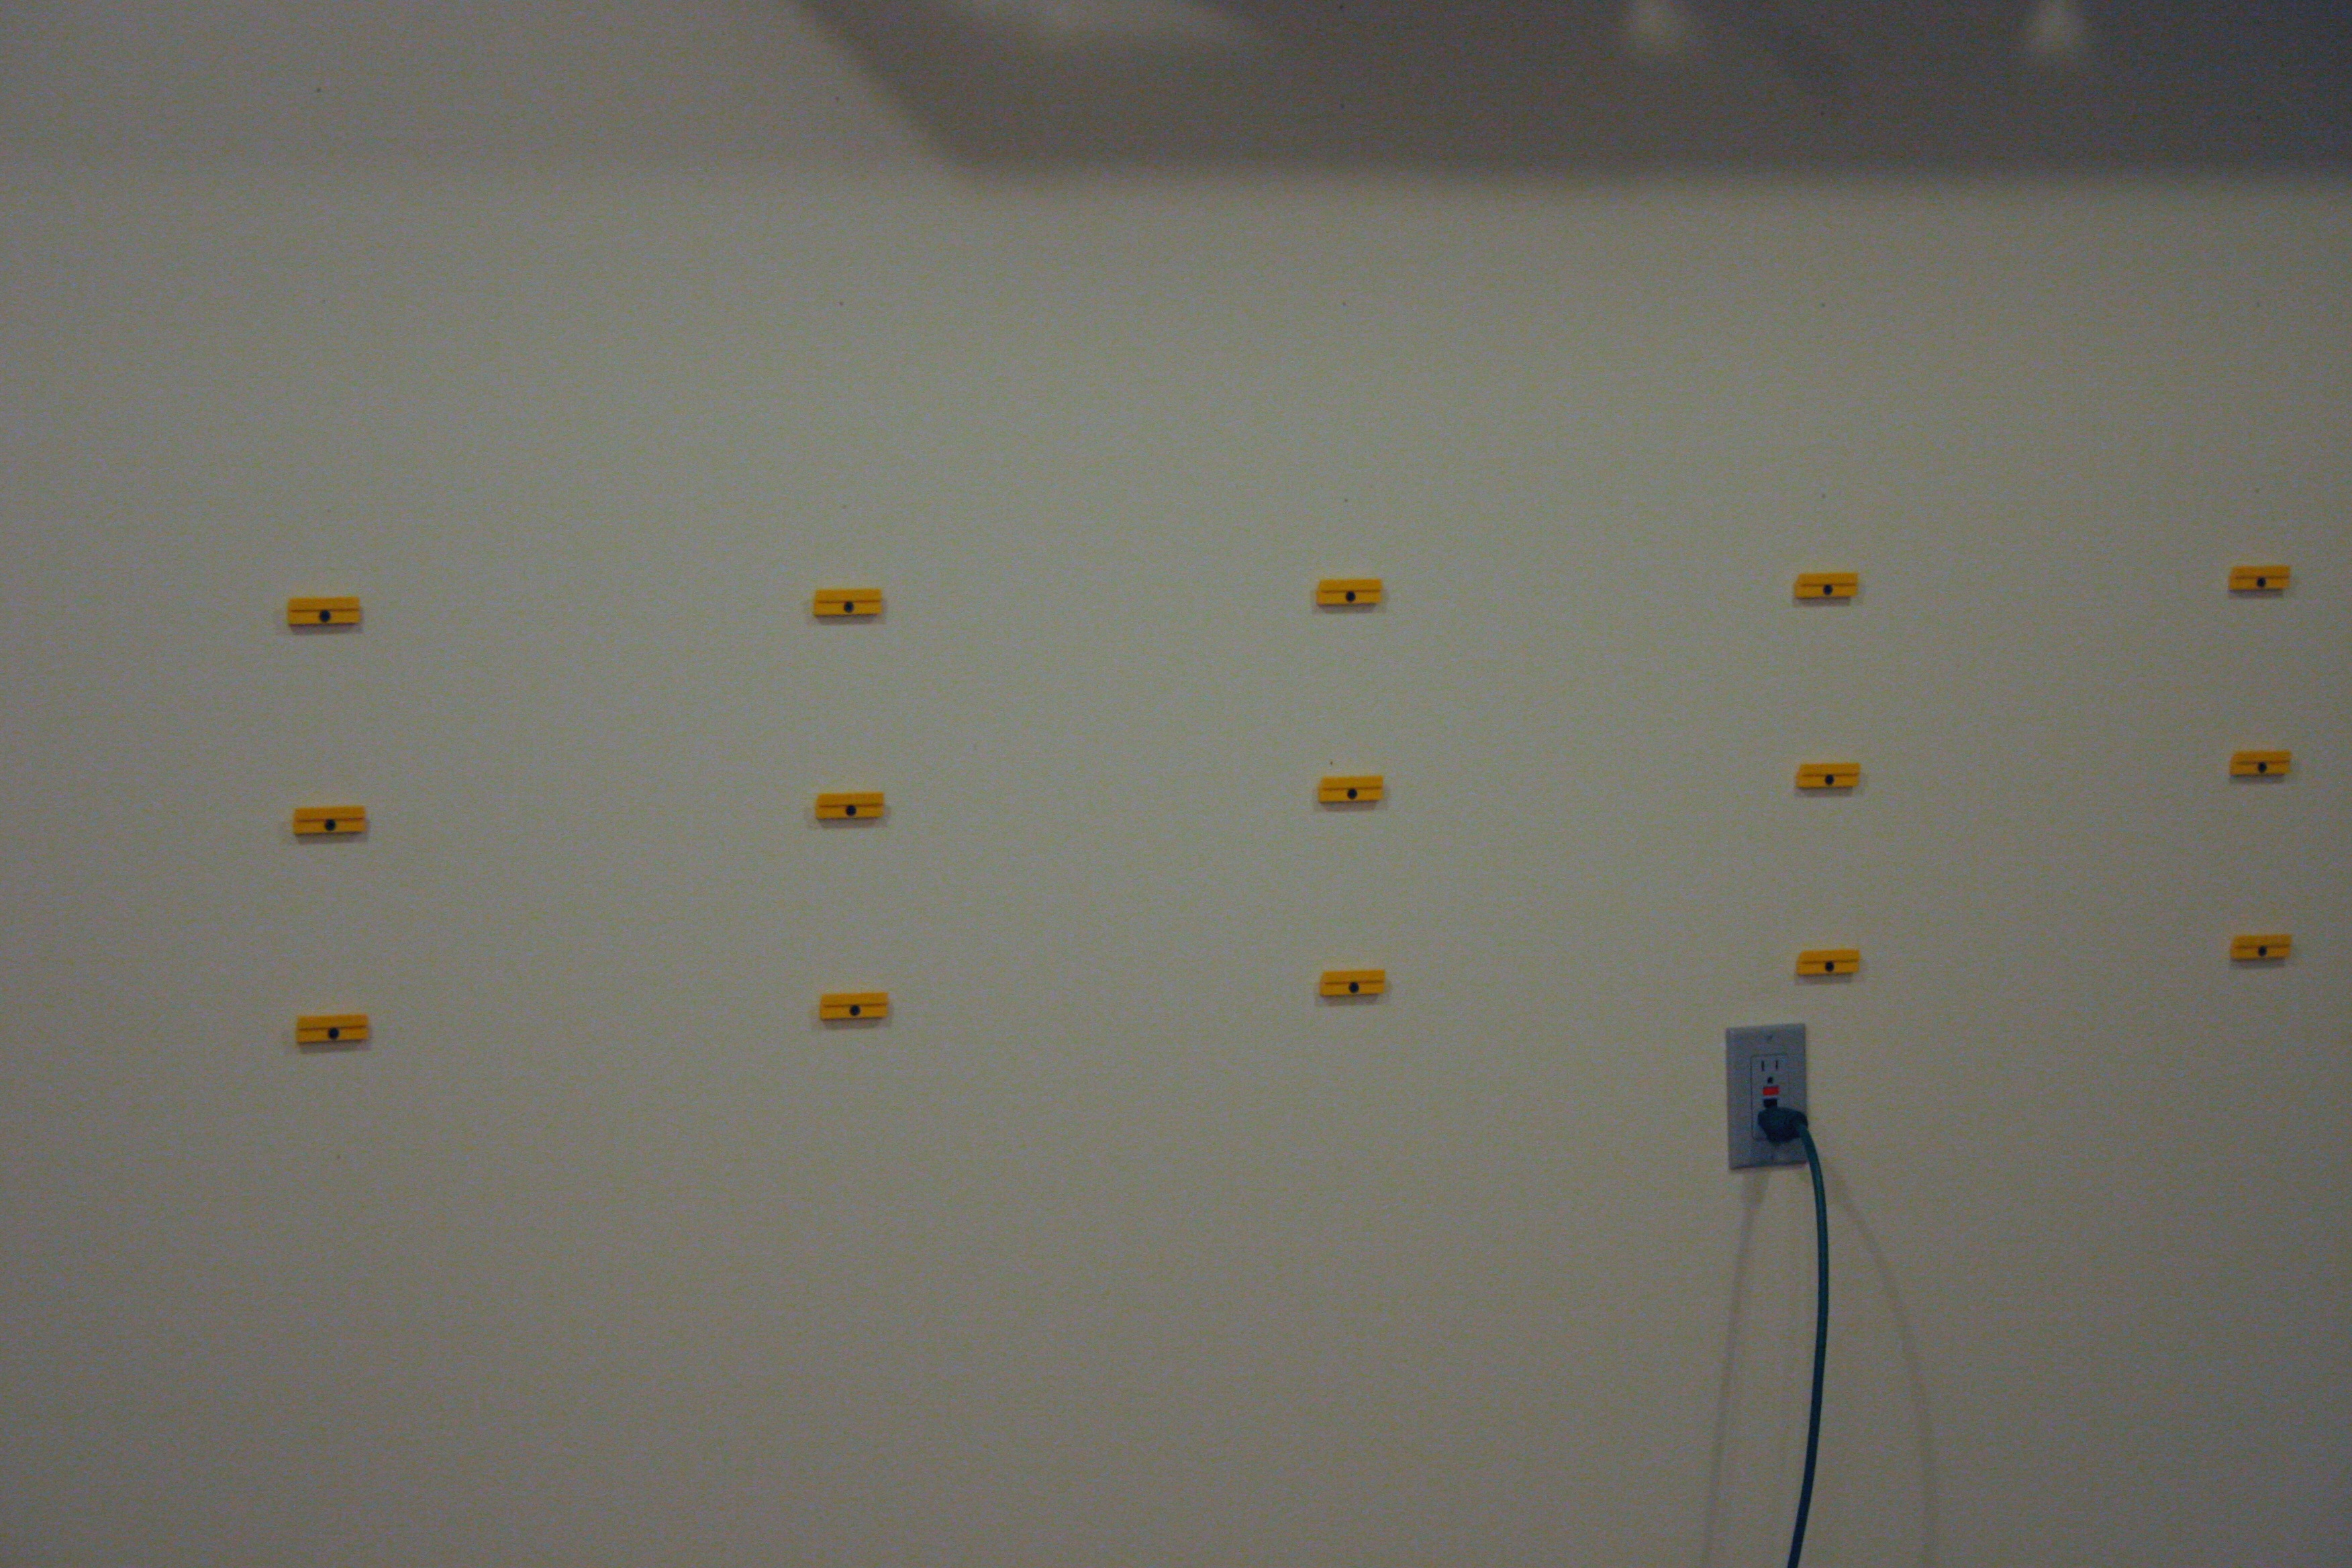
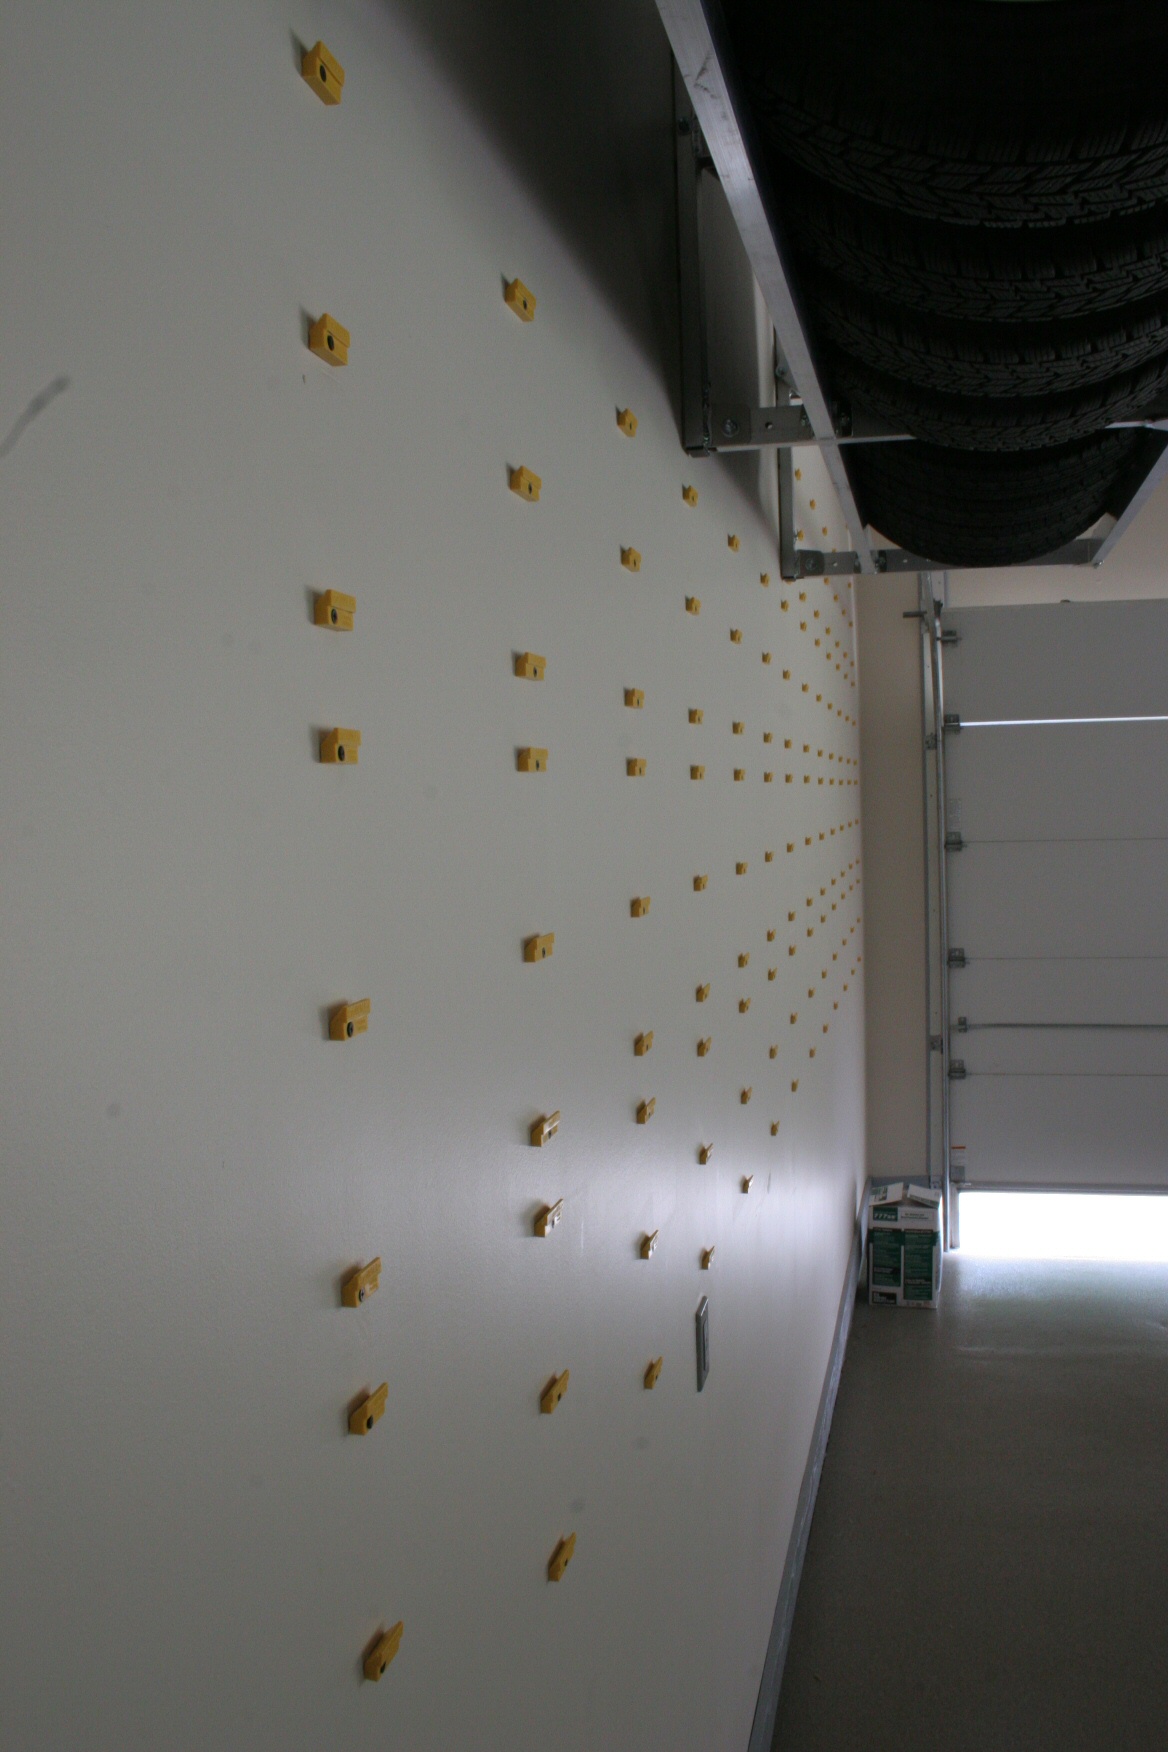
Slat Storage
Installed two sections of storeWALL slat storage and tons of Schulte hangers
of various sorts. Local dealer was
Complete Garage.
I'm only showing the mounting clips here; you can see the final storeWALL
sections in the "Completed Garage" section above.
 |
| IMG_1203: [medium | large | huge] |
| Decided to use the storeWALL "hang-ups" to mount the storeWALL.
Once these clips are fastened to the wall, the storeWALL sections can just
be pressed against the wall and dropped into position. This proved
to be a wise choice, as I wound up adding another section to the bottom
later, which involved temporarily removing the panels above again
(generally, you have to start from the bottom and work upwards because of
the way the panels fit together). |
 |
| IMG_1205: [medium | large | huge] |
| Had to mount lots of hang-up clips. Lots of them. |
 |
| IMG_1207: [medium | large | huge] |
| Used the trusty laser level for these, too, which made them line up just
about perfectly, as you can see. |
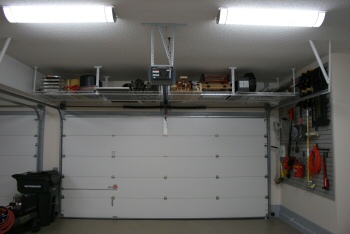
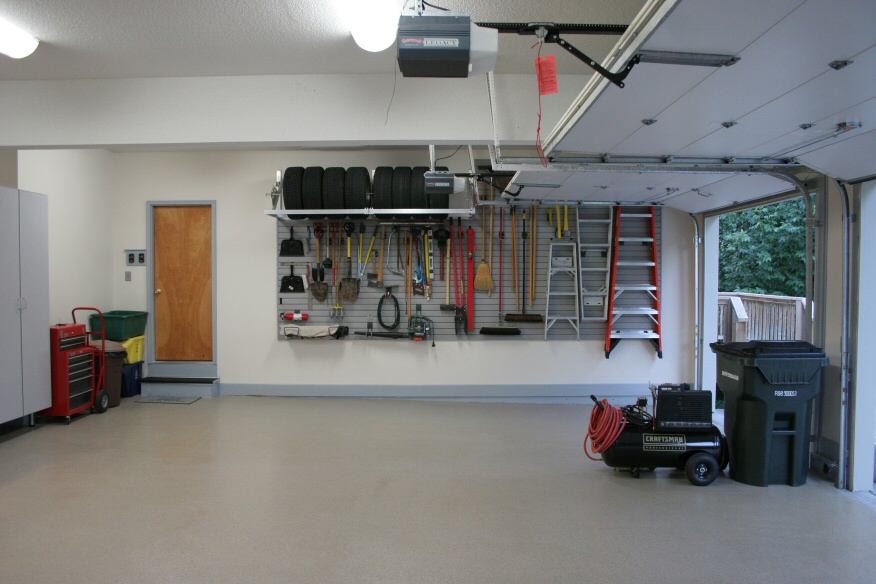
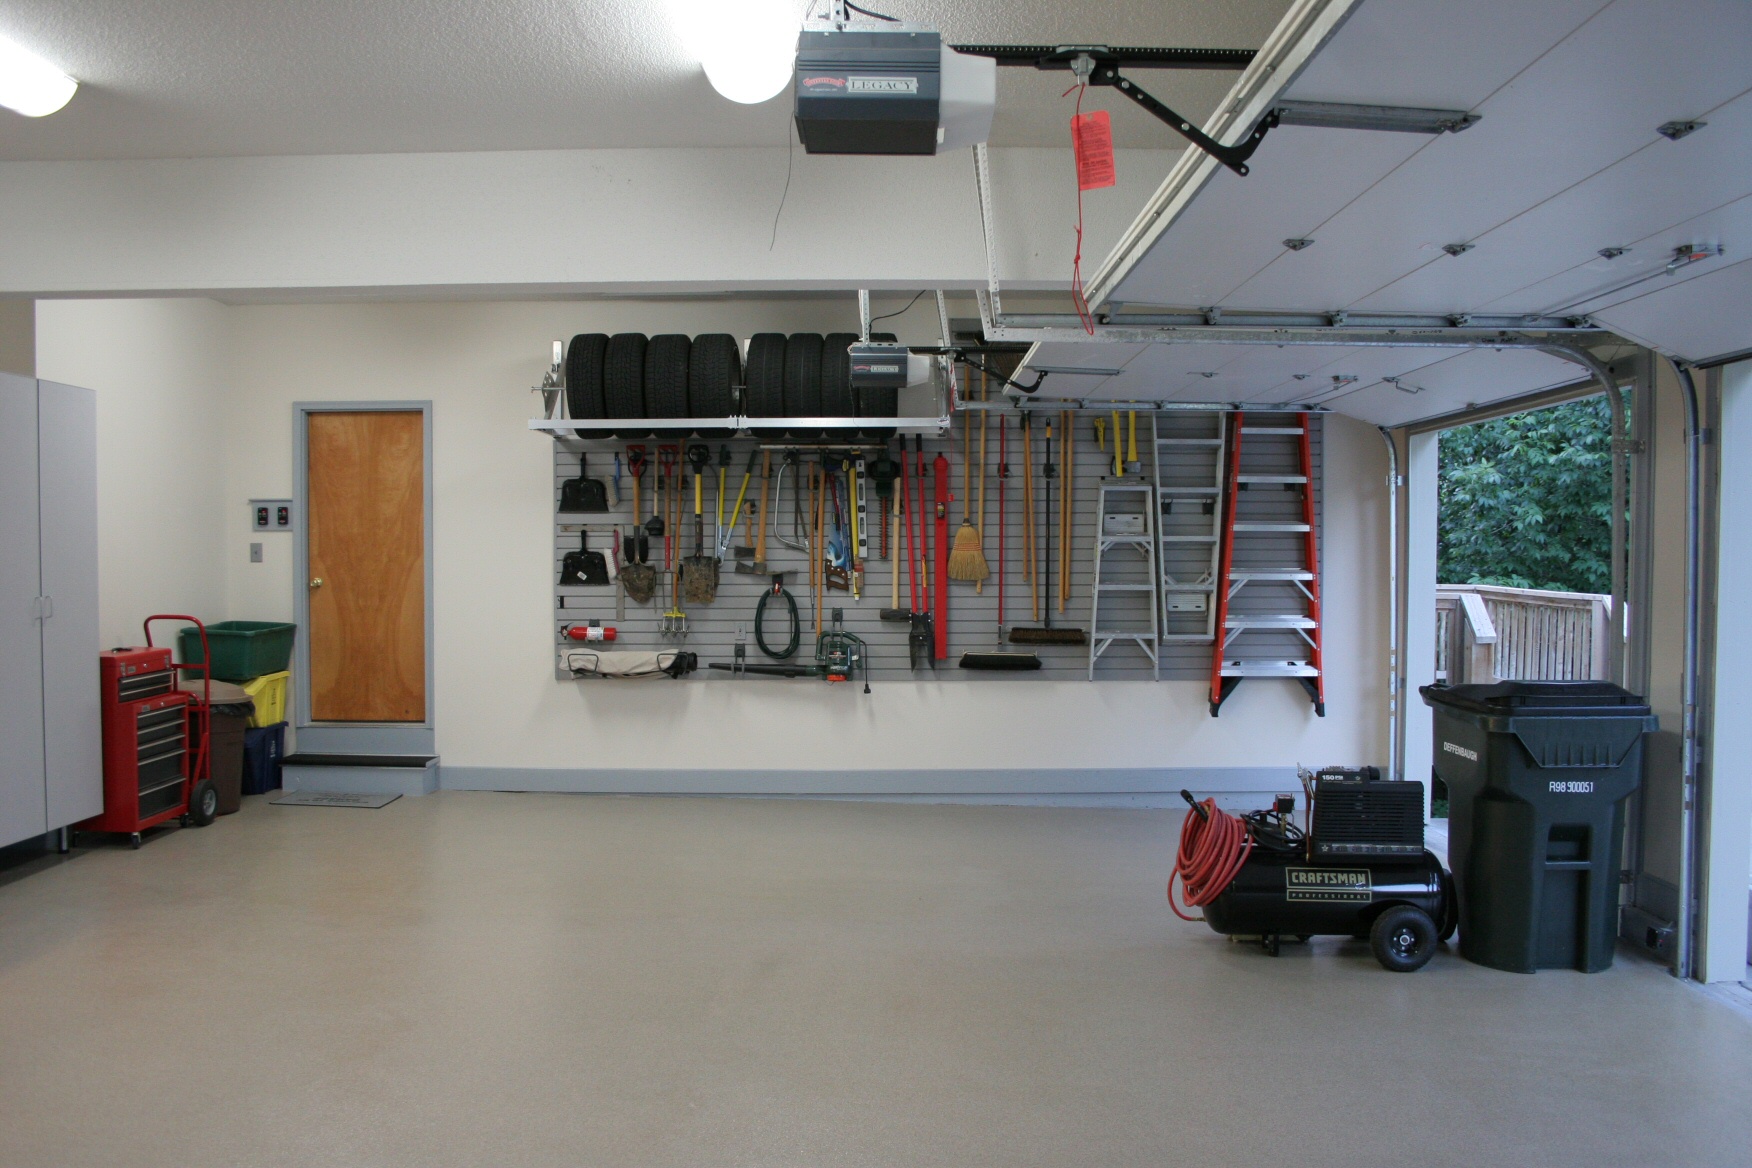
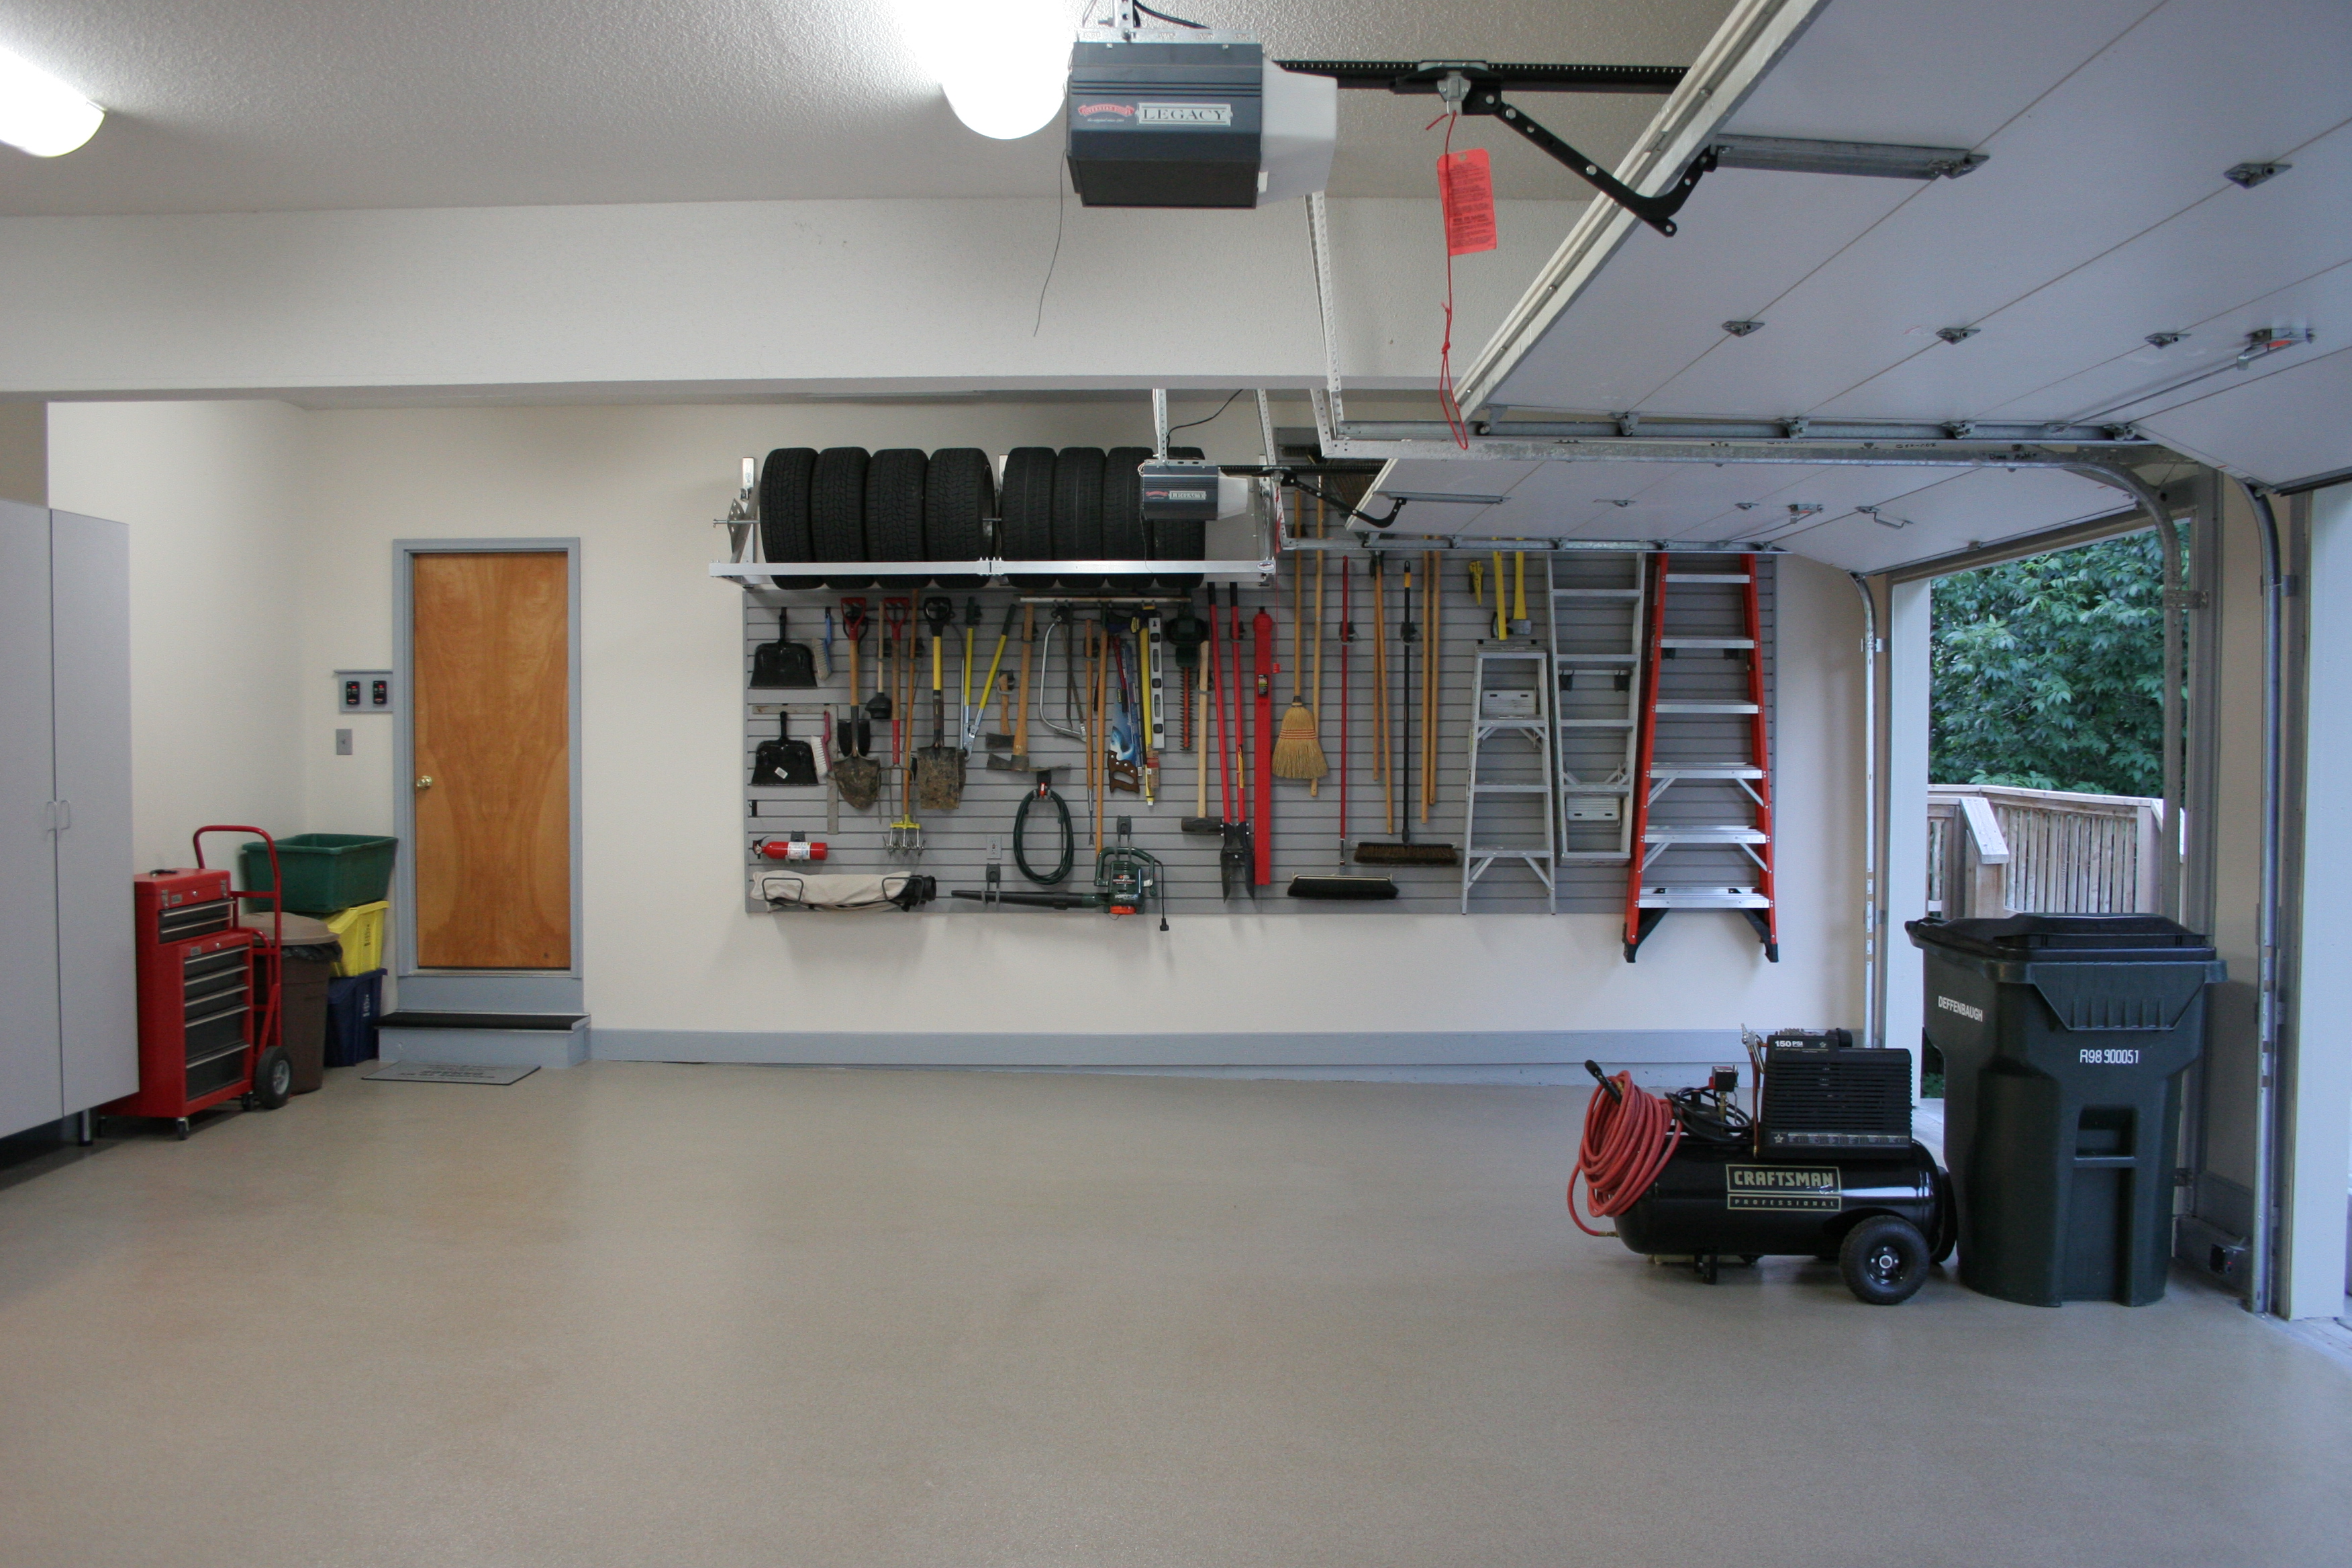
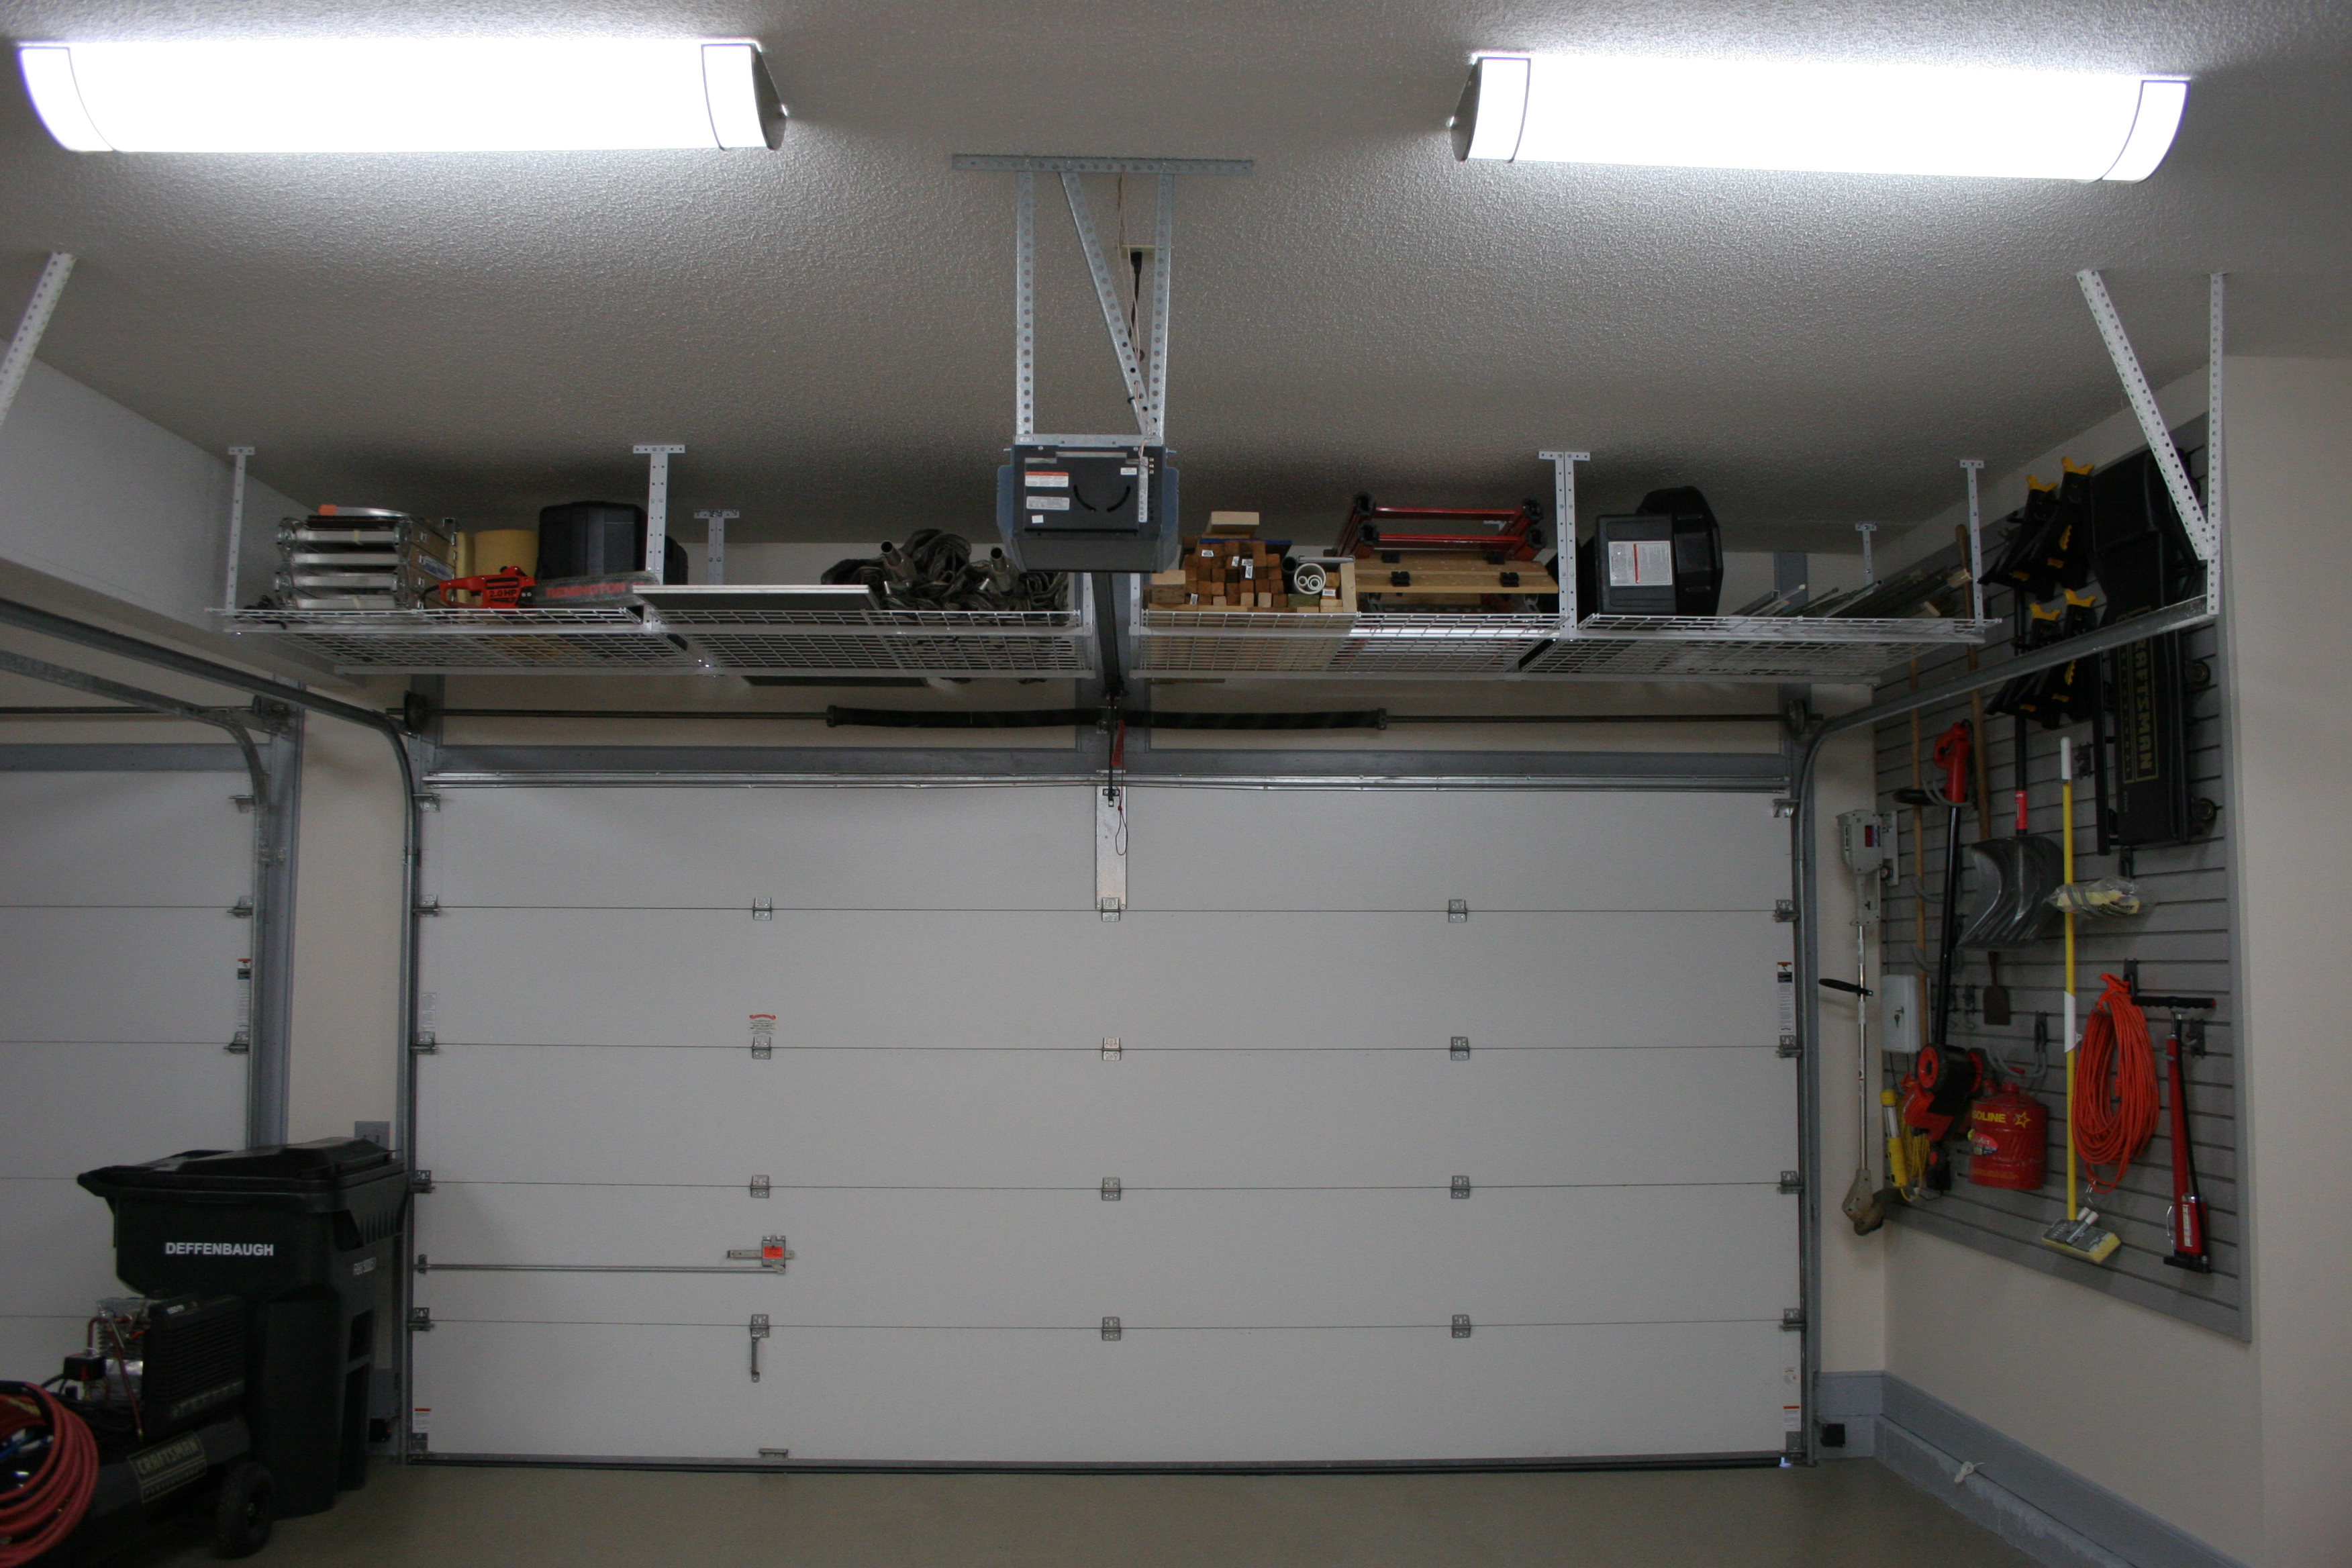
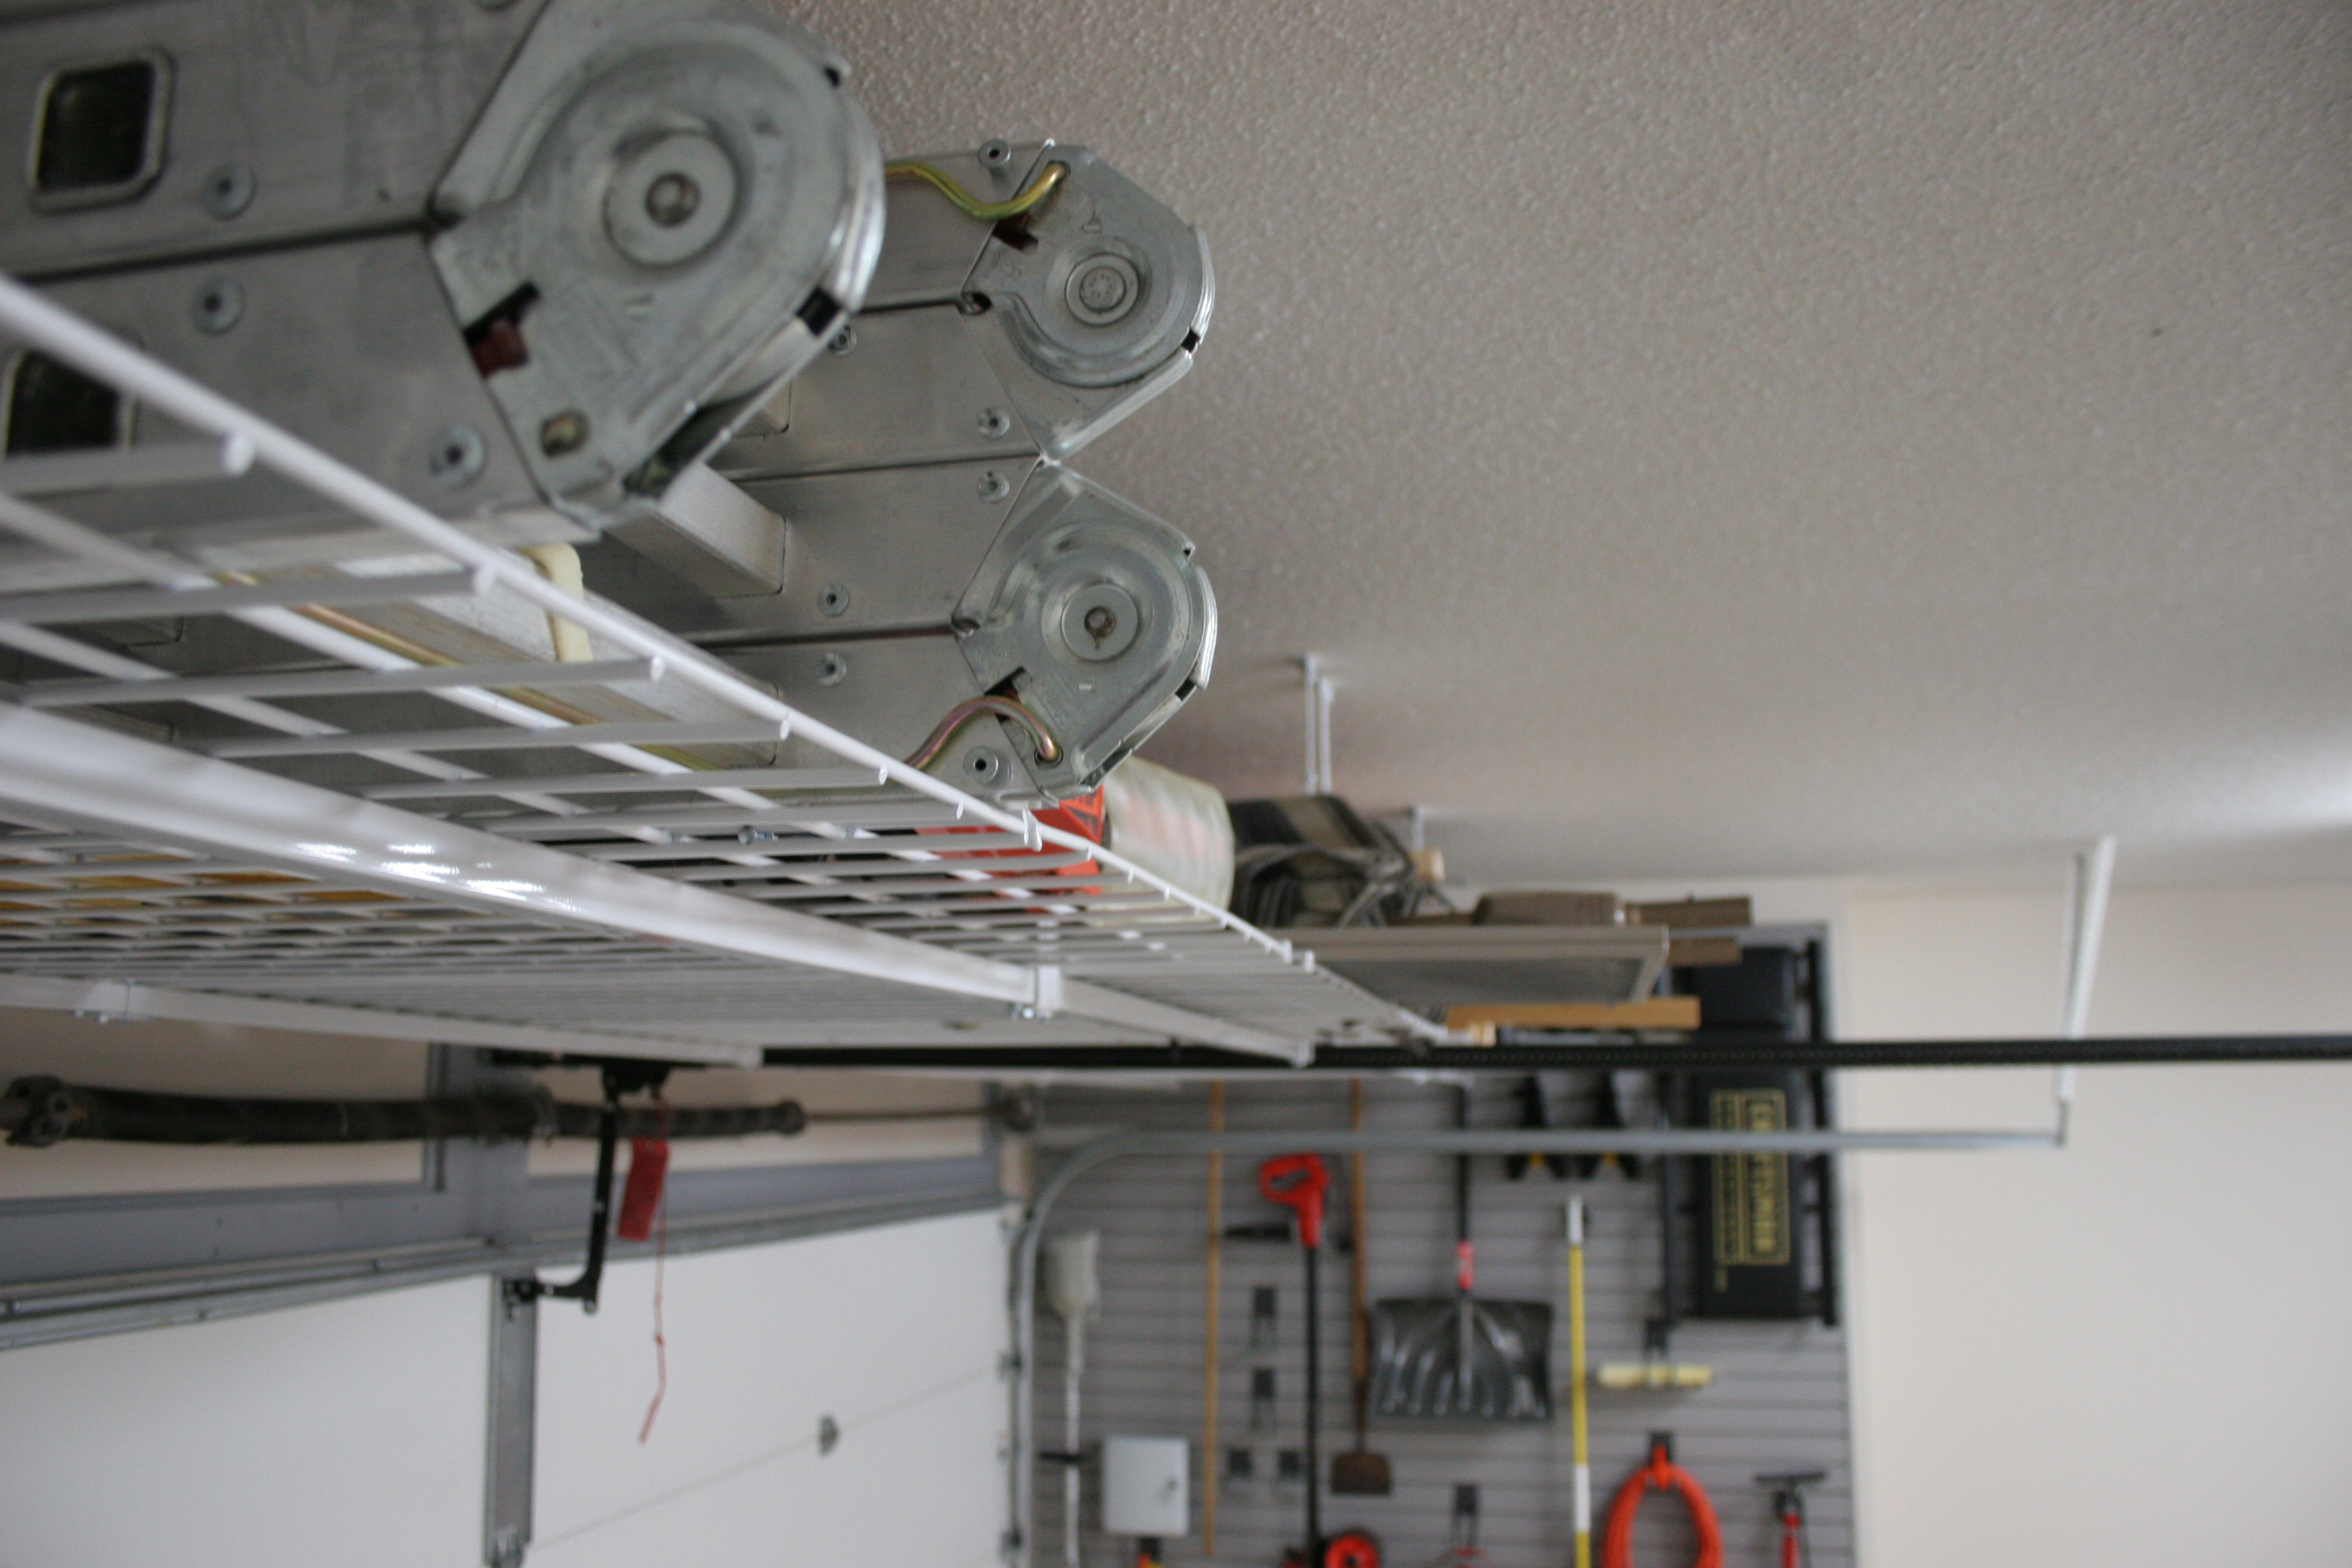
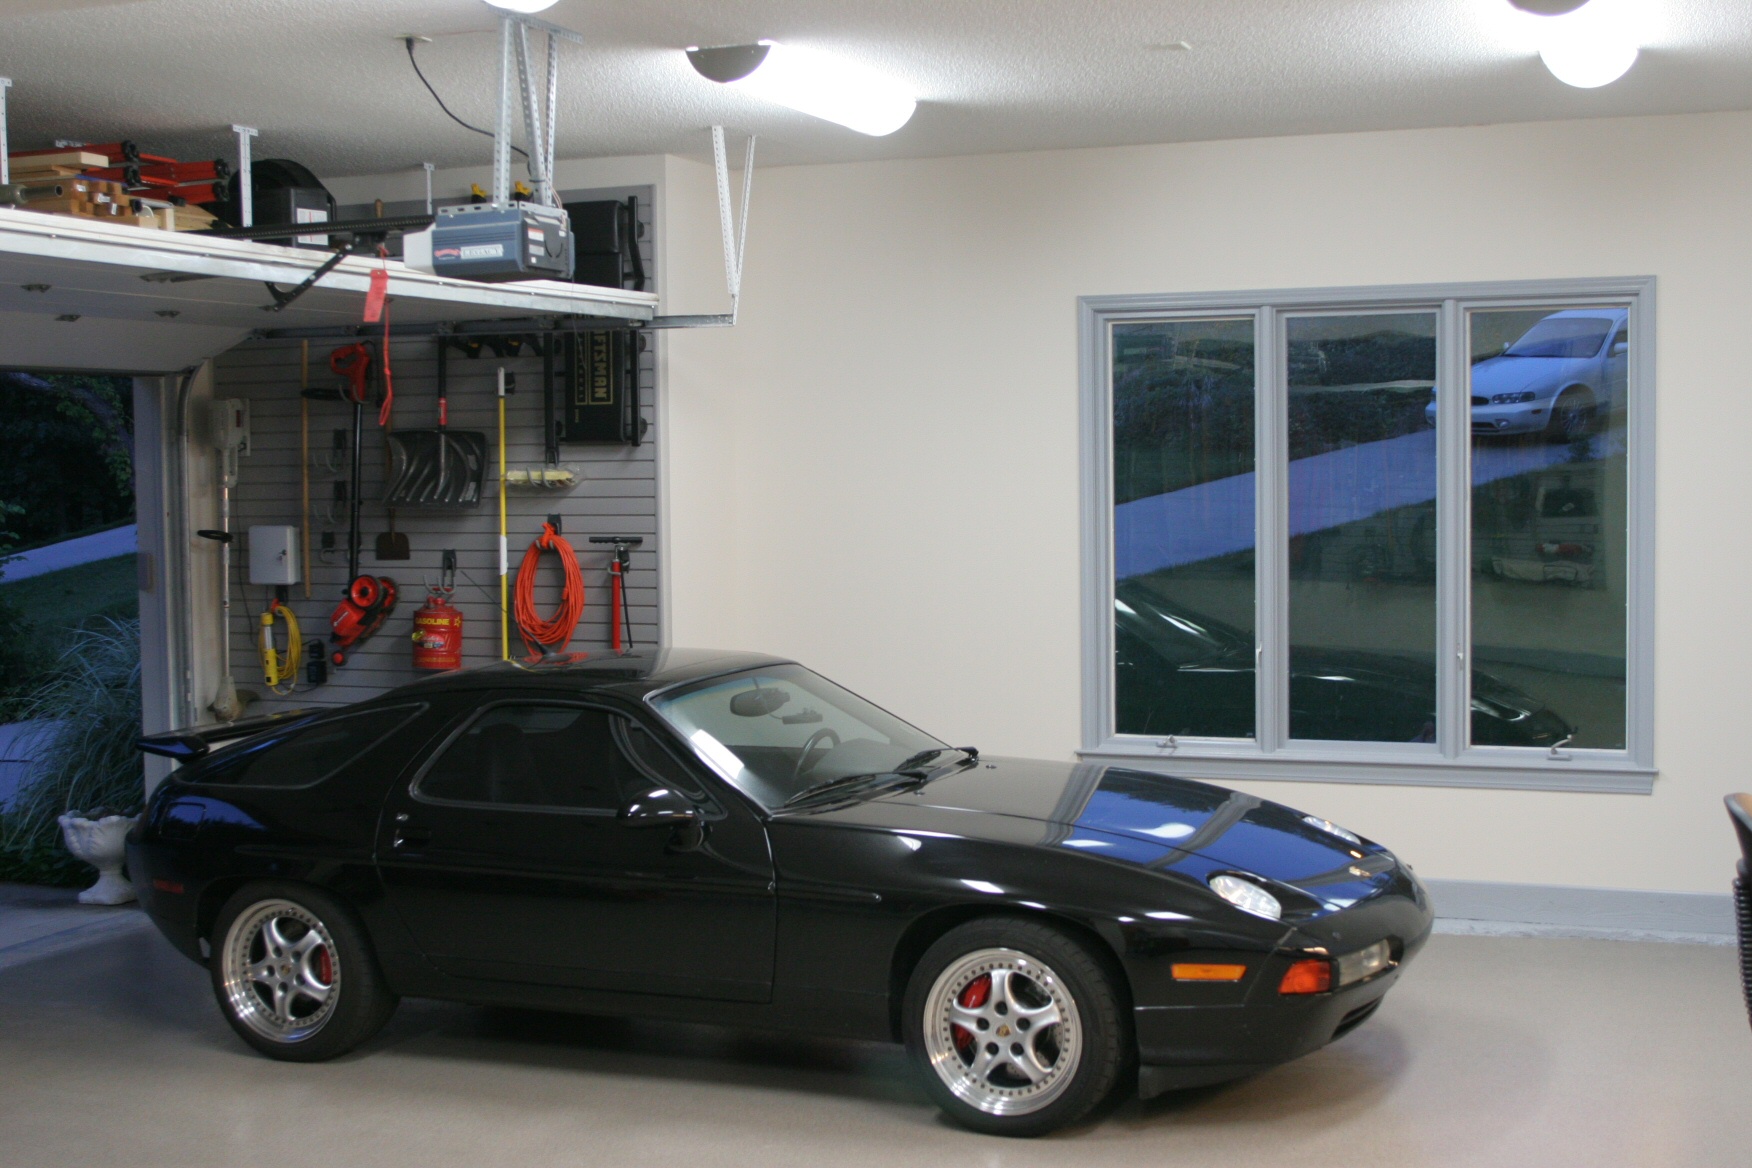
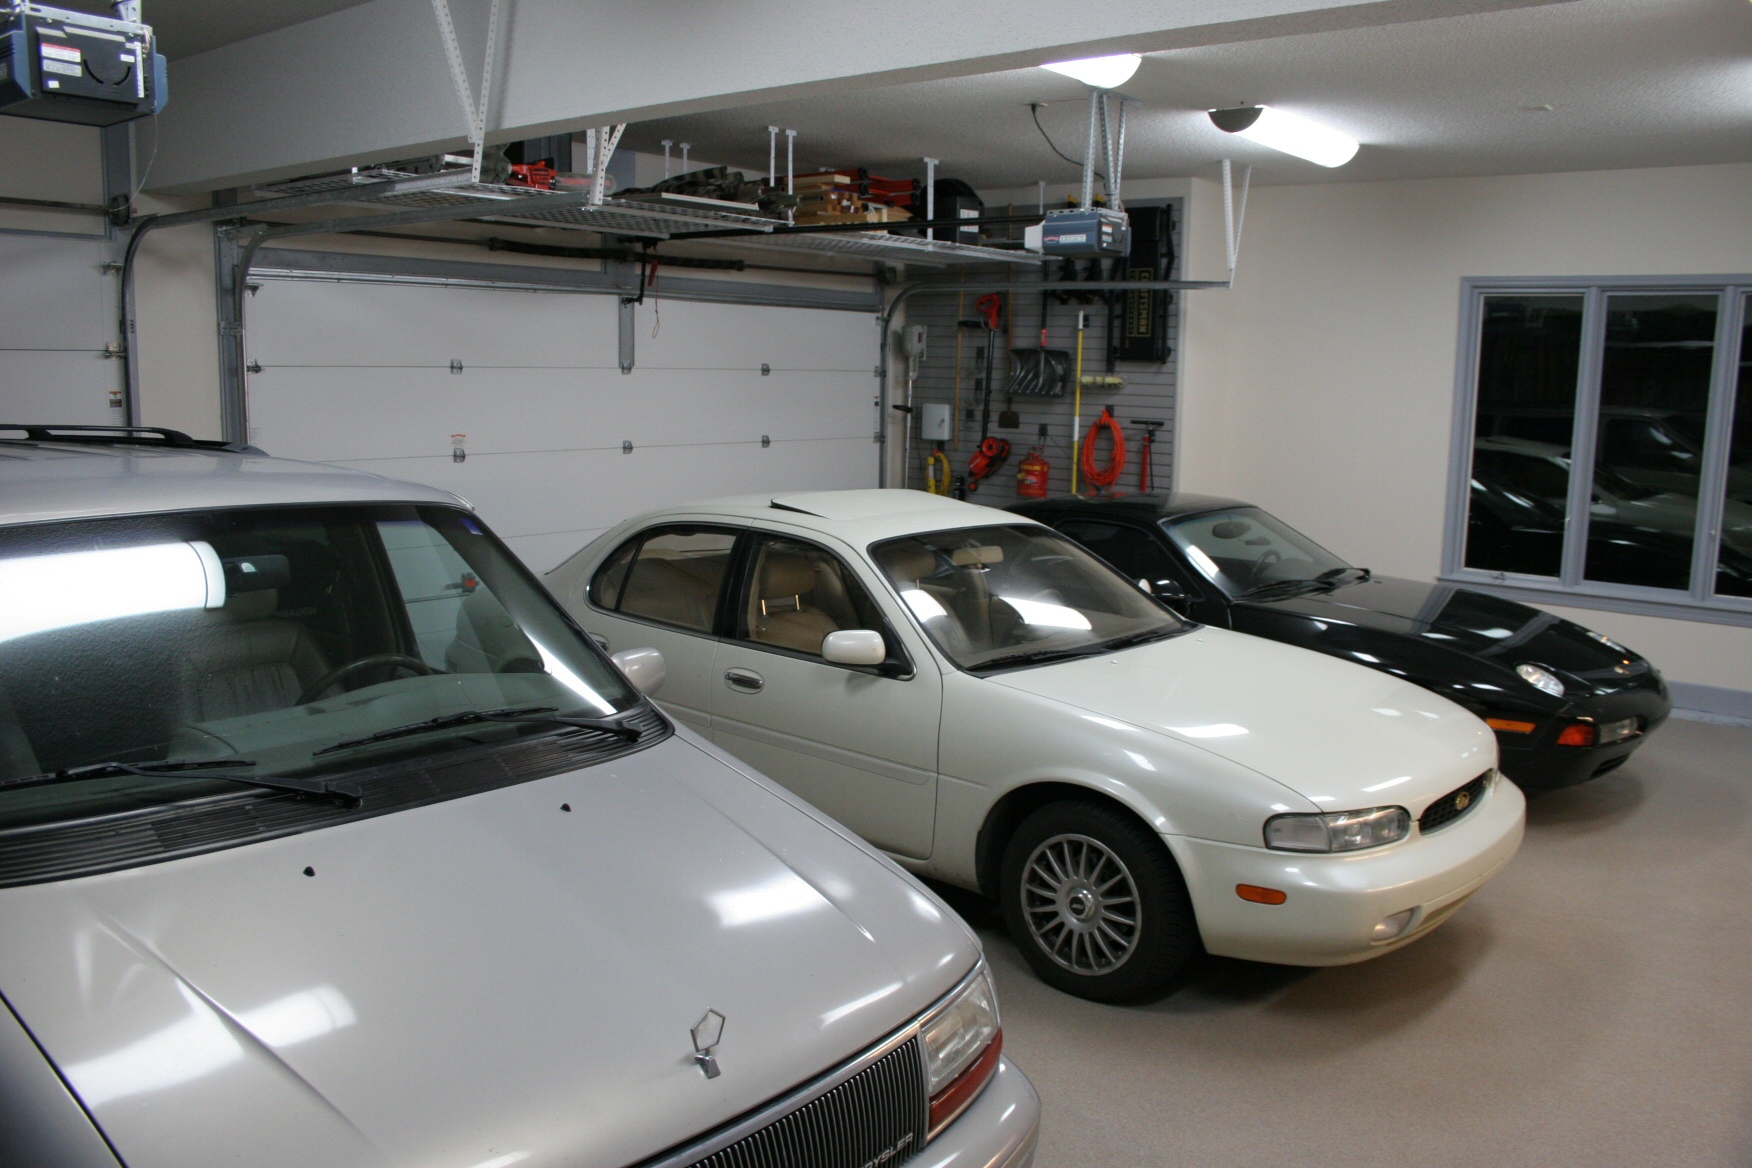
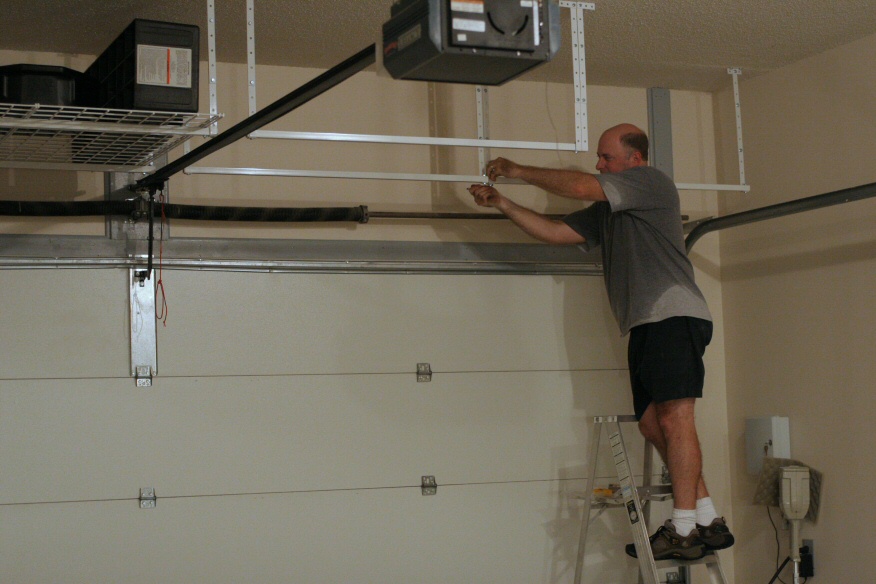
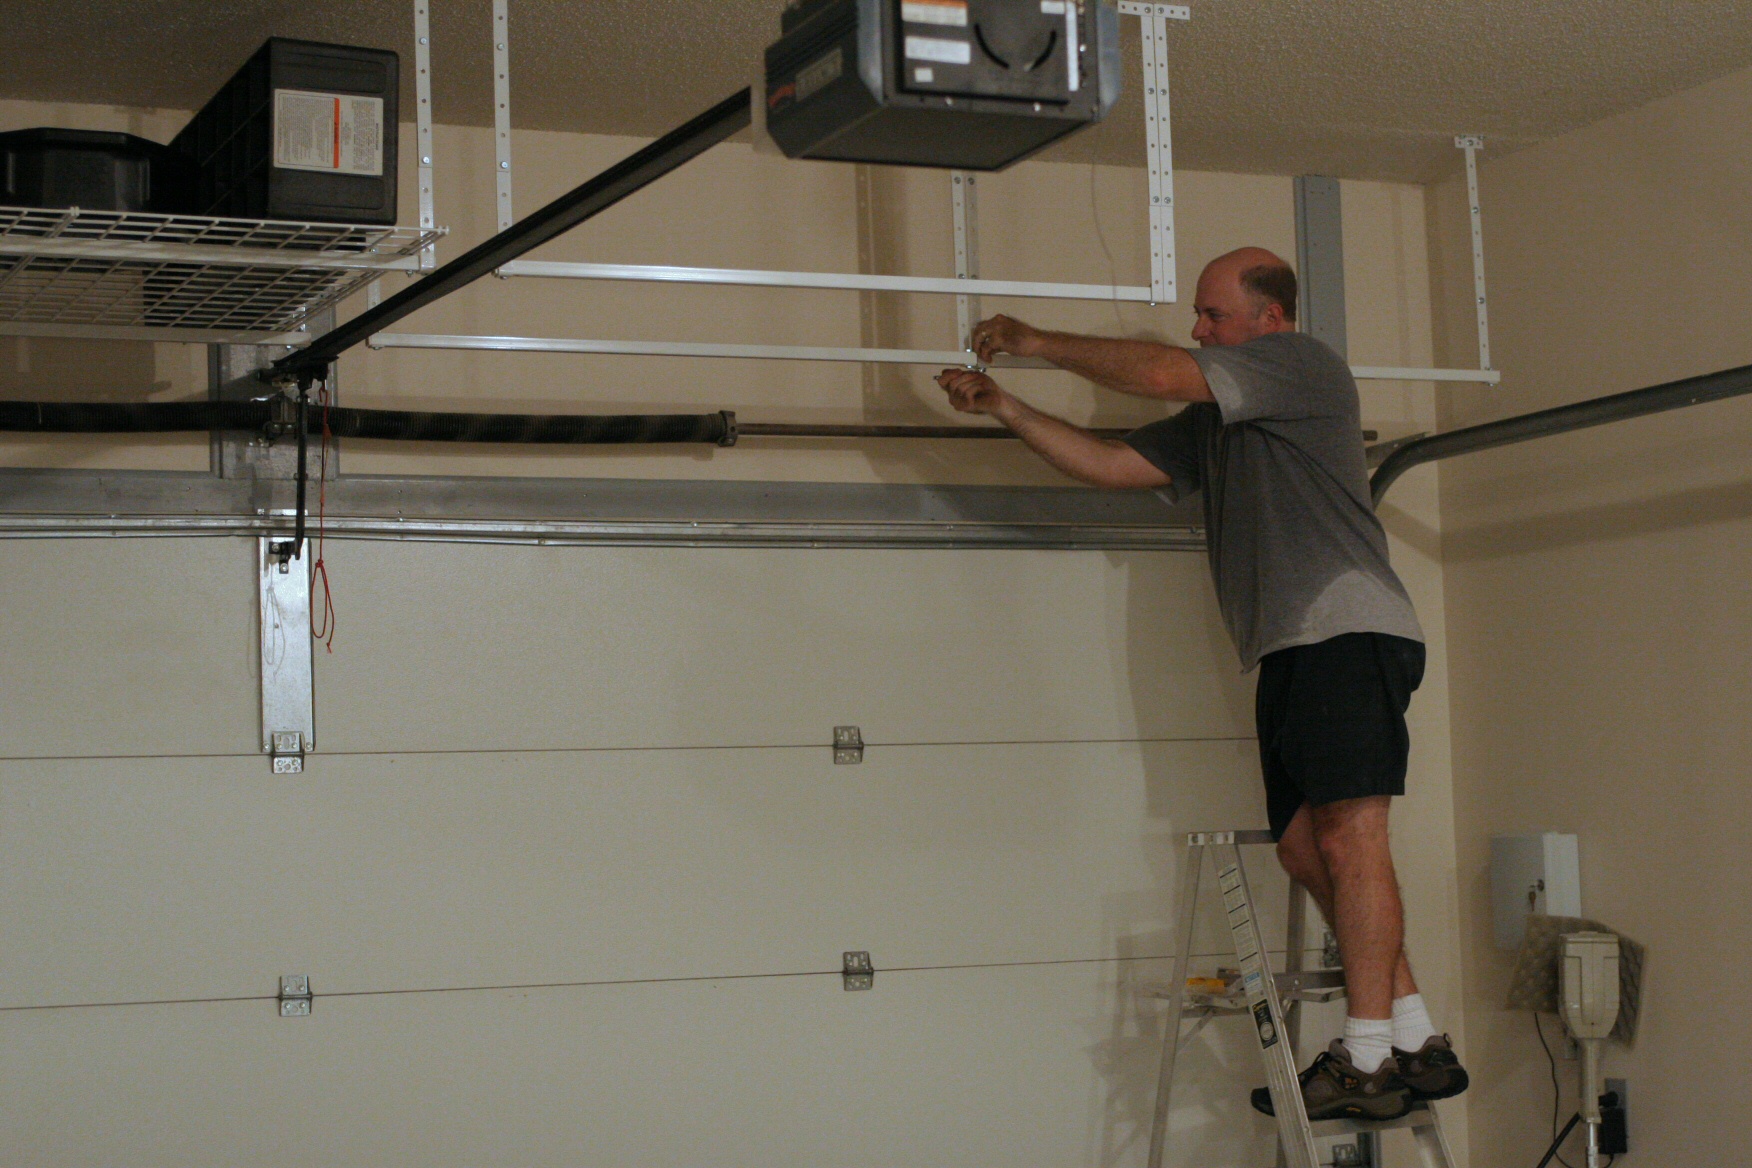
Overhead Storage
Installed four Hyloft hanging shelves, each approximately 4 ft. square, over
the large garage door.
 |
| IMG_1266: [medium | large | huge] |
| Installing the hangers for the Hyloft units. Air ratchet made
installation of the lag bolts a snap! |
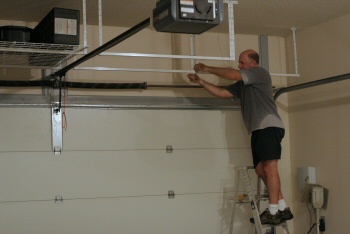 |
| IMG_1267: [medium | large | huge] |
| Wide view shows part of one of the completed units on the left (already
accumulating stuff!) Also note the sweaty shirt. It was one of
these 100 degree, high humidity afternoons! |
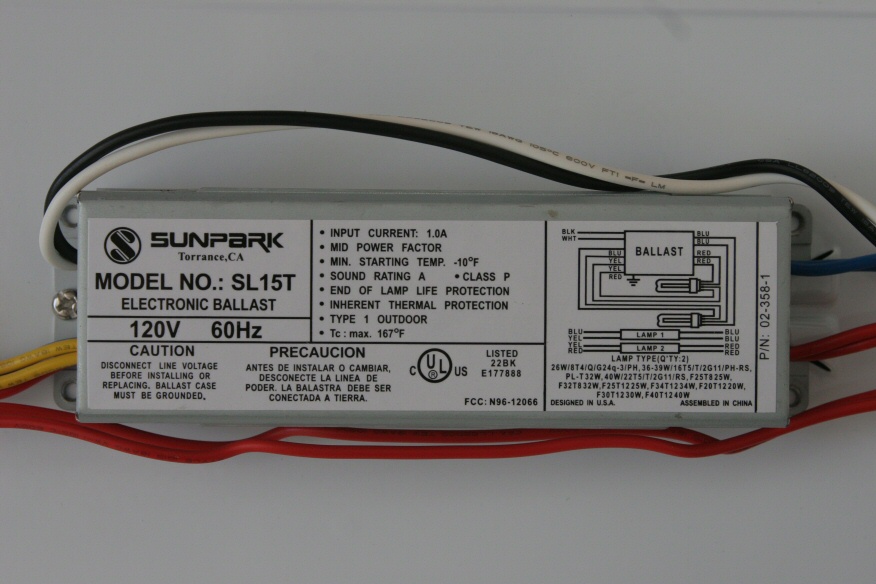
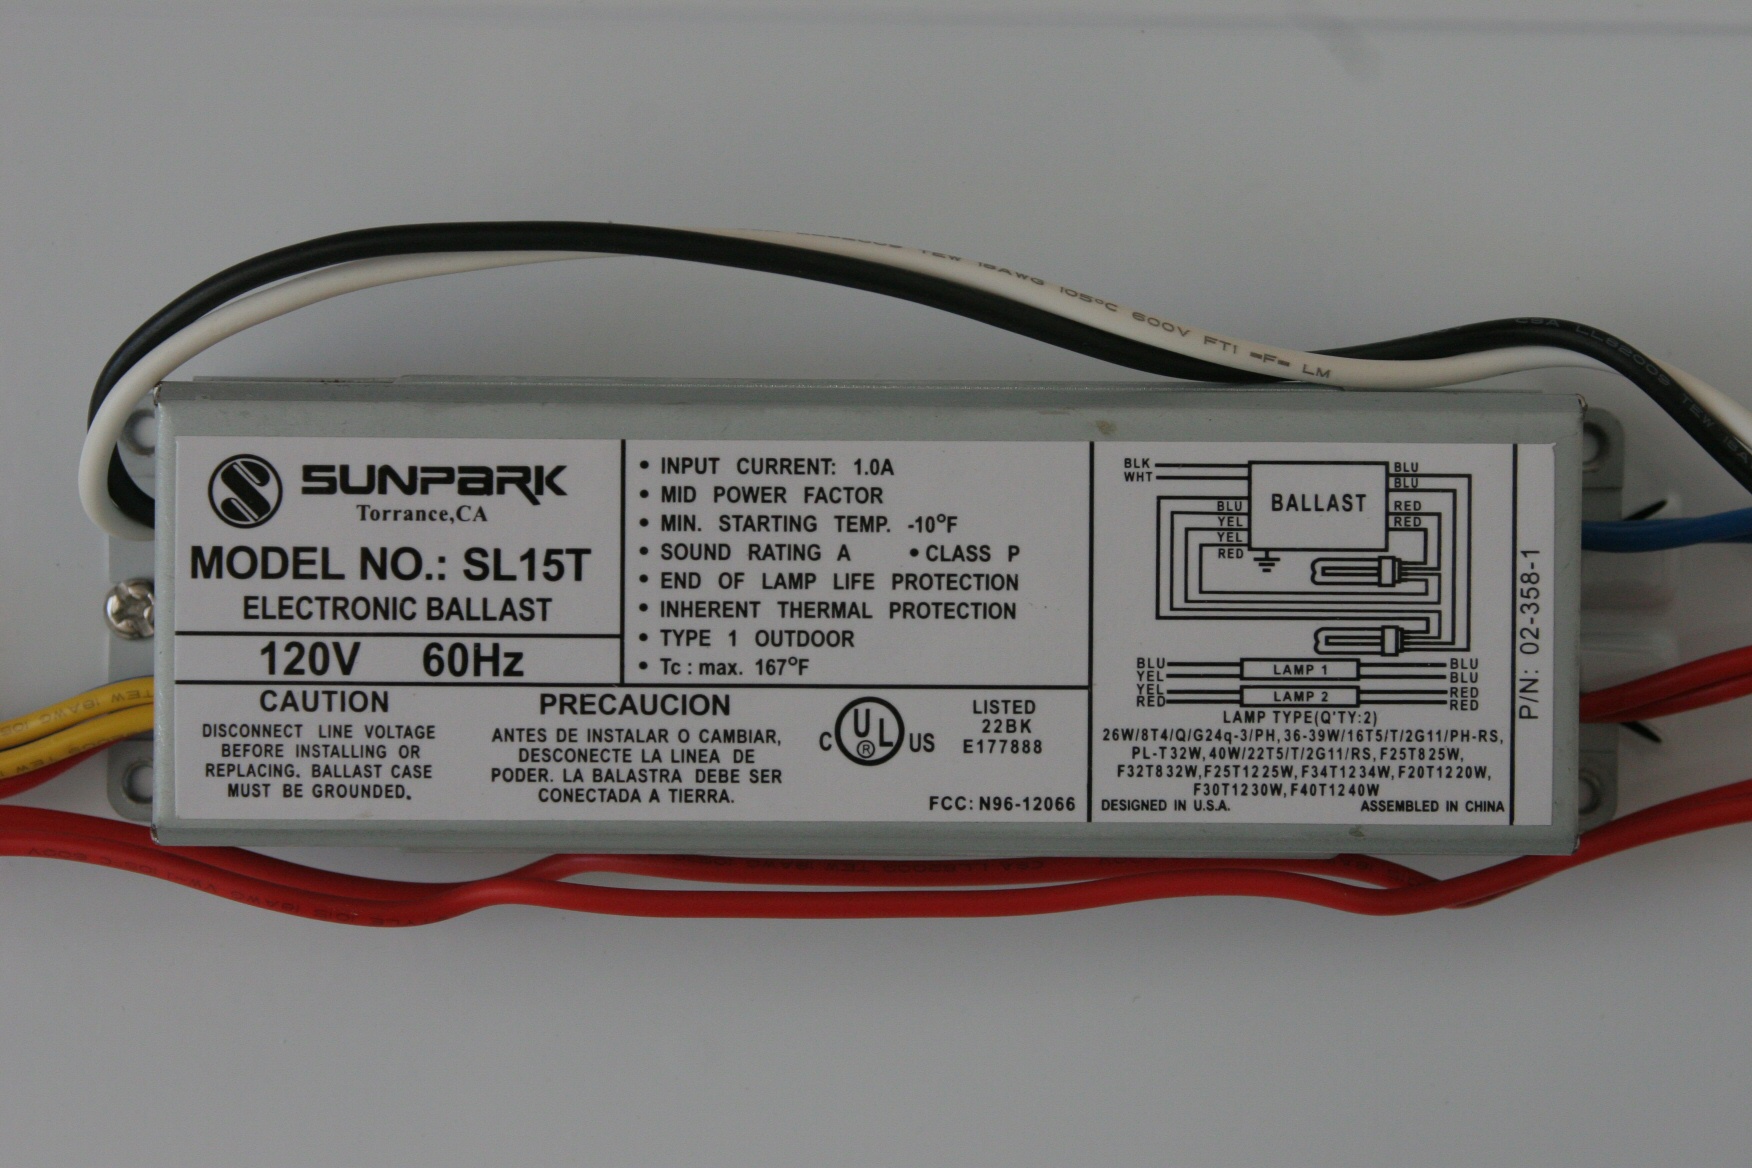
Lighting
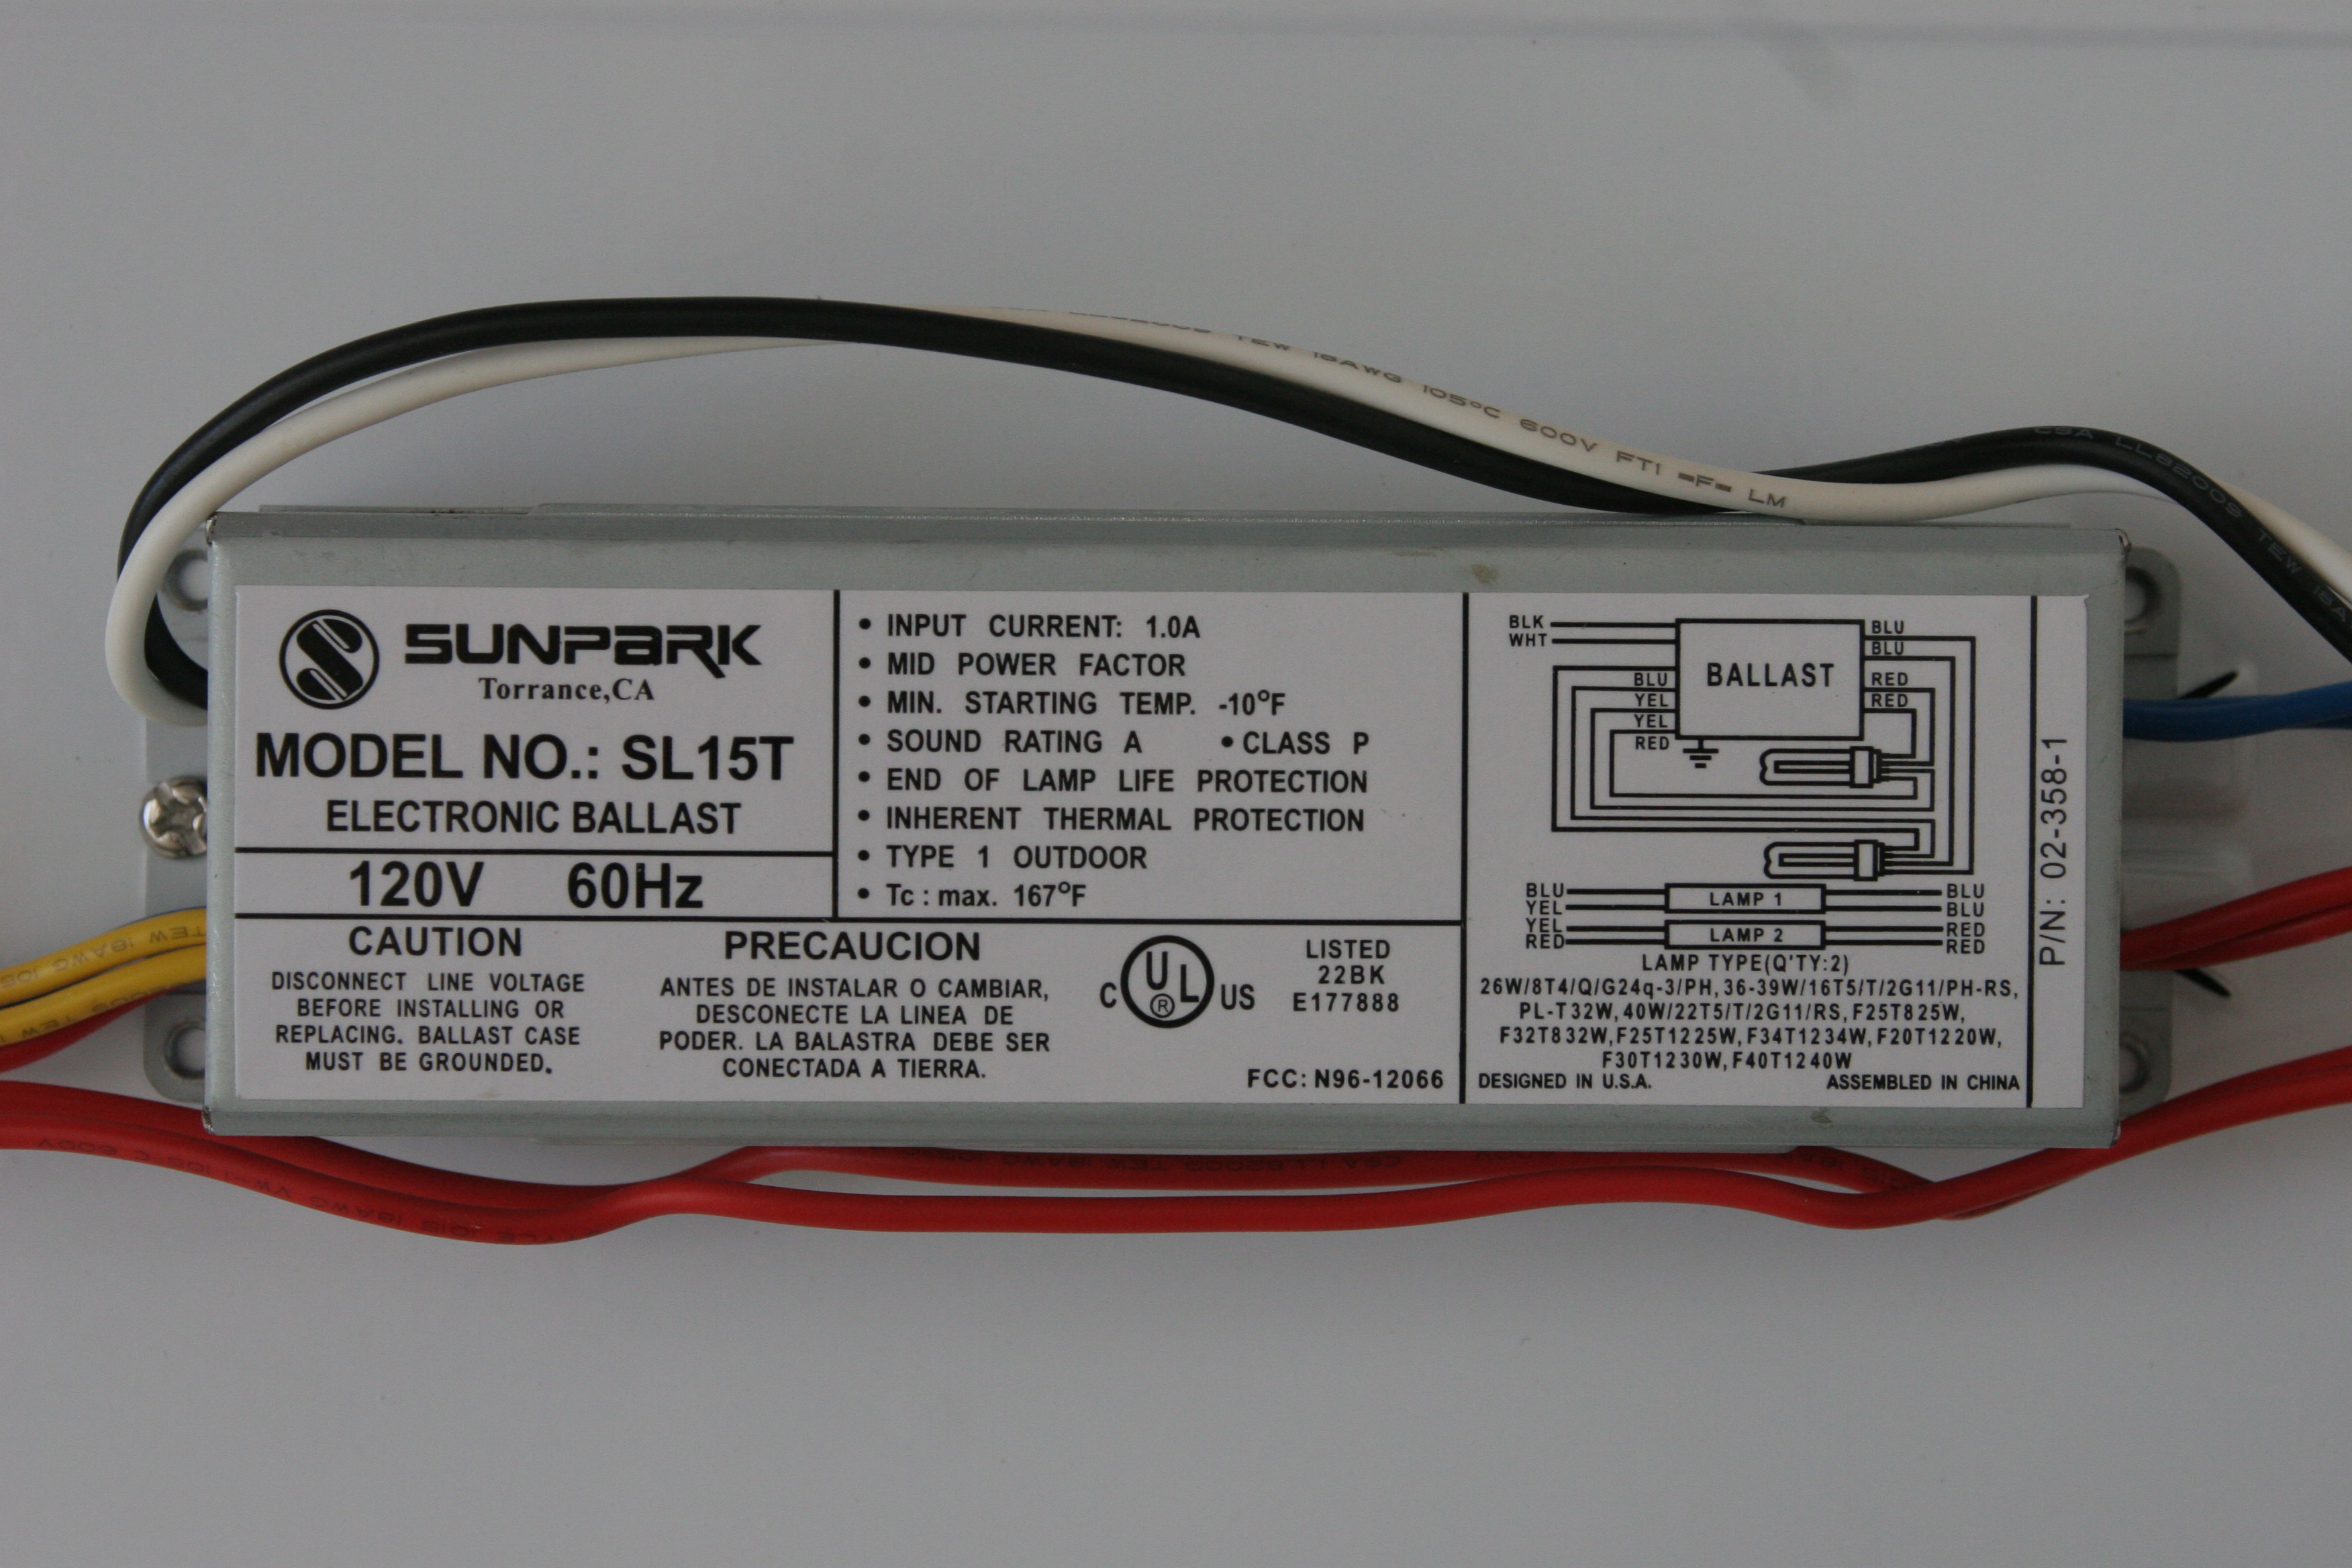
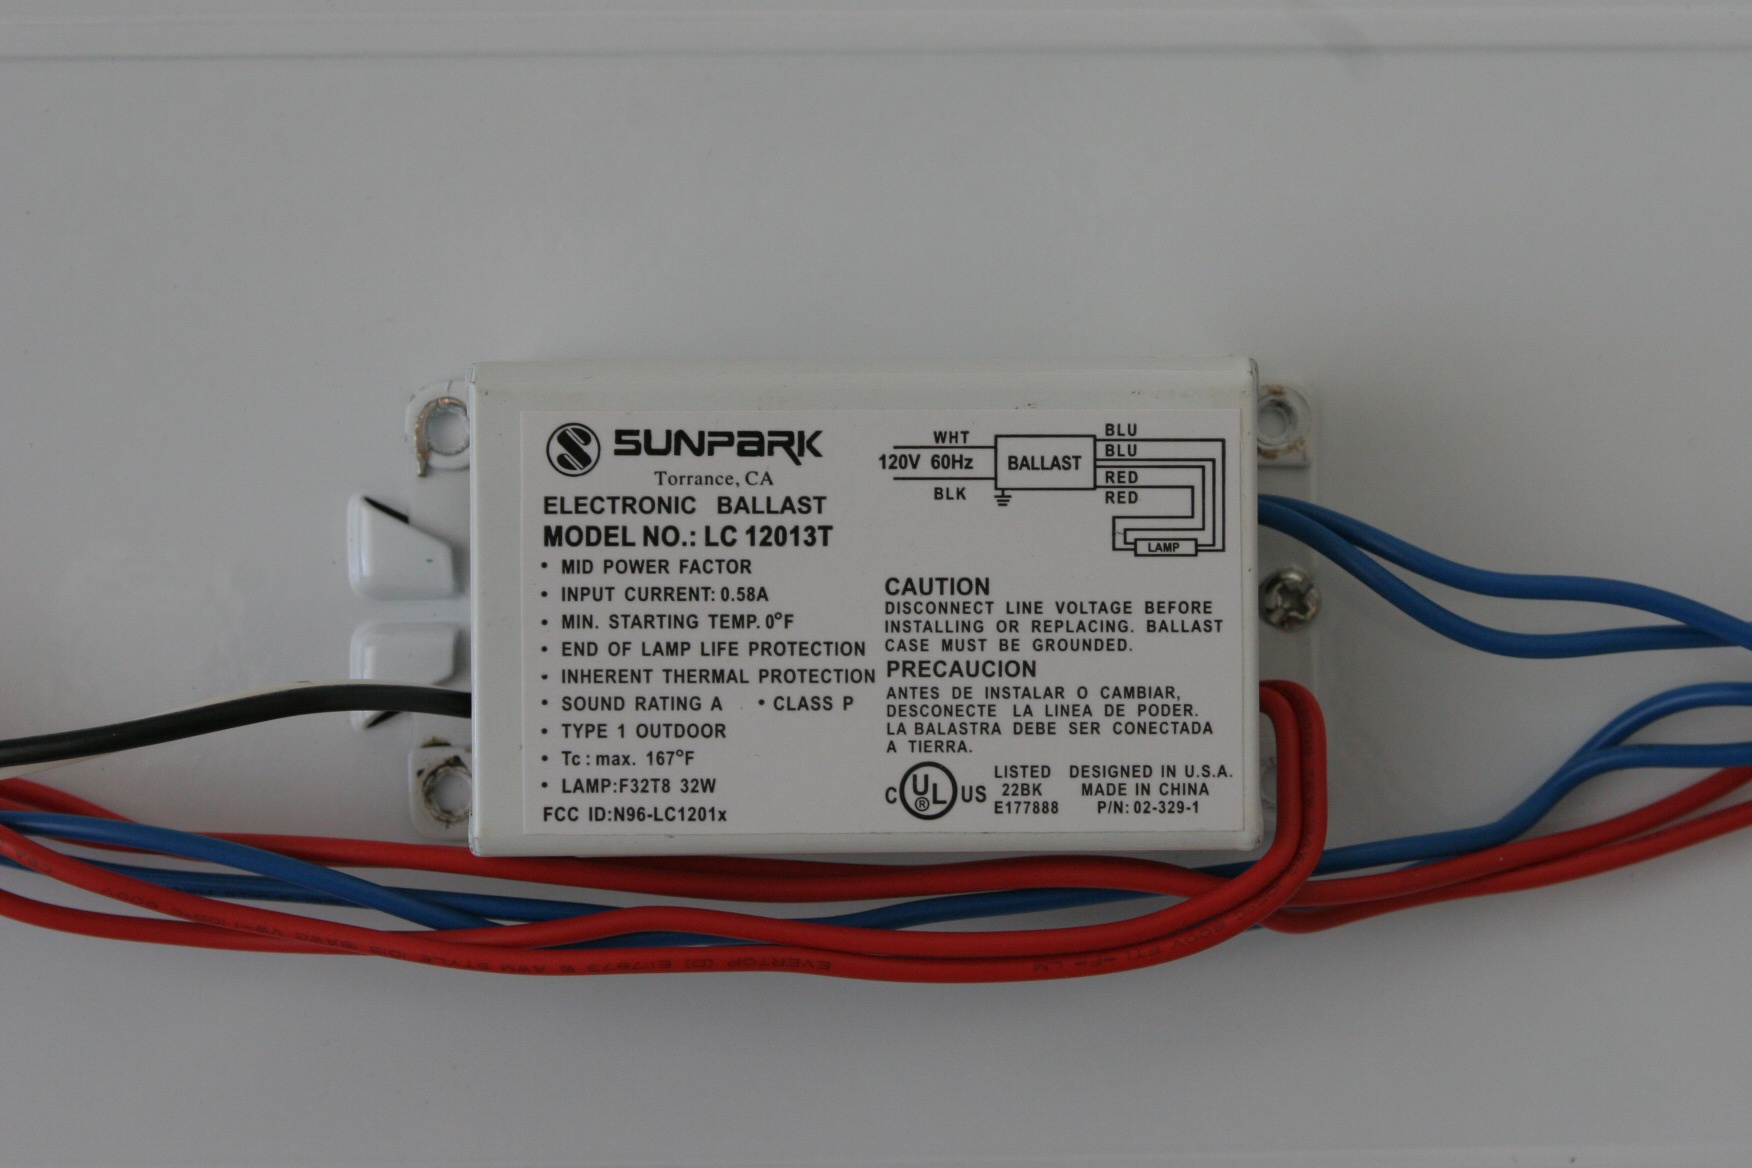
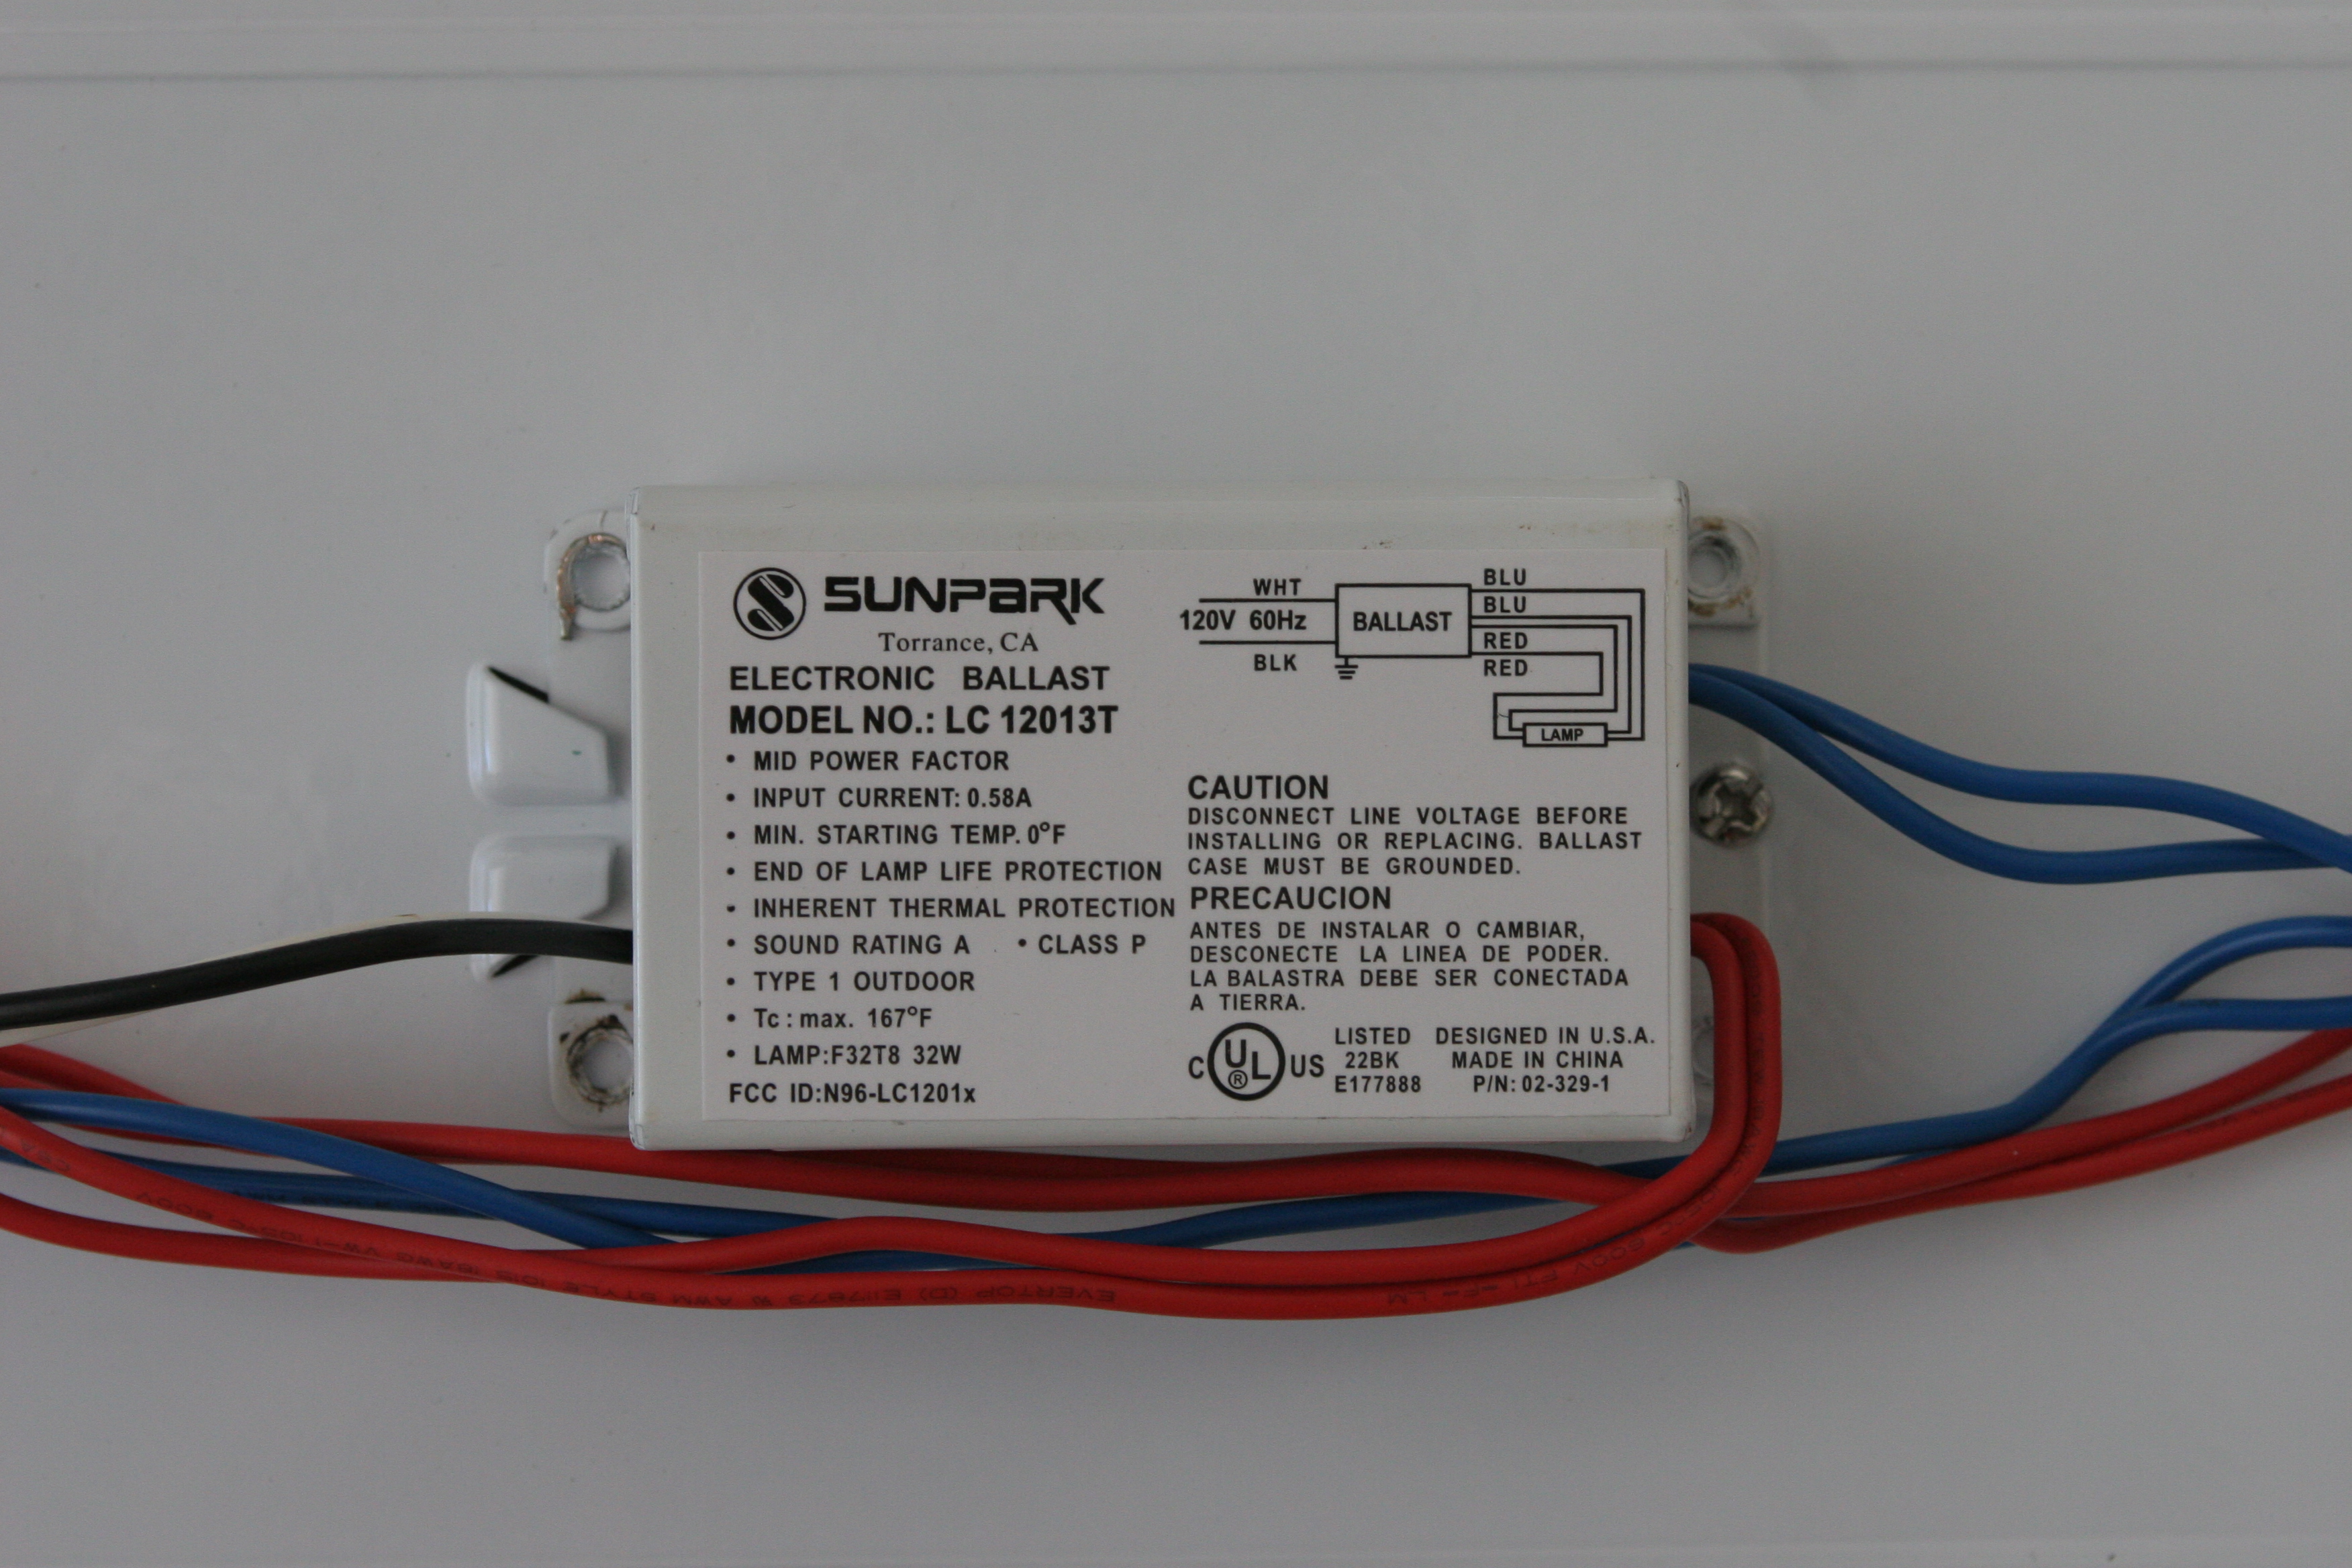
Replaced the six simple incandescent fixtures with fairly nice flush-mount fluorescent
fixtures, each with three 32 W F32T8 fluorescent tubes. The fixtures are Hampton
Bay model CO1248; this might be the same as Thomas Lighting SL7061-78 (available at Amazon.com) or Maxim Lighting 85538WTSN. That gives the garage ceiling a total of 576 W of fluorescent lighting:
it's like daytime out there any time of day (or night!) now. Chose GE
"sunshine" 5000 K
fluorescent tubes, which gives the garage a very "daylight" appearance
when lit.
You can see them in a number of the photos in the "Completed
Garage" section above.
I was hoping that these would be tight enough so that bugs wouldn't get
in. Unfortunately, a few small bugs have already found their way in.
Only the small ones seem to be able to make it though. I'll probably just
do annual cleanings.
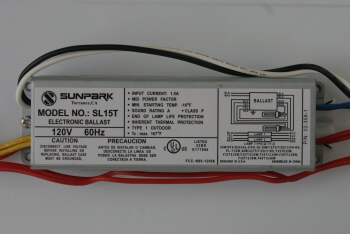
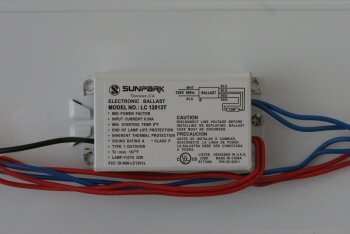
I was happy to discover that these fixtures did, in fact, have cold-start
ballasts (2 ballasts per fixture). This wasn't marked on the product packaging, and I was half
expecting to have to replace the ballasts if they wouldn't work on the coldest
winter days.
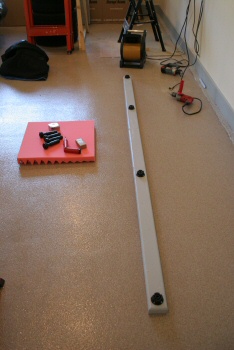
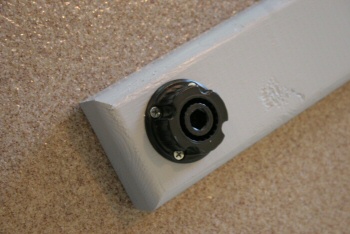
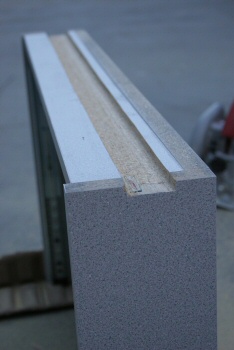
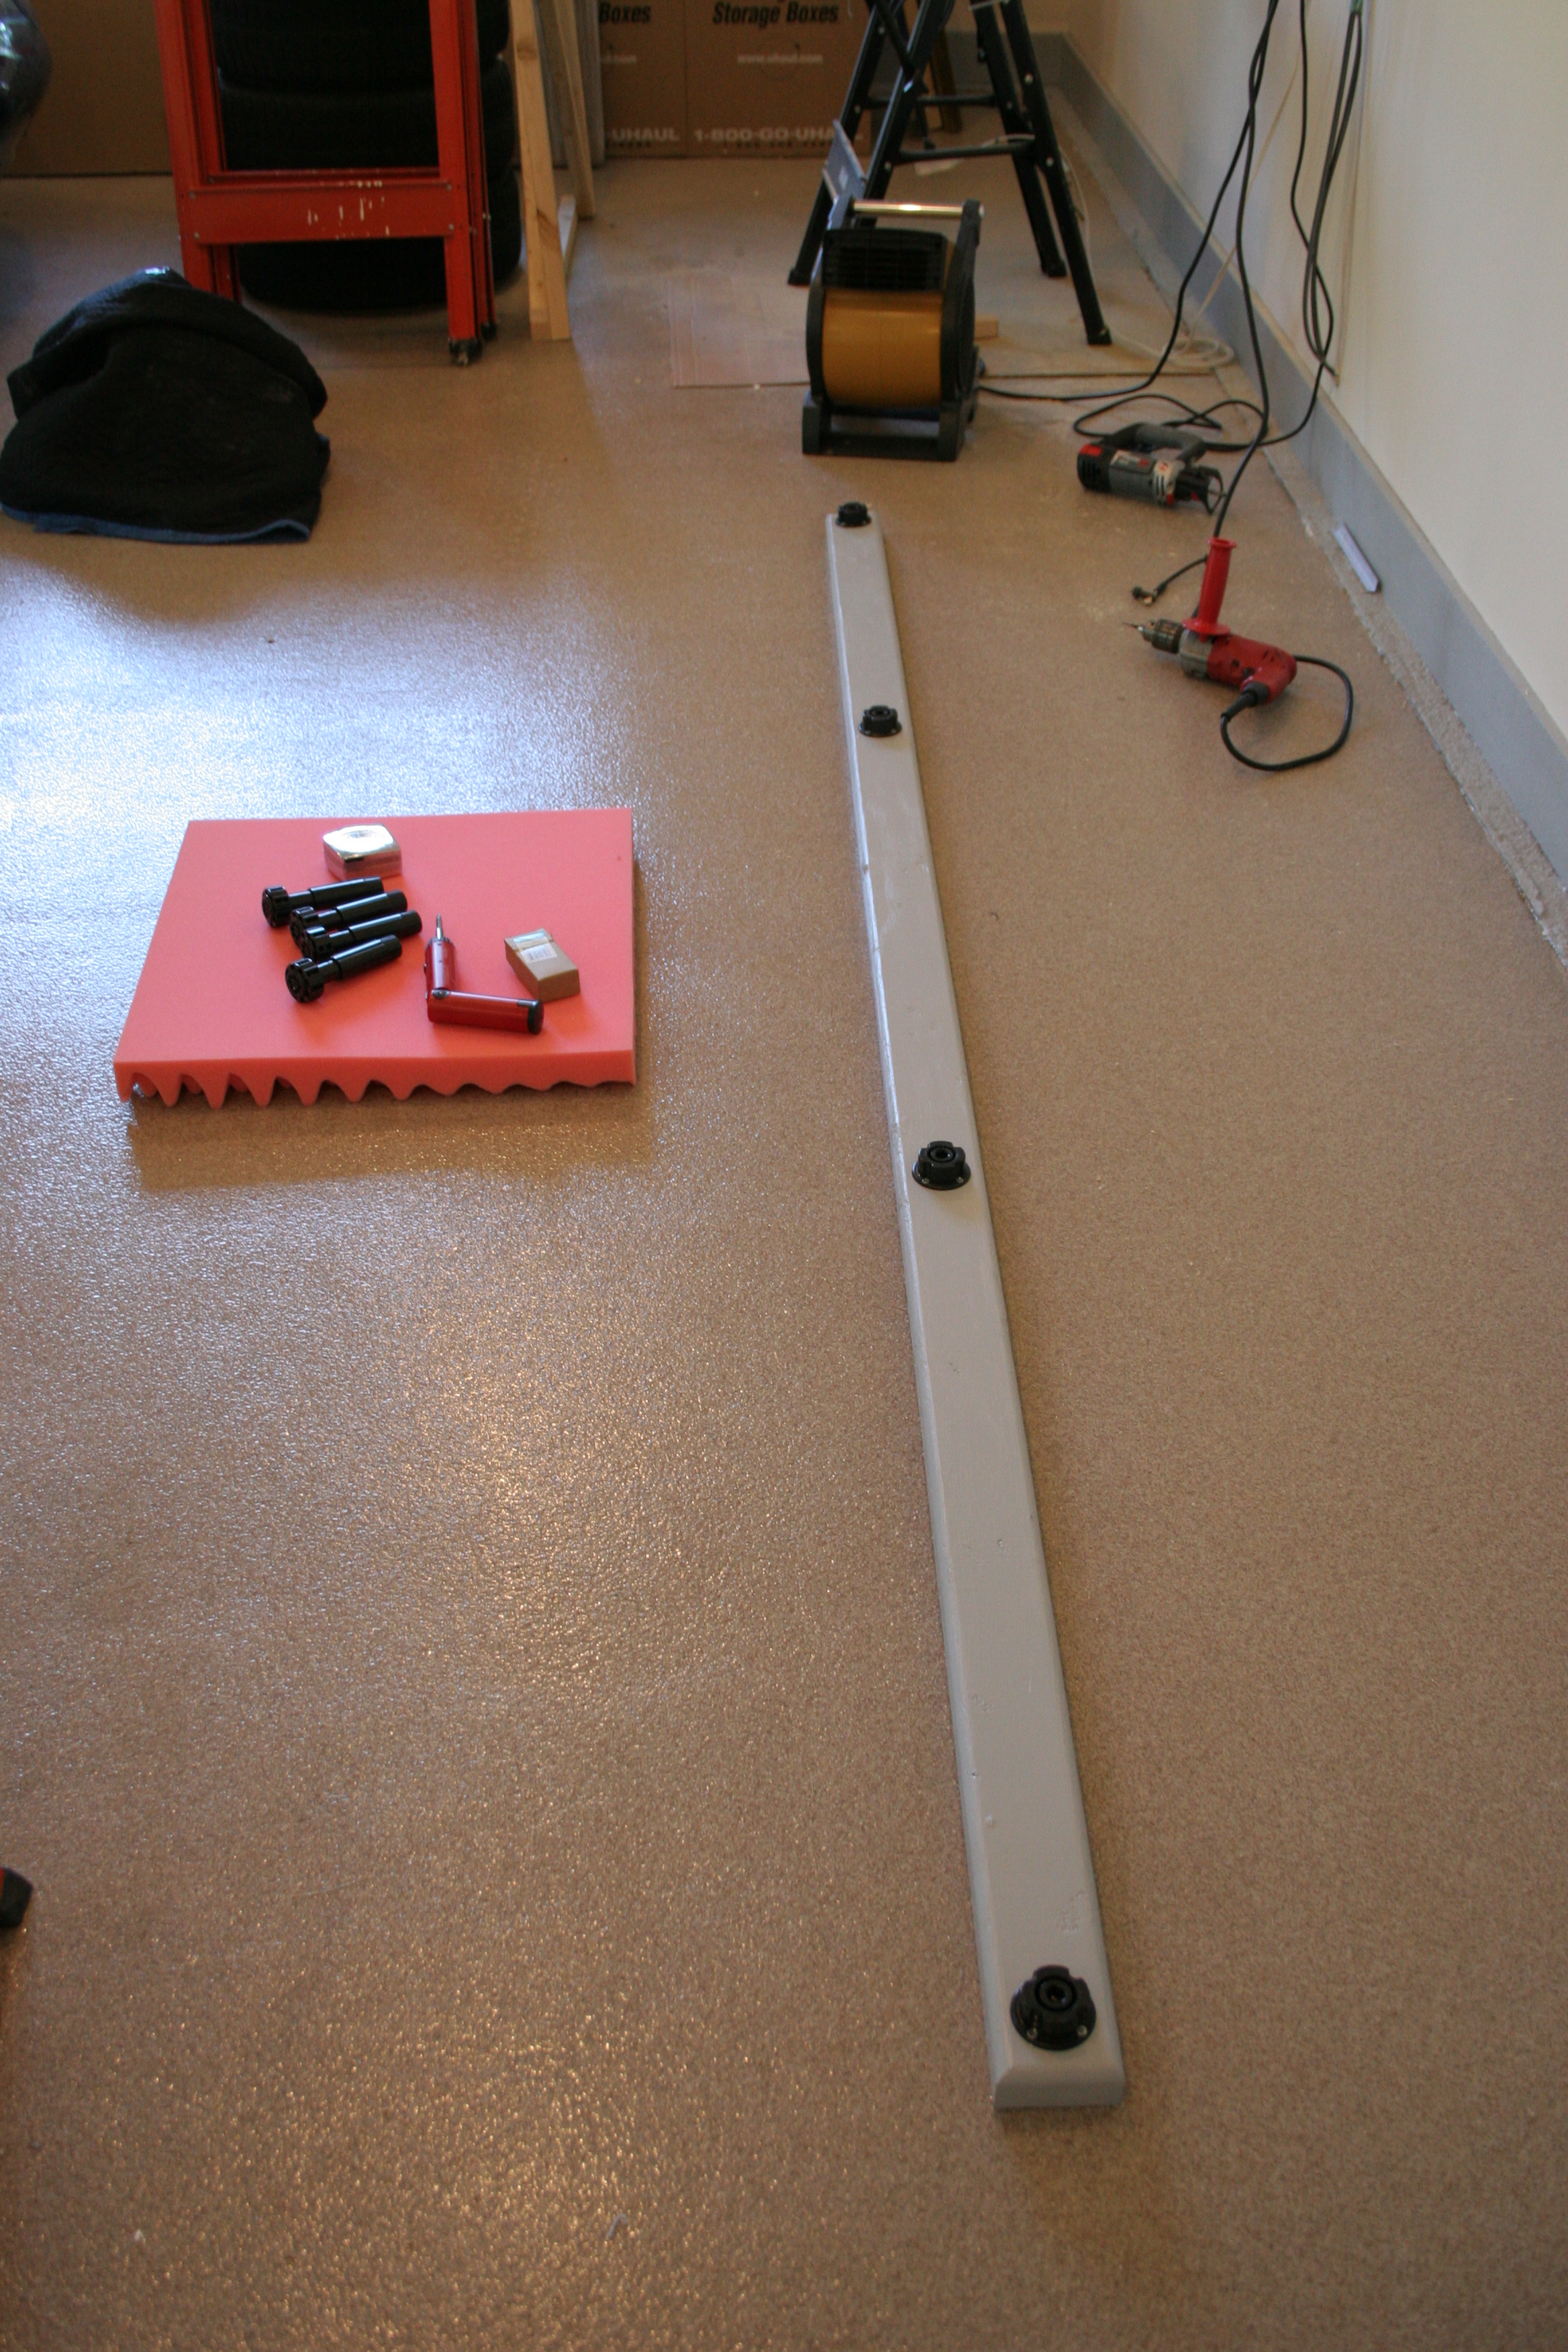
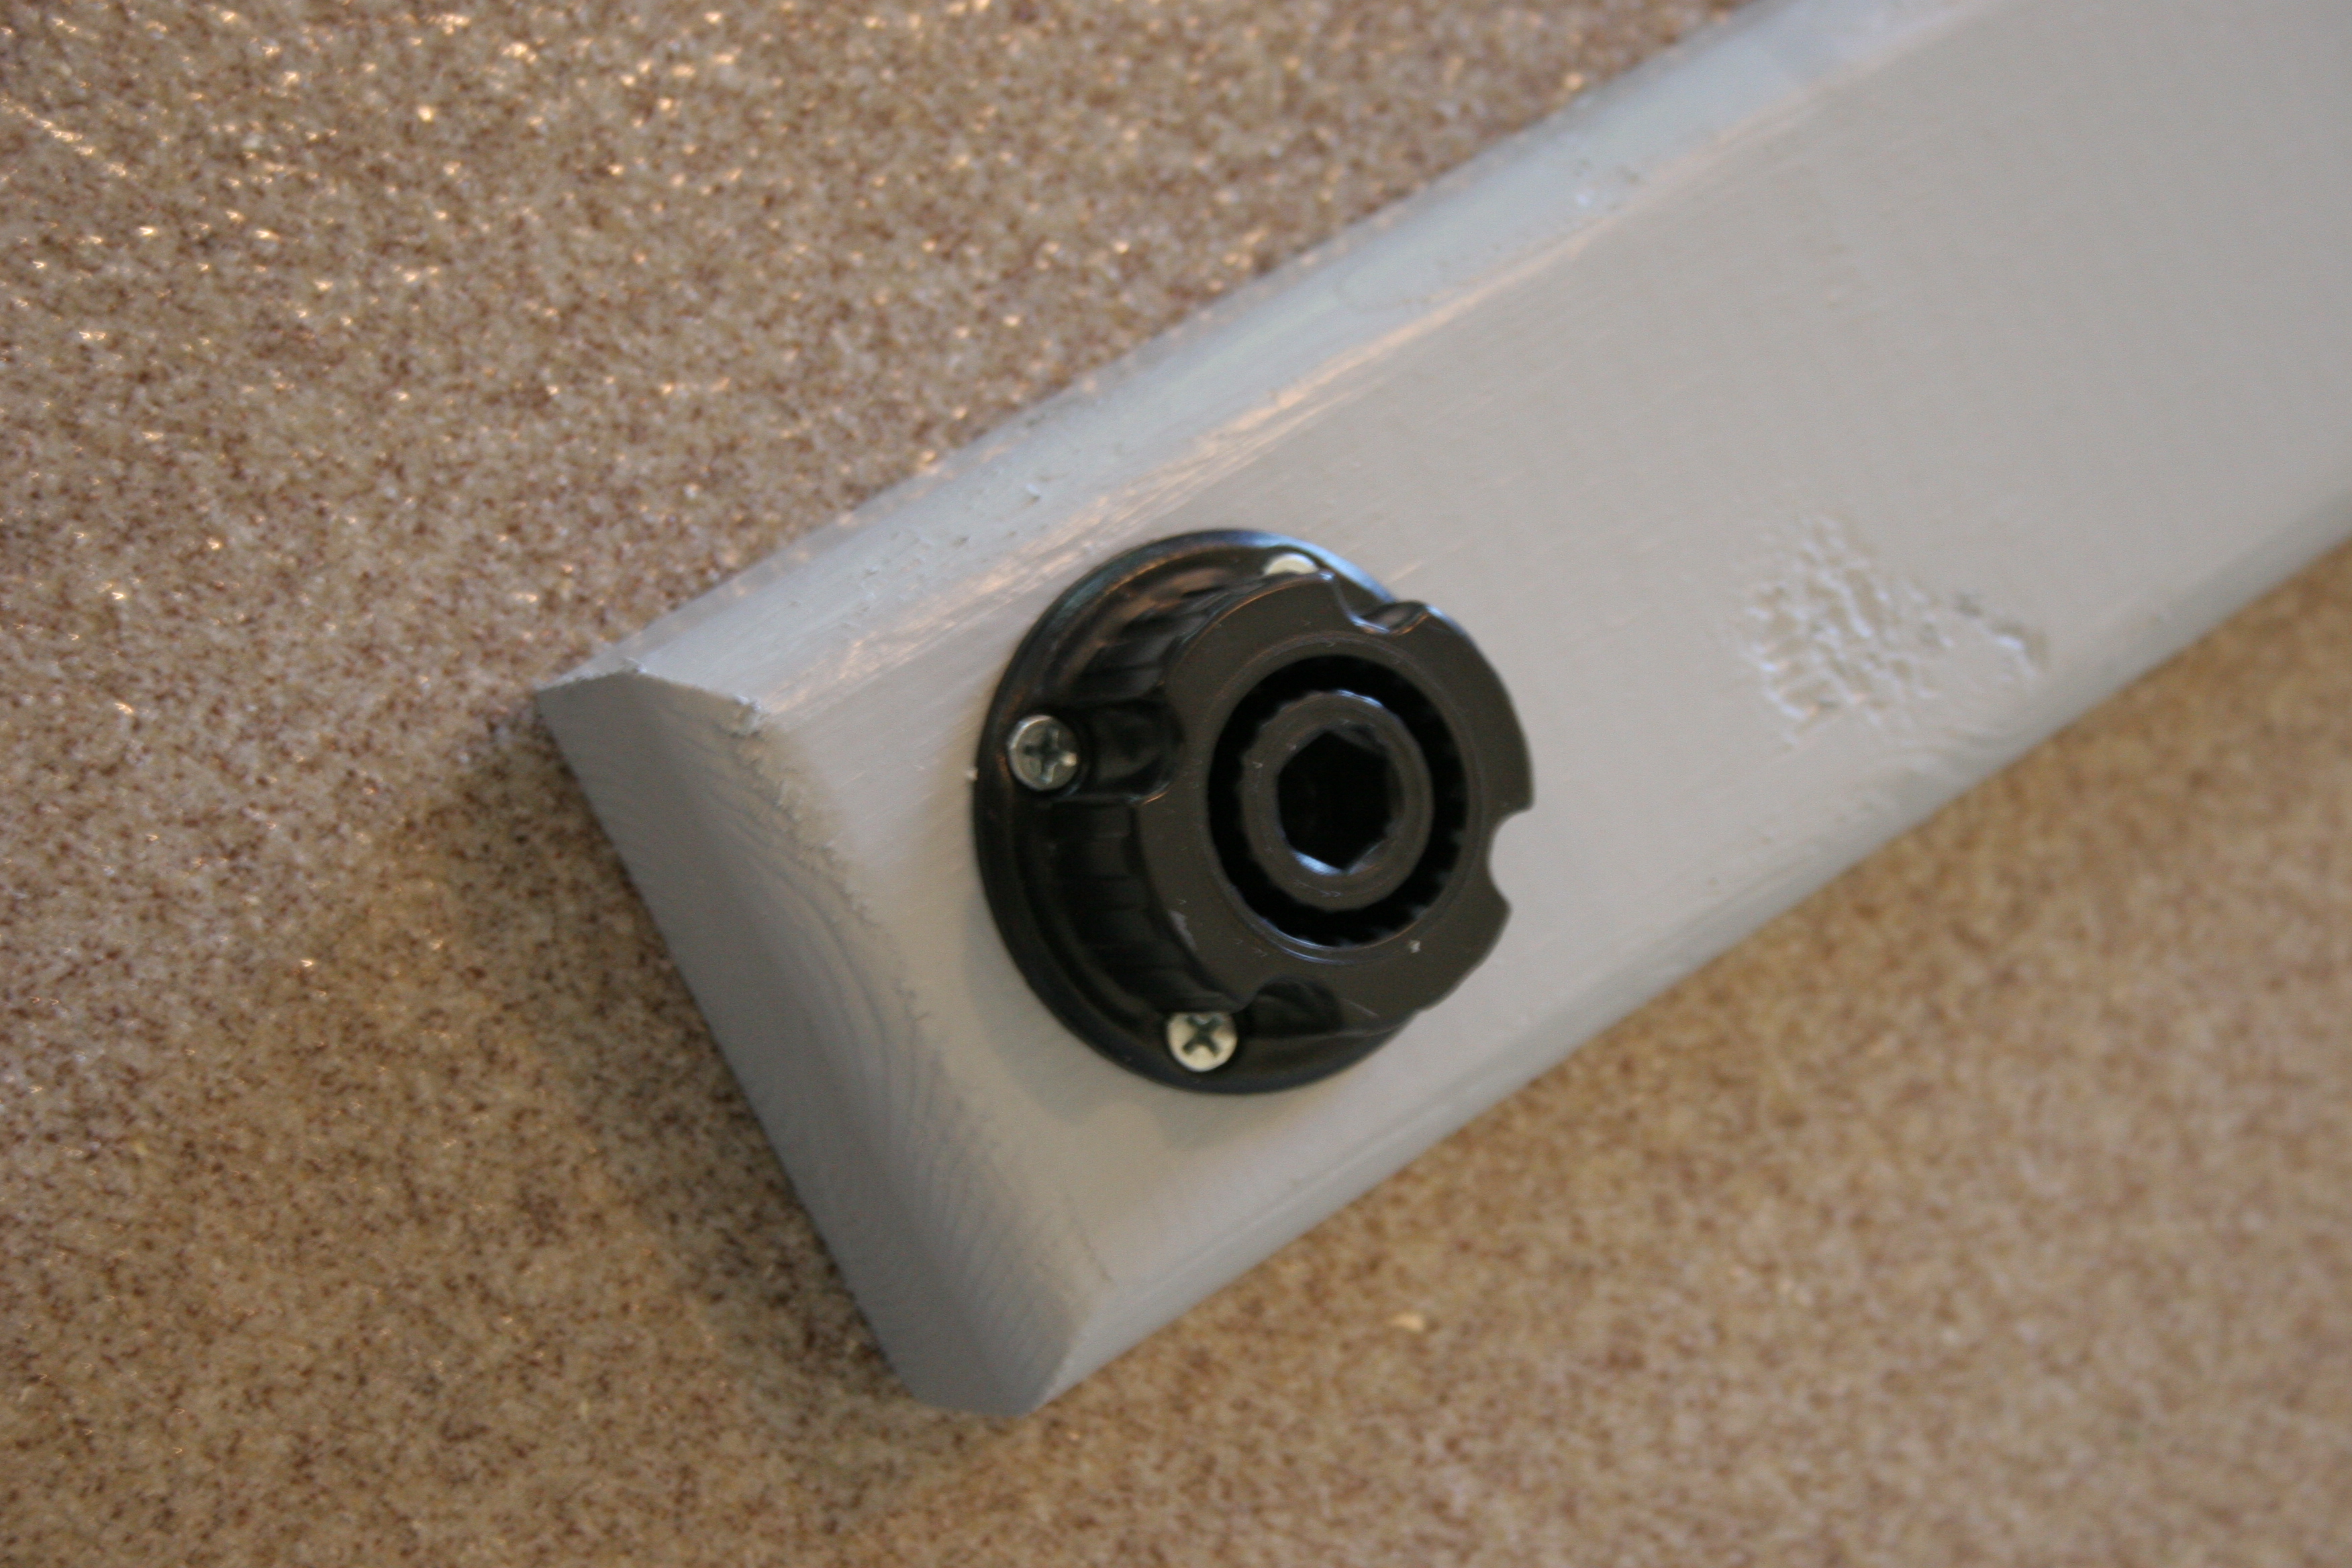
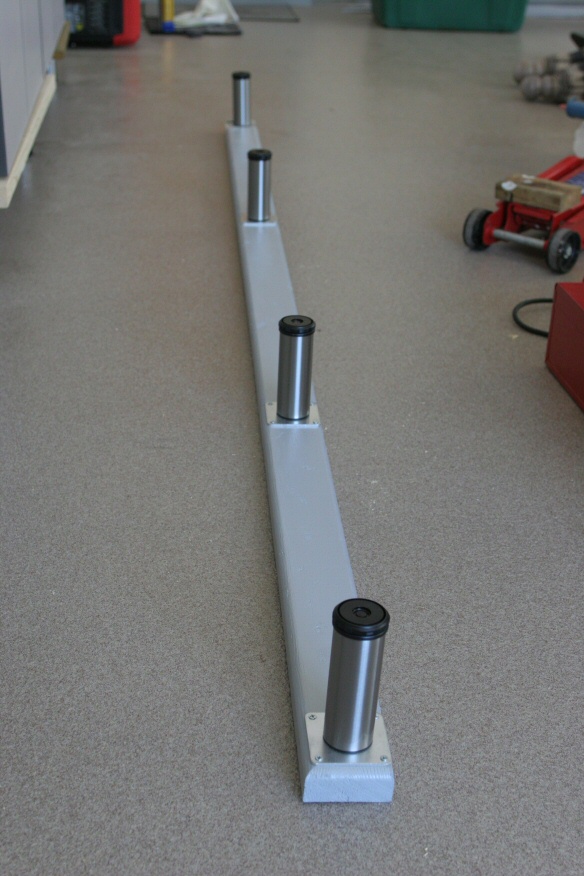
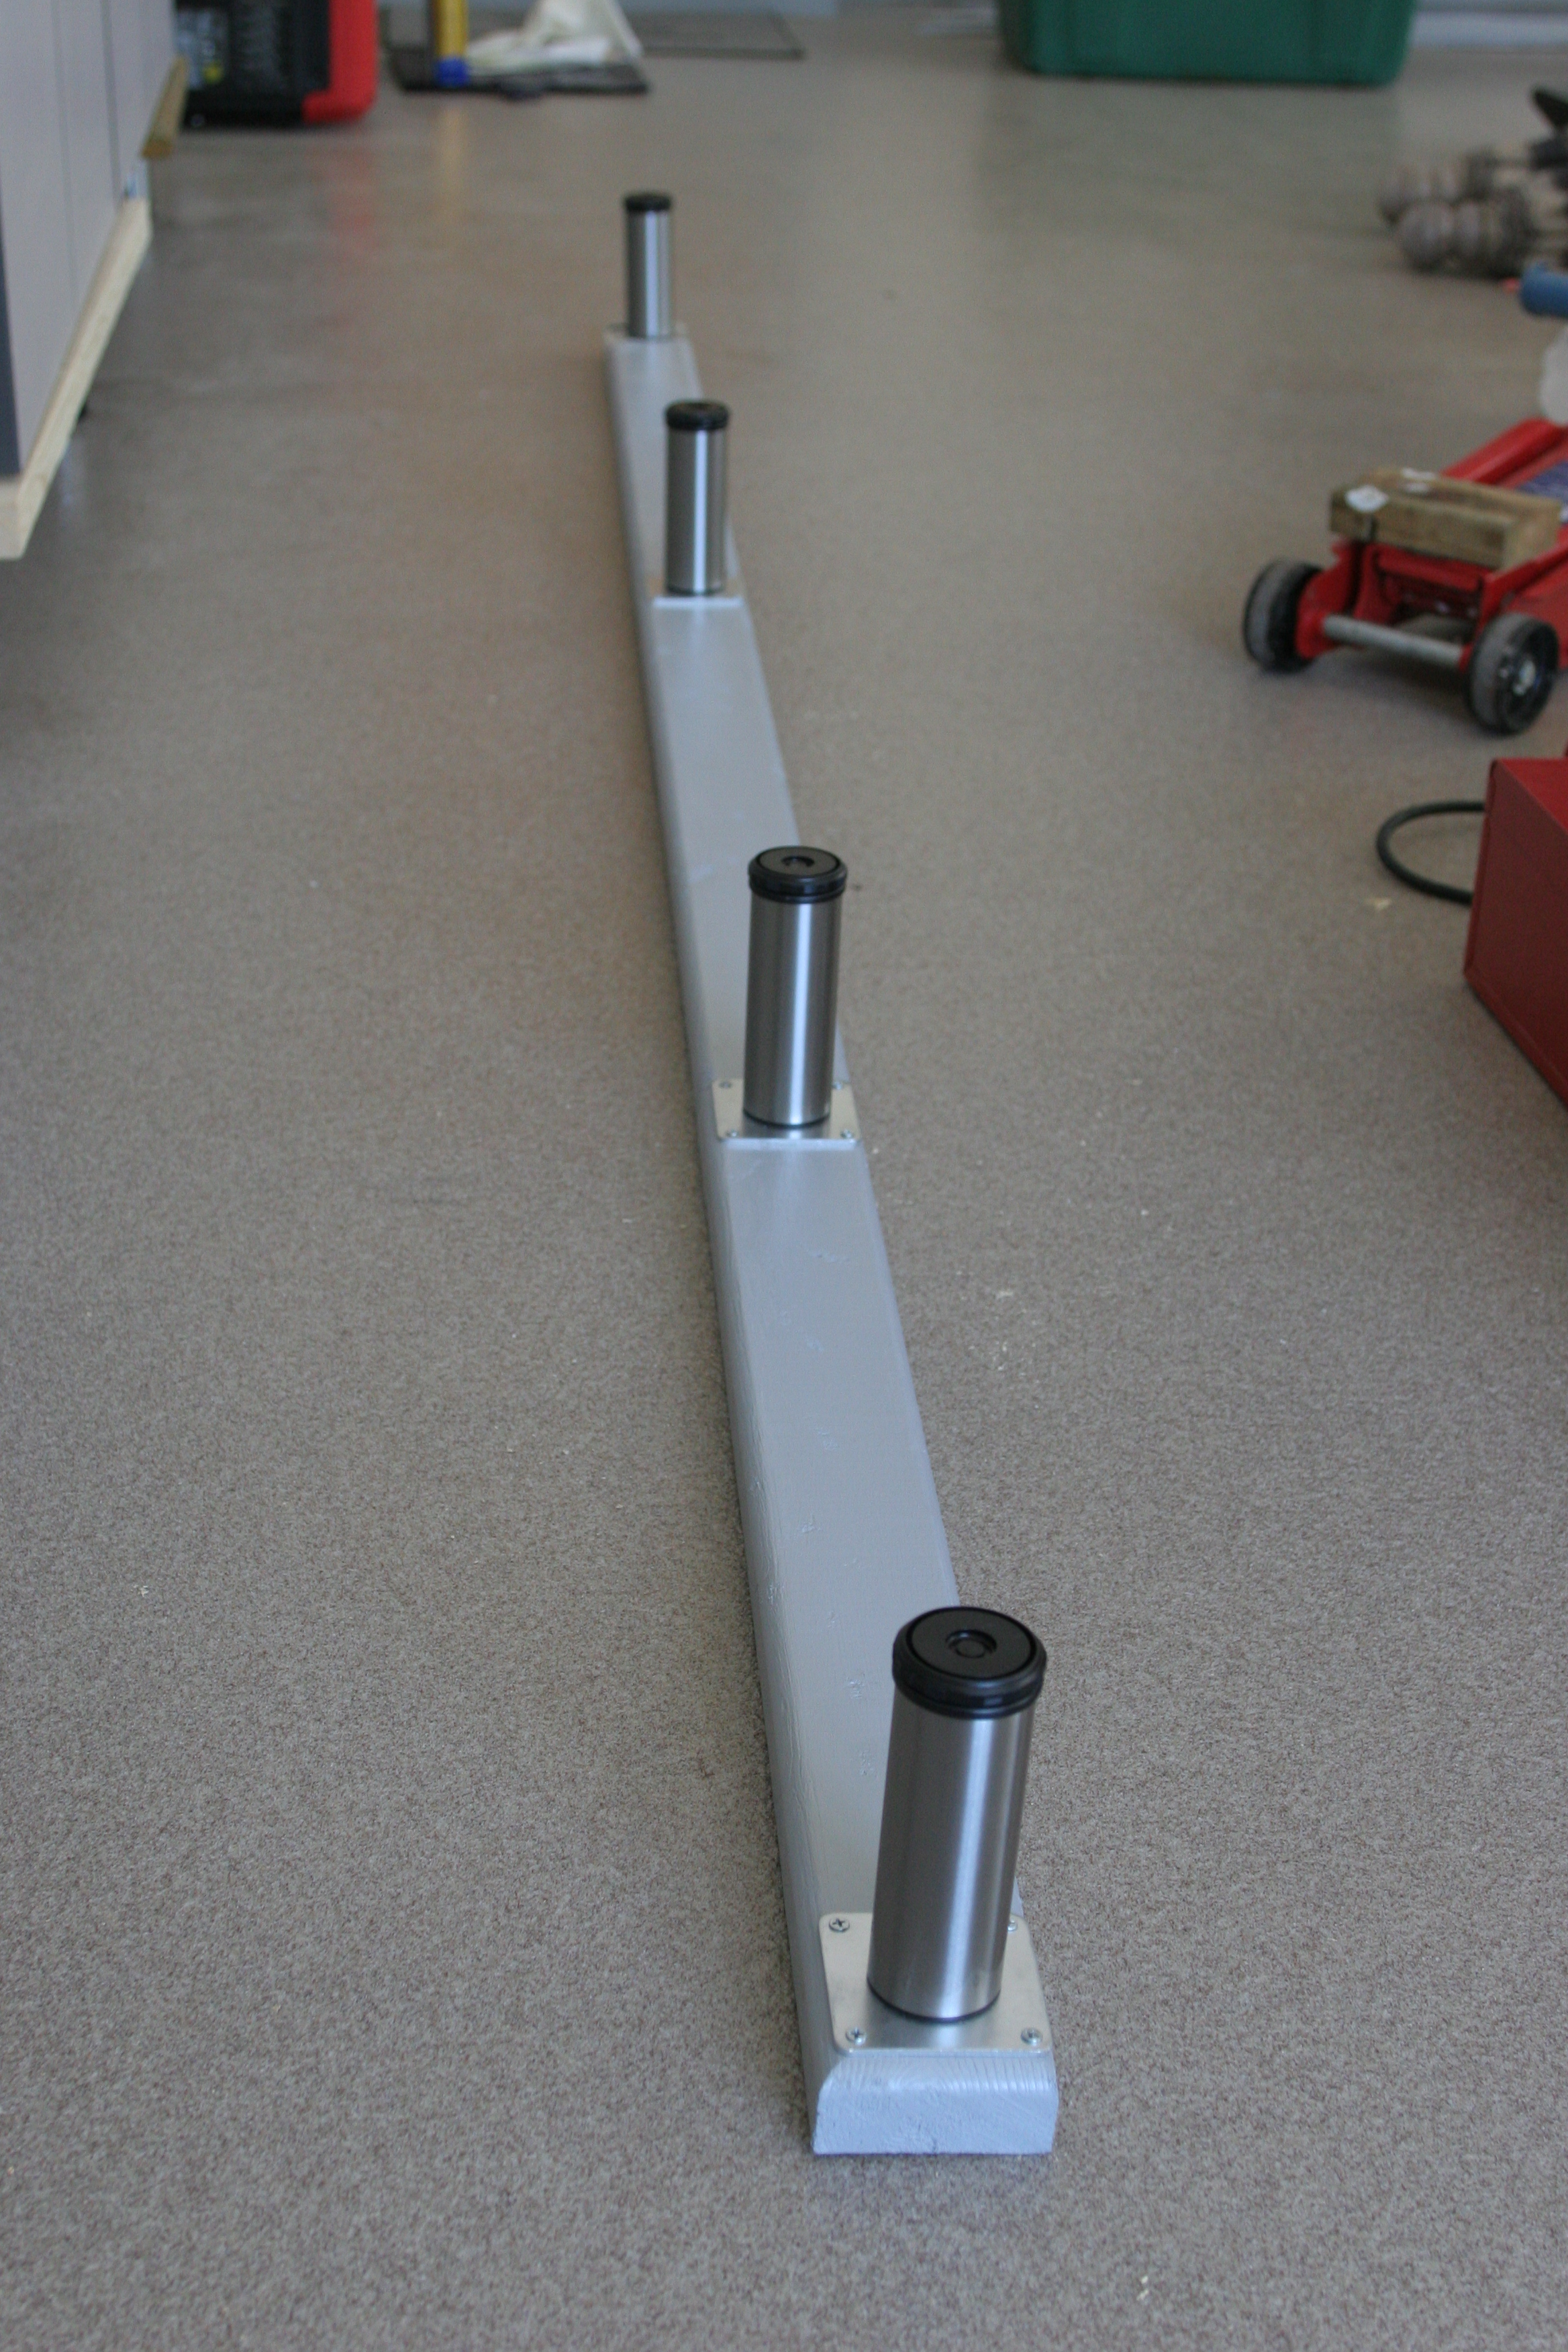
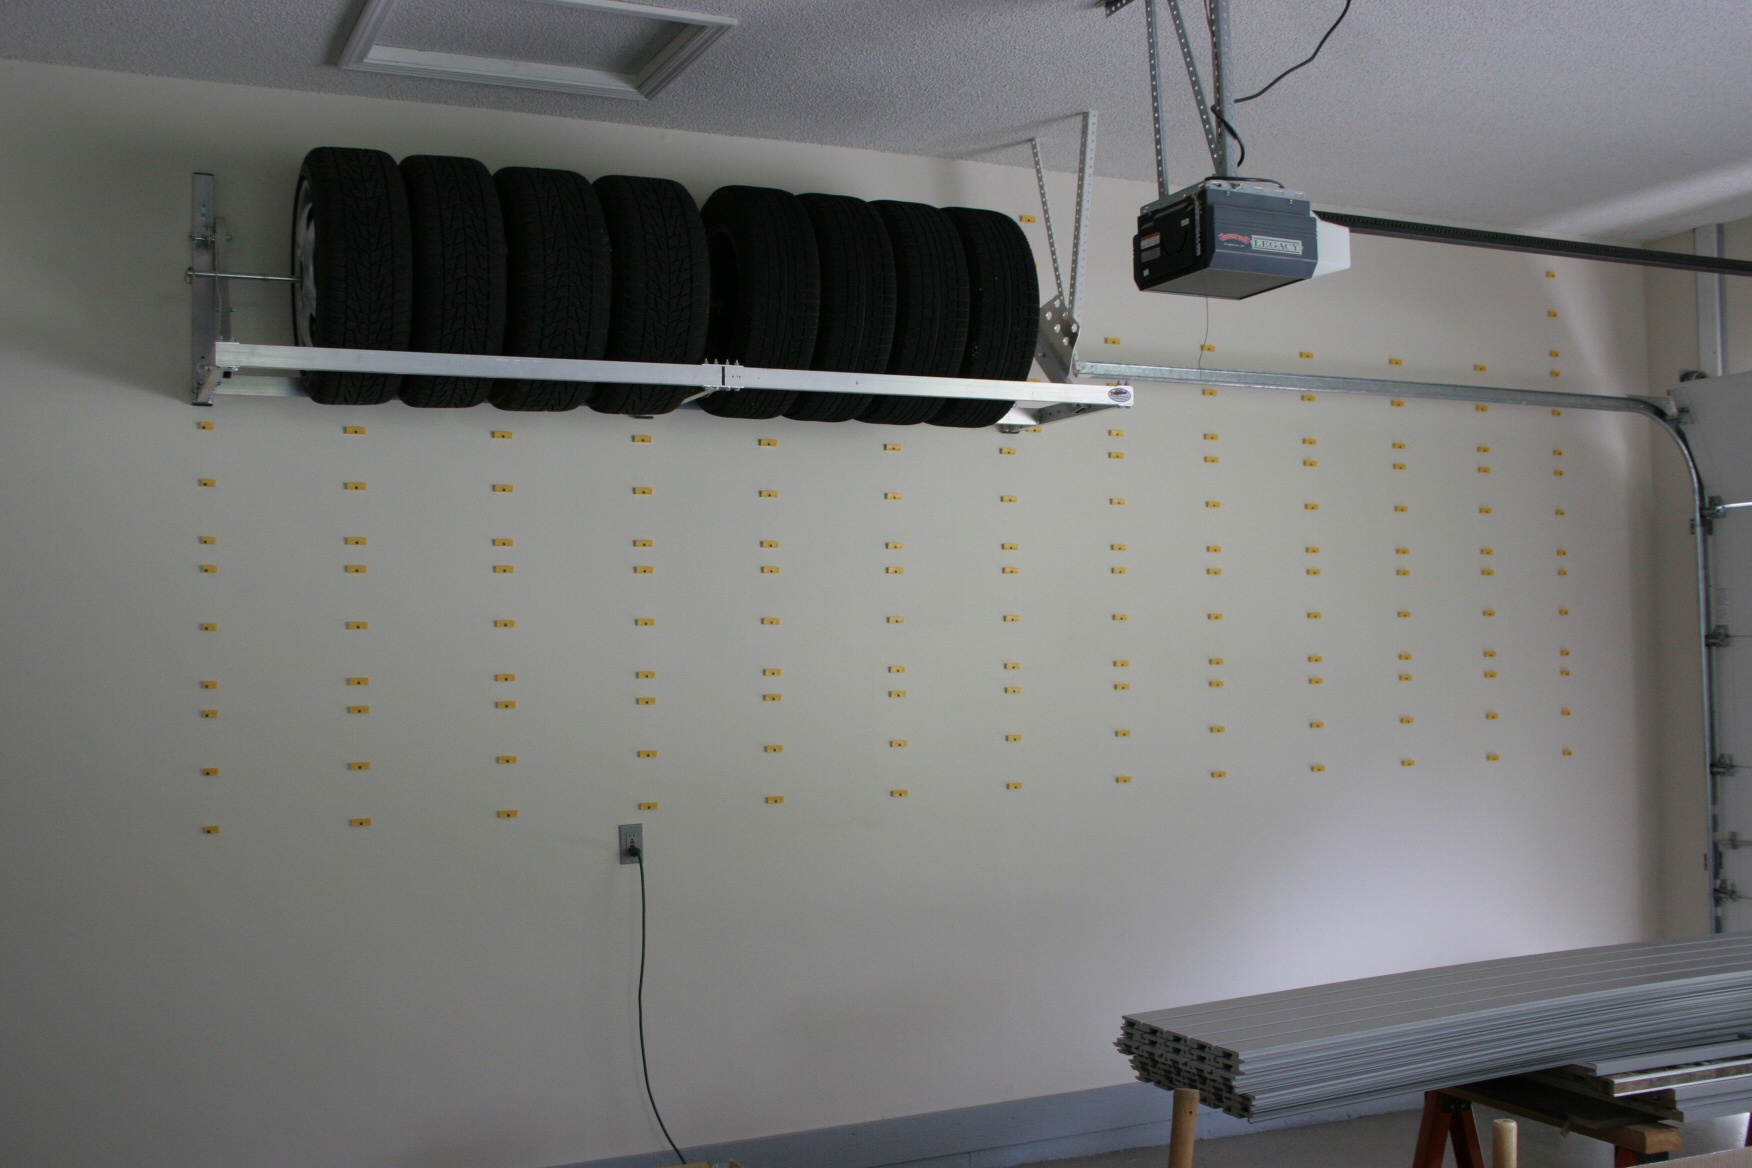
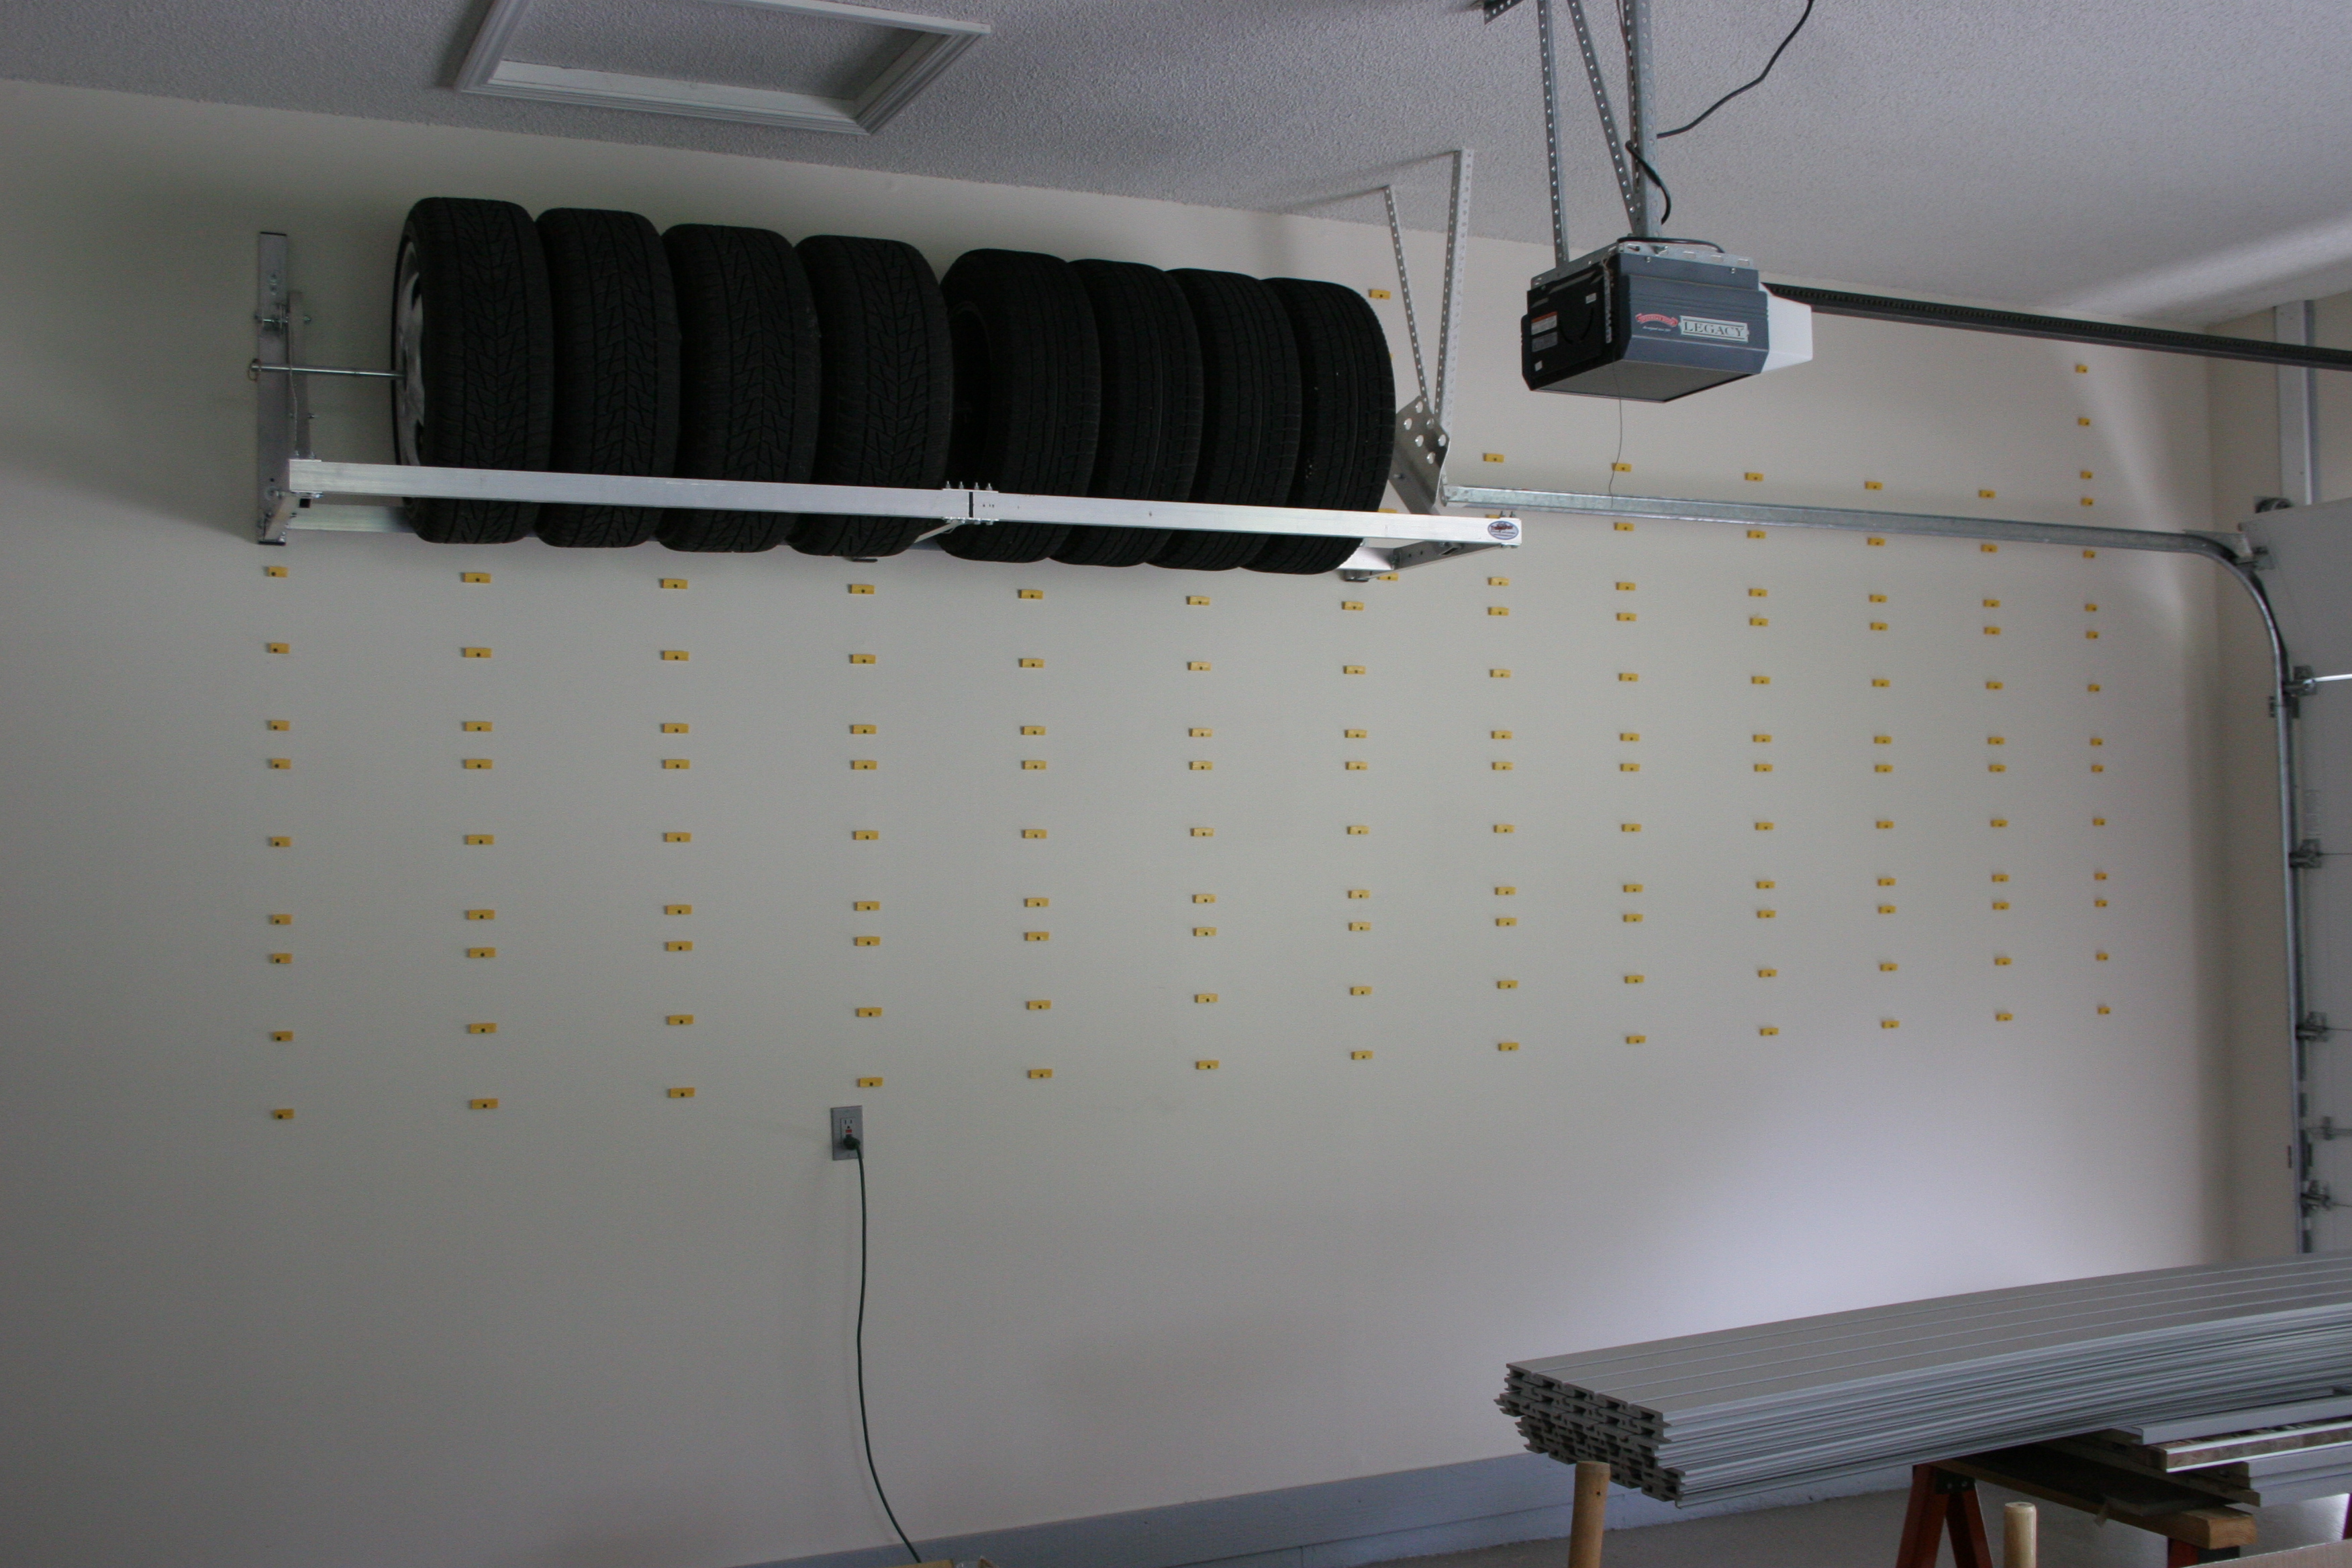
Tire Rack
The tire rack is an 8-foot long aluminum "Track Master" I got from 56 Racing Enterprises. Enough room for 8
wheels/tires. Assembled in about an hour or so (I didn't time it).
Fastened to the wall with nine 3½ inch long, ¼ inch lag bolts. There are
three vertical members aligned over studs; I used two lag bolts high and one low
on each vertical member. All holes are predrilled. This tire rack might not be available from that source anymore; but
it (along with other similar models) appears to be
identical to the "Sportsman Fold-Up Tire Rack - 8'"
available from Trailer Pals.
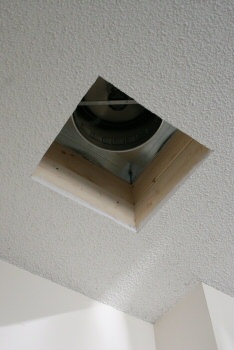
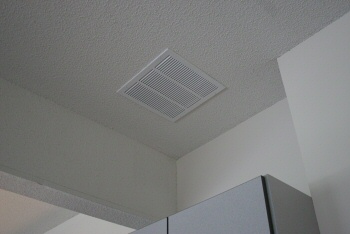
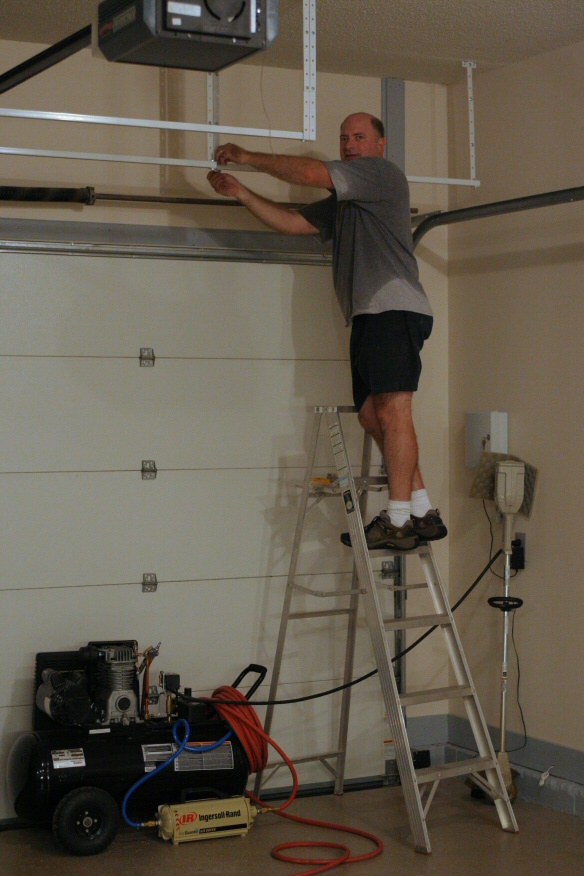
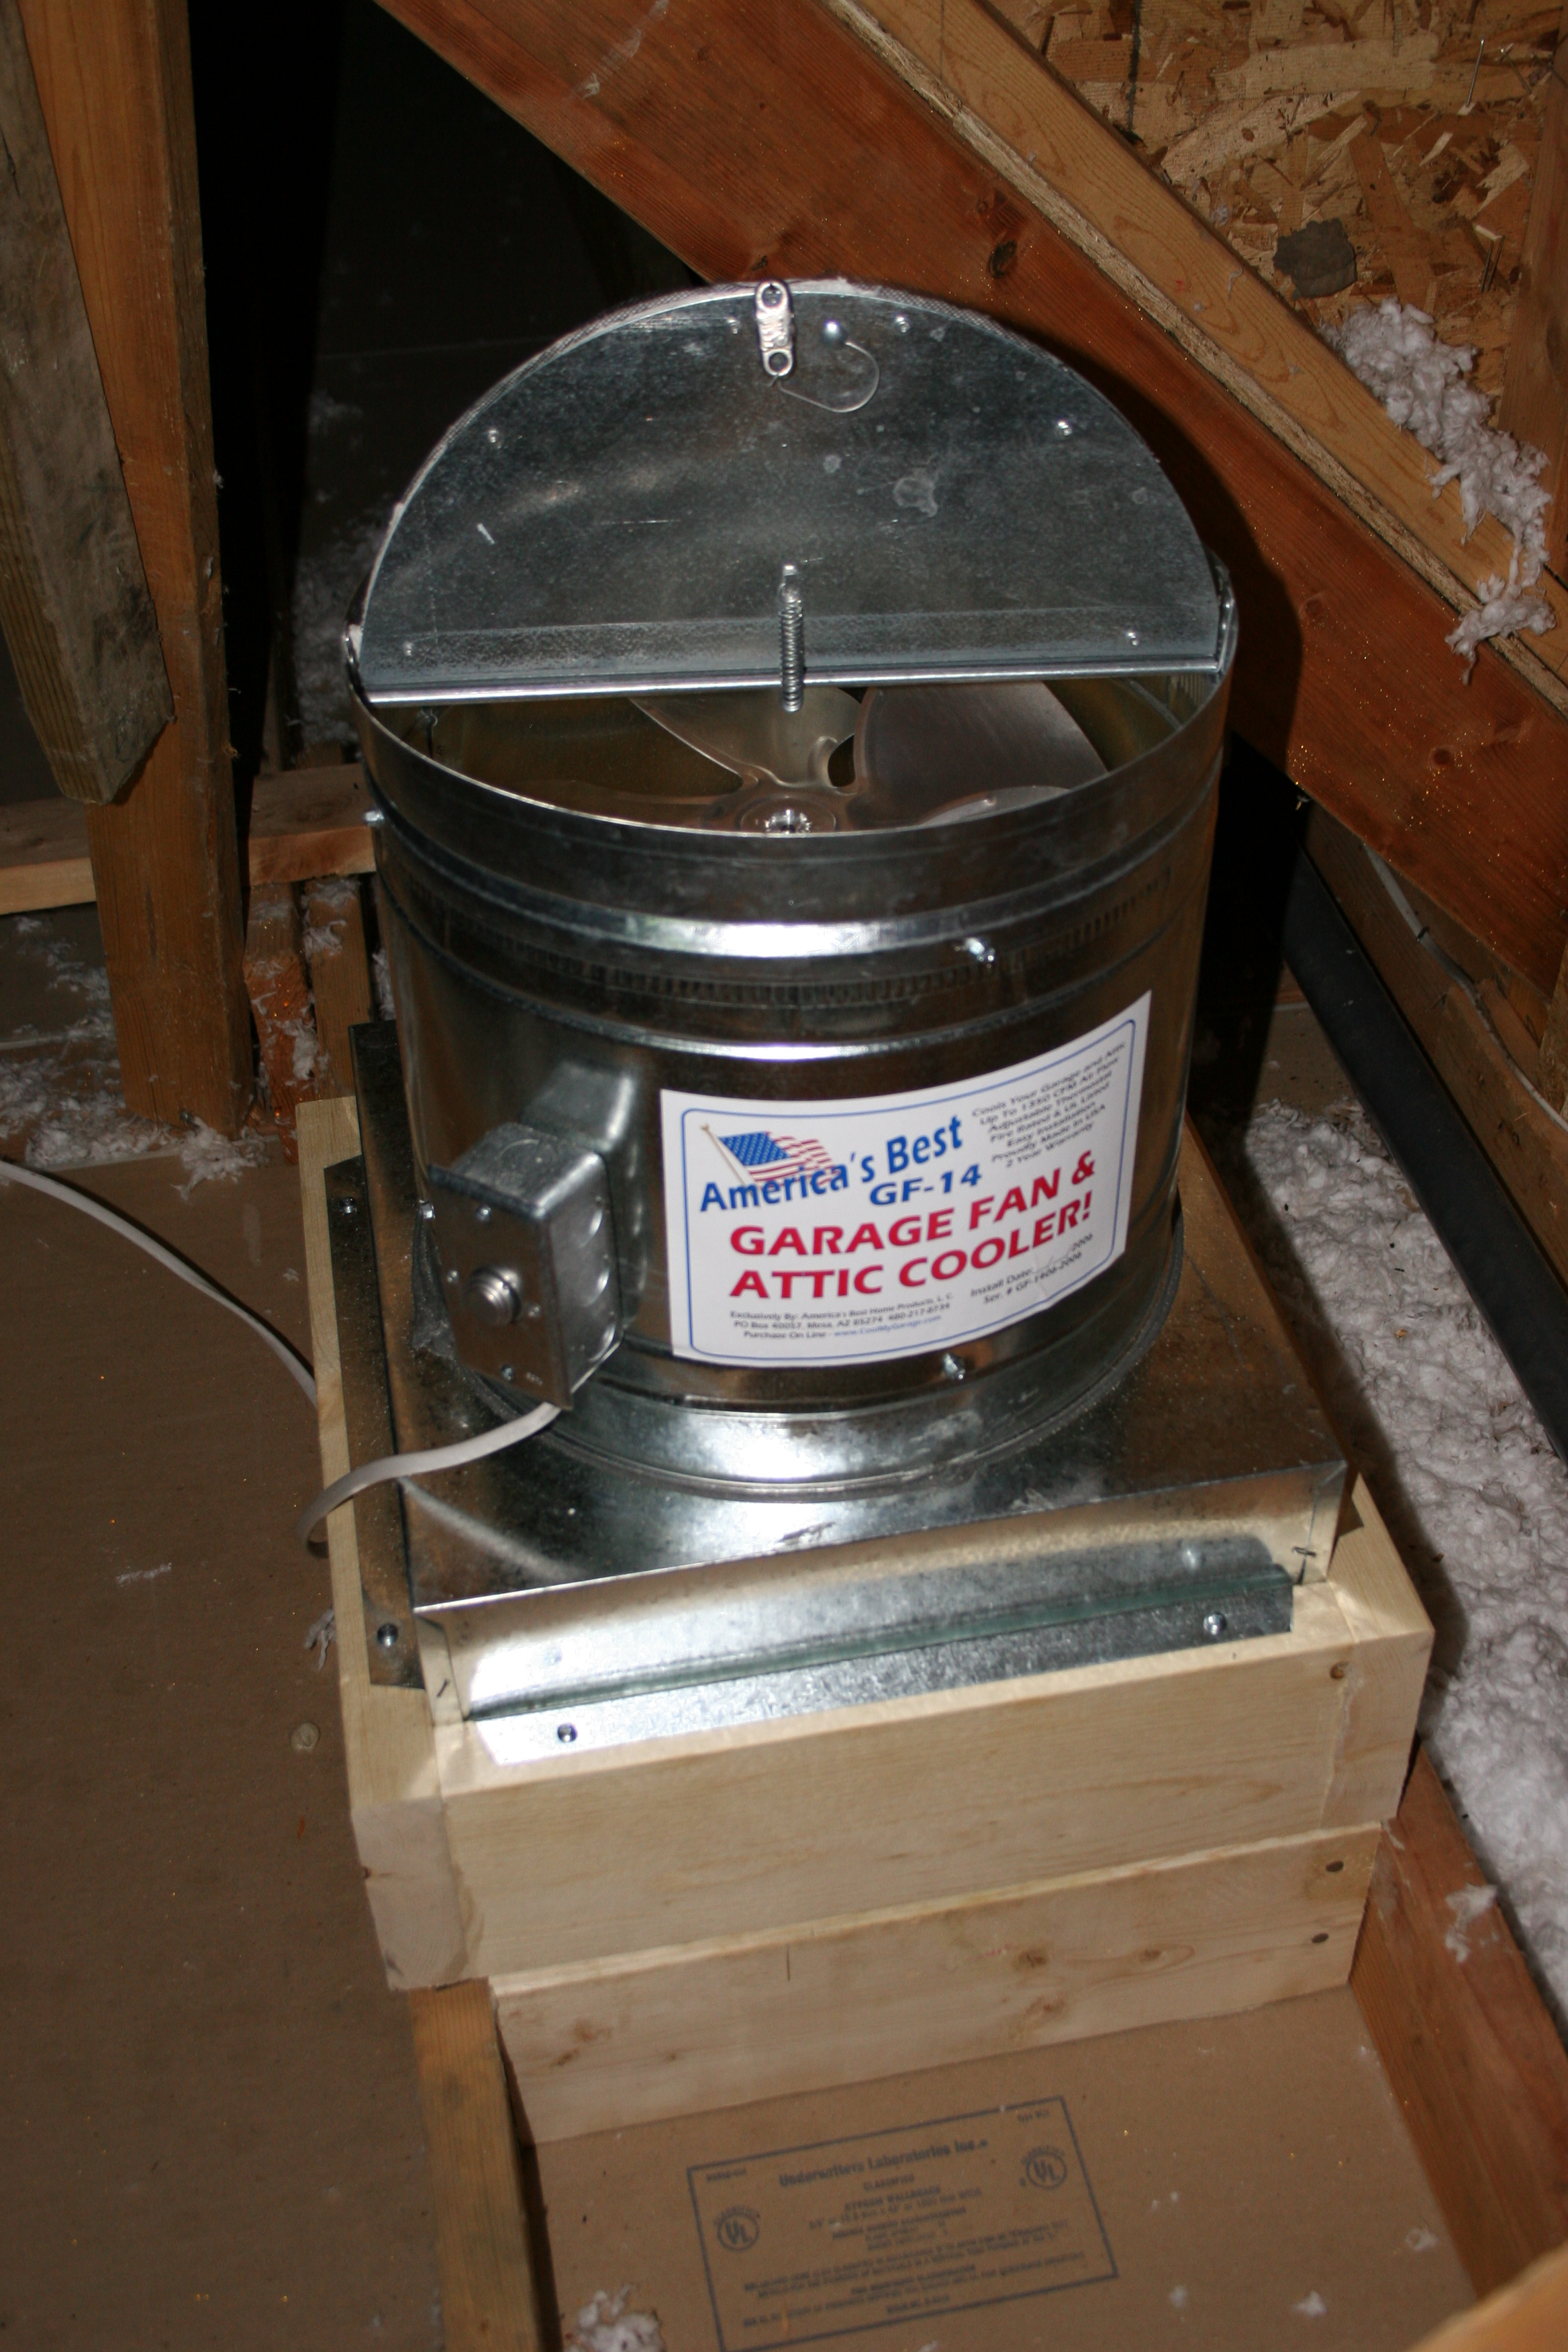
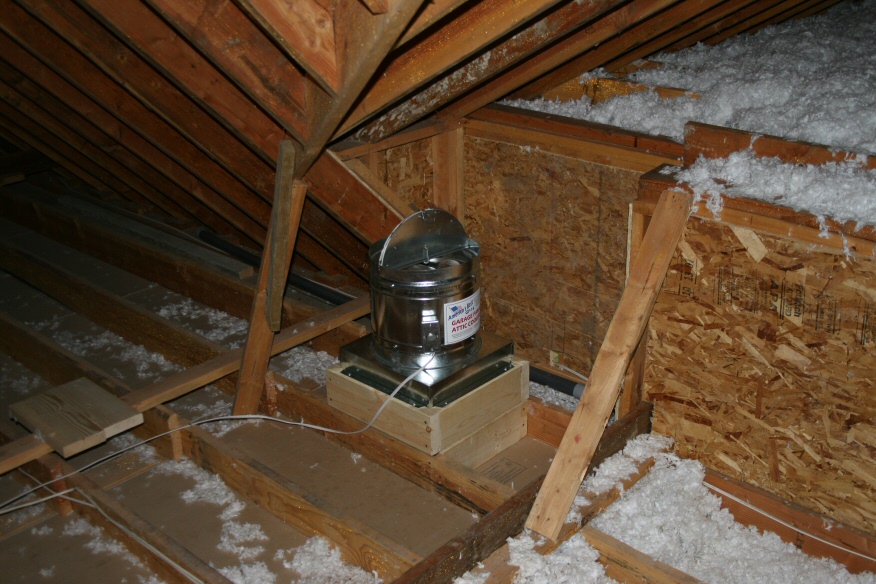
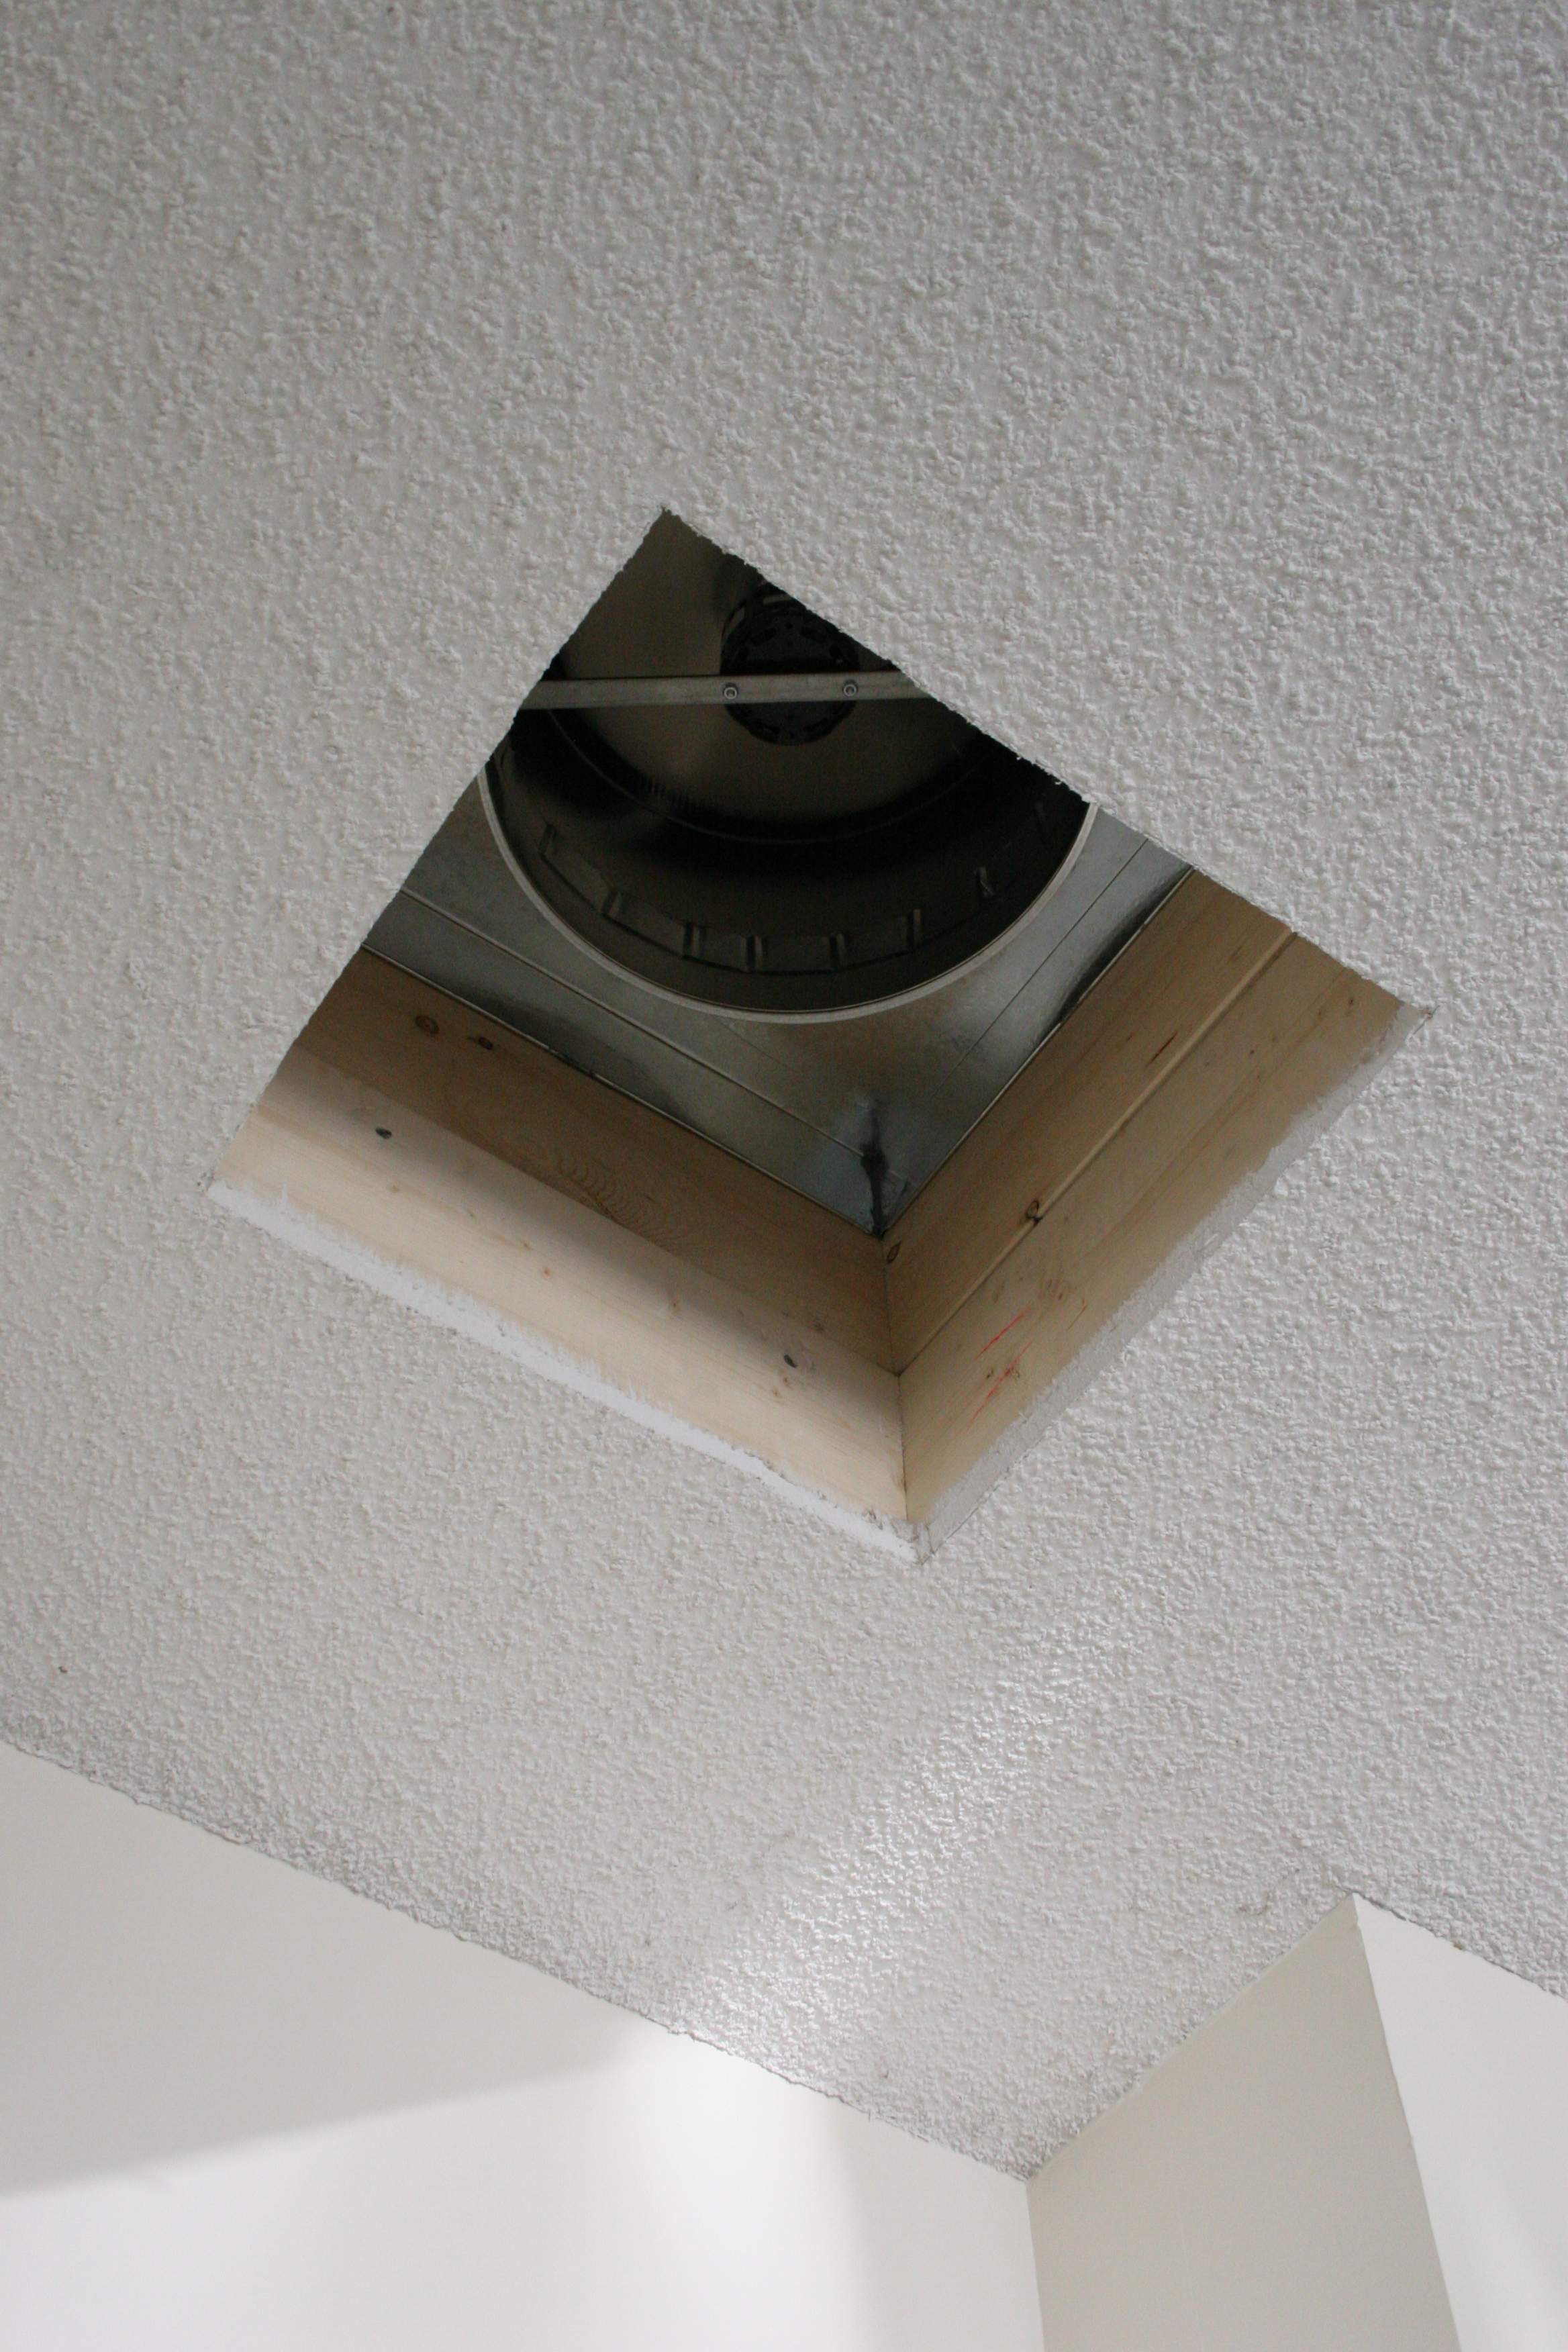
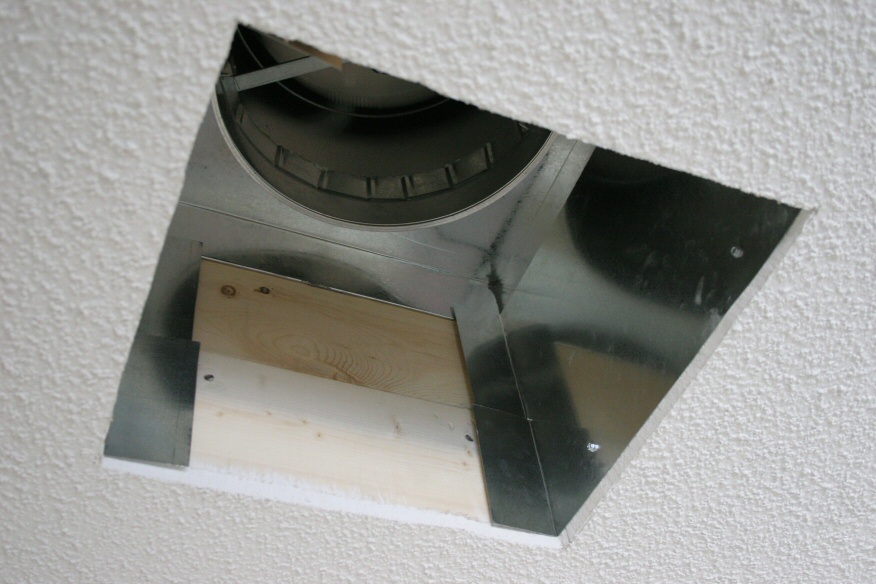
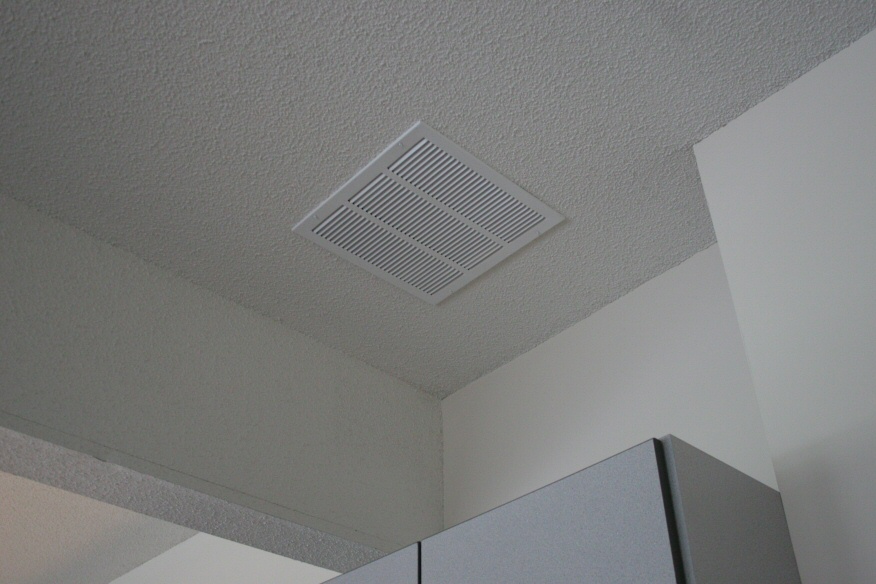
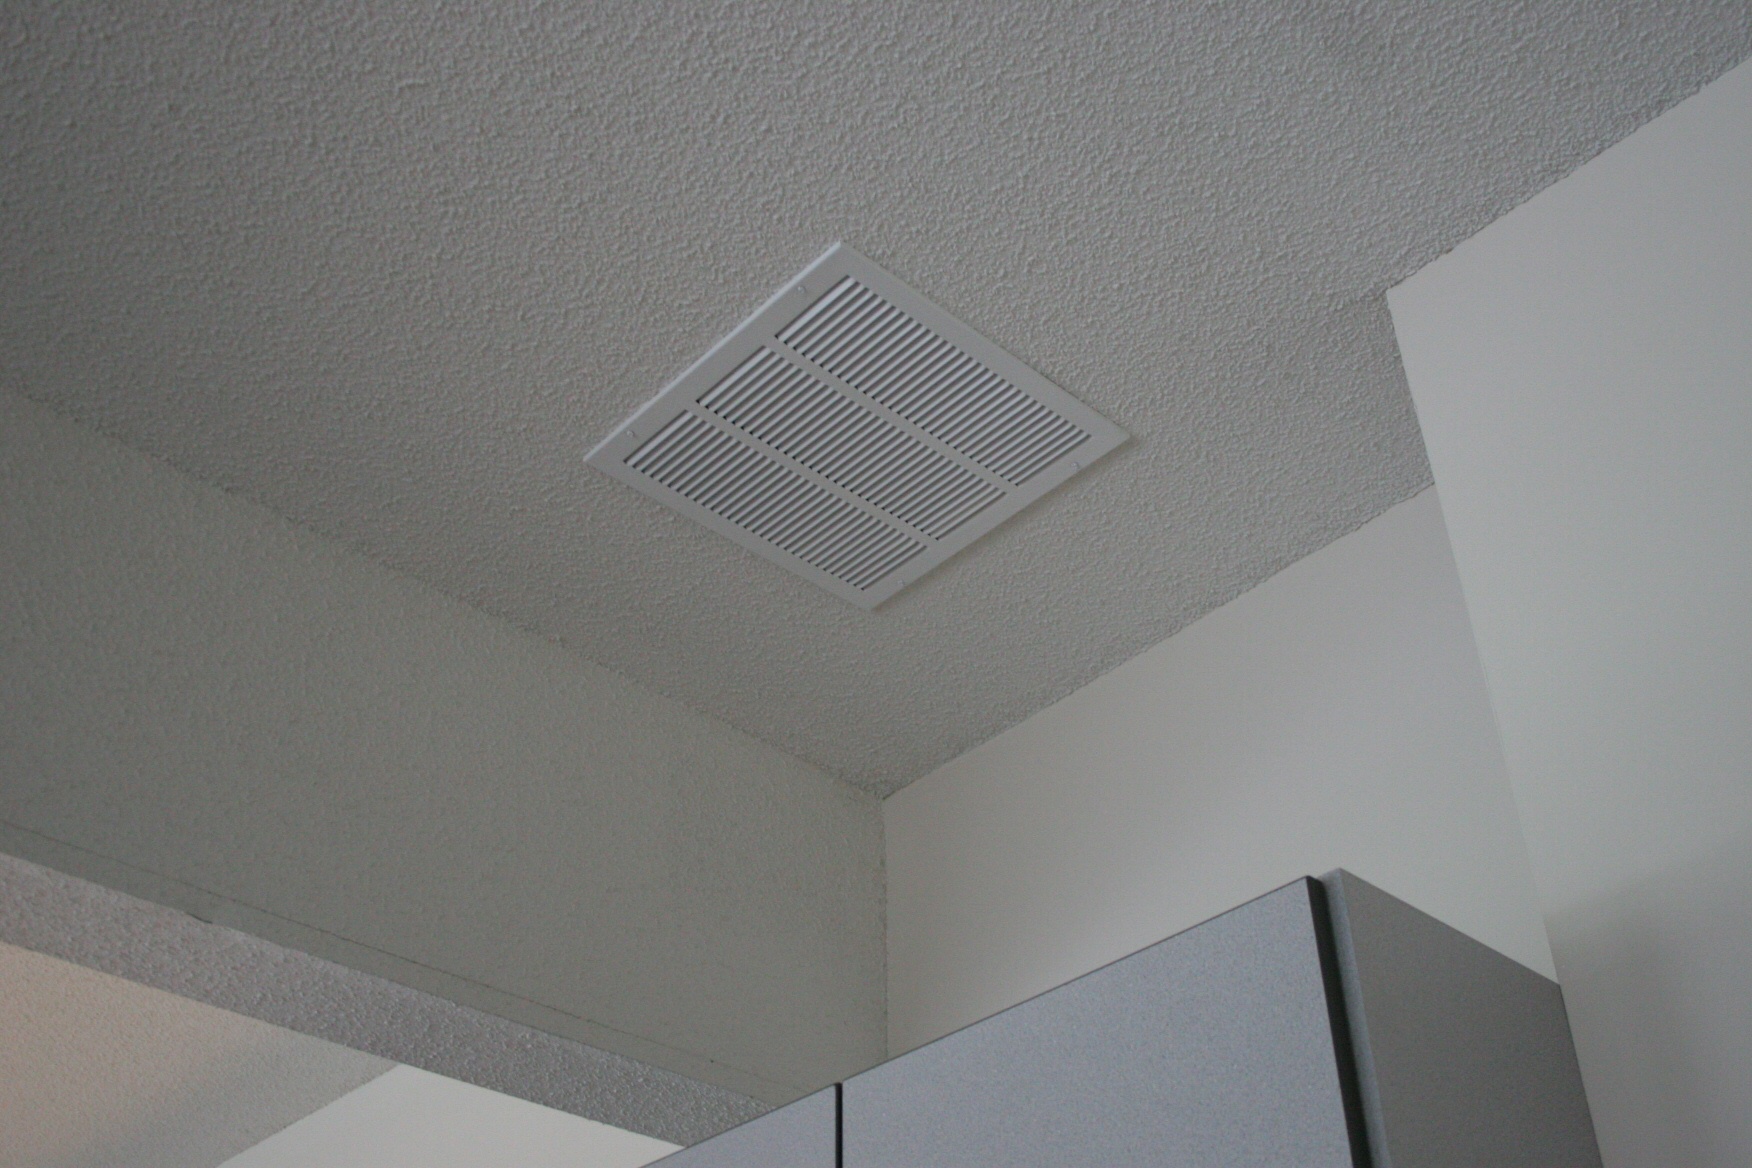
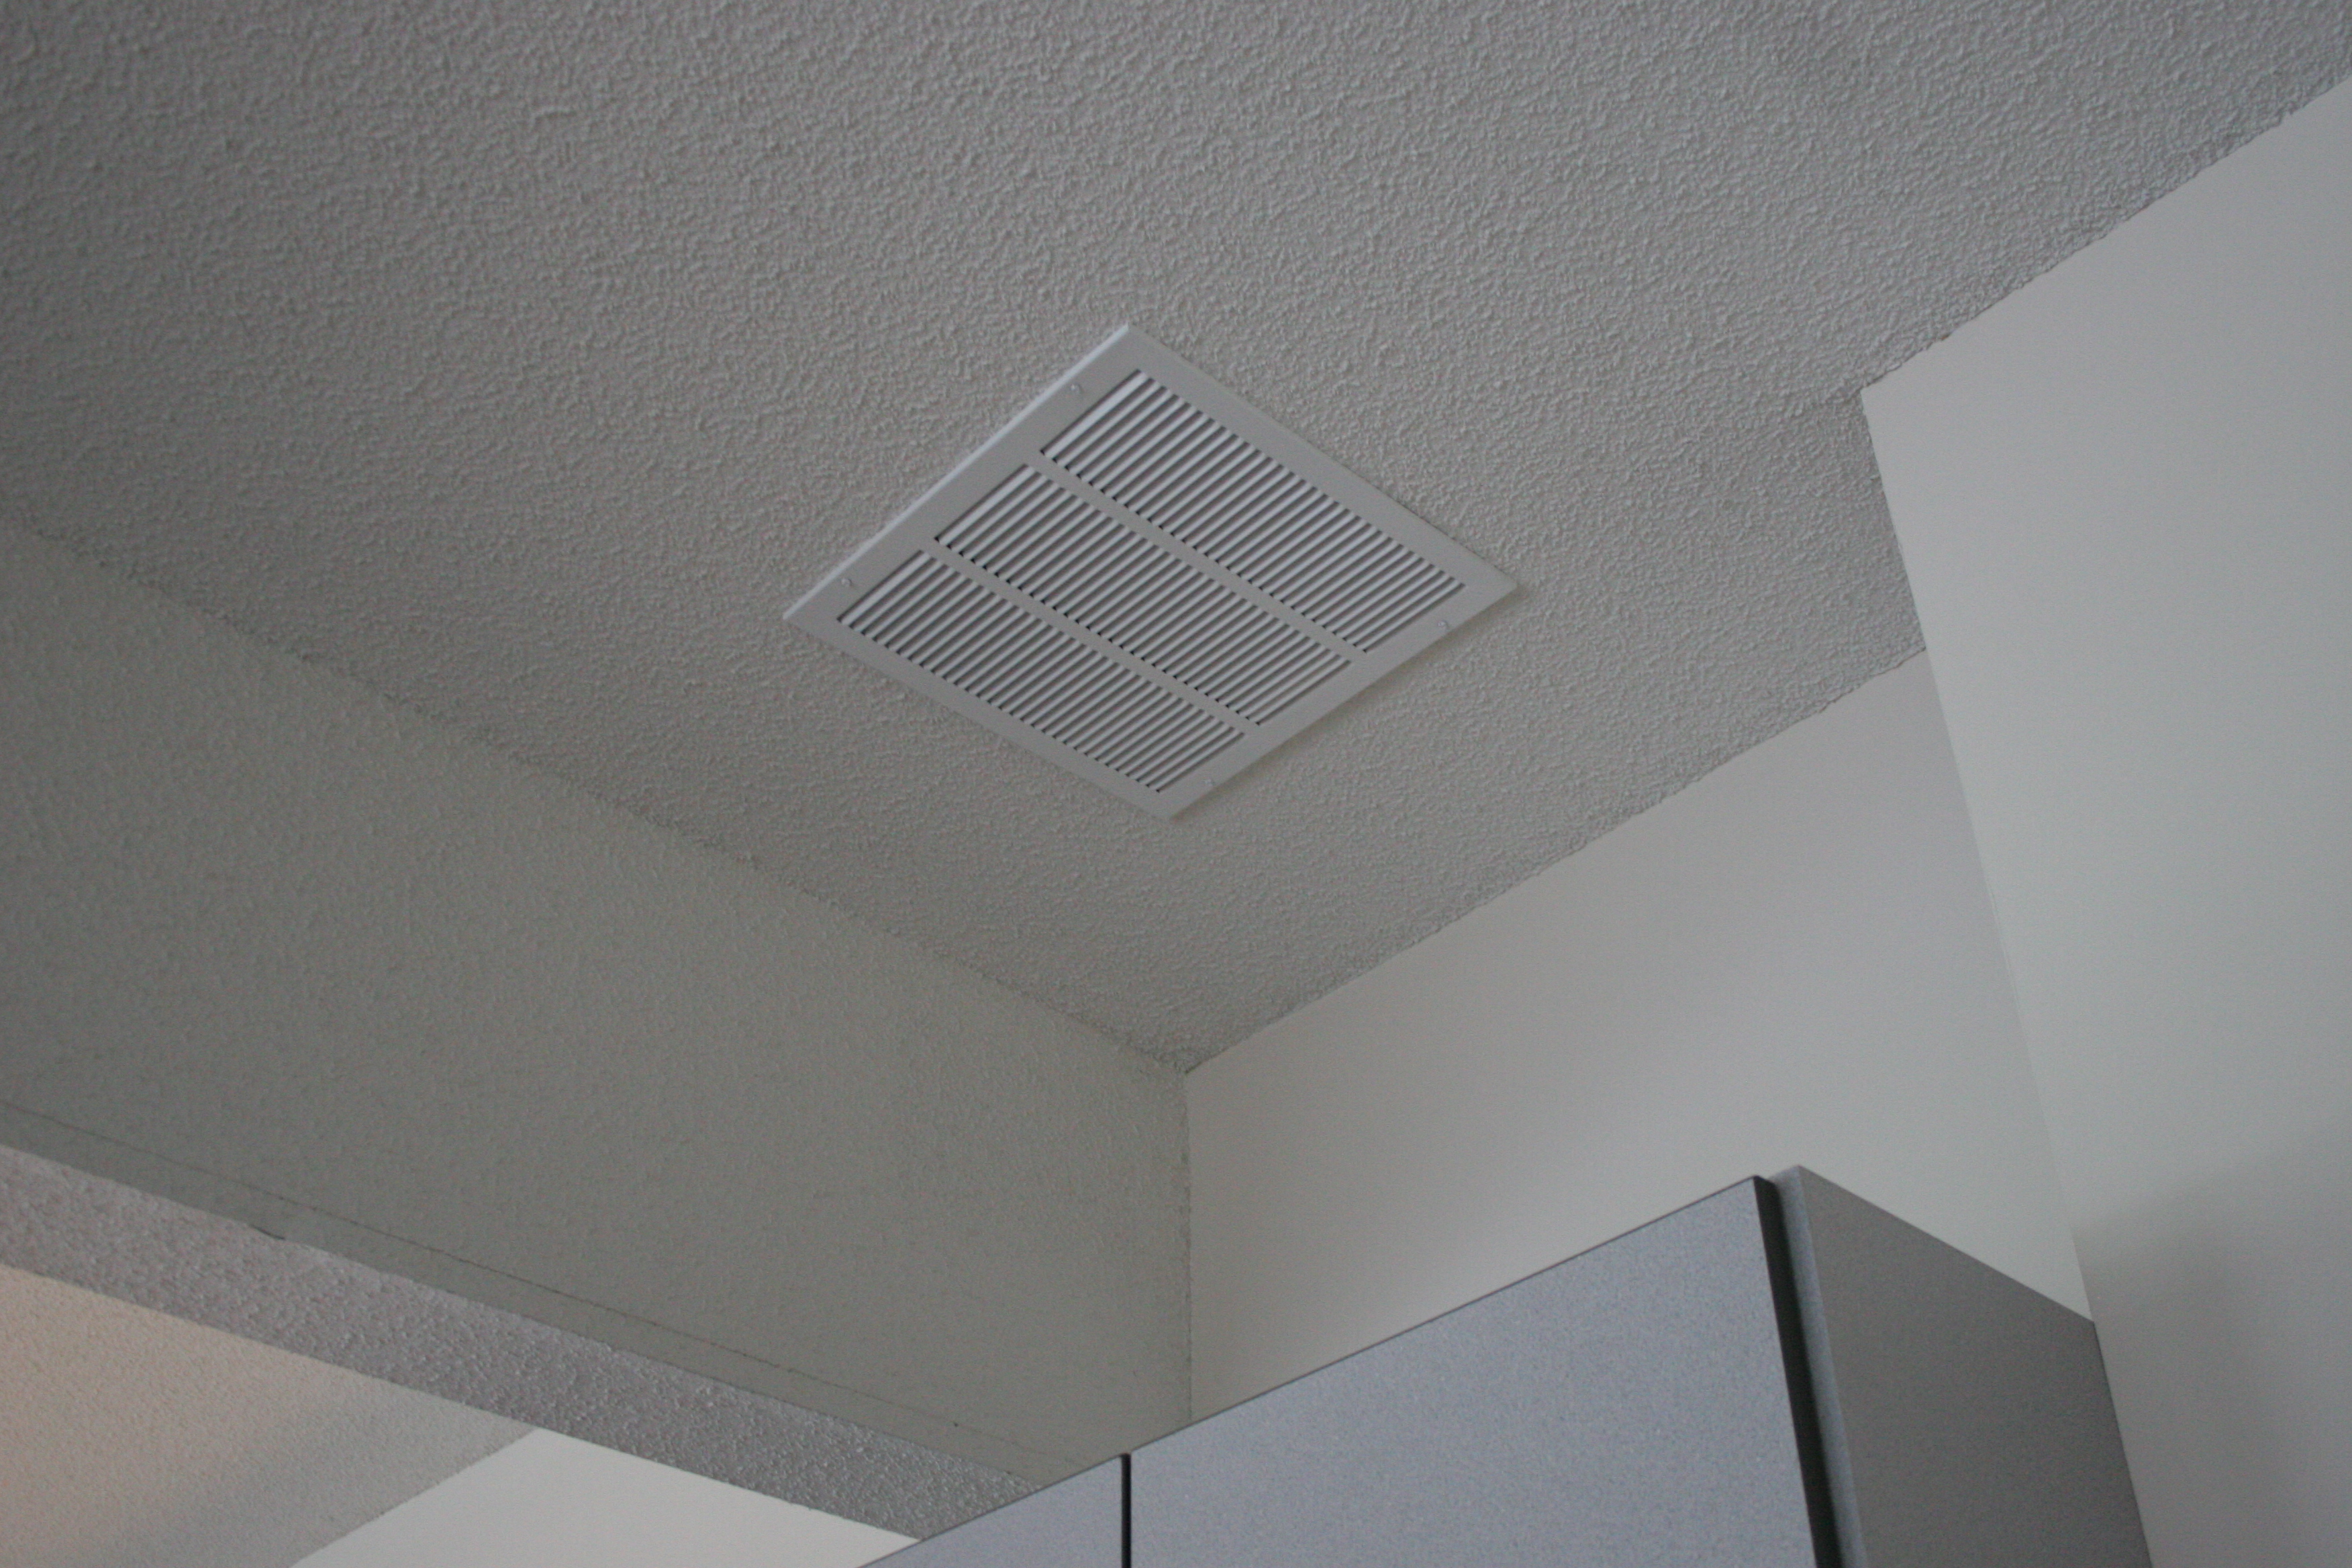
Exhaust Fan
 |
| IMG_1180: [medium | large | huge] |
| Thermal link melts, allowing flaps to close, if there's a fire. |
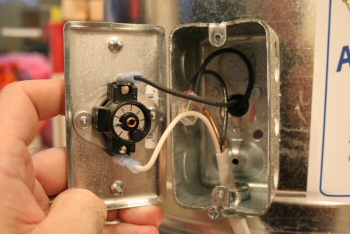 |
| IMG_1184: [medium | large | huge] |
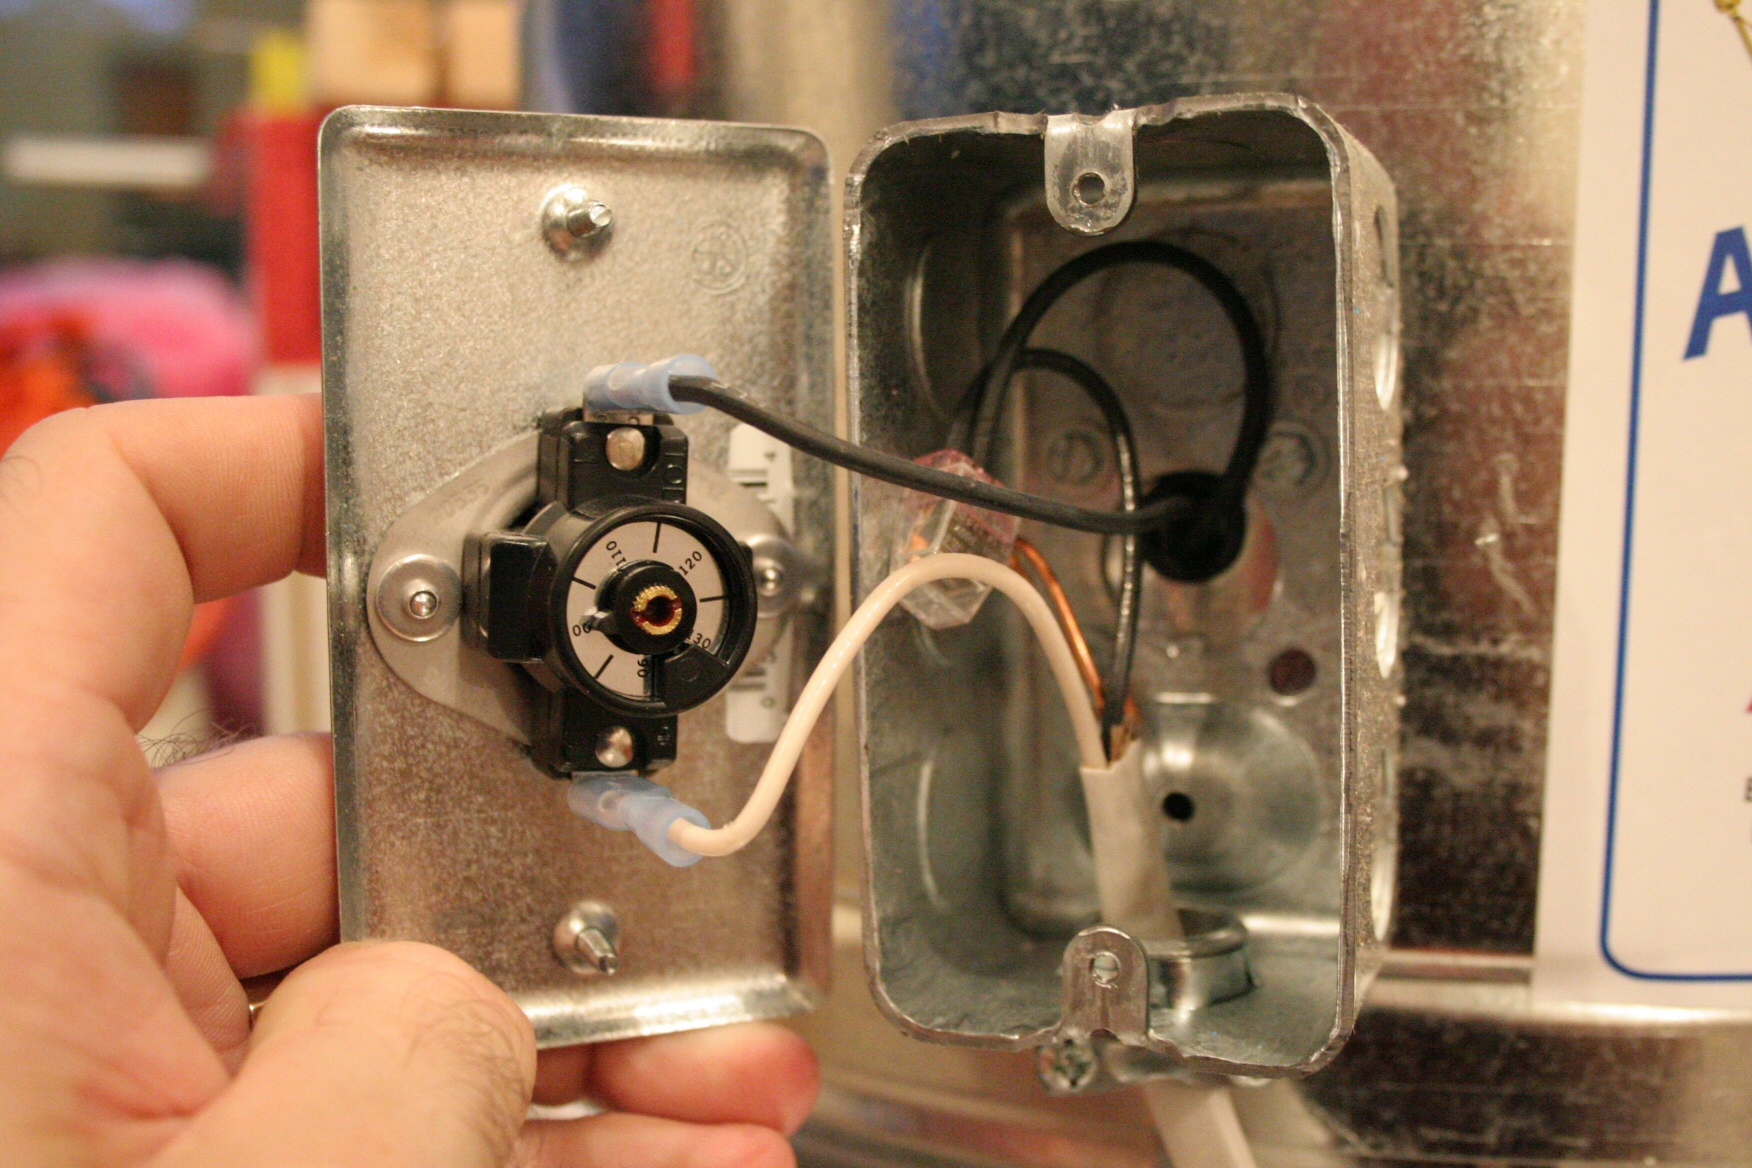
| Adjustable thermostat (based on temperature in attic). |
 |
| IMG_1188: [medium | large | huge] |
| Installed a GF-14 exhaust fan. This is, of course, the attic side. |
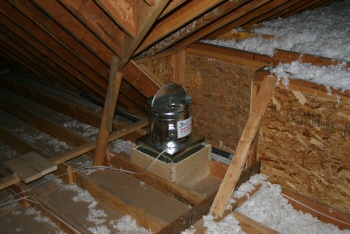 |
| IMG_1189: [medium | large | huge] |
| Installed fan, attic side. Need to add some insulation above the
garage! |
 |
| IMG_1194: [medium | large | huge] |
| Added some sheet metal for added fire protection. |
 |
| IMG_1200: [medium | large | huge] |
| Weather-stripping that I used between the two 2x6 boxes that the fan was
mounted on. This helped assure that fan vibrations weren't
transmitted from the fan to the garage ceiling. |
Miscellaneous
[Paint, trim, minor electrical work, etc. TBA]
To Do Later
A few things I'd still like to do:
- Decorate! It's mighty spartan right now. Needs some posters,
maybe some plants, art, whatever...
- install a (minimum) 50 A electric subpanel in and rewire some of the
outlets (all outlets are currently on two 15 A circuits using 14/2 wiring;
the air compressor actually trips the breaker on some of the outlets!);
probably add a 220 V outlet or two, too
- possibly install a mini split heat pump A/C unit (it gets unbelievably hot
in there during the summer) and insulate over the garage ceiling (it's
currently uninsulated)
- put in an improved sound system instead of the boom box (we have a pretty
good accumulation of old receivers and speakers, so this is just a question
of setting it up, running wires in the walls, mounting speakers, etc.)
- maybe install a small flat-screen TV
- install a pull-down access ladder to the attic


