Ed's 1990 Porsche 928S4: Winter Wheels /
     Windshield Scratch / Broken TT 


		  | You can click on any of the images on this page to enlarge them to
			 a larger size (typically, 1280×1024). All photos were taken with an
			 Olympus D-600L digital camera and then adjusted for appearance (typically,
			 gamma corrected, contrast adjusted, saturation adjusted). 
 Send
			 comments/questions to Ed
			 Scherer.
 | 


	 Go back to the "Ed's Porsche 928" index
		page.
 
	 January through July 2001
 
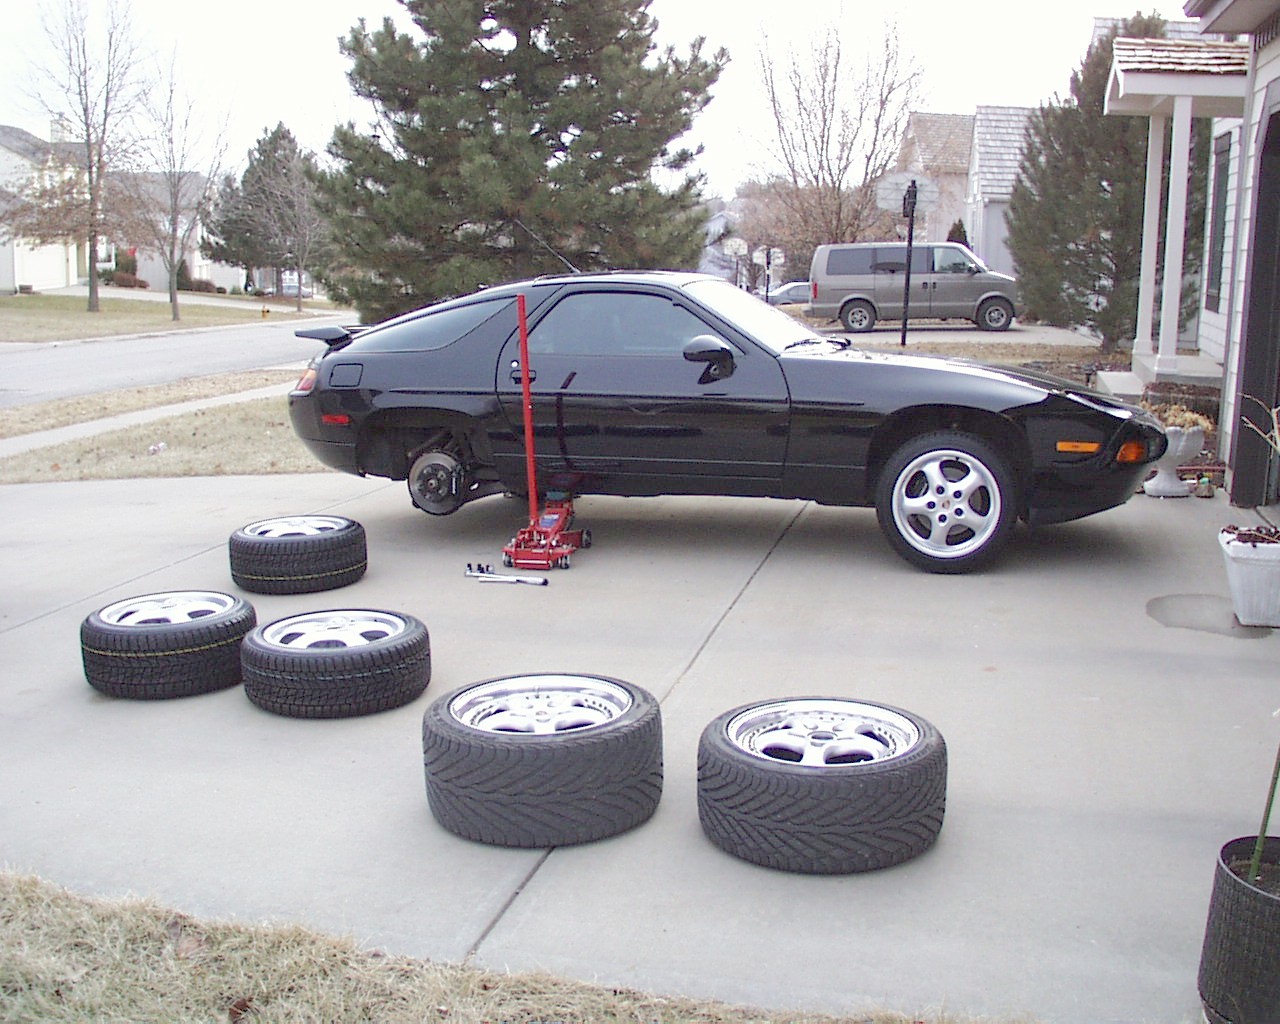
	 Well, upgrades are slowing down for awhile.  I seem to be doing
     more maintenance than upgrades now.
 
	 New Winter Wheels and Tires
 
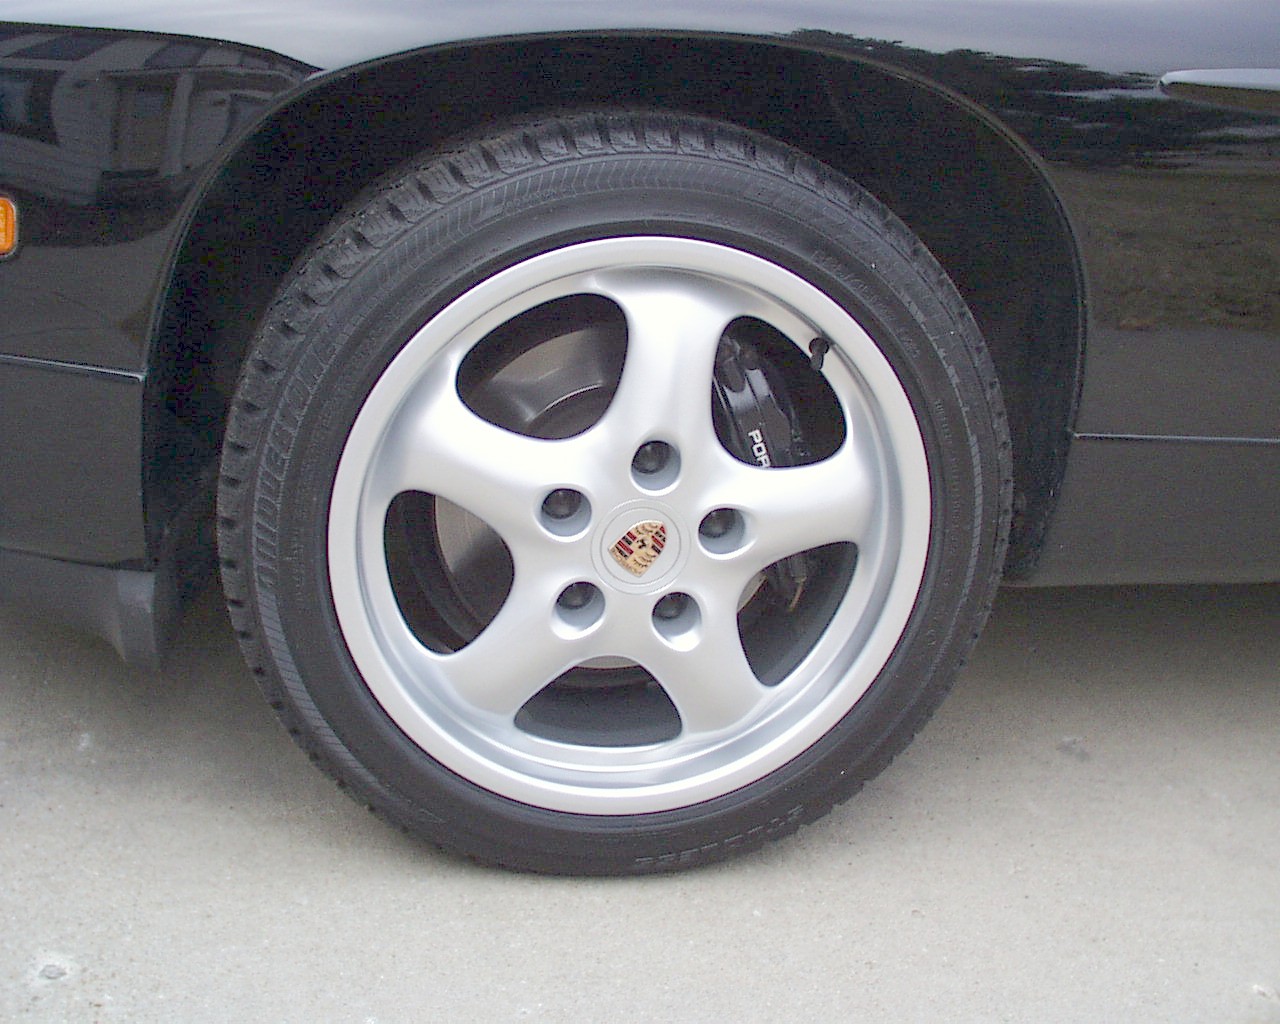
	 Wheels are Mille
     Miglia Cup 2, 17x7½ front, 17x9 rear.
 
	 Tires are Bridgestone Blizzak
     LM-22, 225/45-HR17 front, 245/40-HR17 rear.
 
	 Package purchased from 928
     Specialists.


	 View from My New Office


	 What Happened
     
      
        | Sometime over the winter, a tiny pebble
          embedded itself in my passenger-side wiper blade.  Unfortunately,
          I didn't notice it until I had used the wipers a few times.  It
          left a rather nasty arc-shaped scratch approximately 20 cm long, as
          you should be able to see in Figure 1 (it's the mostly
          vertical scratch in the center of the photo; don't confuse it with the
          horizontal border of the dashboard inside the car). |   
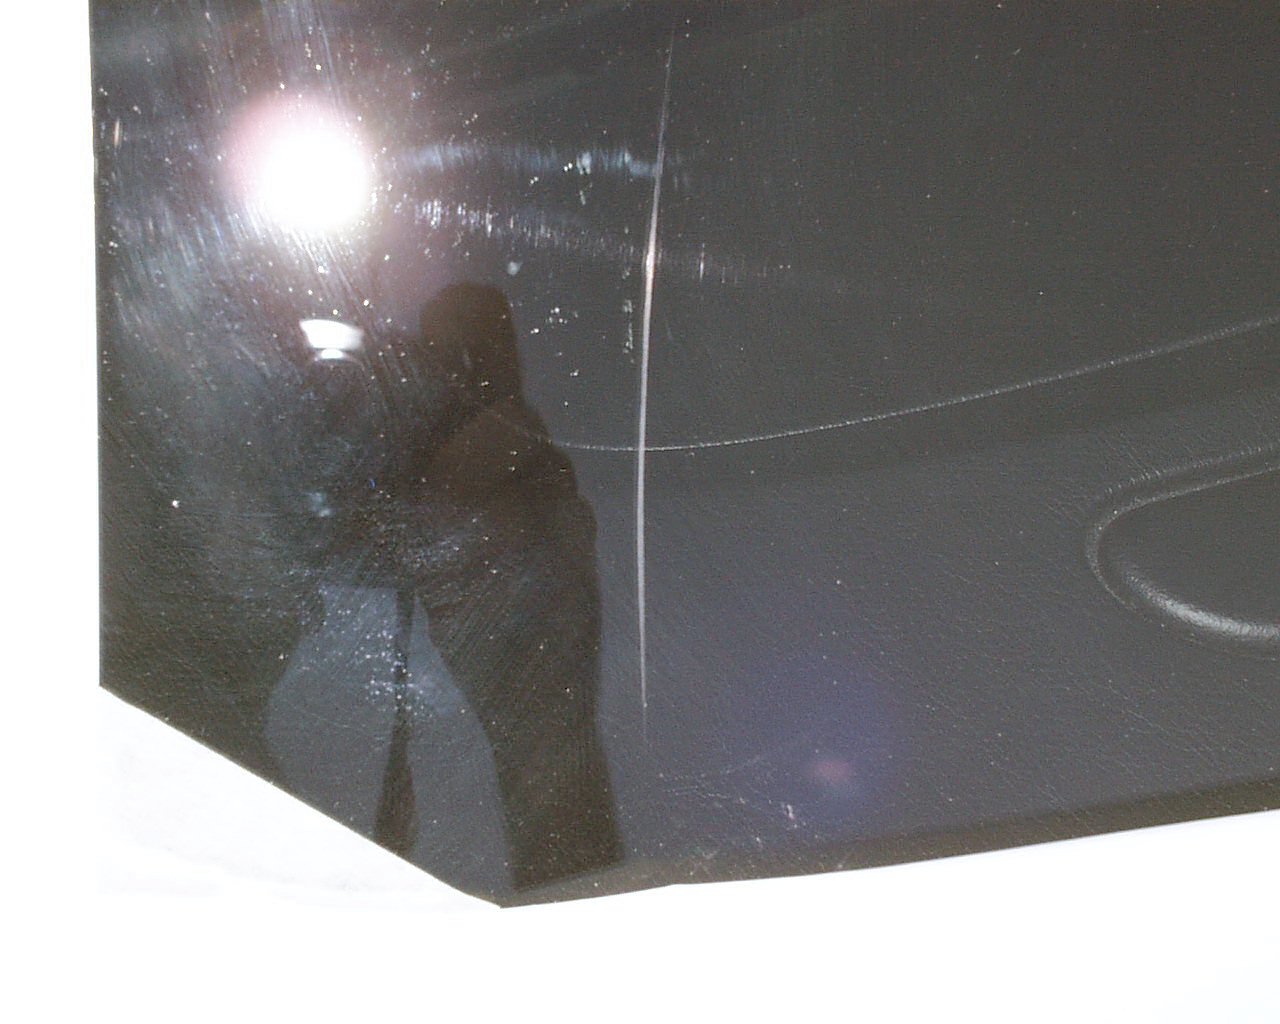
Figure 1:  Scratch, viewed from outside
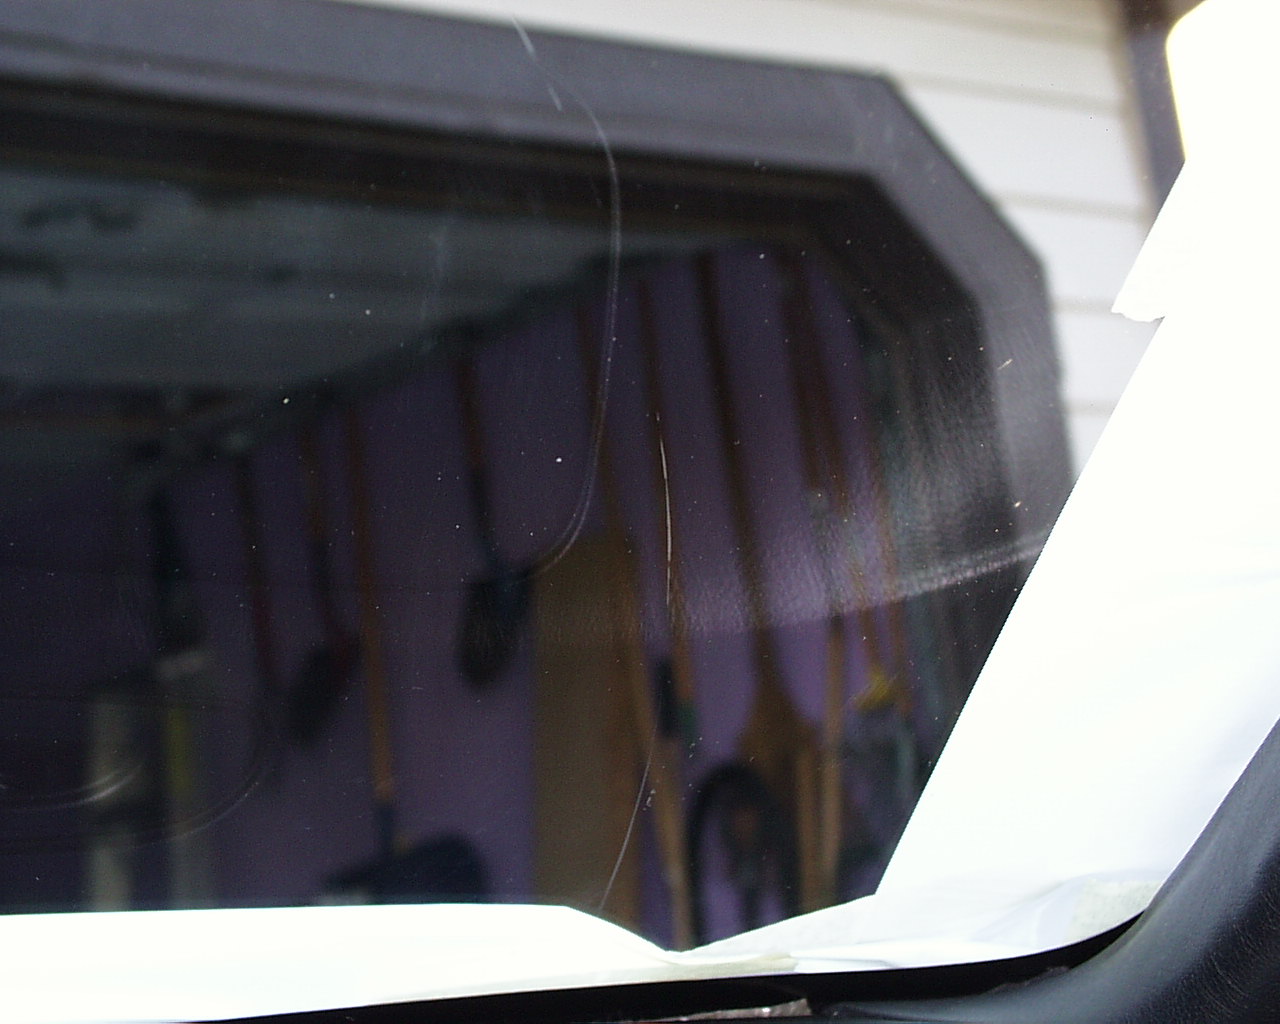
 |   Figure 2:  Scratch, viewed from inside
 | 
      
     The Solution
	 Having heard good things about some products from The
     Eastwood Company, I decided to give one of their products, "Glass
     Polishing Kit Pro, item 40011", a try.  It worked great! 
     It seems that as long as scratches aren't too deep, this approach should
     work.
	 What You'll Need
     
      
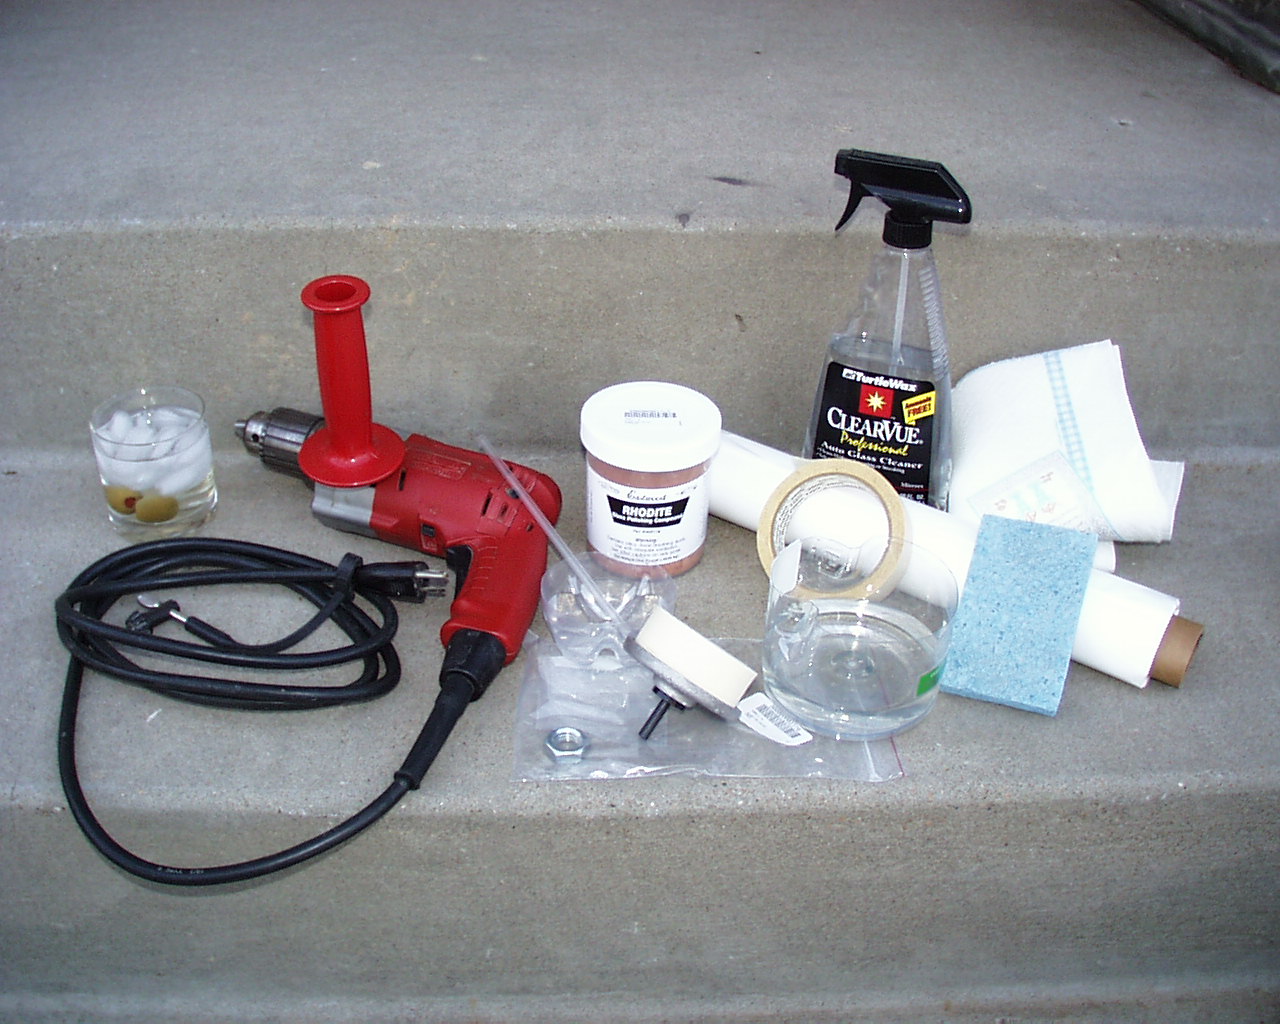
        |   Figure 3: Stuff you'll need
 | Figure 3, from left to right: 
            beverage [optional]drill or polisher to spin buffing wheelRhodite polishing compound (from the Eastwood Glass Polishing
              Kit)buffing wheel (from the Eastwood Glass Polishing
              Kit)container to mix polishing compound (it's a powder) with water
              (I started with these clear plastic bottle bottoms, but these
              turned out to be too flimsy and too irregularly shaped; I later
              switched to a margarine tub) and some kind of mixing stick (I used
              a straw, but a popsicle stick would have worked better)masking tape and plastic sheeting (not shown) to mask off areas
              not being worked onsponge, paper towels, and glass cleaner to clean up the mess | 
     
     What You Do


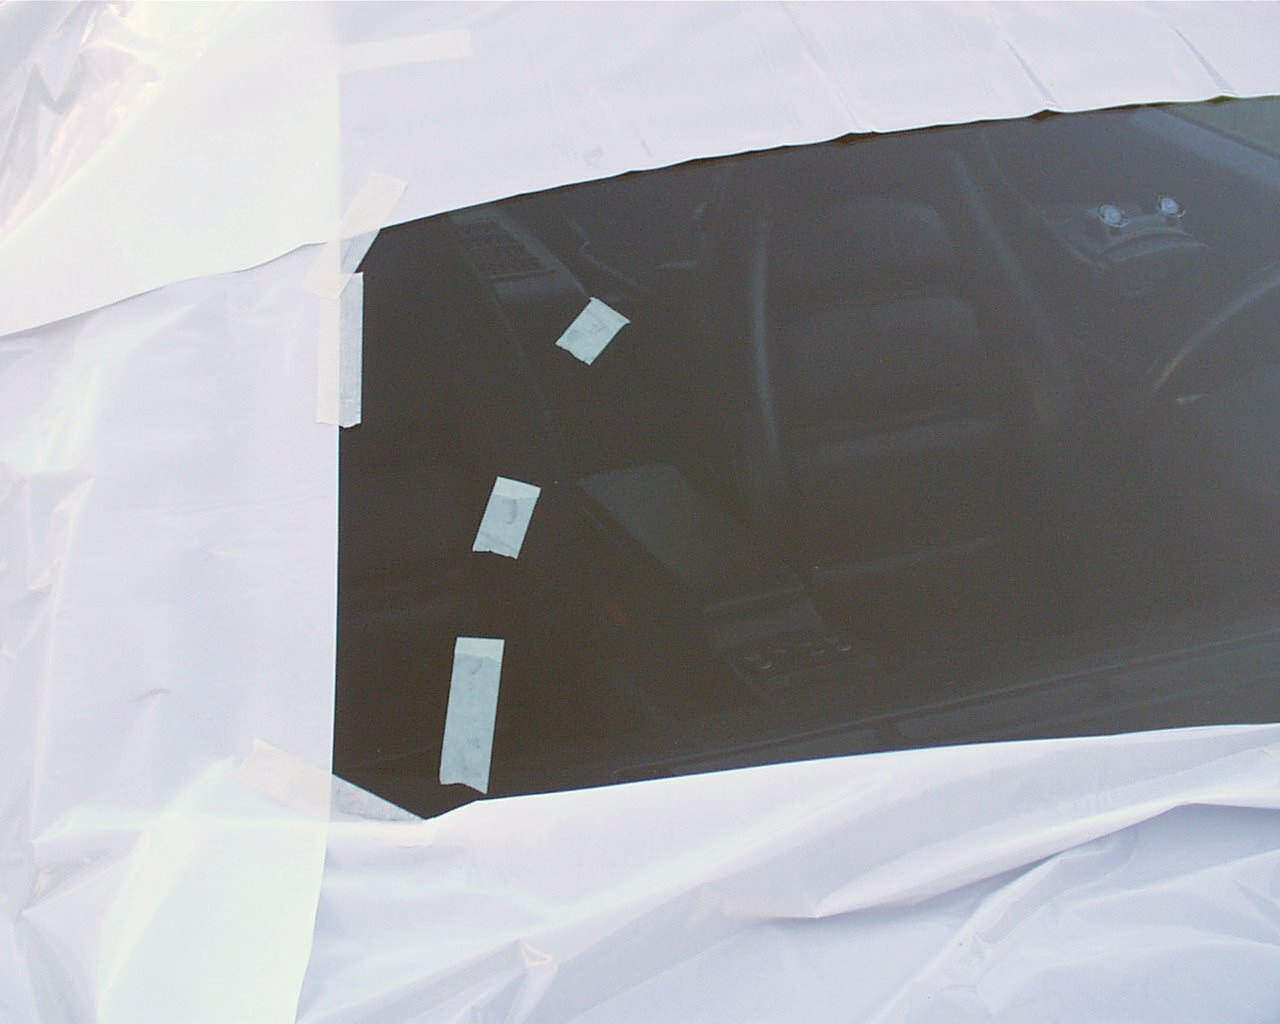
        |   Figure 4: Mask around work
 area and tape inside of
 window to mark scratch
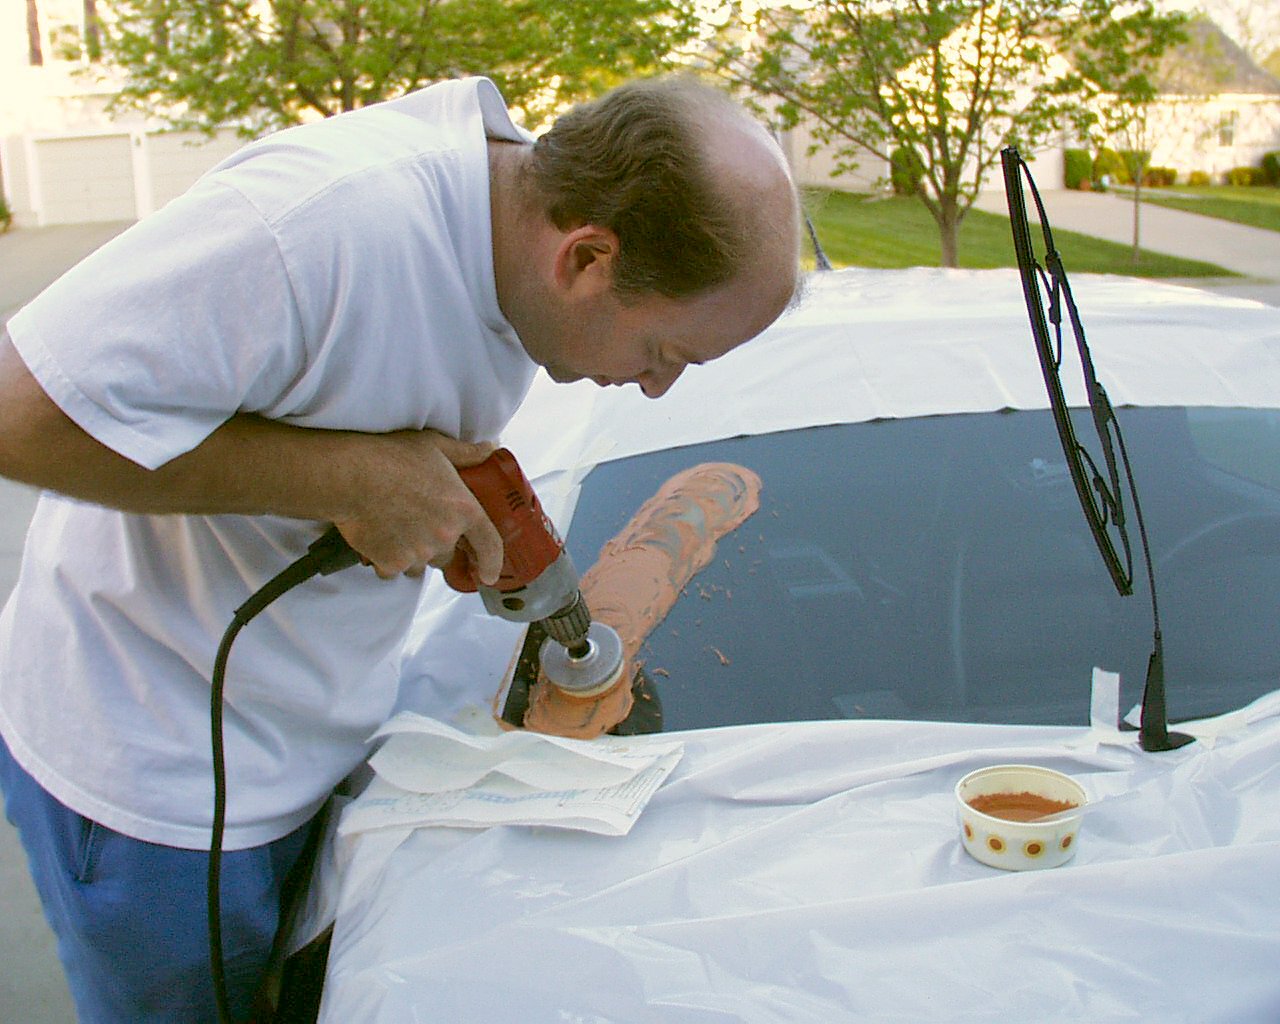
 |   Figure 5: Polish, polish, and
 then polish some more
 |   Figure 6: What it looks like
 after a couple minutes of
 polishing (don't let it get
 hot and/or dry)
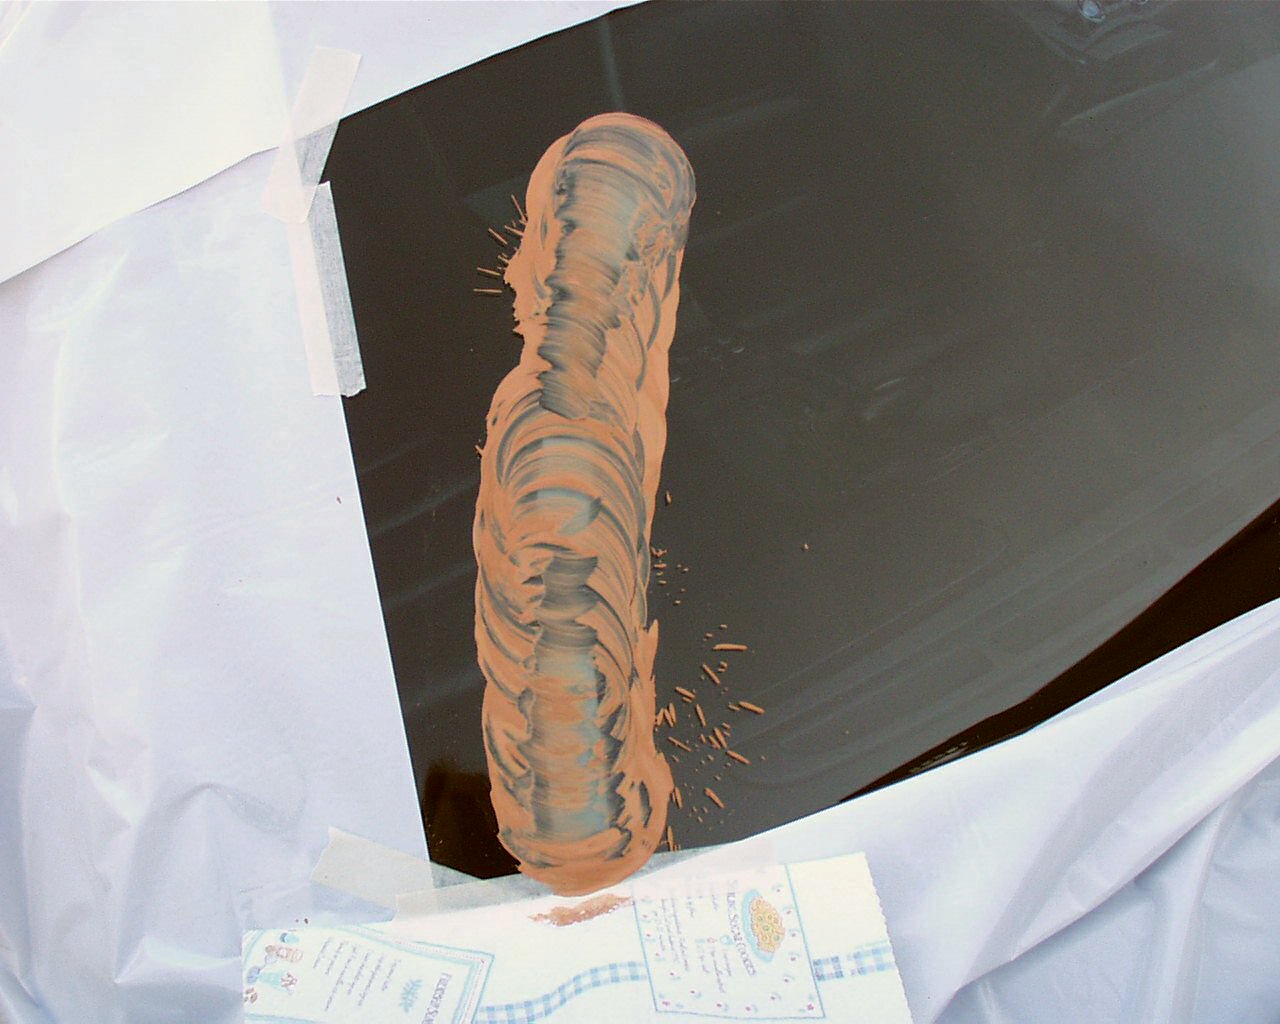
 |   Figure 7: A closer view
 | 
     
     It's really pretty easy:
     
      - Mask off the area you're not working on [Figure 1].  You
        definitely don't want the polish getting on your paint, and it will
        splatter and spin off the polishing wheel.
- Apply some masking tape inside the window [Figure 1]; once you
        get polishing, you probably won't be able to see the scratch anymore
        (it'll be obscured by the polish), but you'll be able to see the tape.
- Mix up a batch of polish, following the directions on the Eastwood
        Glass Polishing Kit.
- Apply polish to the scratch area.
- Polish with the buffing wheel [Figure 2], but don't let it dry or
        get hot.  Recommended buffing wheel speed is no more than 1500 RPM.
- Periodically, sponge or towel off the polish and inspect scratch area.
- Repeat steps 4 to 6 until scratch is gone, pausing to take sips of
        optional beverage if desired.  Based on the extent and depth of the
        scratch, this may take some time.  Mine probably took at least 15
        minutes.
- Remove masking tape and plastic masks.
- Do final cleaning with glass cleaner and paper towels.
- Finish remainder of beverage. [optional]
Broken Torque Tube (Drive Shaft, Actually)
	 On June 26, I had just left home when I hit the go pedal and the drive
     train let go.  It felt like and sounded like the torque tube broke.  It
     did.
     
      
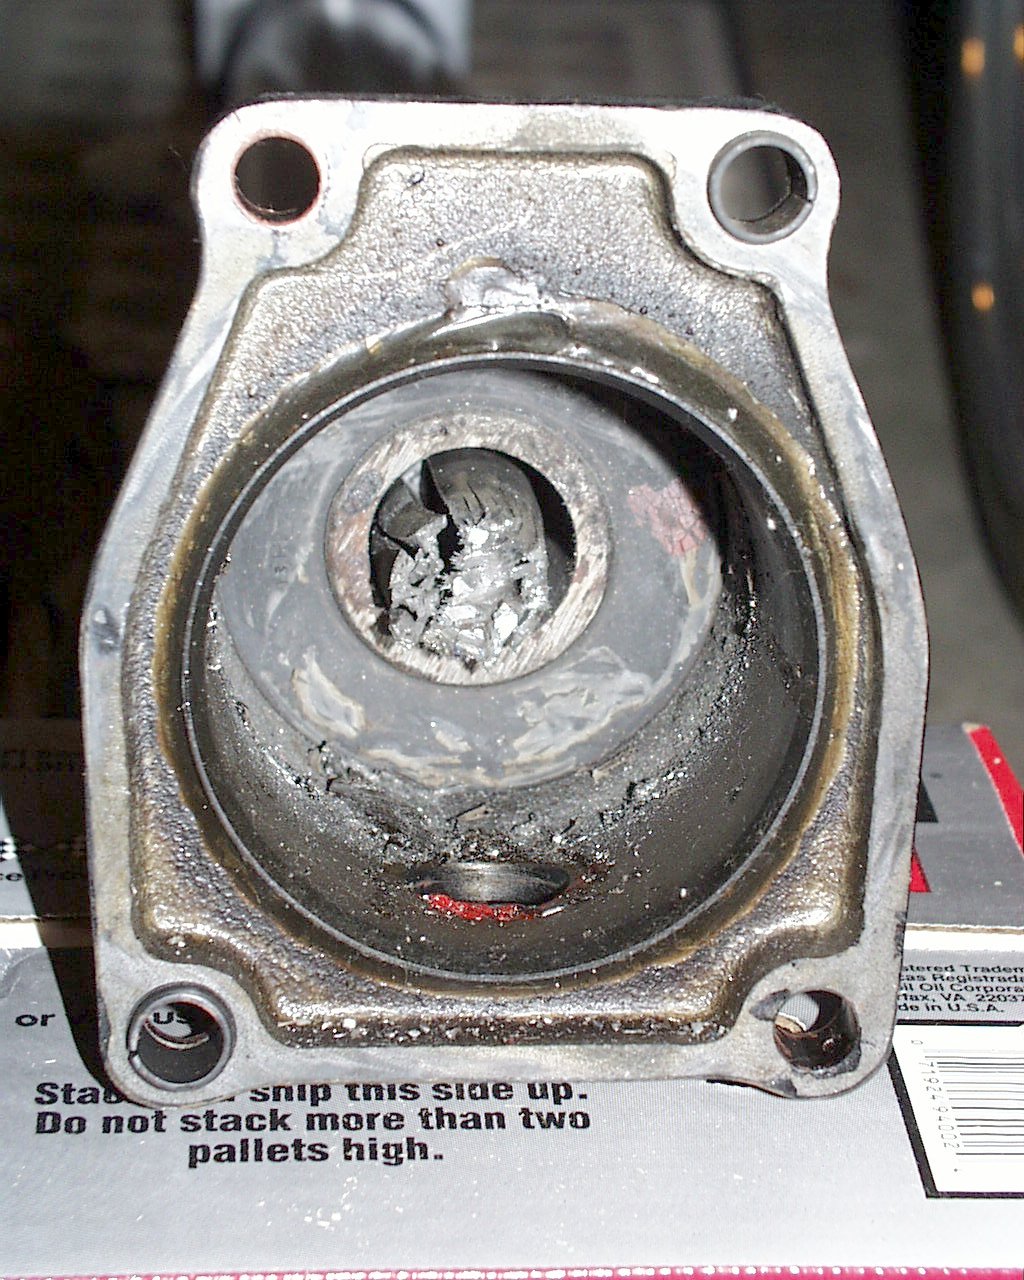
        |  |  | The shaft broke at the rear between the splines and the
          smooth part of the shaft. | 


        | Closer view of the shredded shaft. Hmmm... it looks like the left side of the shaft might be loose. |  |  | 


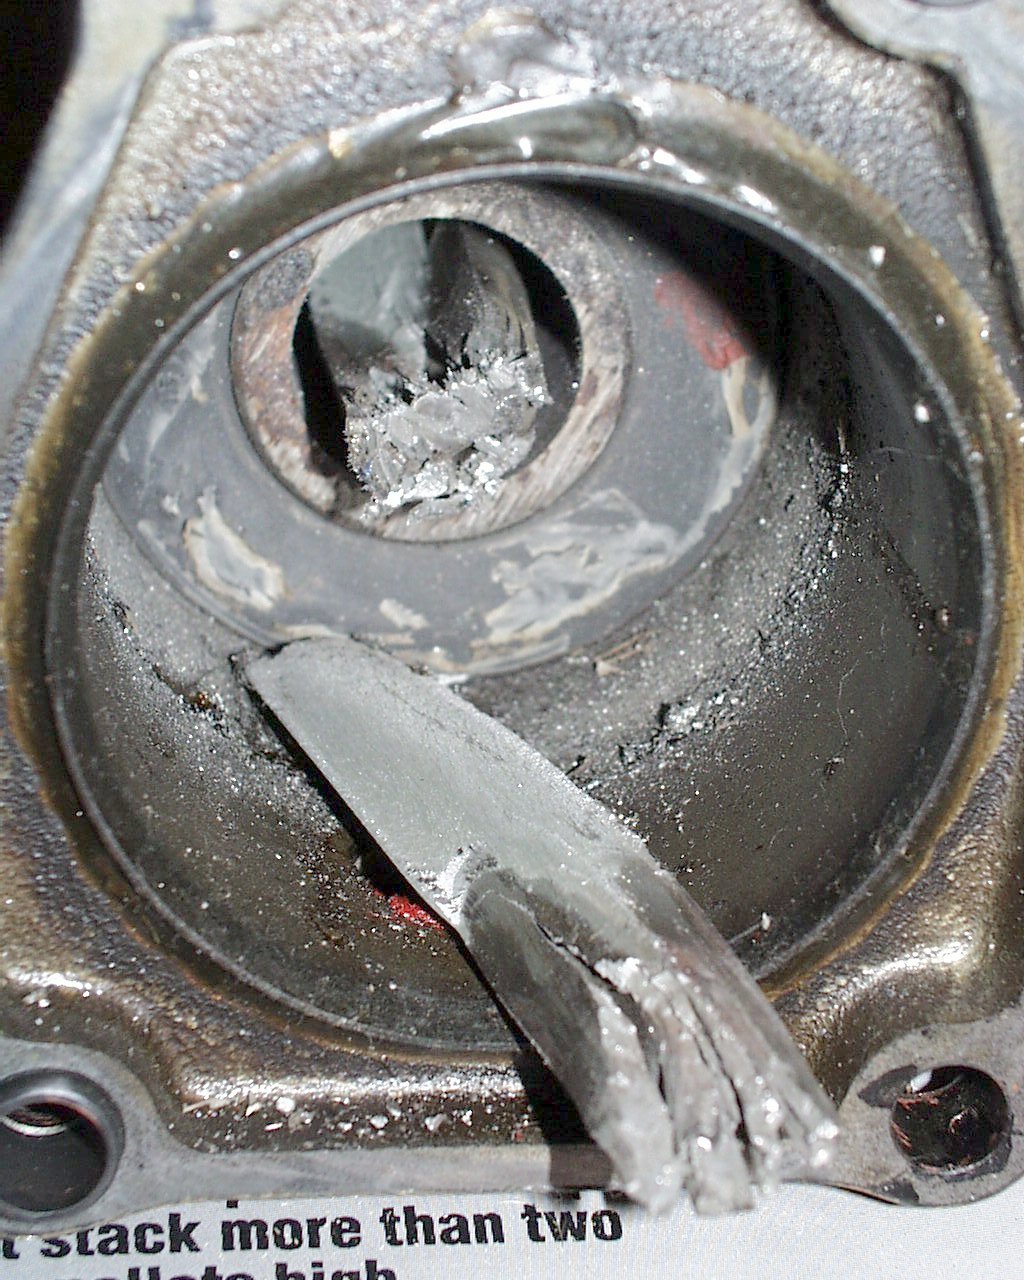
        |  |  | It was; I was surprised to pull out a rather long shard
          of shaft. | 


        | Same shard flipped over to view the exterior side. |  |  | 


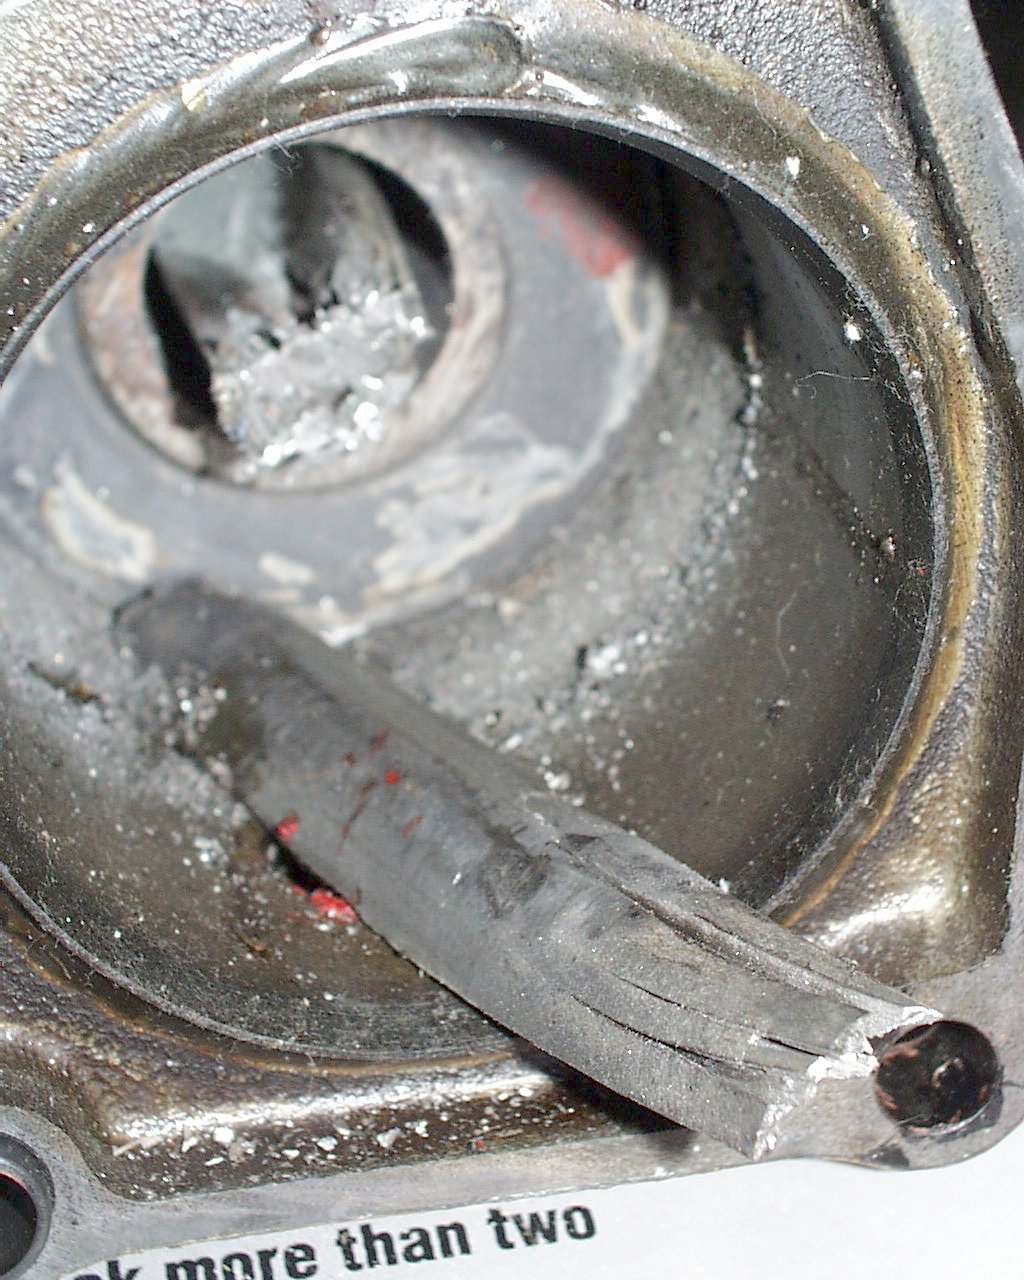
        |  |  | Thanks to 928
          International, I had a replacement torque tube in a couple of
          days.  Actually, this isn't the one that wound up in my
          car.  The one that finally went in my car was a second one 928
          International shipped me because the shop messed up this one. 
          The one that was finally installed was the older
          constant-diameter-shaft type, which I understand is not as subject to
          fracturing. | 
     
	 Go back to the "Ed's Porsche 928" index
		page.